An Actual Reason to Shop at Dollar General

Dollar general stores scare me a little bit.  It seems like you can always find at least one weirdo customer in there shopping at any given time, and I think the stores are always run by chain smoking 20-year-olds.  Seriously, the last time I was in a Dollar General, there were 2 young female employees talking about how much they loved to smoke.  The one was saying that she knew she should quite because she was having trouble breathing every morning.  Geez.  Yeah, maybe you should quit.

Anyway, there is one reason, and one reason only that I go into Dollar general stores: they’ve got nail polish.  Specifically today, I want to talk about Boadway Nails High Shine Nail Polish.  The only place I’ve ever seen this polish sold is at Dollar General Stores.  (If you’ve seen them any where else, please comment below!)  That means that if you want to try these polishes, you’re going to have to suck it up and actually go into a Dollar General store.  I promise you though, it’ll be worth it.

The in store display looks like this:

IMG_3566

Admittedly, this is not the greatest picture, but I sort of hate taking pictures of stuff in stores.  It makes me feel like a creep or something.  Anyway, do you see the little yellow price stickers?  That’s right, these little polishes are only $1 each!  As you can see, there are 4 tiers with 8 colors each.  (The middle tier has lip gloss.)  I don’t think there are any repeats, so that makes a grand total of 32 colors available.

So far I’ve purchase these seven:

IMG_3834

Here’s a little review of each along with a swatch.  Each swatch is 2 coats of the polish.

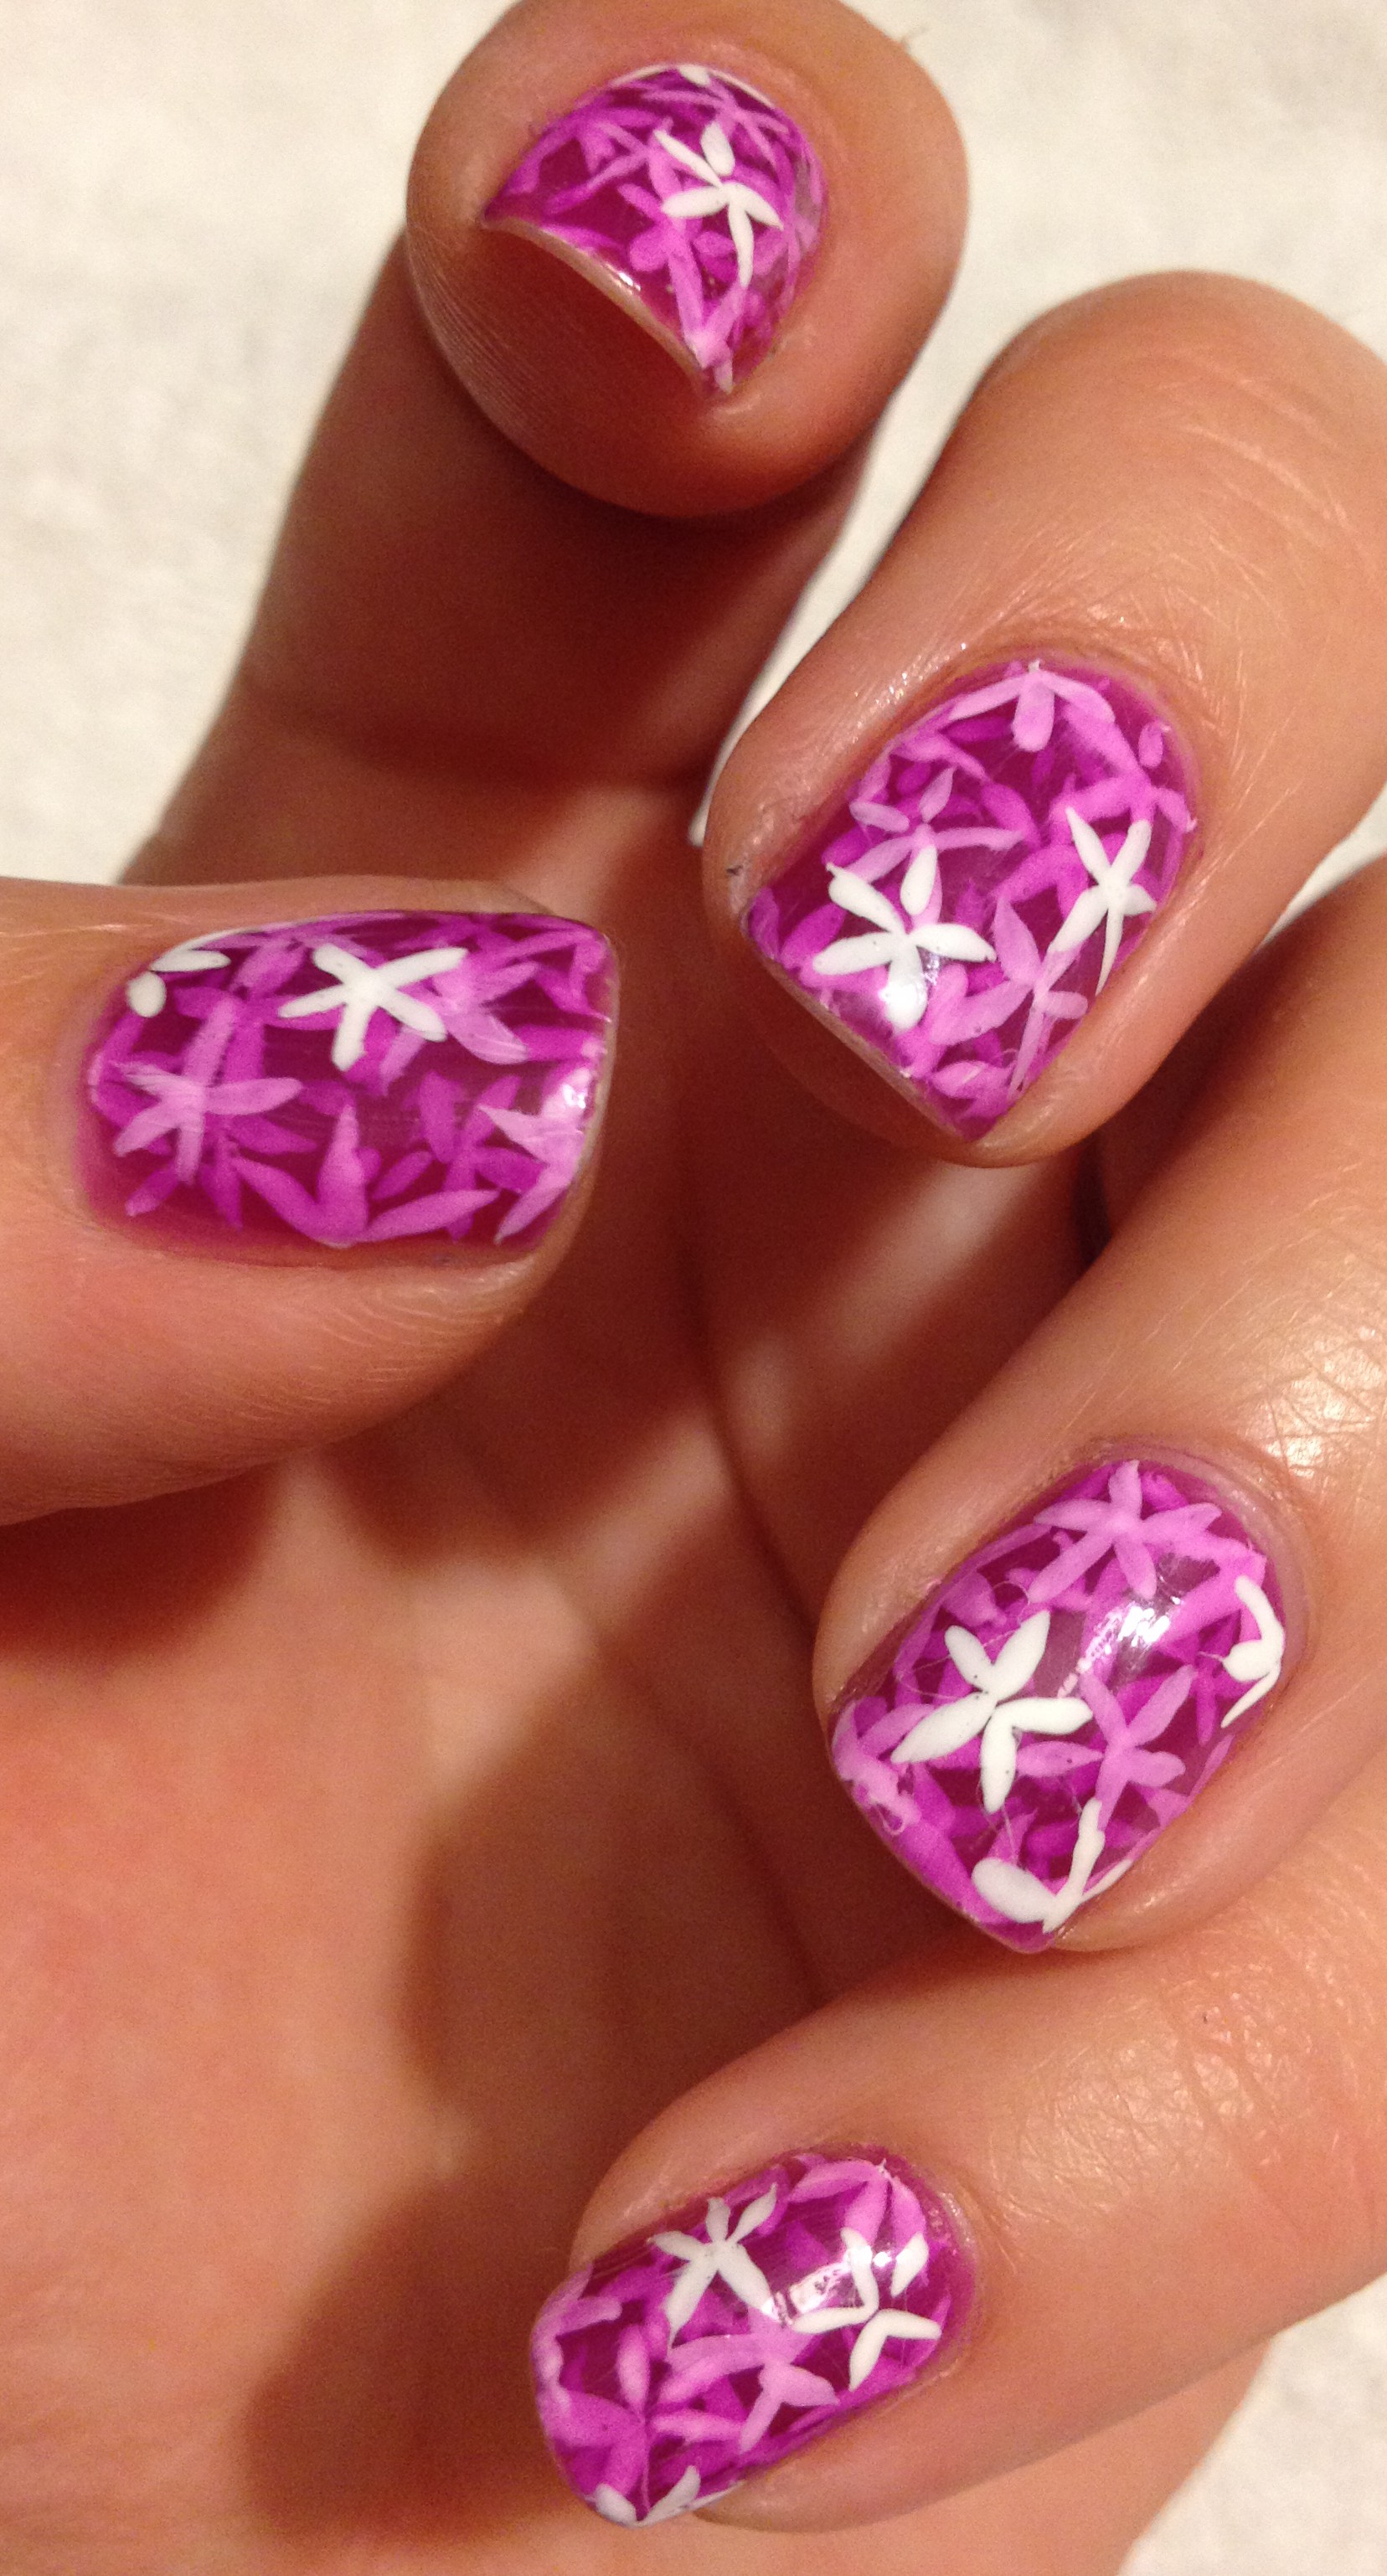
Starting with the upper left corner, we have Dark Night.

IMG_3847

This is a REALLY dark purple.  In person it’s not quite as dark as it appears in the photo.  I thought at first that this was going to be a jelly formula, but it’s actually really opaque in just two coats.  It applies really nicely.
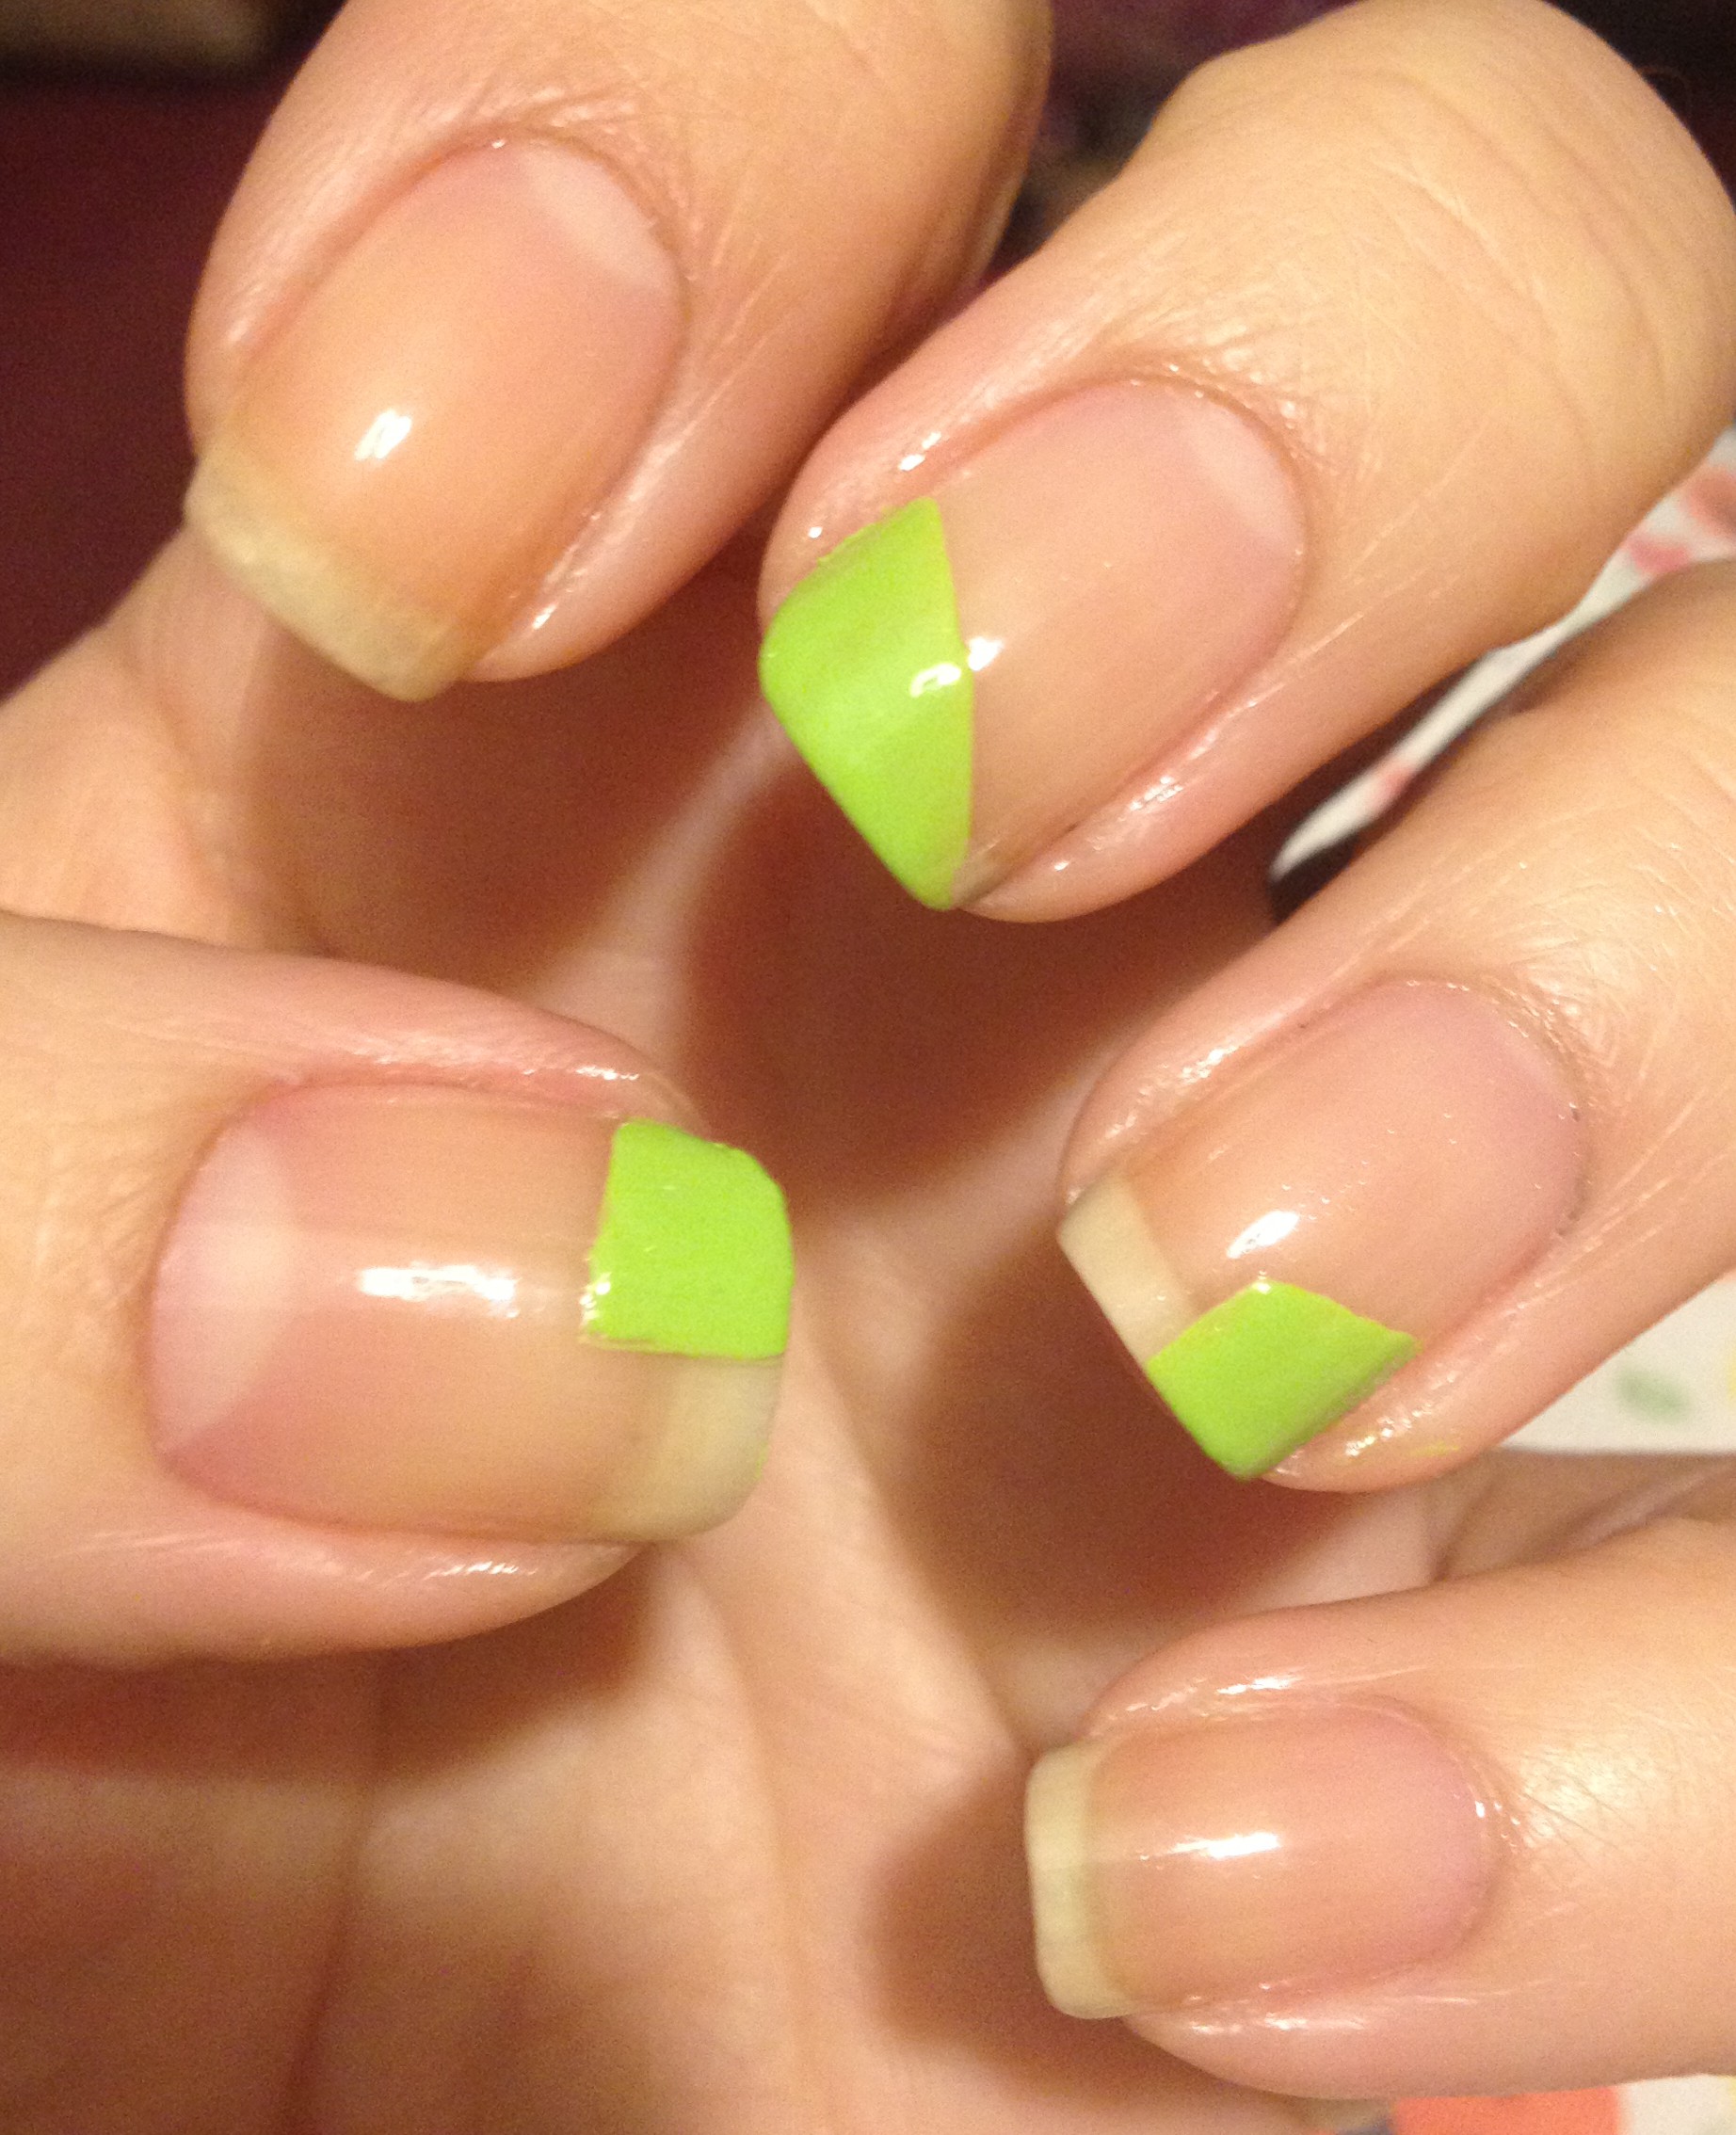
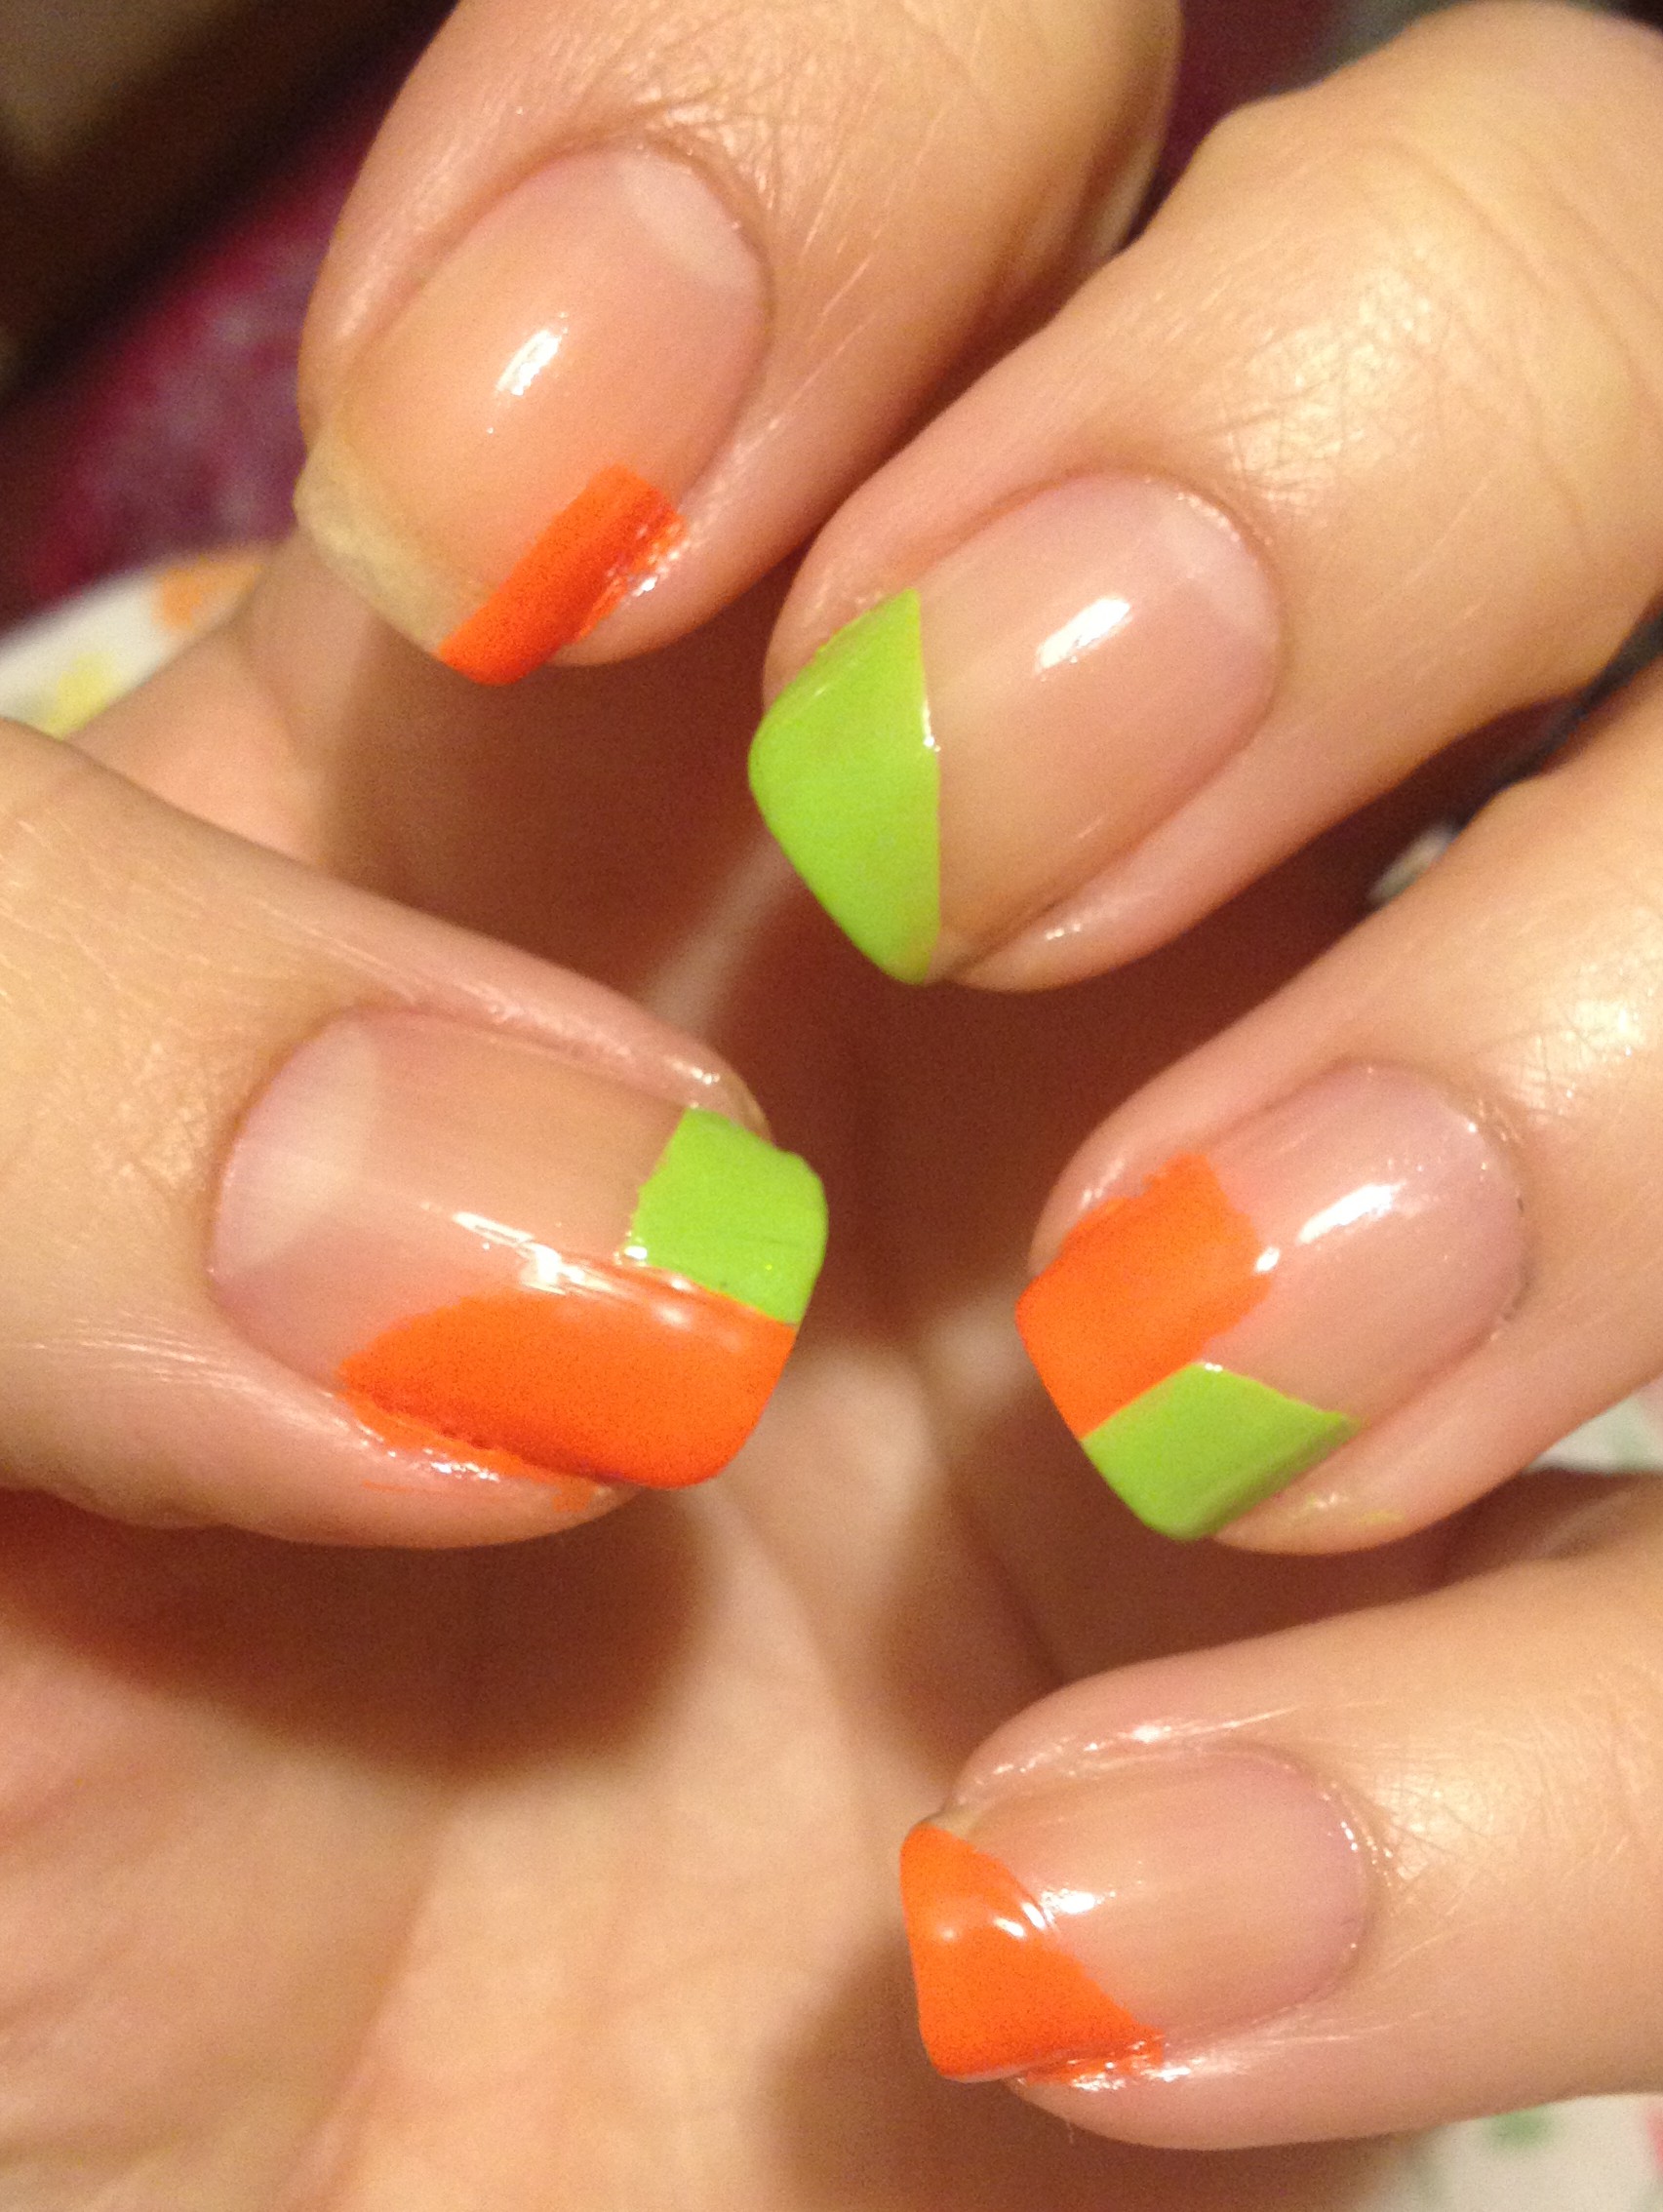
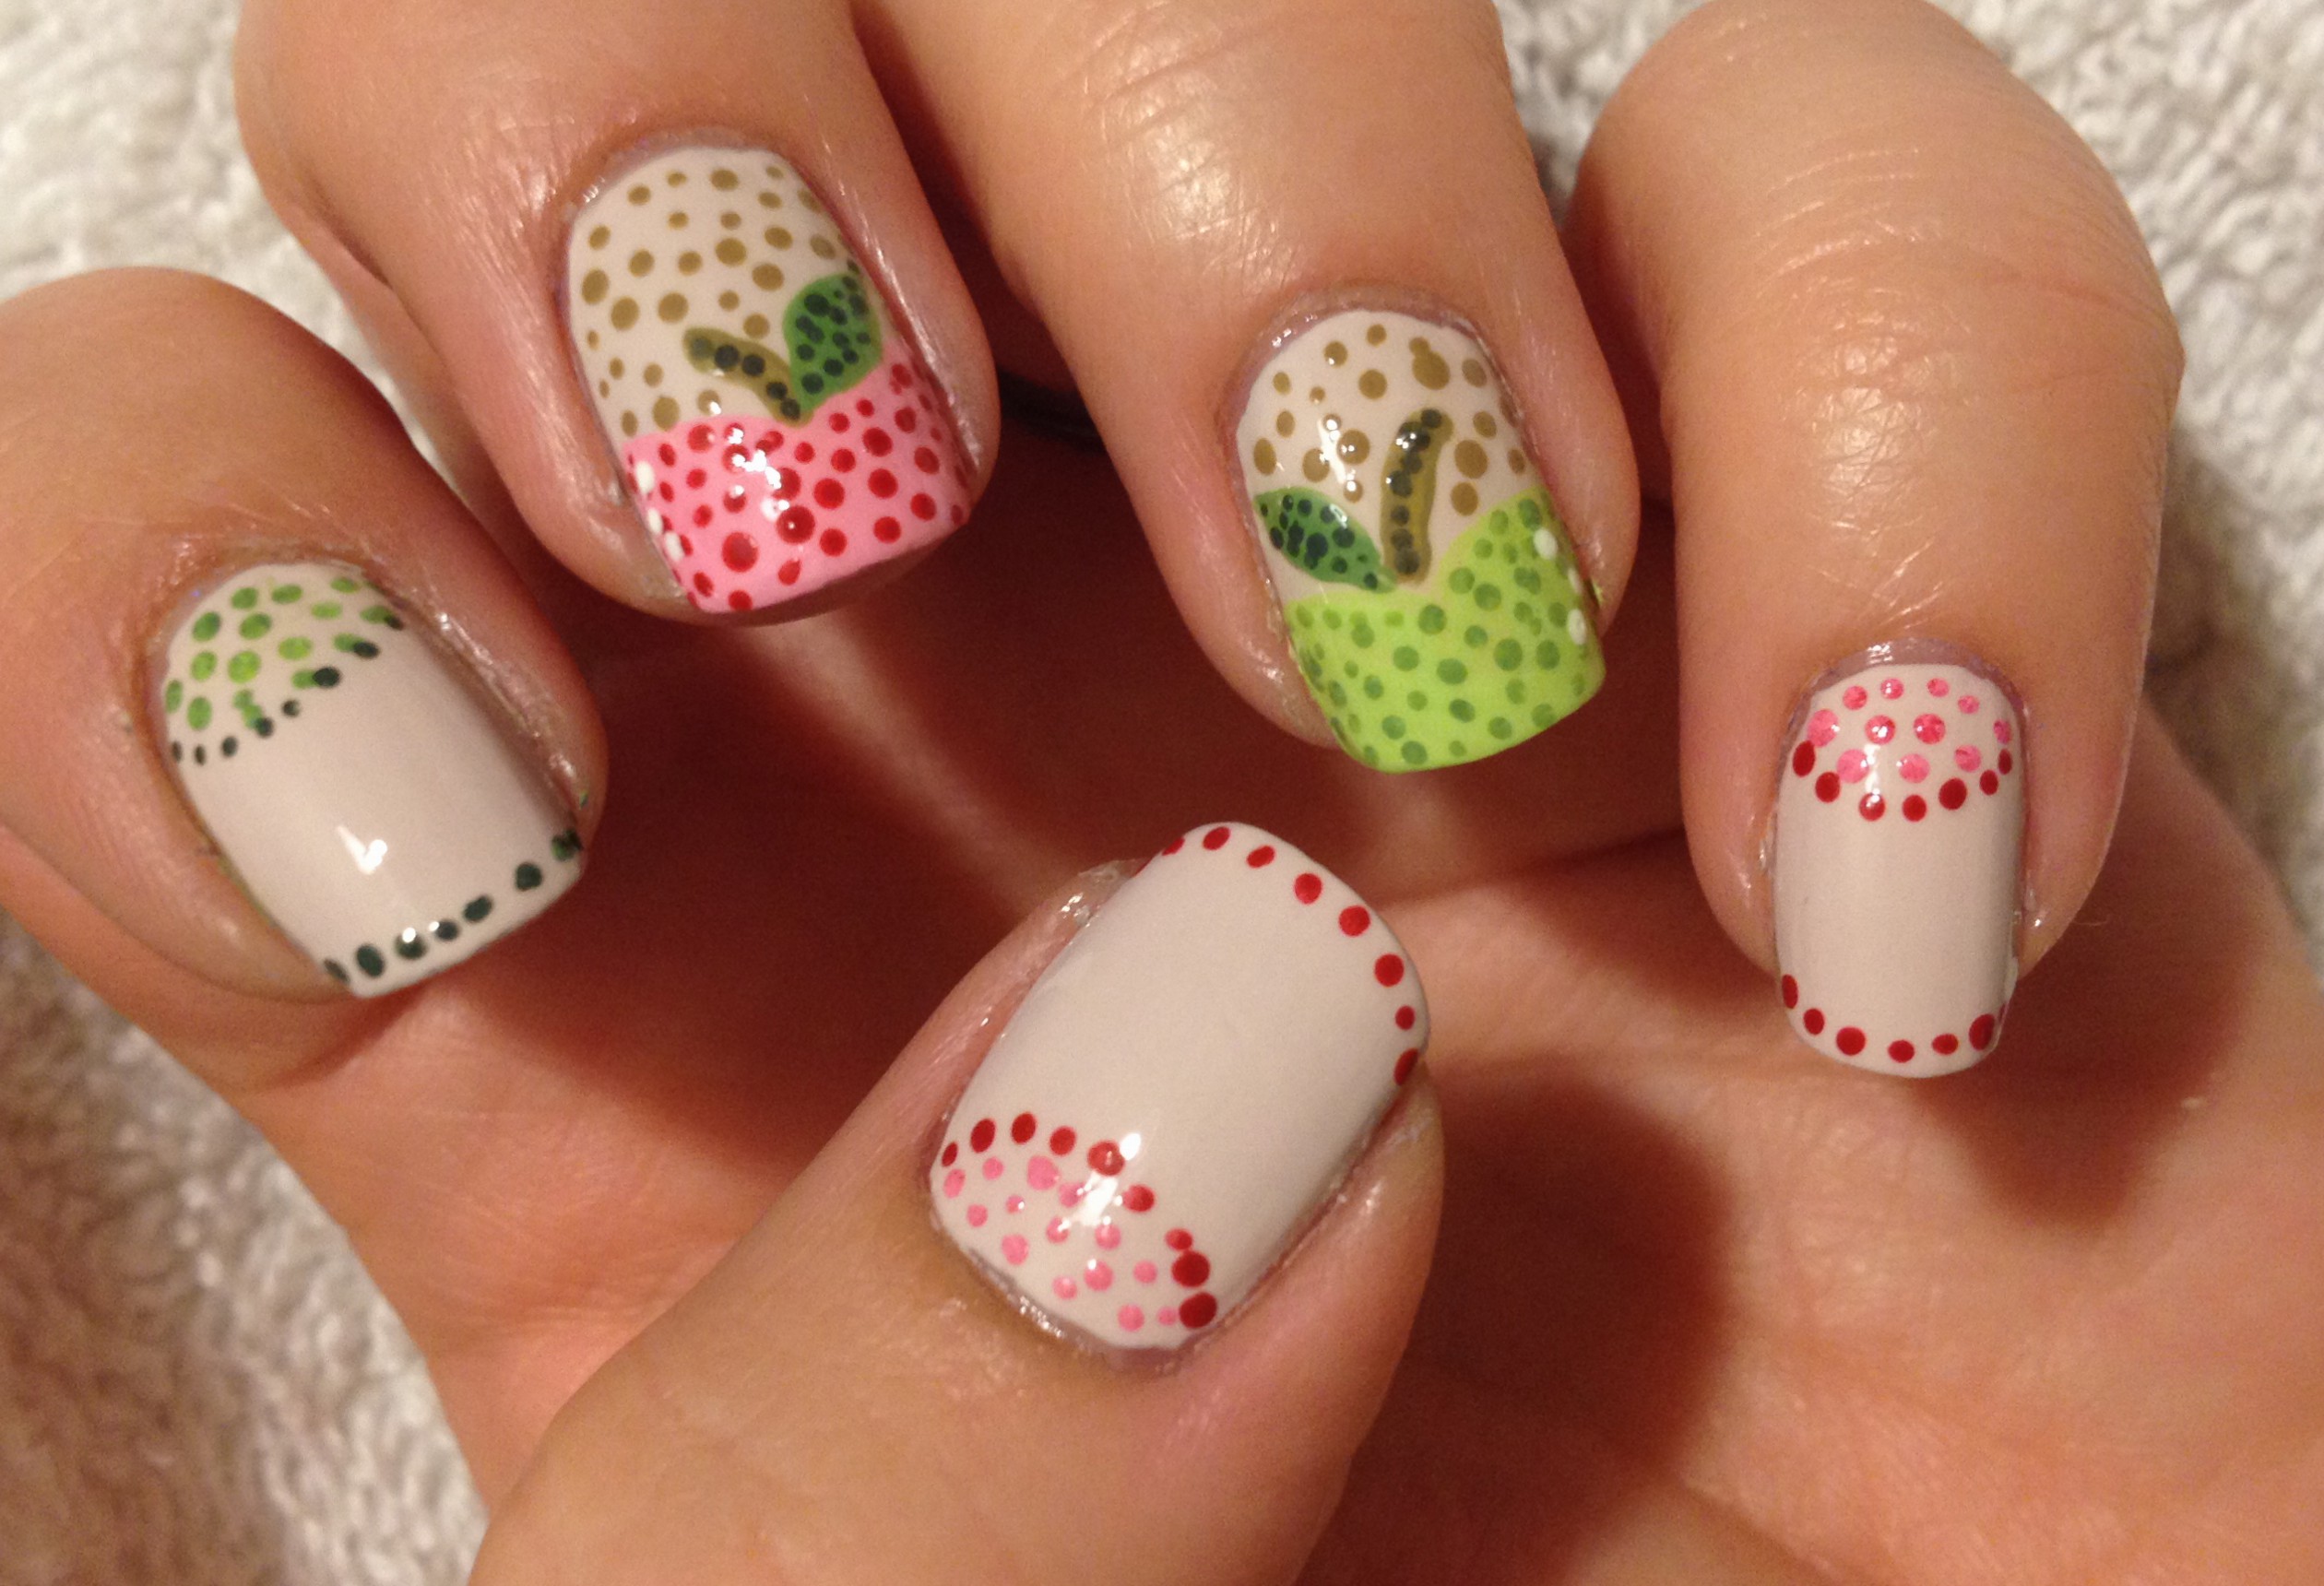
Next is Sour Apple.

IMG_3848

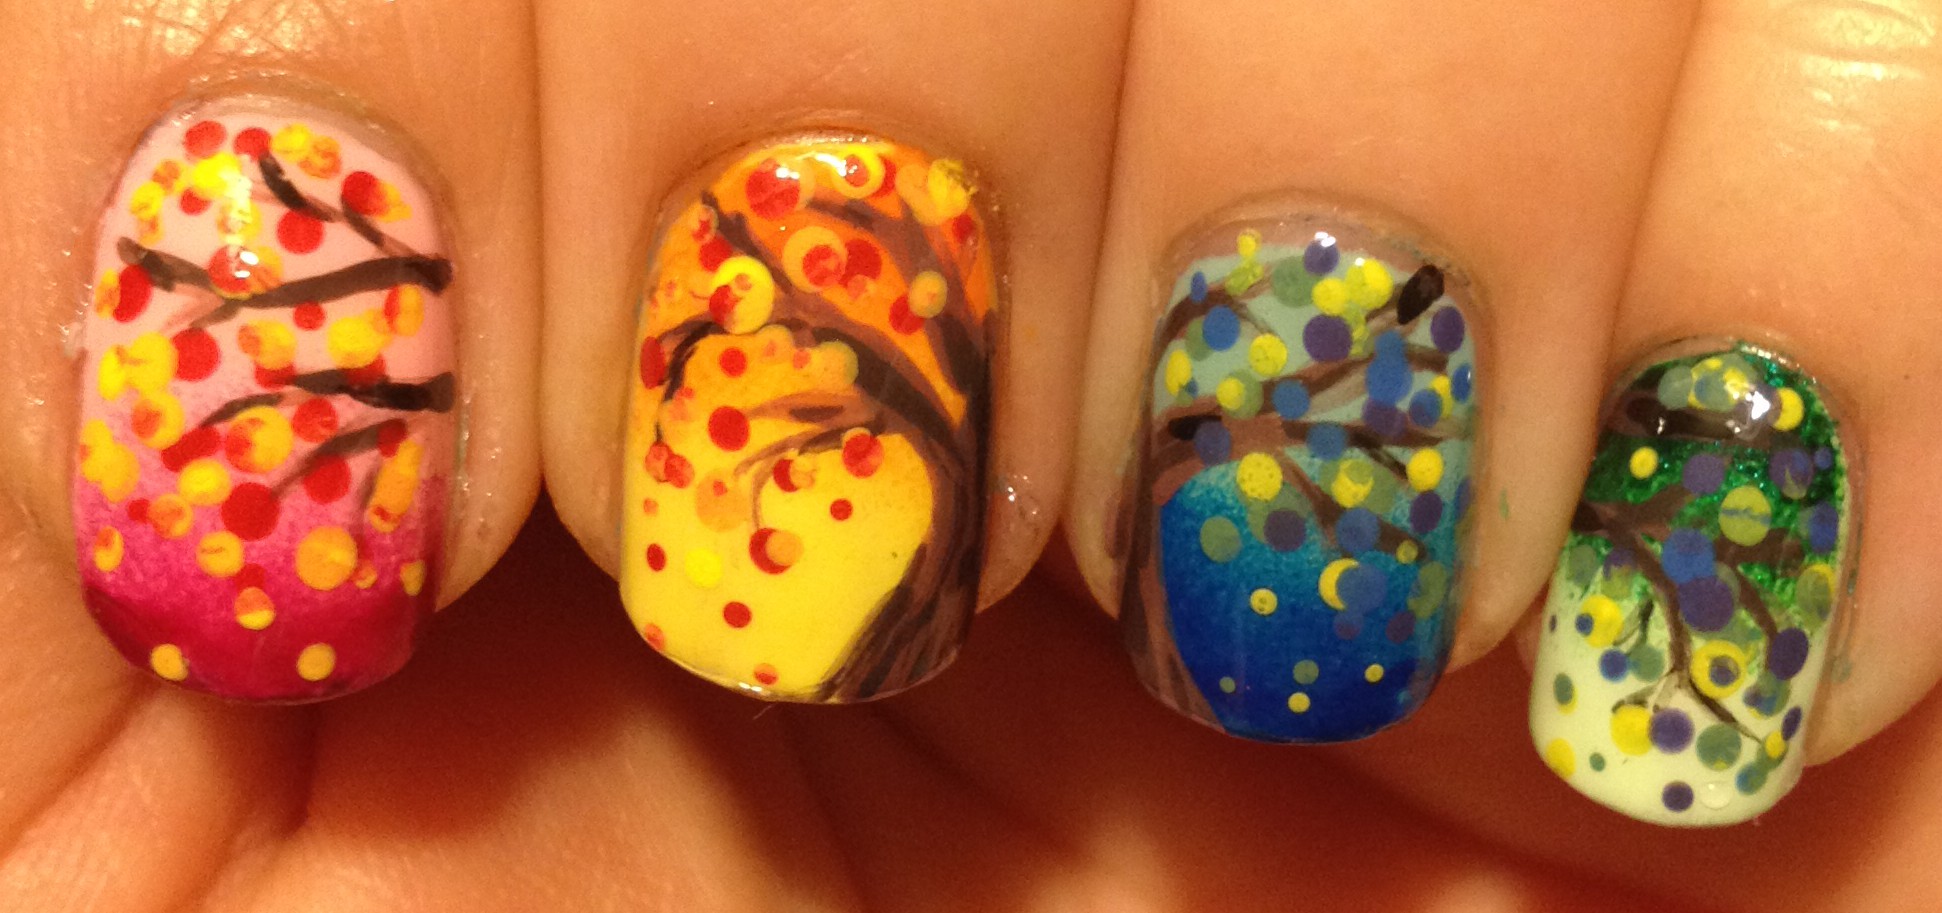
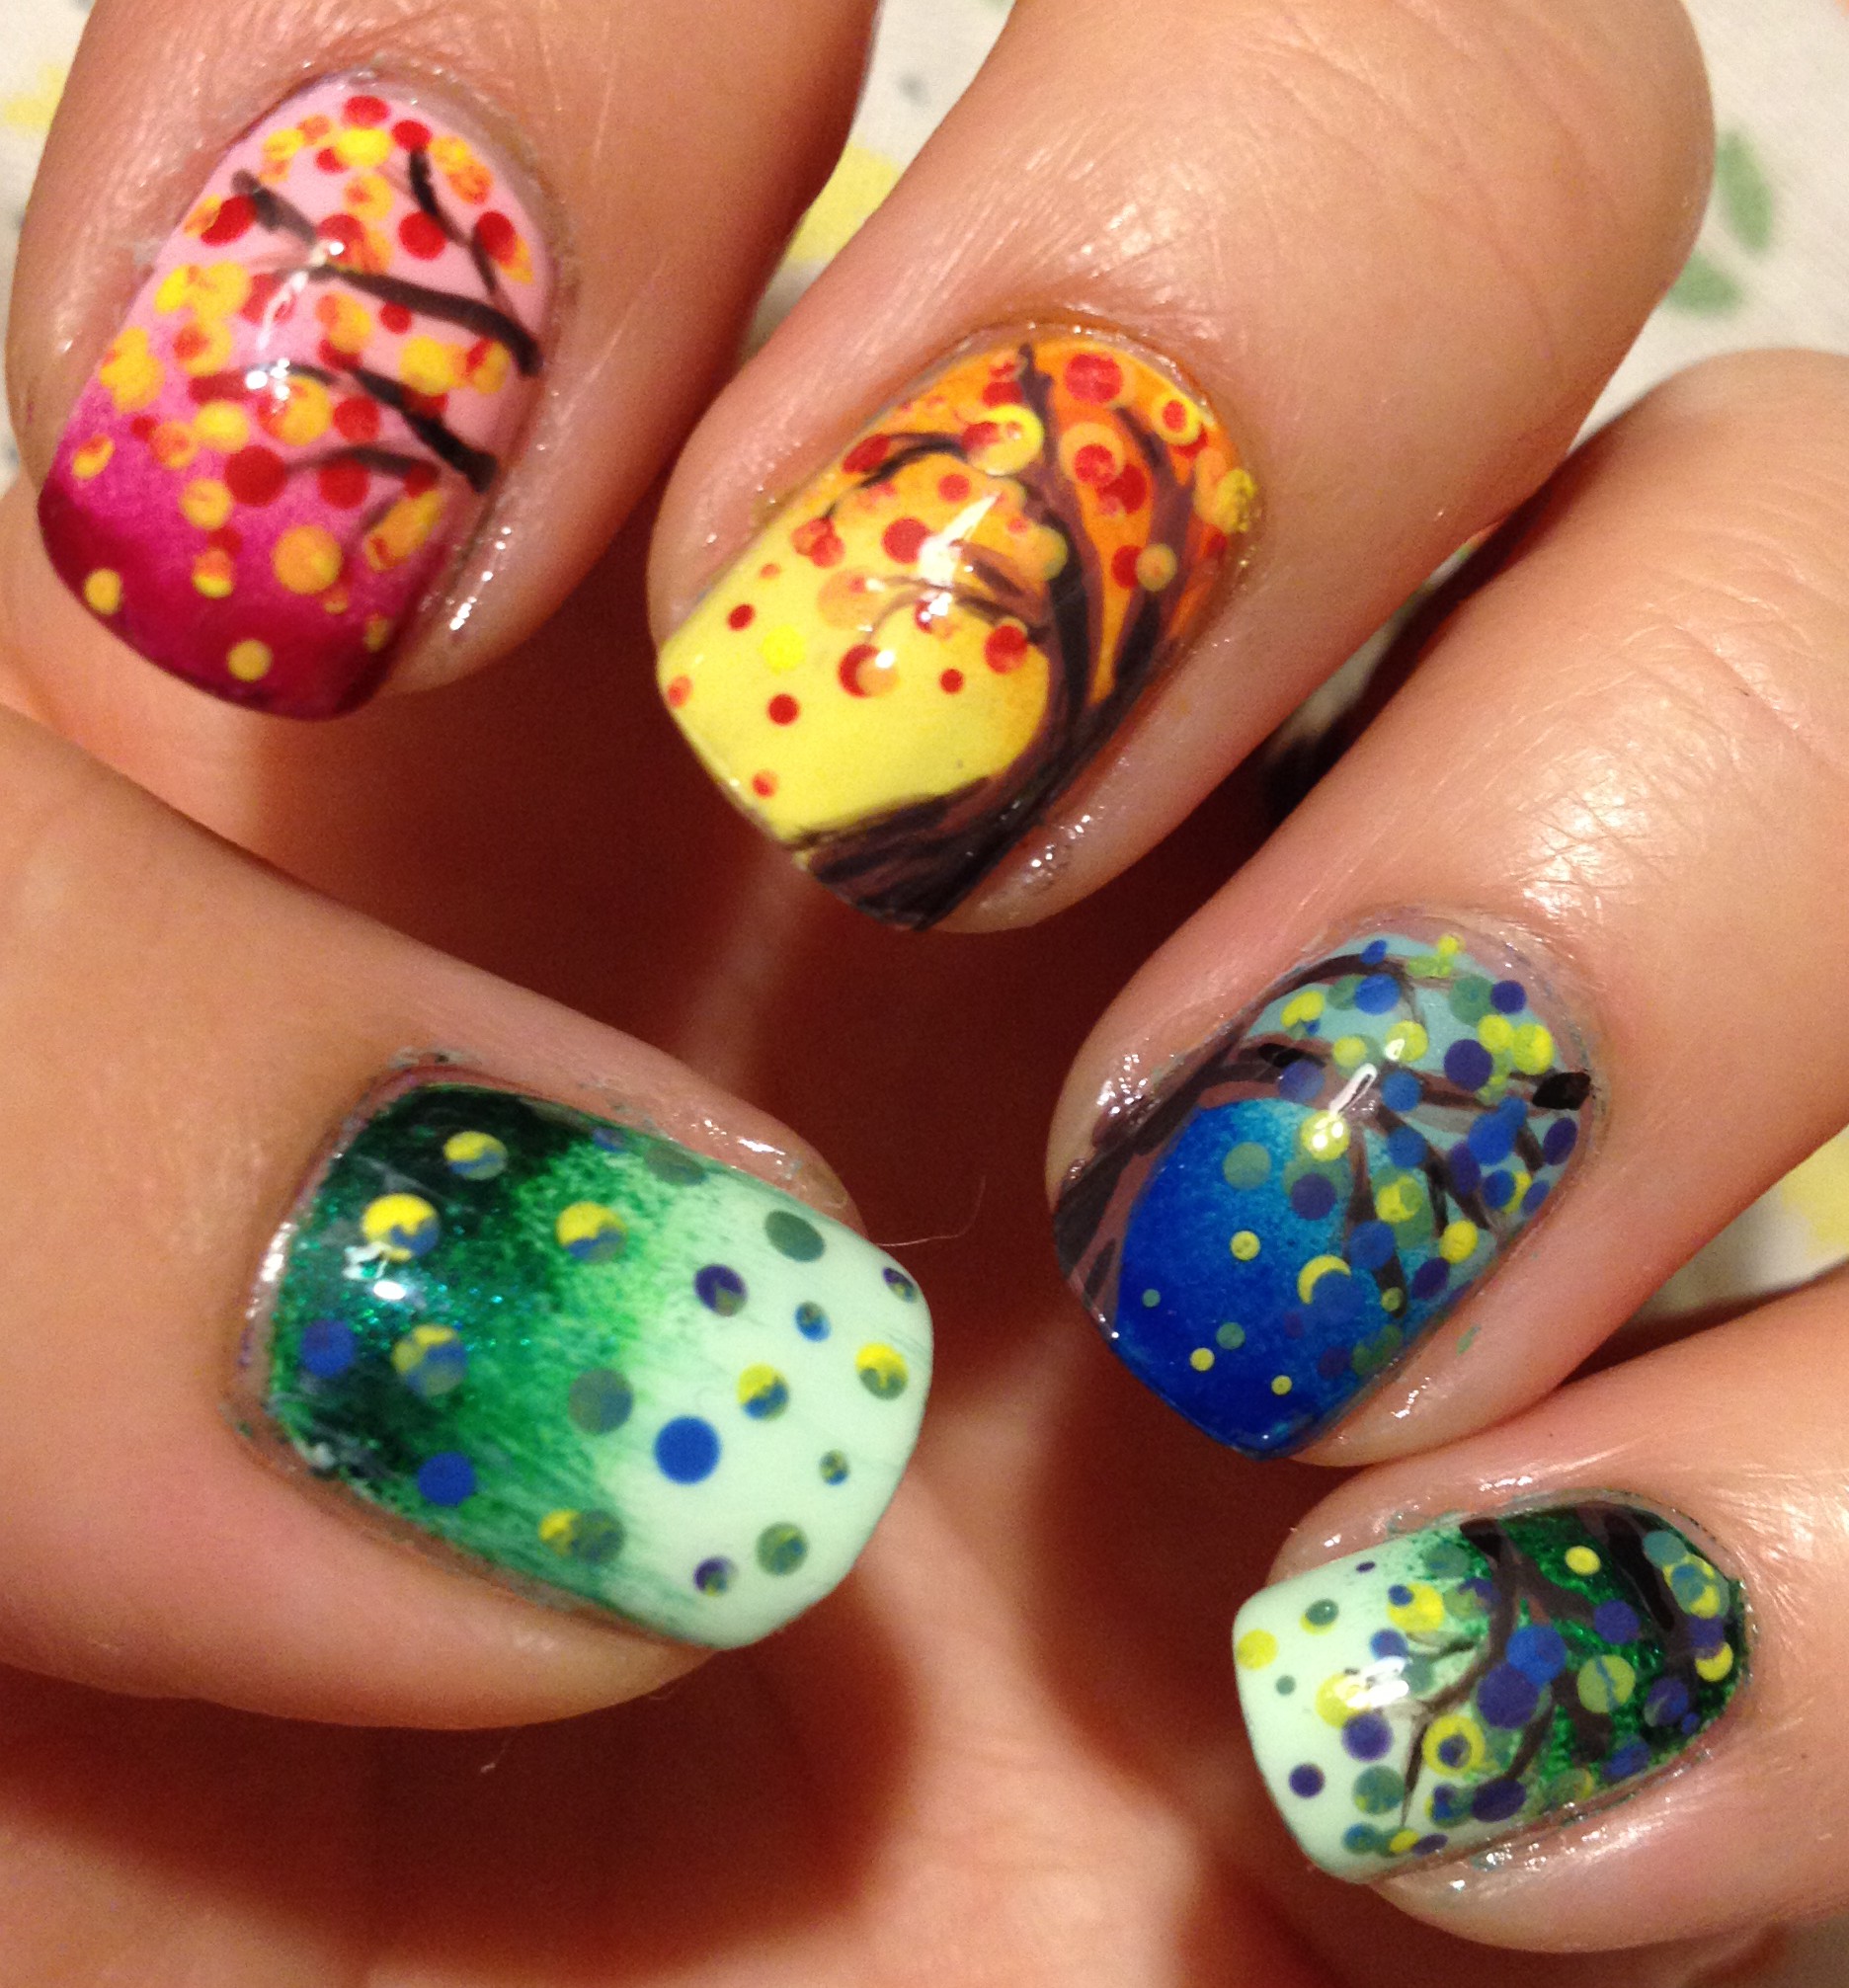
This is a super pretty almost neon green.  I guess you could say it’s neon, but there are brighter greens out there.  This is mostly opaque in two good coats or 3 thin coats.  I really, really like this polish!  The formula is really good!  Like, surprisingly good for a $1 polish!  Here it is in action:

cropped-img_2497.jpg

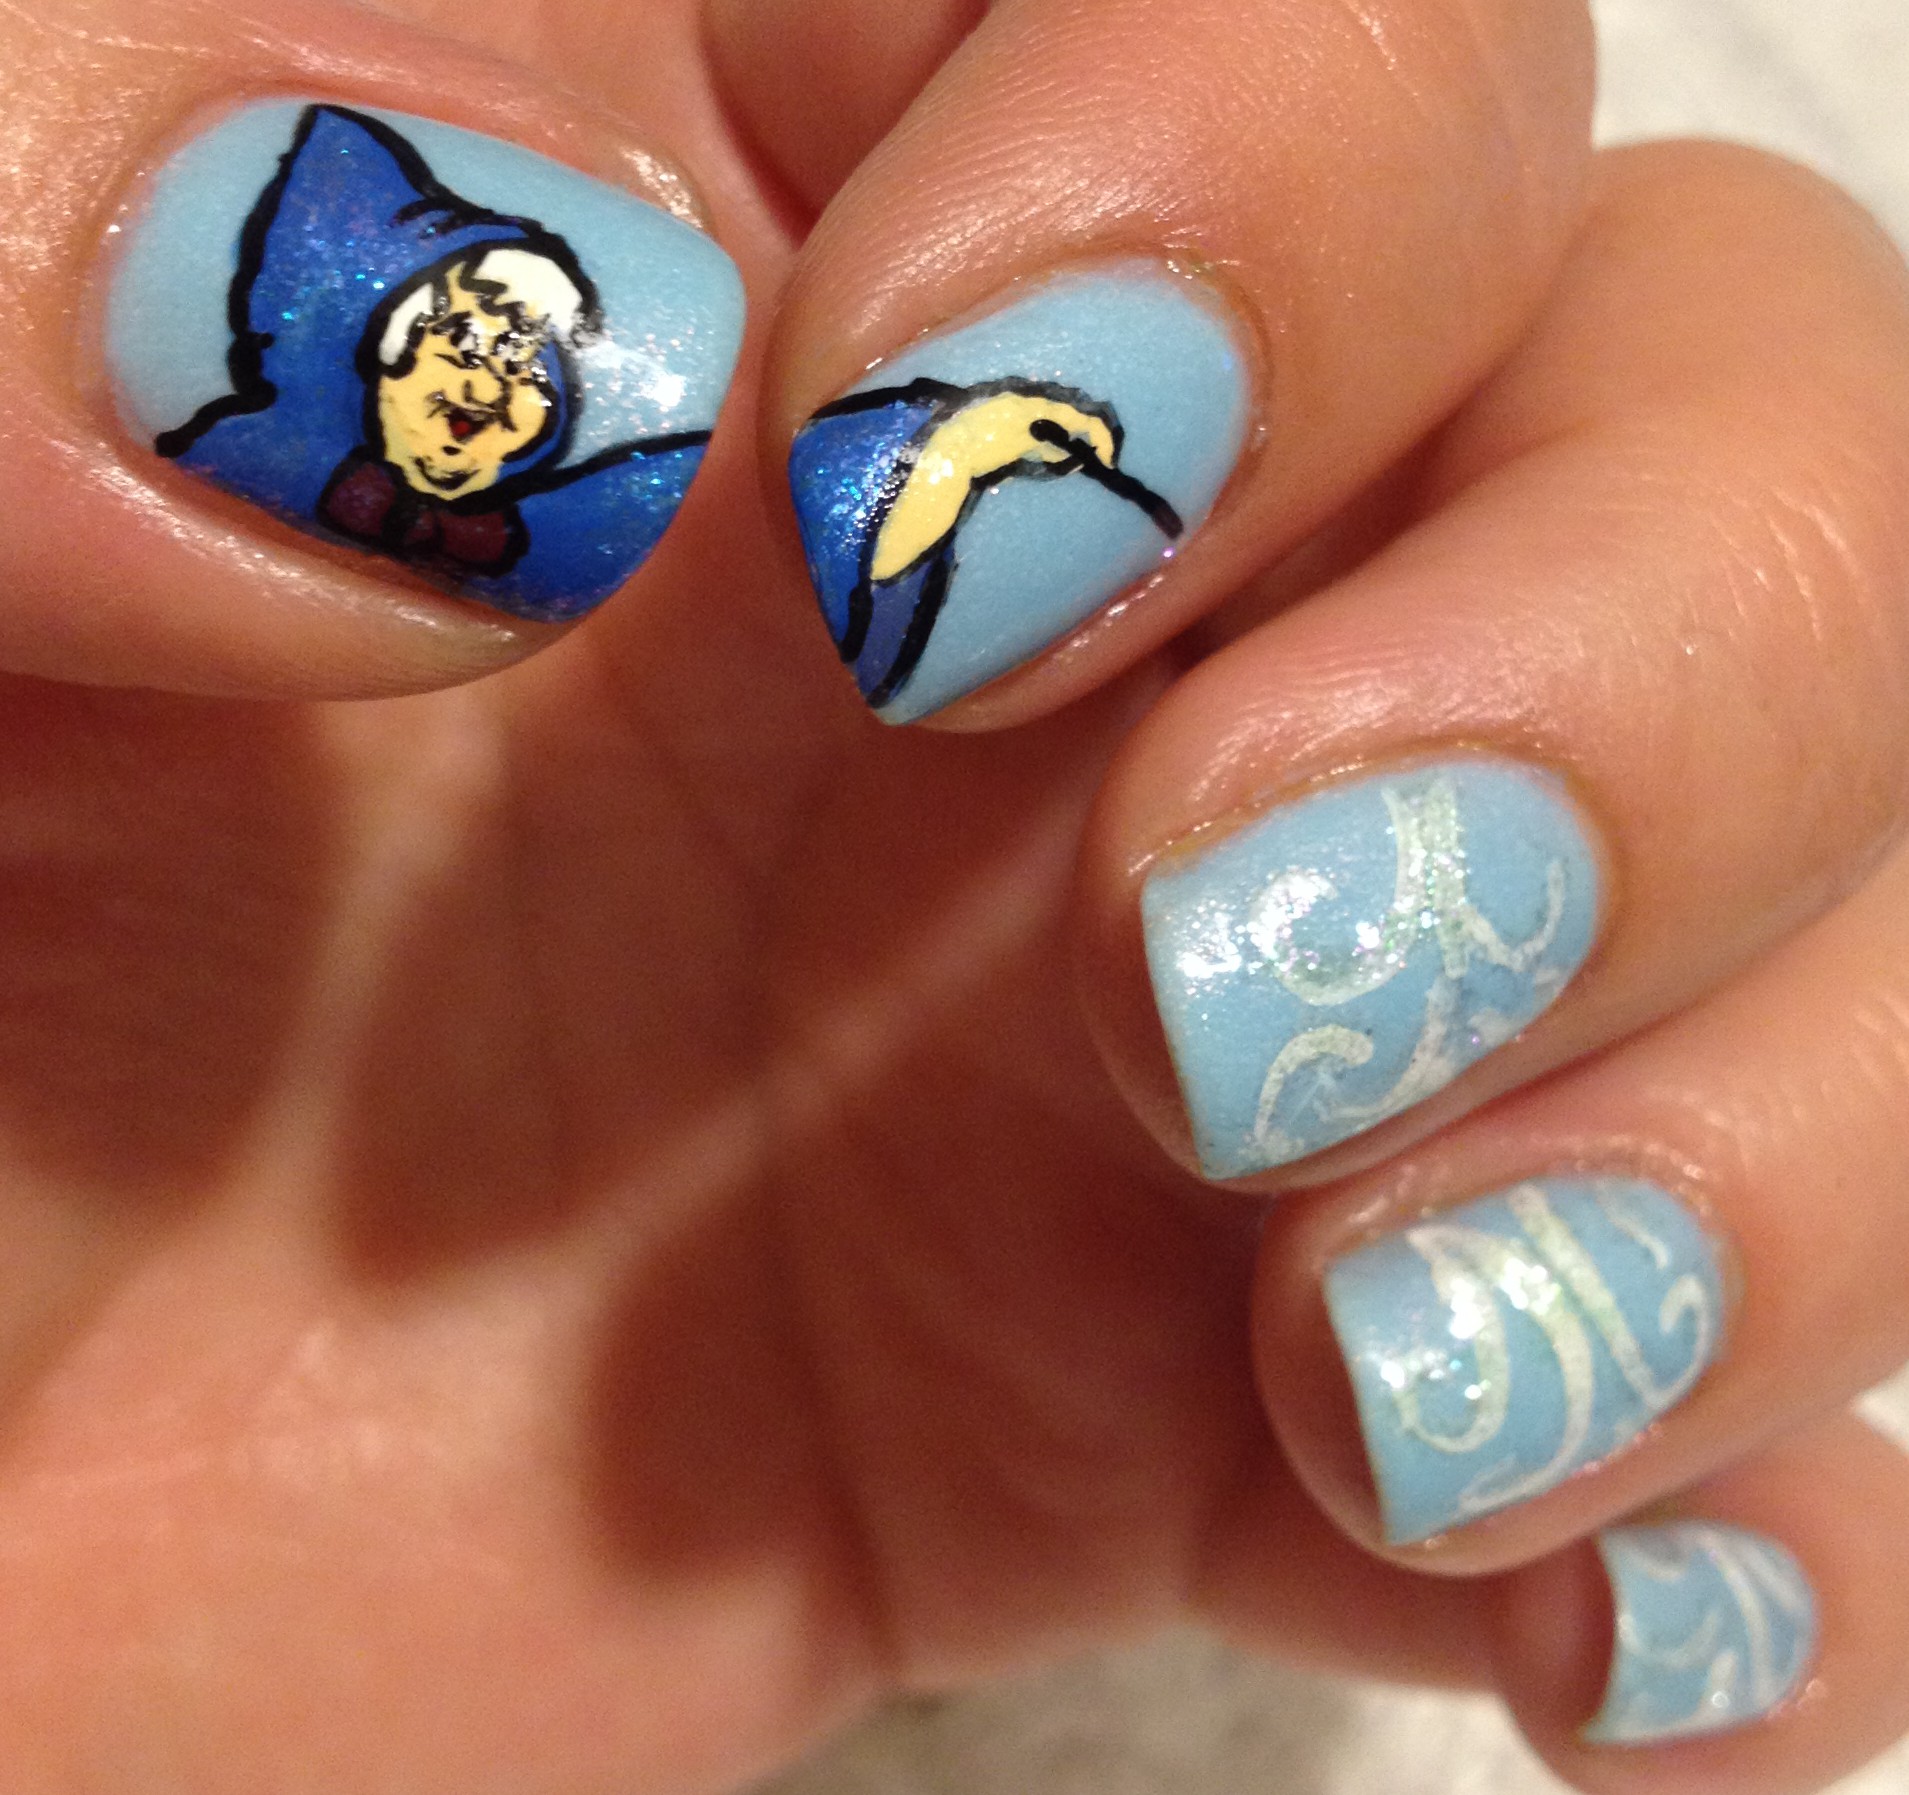
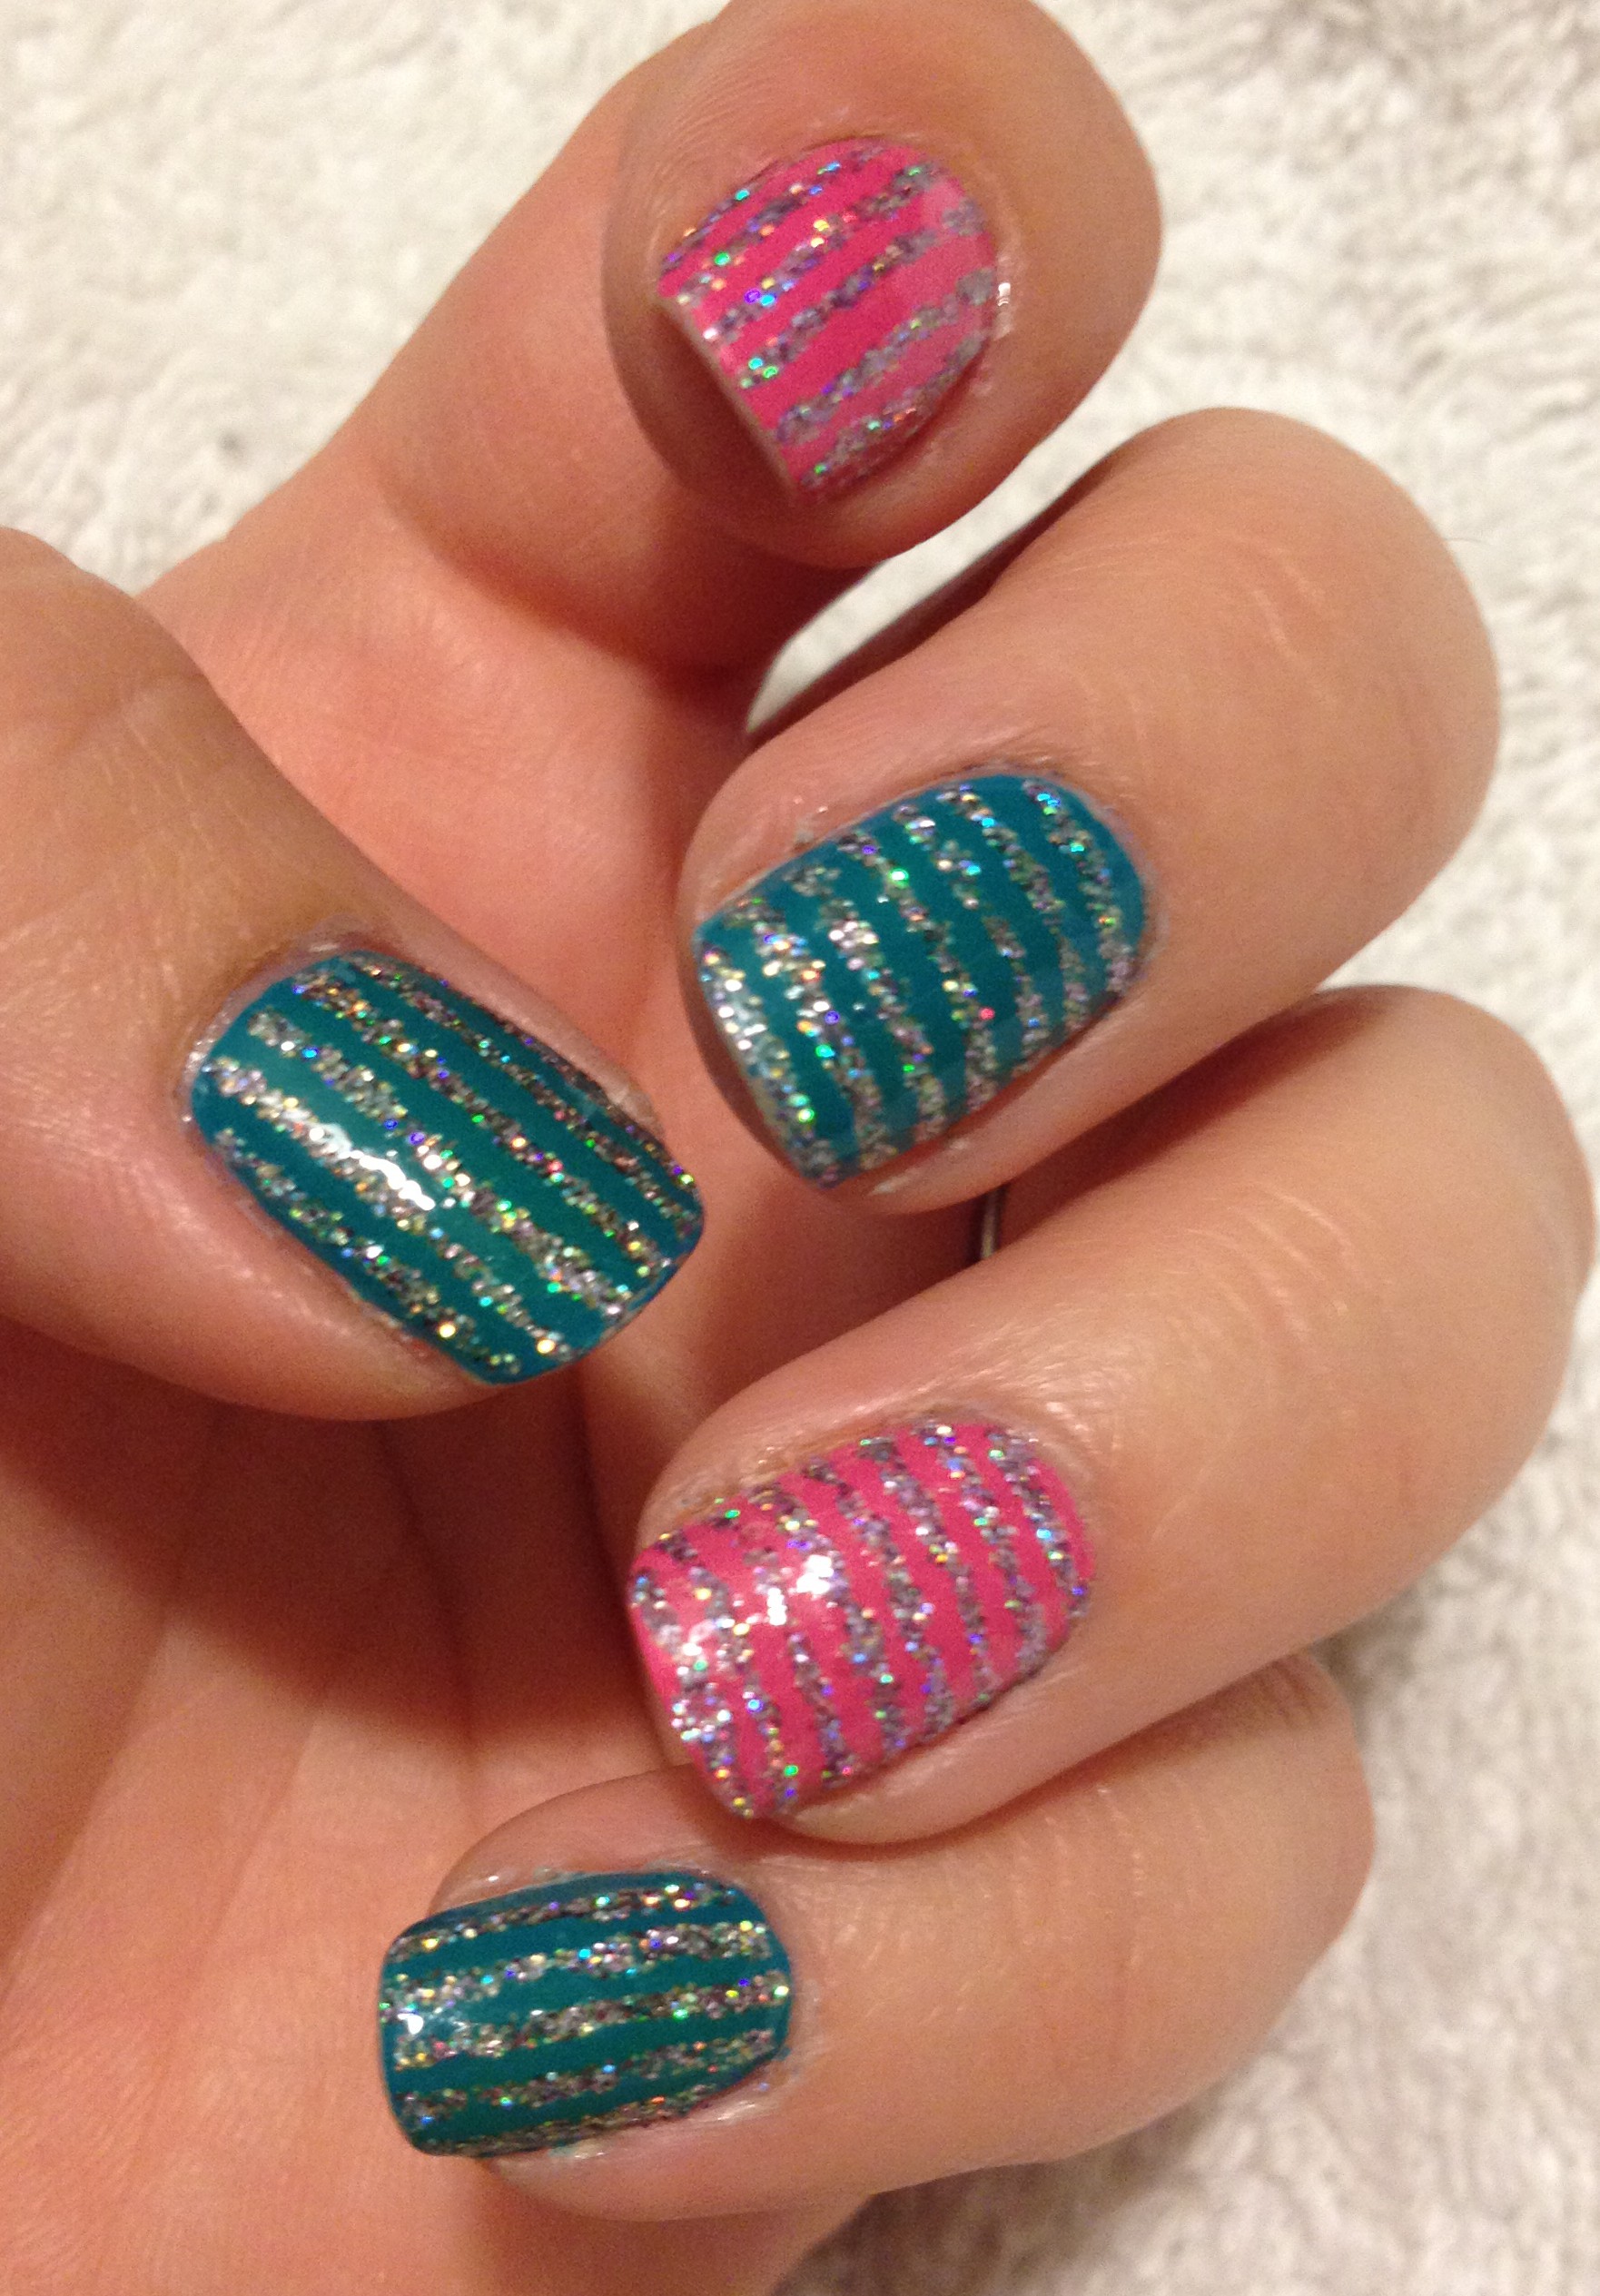
Next is Space Flight.

IMG_3845

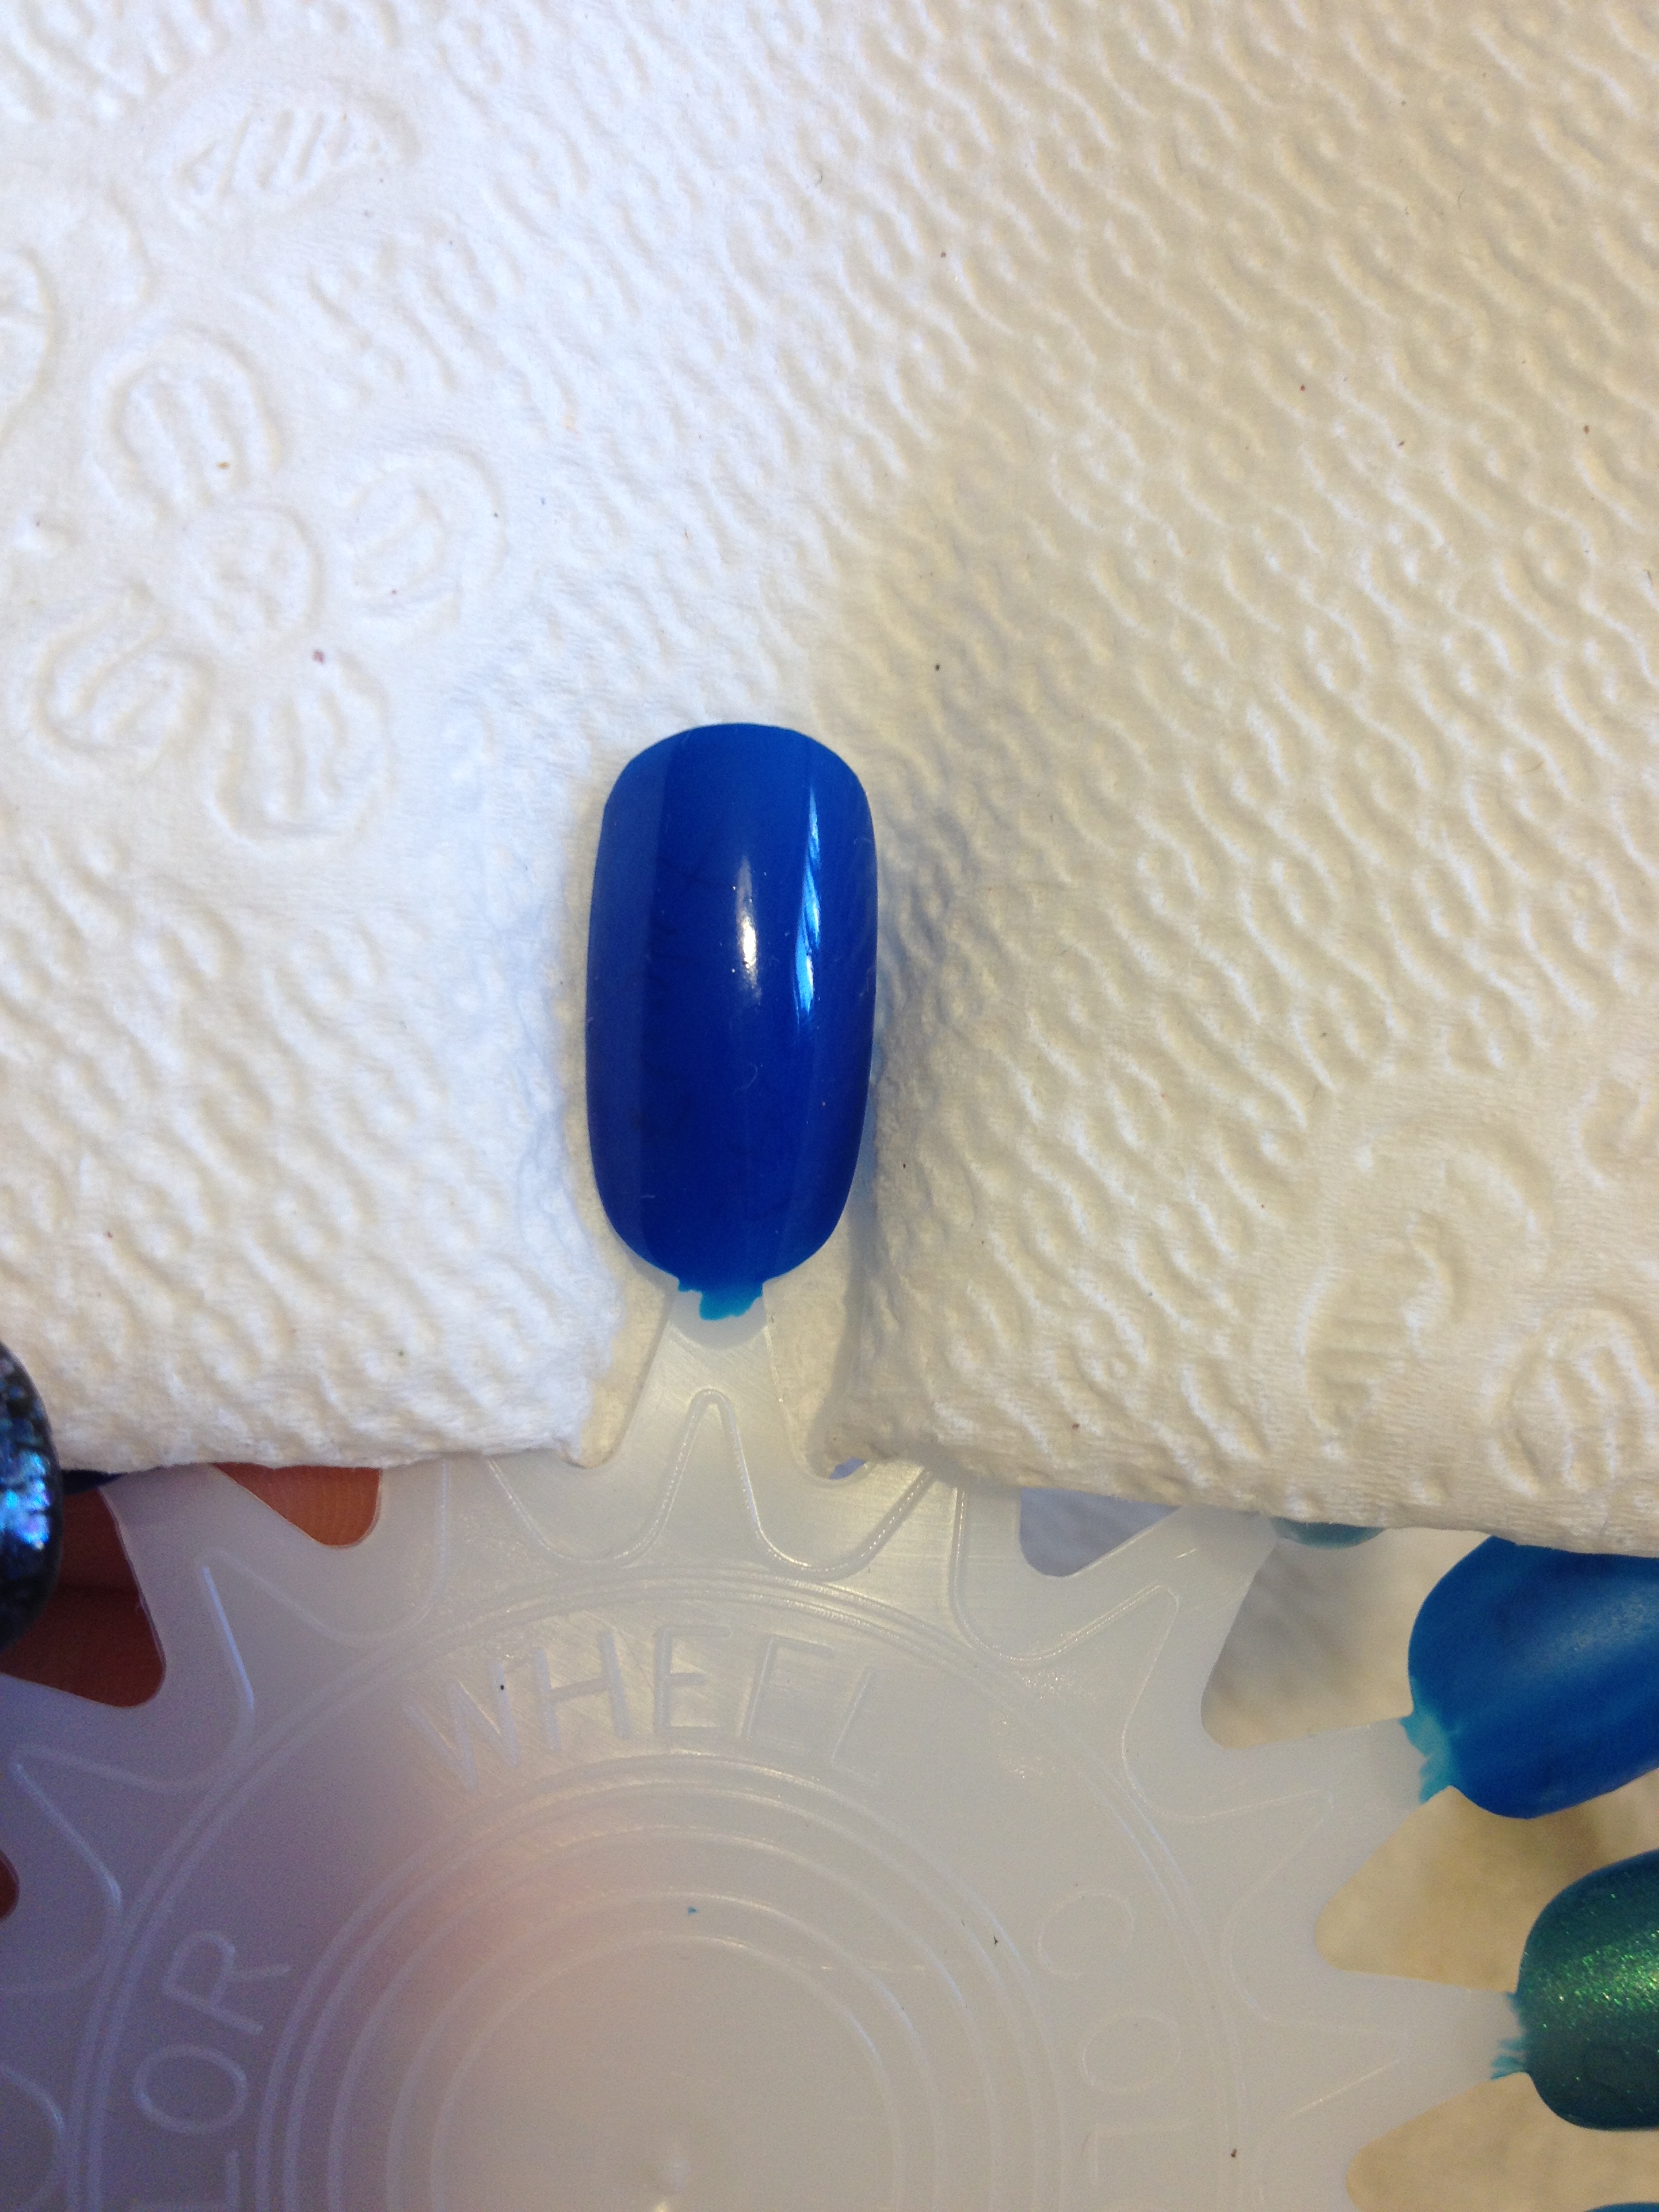
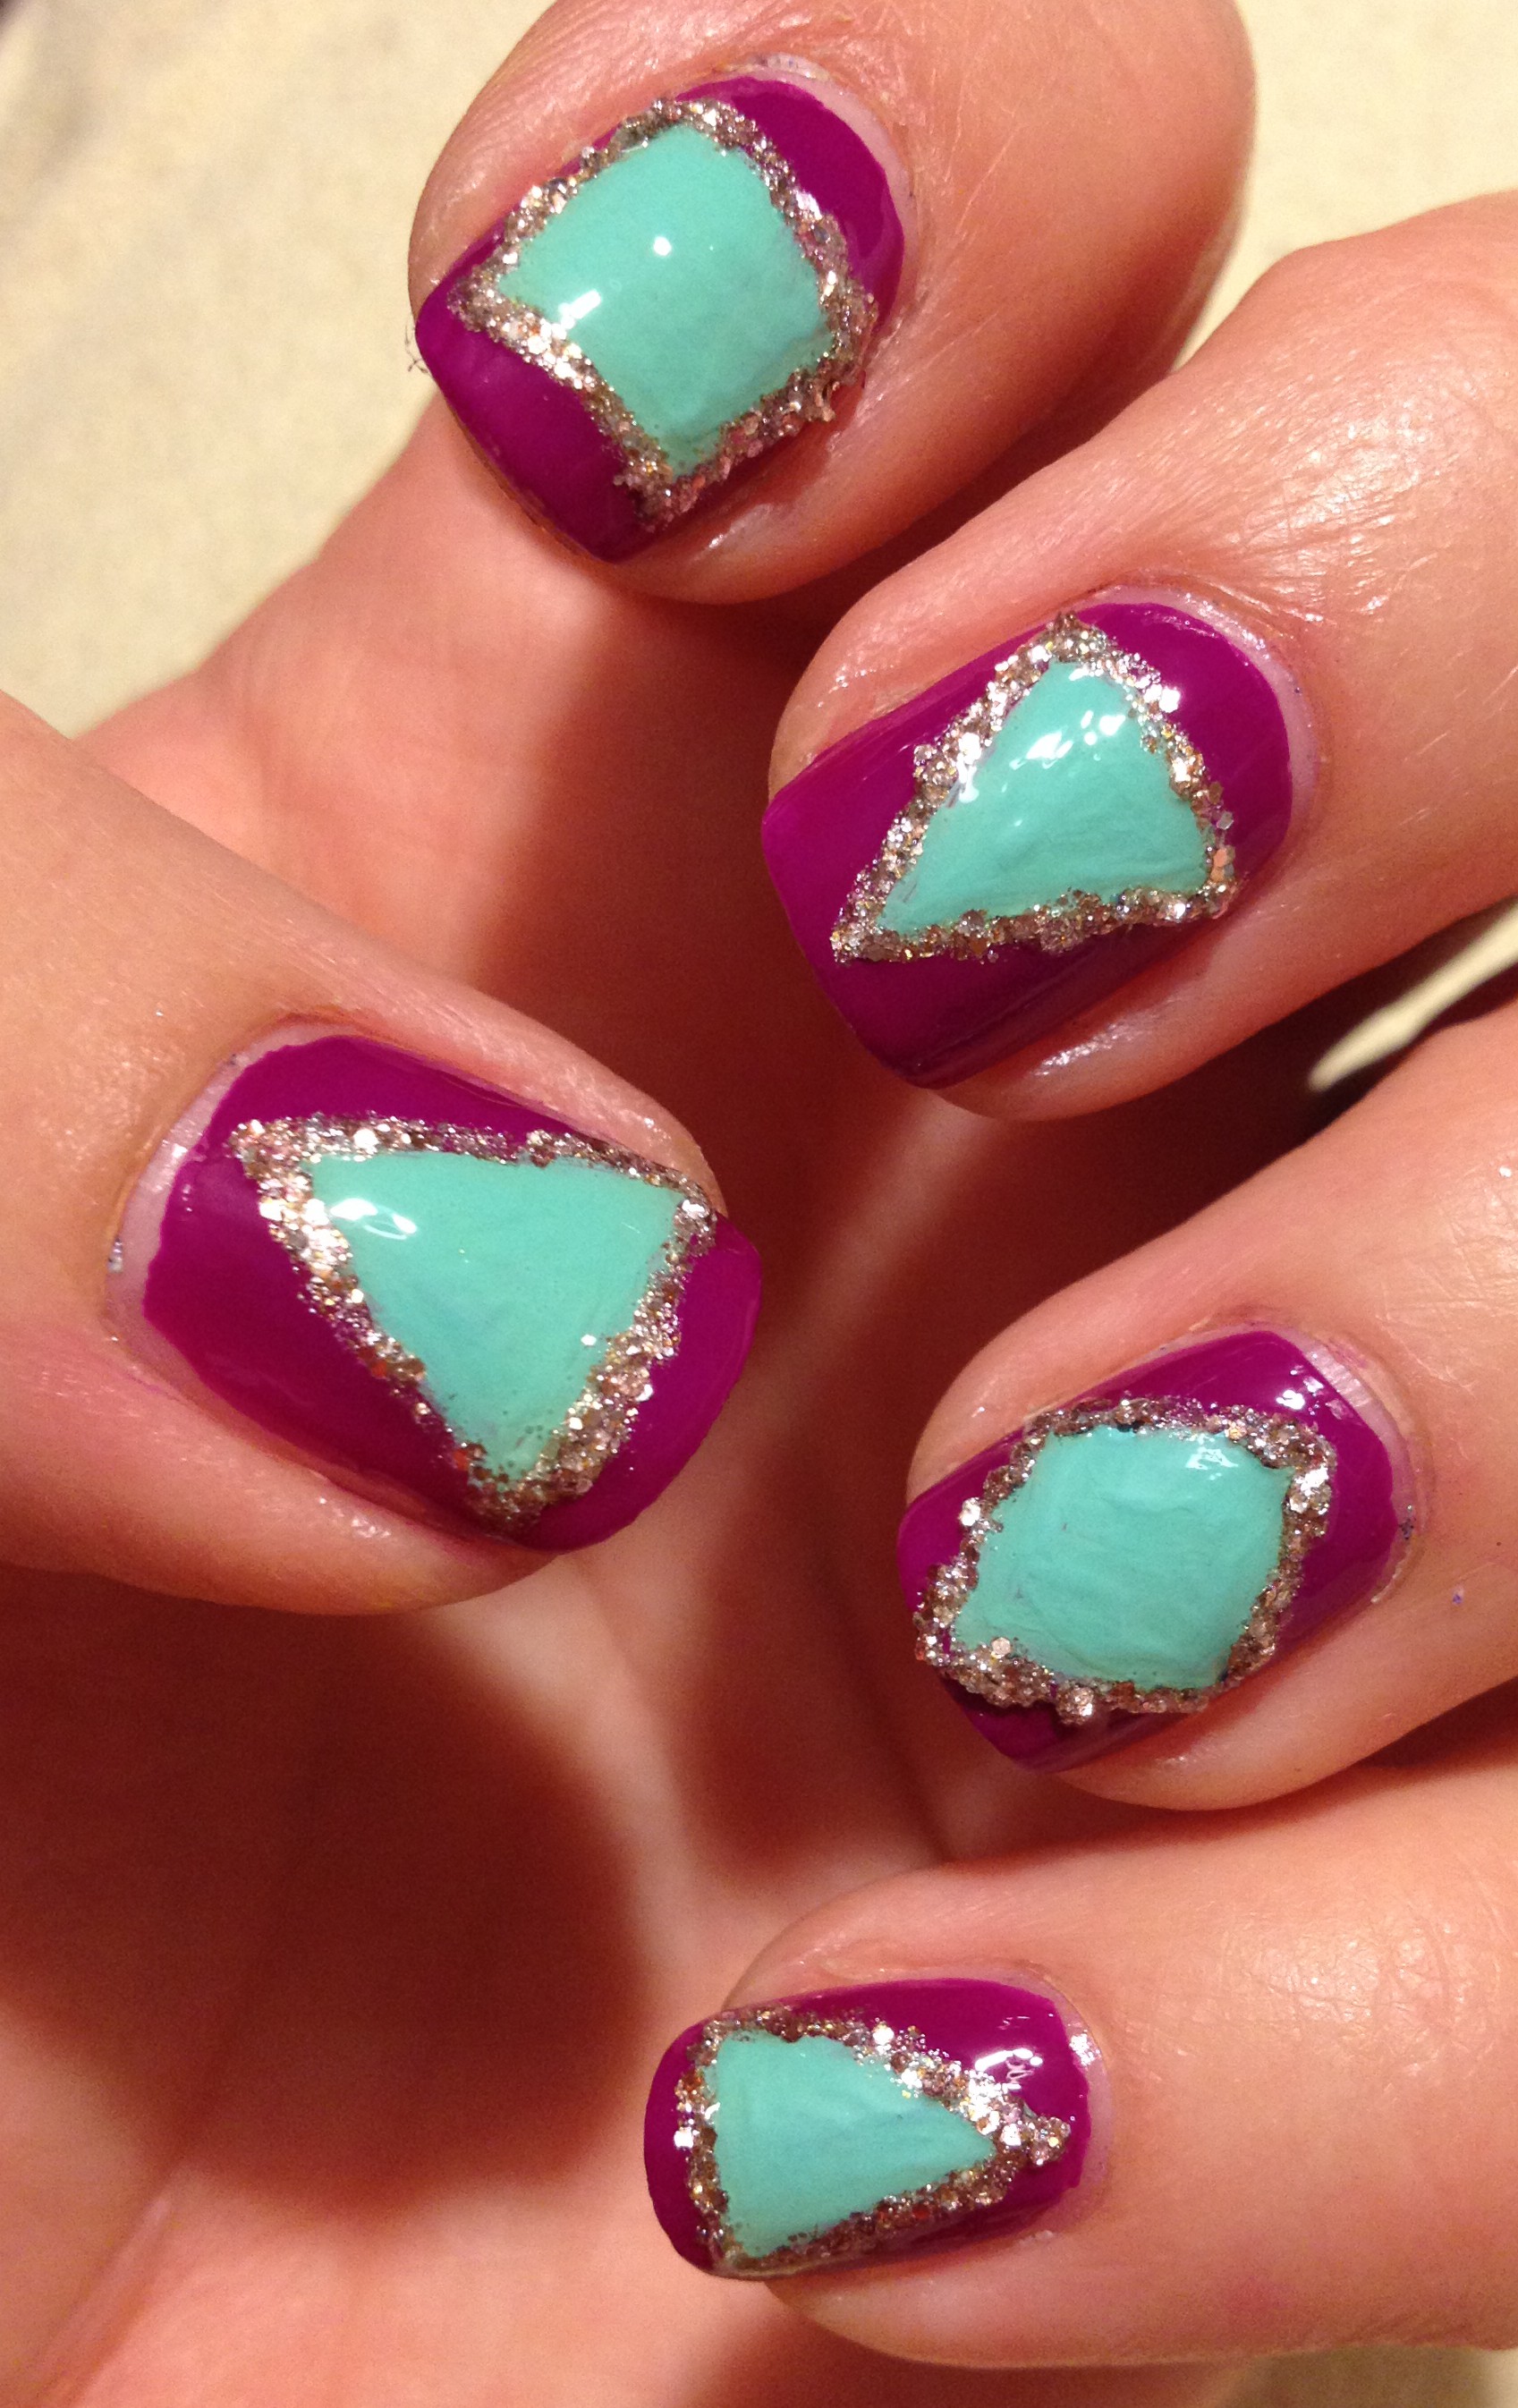
This is the prettiest blue jelly!  I used this for my glitter and my half moon manis during the 31 day challenge.  Like all jelly polishes, the color really deepens with each coat.

The first polish in the second row is Hot & Sexy.

IMG_3849

I bought this because I had been itching to get China Glaze – Ruby Pumps, but I hate spending $7 on one polish.  This is a fine red glitter in a red jelly base.  It’s just so pretty and sparkly!  Two coats gives good coverage and sparkle, but I think a third coat would make it even prettier!

Next is Snow White.  I originally got this to do a  white polish comparison.  Eh, its just okay.  Check out the link if you’d like more info.  I probably will actually use this one for some frankenpolishing down the road.  I don’t actually have swatches of my white polishes on a swatch wheel because… it’s just white.

Next is Base Coat.

IMG_3840

The dumb thing is it’s not an actual base coat.  It’s just a really sheer nude color.  Obviously it’s really sheer, because you can read “Base Coat” backwards through the polish.  (I write the names of the polish on the back of each of my swatches.)  I got this color to use as a base for french manis.  It’s not an exciting color, but it gets the job done.

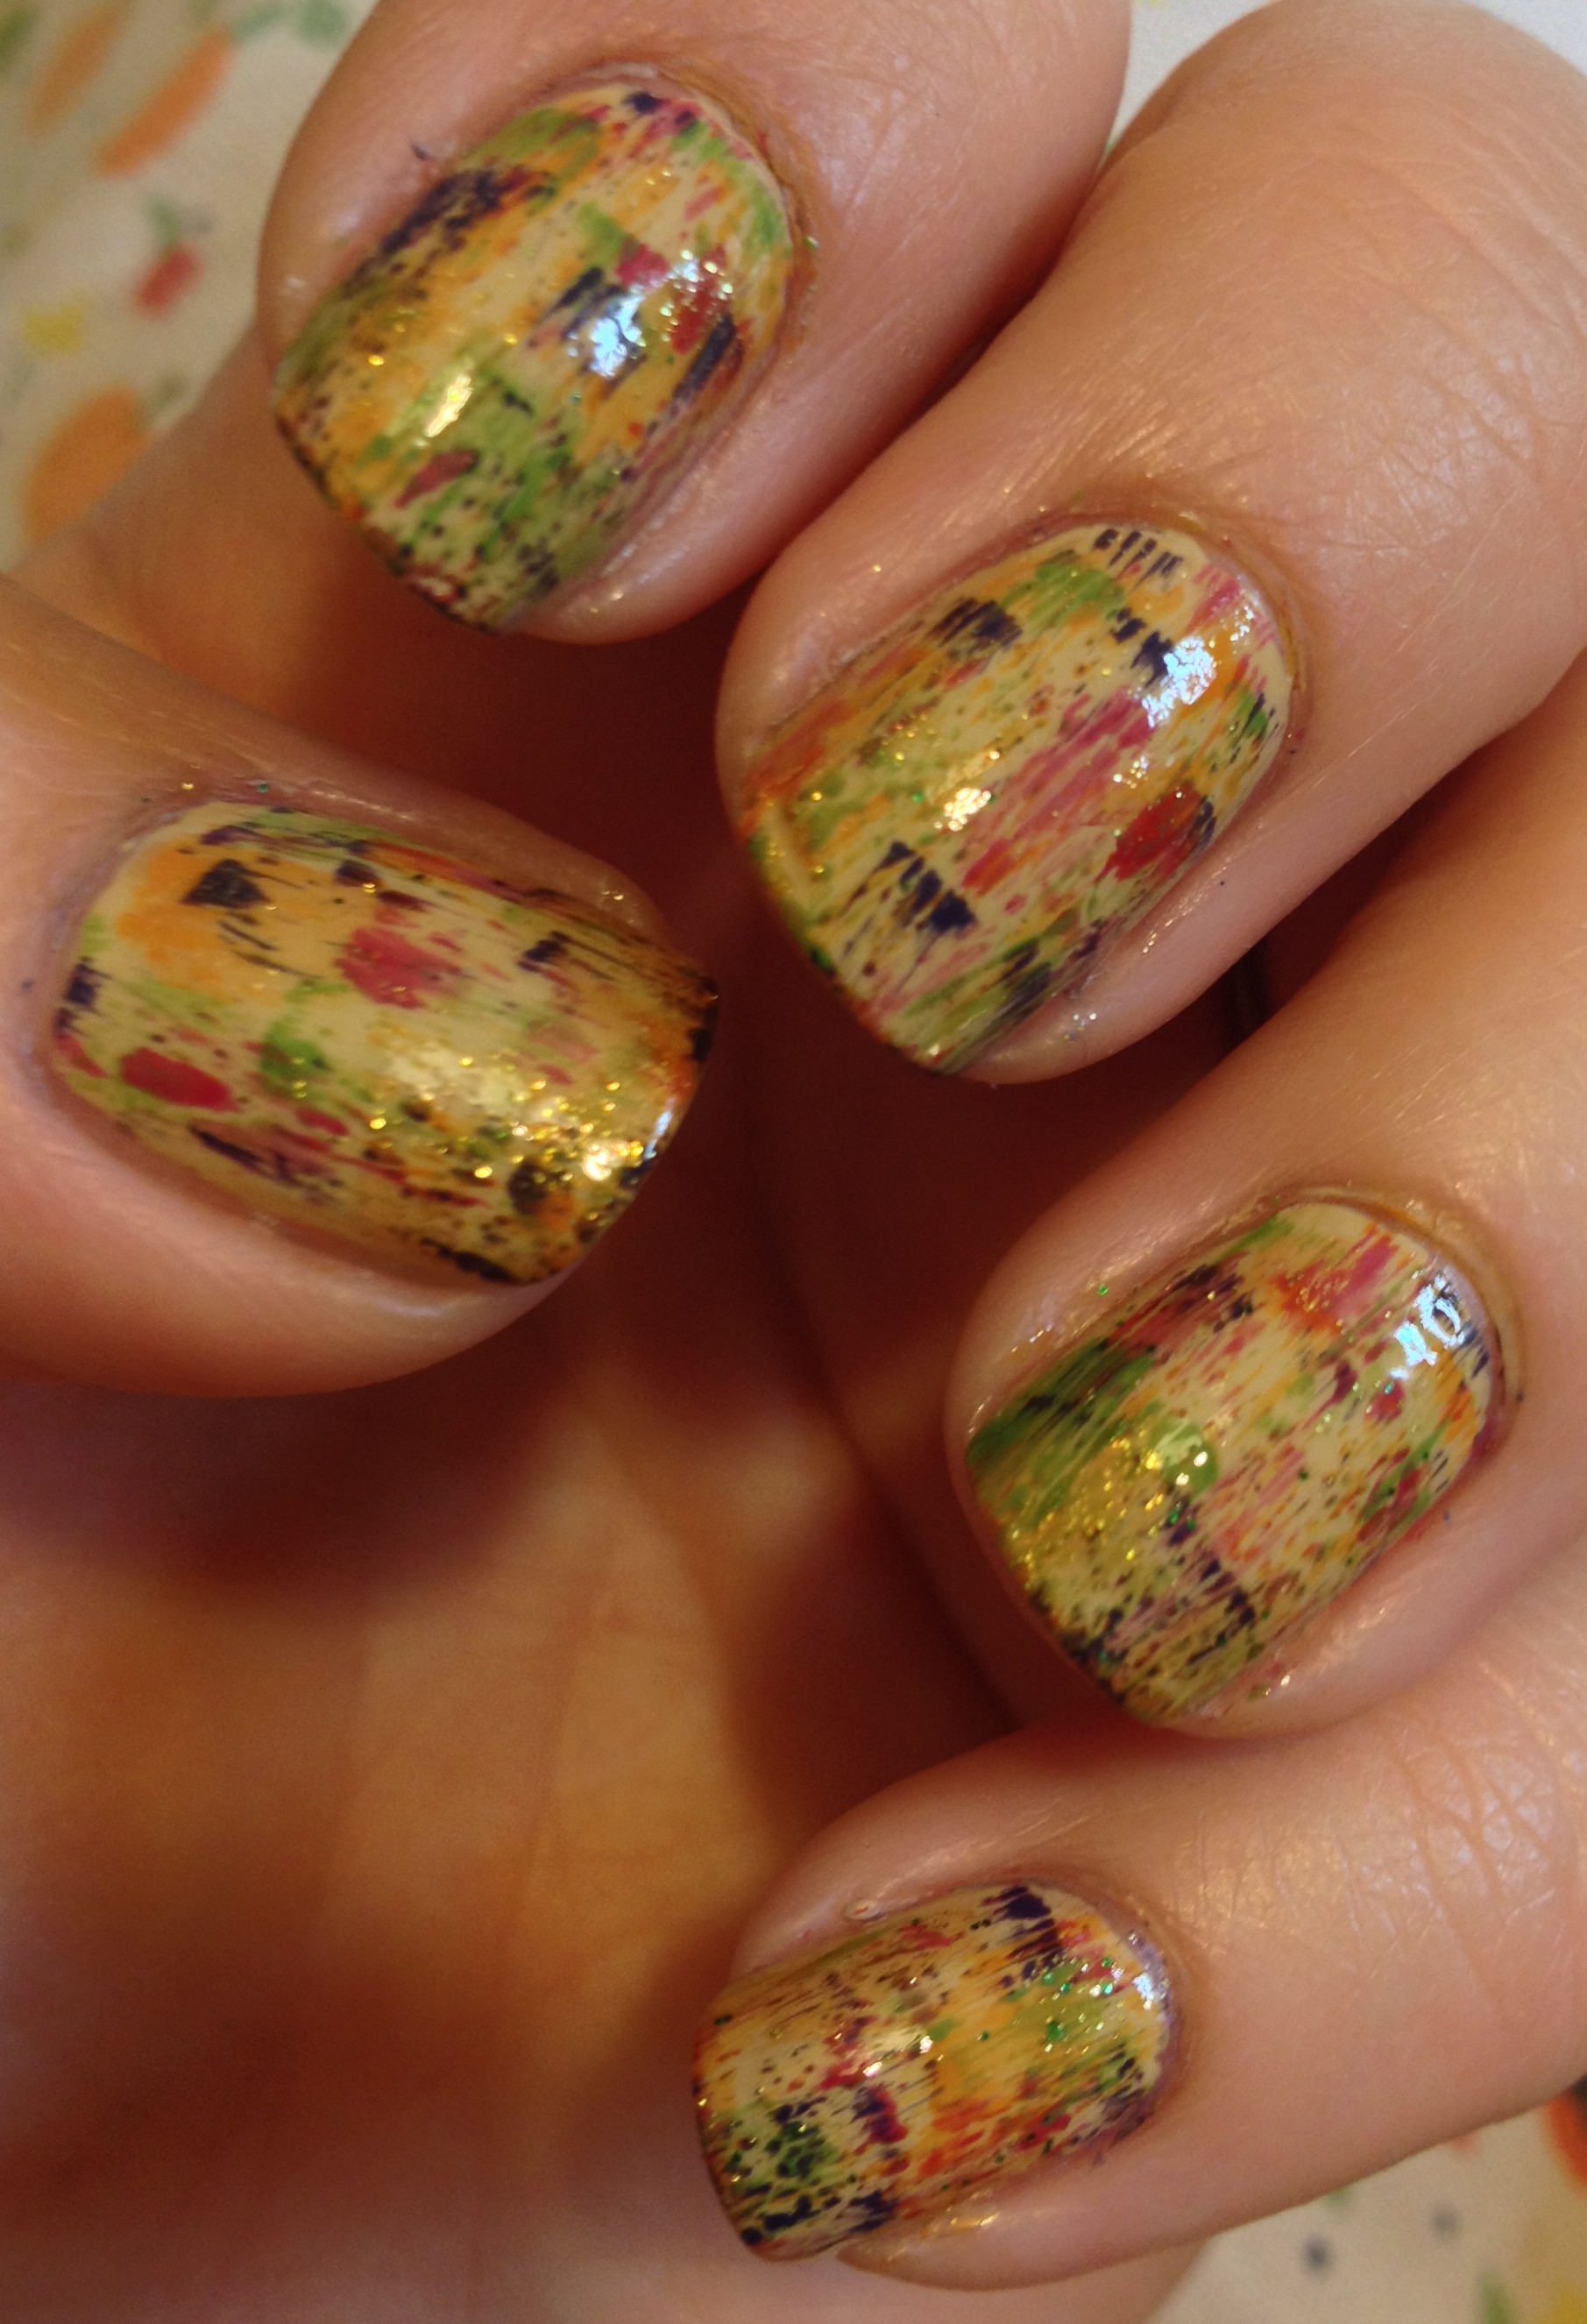
Last we have Paradise Water.

IMG_3844

I was really hoping that this would be opaque on its own.  Obviously, it’s super glitter packed, but not quite enough to be opaque.  Oh well, for a dollar, I think it’s still worth it.  I haven’t really played with this one much, but I think I’ll have fun layering it over different colors.

If you decide to brave your local Dollar General for any of these polishes, please let me know what colors you get and what you think!  Thanks for reading!

Liebster Award

Today’s post is going be a little something different.  Hopefully you all won’t mind too much…

I was nominated by Pretty Drastic Moves for this little award!

liebster-award

Thanks for the nomination!  I found this post from Sopphy Says with a little information about the origin of the Liebster Award, if you care.  She gives a nice little history lesson.

Here are the rules :

•You must link back to the person who nominated you.
•Nominate 11 blogs to receive the award who have less than 1000 followers.
•Answer a list of 11 questions set by the person who nominated you.
•Set a list of 11 questions for the people you nominate to answer.
•Inform them that they have been nominated by commenting on their blog.

Now, onto the 11 questions I was given:

1. What is your favorite dessert?

-Anything chocolate.  I’m a huge sucker for anything that is chocolate and mint or chocolate and raspberry.

2. Where did your last kiss take place and with whom?

-My hubby this morning before he left for work.

3. If you could be anyone for a day, who would it be?

-Either someone who was in Jesus’ inner circle, like one of the disciples or Martha or Mary.  I think it would be crazy to see Him in action, eavesdrop on His casual converstaions, watch his mannerisms…  My second choice wold be Laura Ingalls Wilder.  I loved the Little House books as a kid!

4. Who is your favorite fictional couple?

-Mr Darcy and Miss Elizabeth Bennett.  “In vain have I struggled. It will not do. My feelings will not be repressed. You must allow me to tell you how ardently I admire and love you.”  So offensive and romantic at the same time.  And I know nobody asked, but I would like to say that I love Colin Firth covered in lake water.

5. What’s your favorite song of the moment?

-I’ll just go with the song that was stuck in my head last night: I’m a Rover by Great Big Sea.  Skip to 1:55. There’s way to much talking before they start singing.  I’m kind of a dork.  I pretty much only listen to WJTL (the local Christian station), musical soundtracks, and music that you would find at a renaissance fair.

6. What do you get complimented on the most?

-Either my nails or my facebook status updates.  When people tell me they enjoy seeing my status updates, it’s a weird reminder that I’m not just writing them for my own amusement.

7. What was the inspiration for your blog title?

-I just like the word “snazzy.”

8. Do you have any annoying habits? TELL ME! 🙂

-Oh my.  I’m messy.  And I procrastinate.  I’ll just leave you with those two.

9. Best Movie you’ve seen this year?

-I’m blanking on this one a little bit.  Maybe Grand Budapest Hotel.

10. What was the last formal event you attended?

-I don’t think I’ve been to a an actual formal event since I graduated from college in 2000.  Does wearing a bridesmaid dress count?  If so, then my youngest sister’s wedding on January 1, 2010.

AND…
11. What are your plans for Halloween??

-Probably to sit on the front porch, watch the neighborhood kids run around, and hand out candy.

Okay, my nominees are:

1. Finger Candy

2. WonderfulWolf

3. Seven Layer Charlotte

4. Cooking Amid Chaos

5. Inside the Miles

6. Spaghetti for Supper

7. Polished by Amy

8. Not Another Dumb Blond

9. Lacquered Lori

10. A Craft & A Half

11. Don’t Judge Me, Okay

And my 11 questions for my nominees are…

1. What is your birth order, and do you behave like a typical oldest/middle/youngest/only?

2. If a tourist were to visit your town, what advice would you give him on what he should see or do?

3. What is one thing on your bucket list?

4. What has been your favorite vacation ever?

5. Where is one place that you would love to visit?

6. What is your biggest pet peeve?

7. What is your guilty pleasure?

8. What is your favorite mode of transportation?

9. How are you different from how you were 10 years ago?

10.  What is your favorite season/time of year?

11.  Do you recycle?

Make sure you nominees all link back to me so that I can see your answers!  And take a little time to visit these blogs!  Thanks for reading!

Patchwork Nails

Hi, everyone!  I’m back!  Last week was a busy one for the hubby and me.  For the first part of the week, we babysat my brother and his wife’s 3 kids at their place while they were on vacation.  An 8, 6, and 3-year-old kept us good and busy!  Then we went up to Niagara Falls for a 3-day mini-vacation.  The falls only about a 5 1/2 hour drive from our place, so we try to get up there every few years.   Anyway, I’m back with a tutorial for you all today!

I wanted to do something that was Halloween-ish, but not super overt.   I also was in the mood to do some mixed-up patterns with a little bit of negative space.  Here’s what I came up with:

IMG_3602

The first steps to every manicure is pretty much the same: deal with your cuticles and then apply a base coat.  After that I just applied a few green patches of polish:

IMG_3597

I knew I wanted it make green, orange, and purple patches with two patches on each nail, so I knew I would need 3-4 patches of each color.  I also knew that I wanted shapes and sizes that appeared to be sort of random, so I made each of the patches different.  I then added orange polish:

IMG_3598

I filled in the remaining spots with purple polish:

IMG_3599

Then, using my dotting tools and little brushes, I added some patterns using the same orange, green, and purple polish:

IMG_3600

Next, I outlined my patches in black with a thin brush dipped in acrylic paint:

IMG_3601

Then I added “stitches” with the same brush in black acrylic paint:

IMG_3606

And here’s my right hand:

IMG_3604

I finished off with a top coat and then I did a little bit of clean-up with a brush dipped in acetone.   I really like how these turned out!  Cute and not too crazy.

I’ll leave you now with a few pictures from our little trip up to Niagara Falls:

IMG_3708

IMG_3737IMG_3732IMG_3765

Thanks for reading, following, and commenting!


It’s a Rainbow of Organization!

Look what I finally did:

IMG_3596

And I don’t just mean that I arranged my nail wheels into as cute little circle.   What I do mean is that I finally got all of my polishes swatched onto nail wheels!  This will just make it so easy to figure out which polishes I want to use going forward, and it makes it a lot easier to remember what I have, too.

by nail blogger standards, I think I have a pretty modest collection at just north of 200 polishes.   (I know there are those of you out there in the quadruple digits.)   Even so, I would find myself forgetting what the opacity or finish of a particular polish was like.  Now I can have that info right at my fingertips!

I started by kind of grouping all of my polishes by color.  I sort of made up my own color groups as needed, like “dark neutrals, light neutrals, etc.  Then I wrote the name of the color on the back side of each “nail”.  Next I painted two coats of each polish on designated “nail”.  This was sort of a long and slow but fun process.

It made me remember how pretty some of my older polishes are, and how great of a formula some of my frequently ignored polishes have.   Because I was consistent with putting two coats on each nail, it’s easy to pick out which of my polishes are jellies or crellies, which is always a good thing to know.  And now when I have a friend come over to get her nails painted, I don’t have to drag out all of my polishes; I can just present her with my cute little wheels!

That’s all I have to say about nail polish today.  I do want to let you all know that I’ve got a LOT of stuff on my plate next week, so I think I’m going to take a little break from posting.  I’ve got some really great stuff happening in my life next week, and I’ll fill you in after the fact.  I’ll be posting again for sure the week of October 19, and I might get a chance to post a little something next week.  Not sure yet.

Thanks for reading, liking and commenting!  You all are swell people!

IMG_3594


What Black Undies Can Do For You

Did you ever buy a polish that you couldn’t really tell in the bottle what it would look like on the nail, but you were sure it would be cool?  Then you tried it and it didn’t rock your world like you thought it would.  I’ve definitely done this a lot of times.   One thing I have discovered is that a lot of these types of polishes take on a whole new life when you put them over black polish.

IMG_3552

Let’s look at each of these starting with…

IMG_3554

These polishes are from Valley Girl Lacquer, and indie polish company.  Here’s the link to their etsy shop.  The polishes from left to right are Profundity, Enigma, and Conundrum. These were actually a gift from my little sis.  When I got them, I thought they pretty much looked the same in the bottle.  My sis assured me that according to the pictures online, they would look awesome over black. And do they ever!  They are all duo-chrome-ish to some degree.  Enigma has the strongest 2-color appearance, as it reflects a really strong purple from some angles.

The middle chunk of polishes I have for you is a little less exciting.

IMG_3557

From left to right: Sally Hansen – Disco Ball, Sephora by OPI – Hollywood if I Could, Nicole by OPI – Heavenly Angel, Zoya – Monet, Loreal –  The True Daimond.

None of these are really earth-shattering.  I guess the thing I want to point out is that all of these colors give a nice mellow sparkle to any lighter color, but when you put them over black, it’s like POW!

Here are the next two:

IMG_3558

They are Orly – Sky Blue-Pink and Sally Hansen Lustre Shine – Moonstone.  Yeah, I don’t know why it’s called Sky Blue-Pink either, because it definitely gives off a copper color.  When either of these are worn on their own, they really just look like a pearly nude polish.  Nice, but super subtle.  One coat over black gives a totally different look!  As I said, the Orly polish gives a really strong copper color, and Moonstone turns into a really cool pink-purple-blue-green multi-chrome.

My last one is the most amazing:

IMG_3560

This is Fresh Paint – Sugar Crush.  This is what’s generally called a flaky topper.  (I hate that name, but if that’s what everyone else wants to call these polishes, I guess it’s not in my power to change it. )  Flaky polishes can sort of look like glitter toppers at first glance, but they are just different, and you can tell when you apply them.  Flaky Polishes are packed with tiny duo-chrome little bits that apply really nicely and evenly to the nail.  They can seem a little like a holographic shredded glitter polish like Nicole by OPI – Heavenly Angel, but the application is really different.  A shredded glitter topper behaves like any other chunky glitter topper: it’s a little hard to apply and can take some dabbing and finagling to get even application.  Flaky polishes apply much more easily.

When I first got this, I swatched it over a neon coral, white, and black:

IMG_2686

(These are actually my sister’s fingers.)  As you can see, over the lighter colors, the effect is pleasant, but not amazing.  I still remember when we were doing the swatches and I painted this polish over the black, both my sister and I were like, “Whoa!”   Ever since I got this polish, I’ve been waiting for October to roll around so I could wear it over black.

Okay folks, that’s it for today.  Thanks for reading, commenting, and liking.  It means a lot!

September Favorites

Doing the 31 day challenge in September led me to use a lot of polishes in my collection that I either had never used much before or had sort of forgotten about.  And because I did my nails every single stinking day of September, my list of favorites for the month was really long!  As I put all of my favorites in a pile, I had 4 or 5 polishes that were in limited edition collections that are pretty tough to find now.  I pulled them out of the pile, because I thought it would be pretty mean to be like, “Oh, this is the most awesome polish ever!  You can’t get it anywhere, though.  Sorry about your luck.”

So here’s the pile of my favorites:

IMG_3536

They are left to right, starting with the top row: Wet n Wild – I Need a Refresh-Mint, NYC – High Line Green, Sinful Colors – Cinderella, Orly – Tropical Pop, Broadway Nails – Space Flight, Wet n Wild – Bubblegum Pop, Jordana – Boy Oh Boy.

I’m going to start with Orly – Tropical Pop.  This one kind of breaks my own rule because it was part of the Baked summer 2014 collection.  I still think you will be able to find this with a little bit of searching, though.  I used this orange as my base color for my Day 2: Orange Nails.  This color is such a fun, light neon orange.  It seemed a little shockingly bright at first, but it really grew on my as I wore it.

NYC – High Line Green is one of the very few polishes that I bought for a specific day of the challenge.  I used this color as the base for my Day 4: Green Nails.  It is just the prettiest “ugly” green!  I loved this color so much on its own that I was a little sad to cover it up with the camo pattern.  It’s a fun green for springtime, but I’m definitely going to wear in here in the fall, too.

The name of this next polish was actually the inspiration for my Fairy Godmother nails for  Day 5: Blue Nails.  Sinful Colors – Cinderella has this beautiful pinkish-gold micro shimmer that just makes my heart skip a beat.  It is SO BEAUTIFUL in the sun!  Love it!

Nails – Space Flight is a dark blue jelly polish that bought back in the summer.  It seemed to dark to use then, but once September rolled around, it finally seemed appropriate.  I used it for both Day 17: Glitter and Day 18:Half Moons even though they were back to back days.  My creativity was waning a little at that point, and I was more interested in just using a particular polish that coming up with some ground-breaking design.  I can’t wait to use this for some more jelly sandwiches in the future!  I’ve only ever seen this line of polish at old exclusively at Dollar General and Family Dollar stores.  They are generally in these stand-alone displays that are like big, tiered clear plastic bowls.

Wet n Wild – Bubblegum Pop is a cool pink color.  Cool as in “it leans blue”, not cool as in “awesome”.  Actually, it is a little bit awesome.  I used this polish for my Day 20: Water Marble. This polish actually marbled beautifully with Sally Hansen – Pacific Blue (original formula).  It made the whole process much less painful than I had anticipated.  Although the Wet n Wild Megalast line is available at most grocery stores and drug stores, this color (along with another 15 colors or so) are also sold exclusively at Dollar General and Family Dollar stores.  I know, that’s such a weird place to go for exclusive polishes.

Jordana – Boy Oh Boy is SO AMAZING!  Sigh.  It just makes my knees weak.  It’s this perfect turquoise color, it’s pretty much a one-coat polish, and it’s SO shiny.  Trust me, you need this polish in your life.  I used this polish for Day: 12 Stripes and Day 26: Inspired by a Pattern.  I know Jordana cosmetics are available at K-Mart.  I’m not sure where else you can get them.  I can tell you for sure that they are not available at Wal-Mart, Target, CVS, and Rite Aid stores, at least in south-central PA.   Jordana also makes some really pretty glitter polishes, too.

Okay, the last polish in my favorites is Wet n Wild – I Need a Refresh-Mint.  I used this polish as the base color for Day 15: Delicate Print and Day 23: Inspired by a Movie.  I also used it as the light blue on my ring finger for Day 27: Inspired by Artwork, but you can barely see it on those nails.  I’ve gotta say, I’m a sucker for this color.  Exhibit A:

IMG_3538

From left to right: Wet n Wild – I need a Refresh-Mint, Sinful Colors – Nice Stems, China Glaze – For Audrey.

I can usually justify owning similarly colored polishes, but even I can admit that nobody really needs all three of these.  For Audrey is a tiny hair darker than the other two, and Nice Stems has a barely discernible shimmer, but really… They’re pretty much the same.  All three polishes have a good formula that is opaque in 2 coats.  The Wet n Wild Megalast polishes come with a wider brush, which I like, but I know some people don’t.  You can pretty much get four Sinful Colors or Wet n Wild polishes for the cost of one China Glaze, so that sort of makes For Audrey totally not worth the price tag for me.

I have one last polish that I used pretty much every single day of the challenge: NYC – Grand Central Station.

IMG_3537

This polish is under $2 and it dries so quickly and leave such a great shine!   It’s just such a great quick-dry top coat for the price.  It doesn’t do that shrinkage thing that Seche Vite does, although I do think Seche Vite is just a hair more shiny.  I really can’t tell a difference in quality between NYC and Out the Door.  I still have not tried the HK Girl top coat, but until I get around to trying that, I think I’m going to stick with this stuff.  It’s just just a great value.  I think I’m on my 3rd or 4th bottle.  Can’t really remember.

That’s it for my September favorites!  Have you used any of these polishes?  What are your current favorites!  I love getting your feed back here, on facebook, and on instagram.  Thanks for reading!


31 Day Challenge Recap

I officially survived my first 31 day challenge, and it was just like everyone who has done it before said: fun, time-consuming, mentally draining, and a great opportunity to improve nail art skills.  I posted each day during the challenge,  but I thought it would be good to post all of the pictures in one place, just for easy future reference.   Here we go:

Day 1:  Red Nails

IMG_3035

Day 2: Orange Nails

IMG_3047

Day 3: Yellow Nails

IMG_3060

Day 4: Green Nails

IMG_3066

Day 5: Blue Nails

IMG_3095

Day 6: Violet Nails

IMG_3128

Day 7: Black & White Nails

IMG_3130IMG_3142

Day 8: Metallic Nails

IMG_3145

Day 9: Rainbow Nails

IMG_3159

Day 10: Gradient Nails

IMG_3174

Day 11: Polka Dots

IMG_3191

Day 12: Stripes

IMG_3218

Day 13: Animal Print

IMG_3226

Day 14: Flowers

IMG_3245

Day 15: Delicate Print

IMG_3249

Day 16: Geometric

IMG_3262

Day 17: Glitter

IMG_3321

Day 18: Half Moons

IMG_3335

Day 19: Galaxies

IMG_3353

Day 20: Water Marble

IMG_3368

Day 21: Inspired by a Color

IMG_3384

Day 22: Inspired by a Song

IMG_3406

Day 23: Inspired by Movie

IMG_3420

Day 24: Inspired by Book

IMG_3427

Day 25: Inspired by Fashion

IMG_3436IMG_3434

Day 26: Inspired by a Pattern

IMG_34485.10.14 506

Day27: Inspired by Artwork

IMG_3455IMG_3449

IMG_3460IMG_3457

Day 28: Inspired by a Flag

IMG_3464IMG_3467

Day 29: Inspired by the Supernatural

IMG_3488

Day 30: Inspired by a Tutorial

IMG_3493IMG_3498

Day 31: Honor Nails You Love

IMG_3502

So that’s it!  The heading for each day is a link to my post from that day, if you’d like more info.  Thanks for reading!  Also, please let me know if you’d like to see a tutorial on any of these looks!

Day 31: Honor Nails You Love (31dc2014)

I MADE IT! I MADE IT!

I’m pretty sure I painted my nails more in the past 31 days than the average woman paints her nails in a year.  For today, I recreated a mani that was originally done by Jaunty Juli.  (She is awesome, so check her out on YouTube.)  I almost did these nails yesterday, but I decided to save these for today so that I don’t have to take them off after one day.  Here they are:

IMG_3502

These nails took a little bit of time, but they really weren’t hard.  Check out Jaunty Juli’s tutorial on her YouTube channel for the details on how to get this look.

So, now that this whole thing is over, I think I’m going back to posting on Mondays, Wednesdays and Fridays so that I can get my sanity back.  Thanks so much to all of you who have hung in there with me for the past 31 days!