Nail Polishing Basics

I’m currently trapped in my computer room at home while some guys install our new carpet in our living room.  I figured writing a new post is a good use of time while I’m a prisoner in my own home.

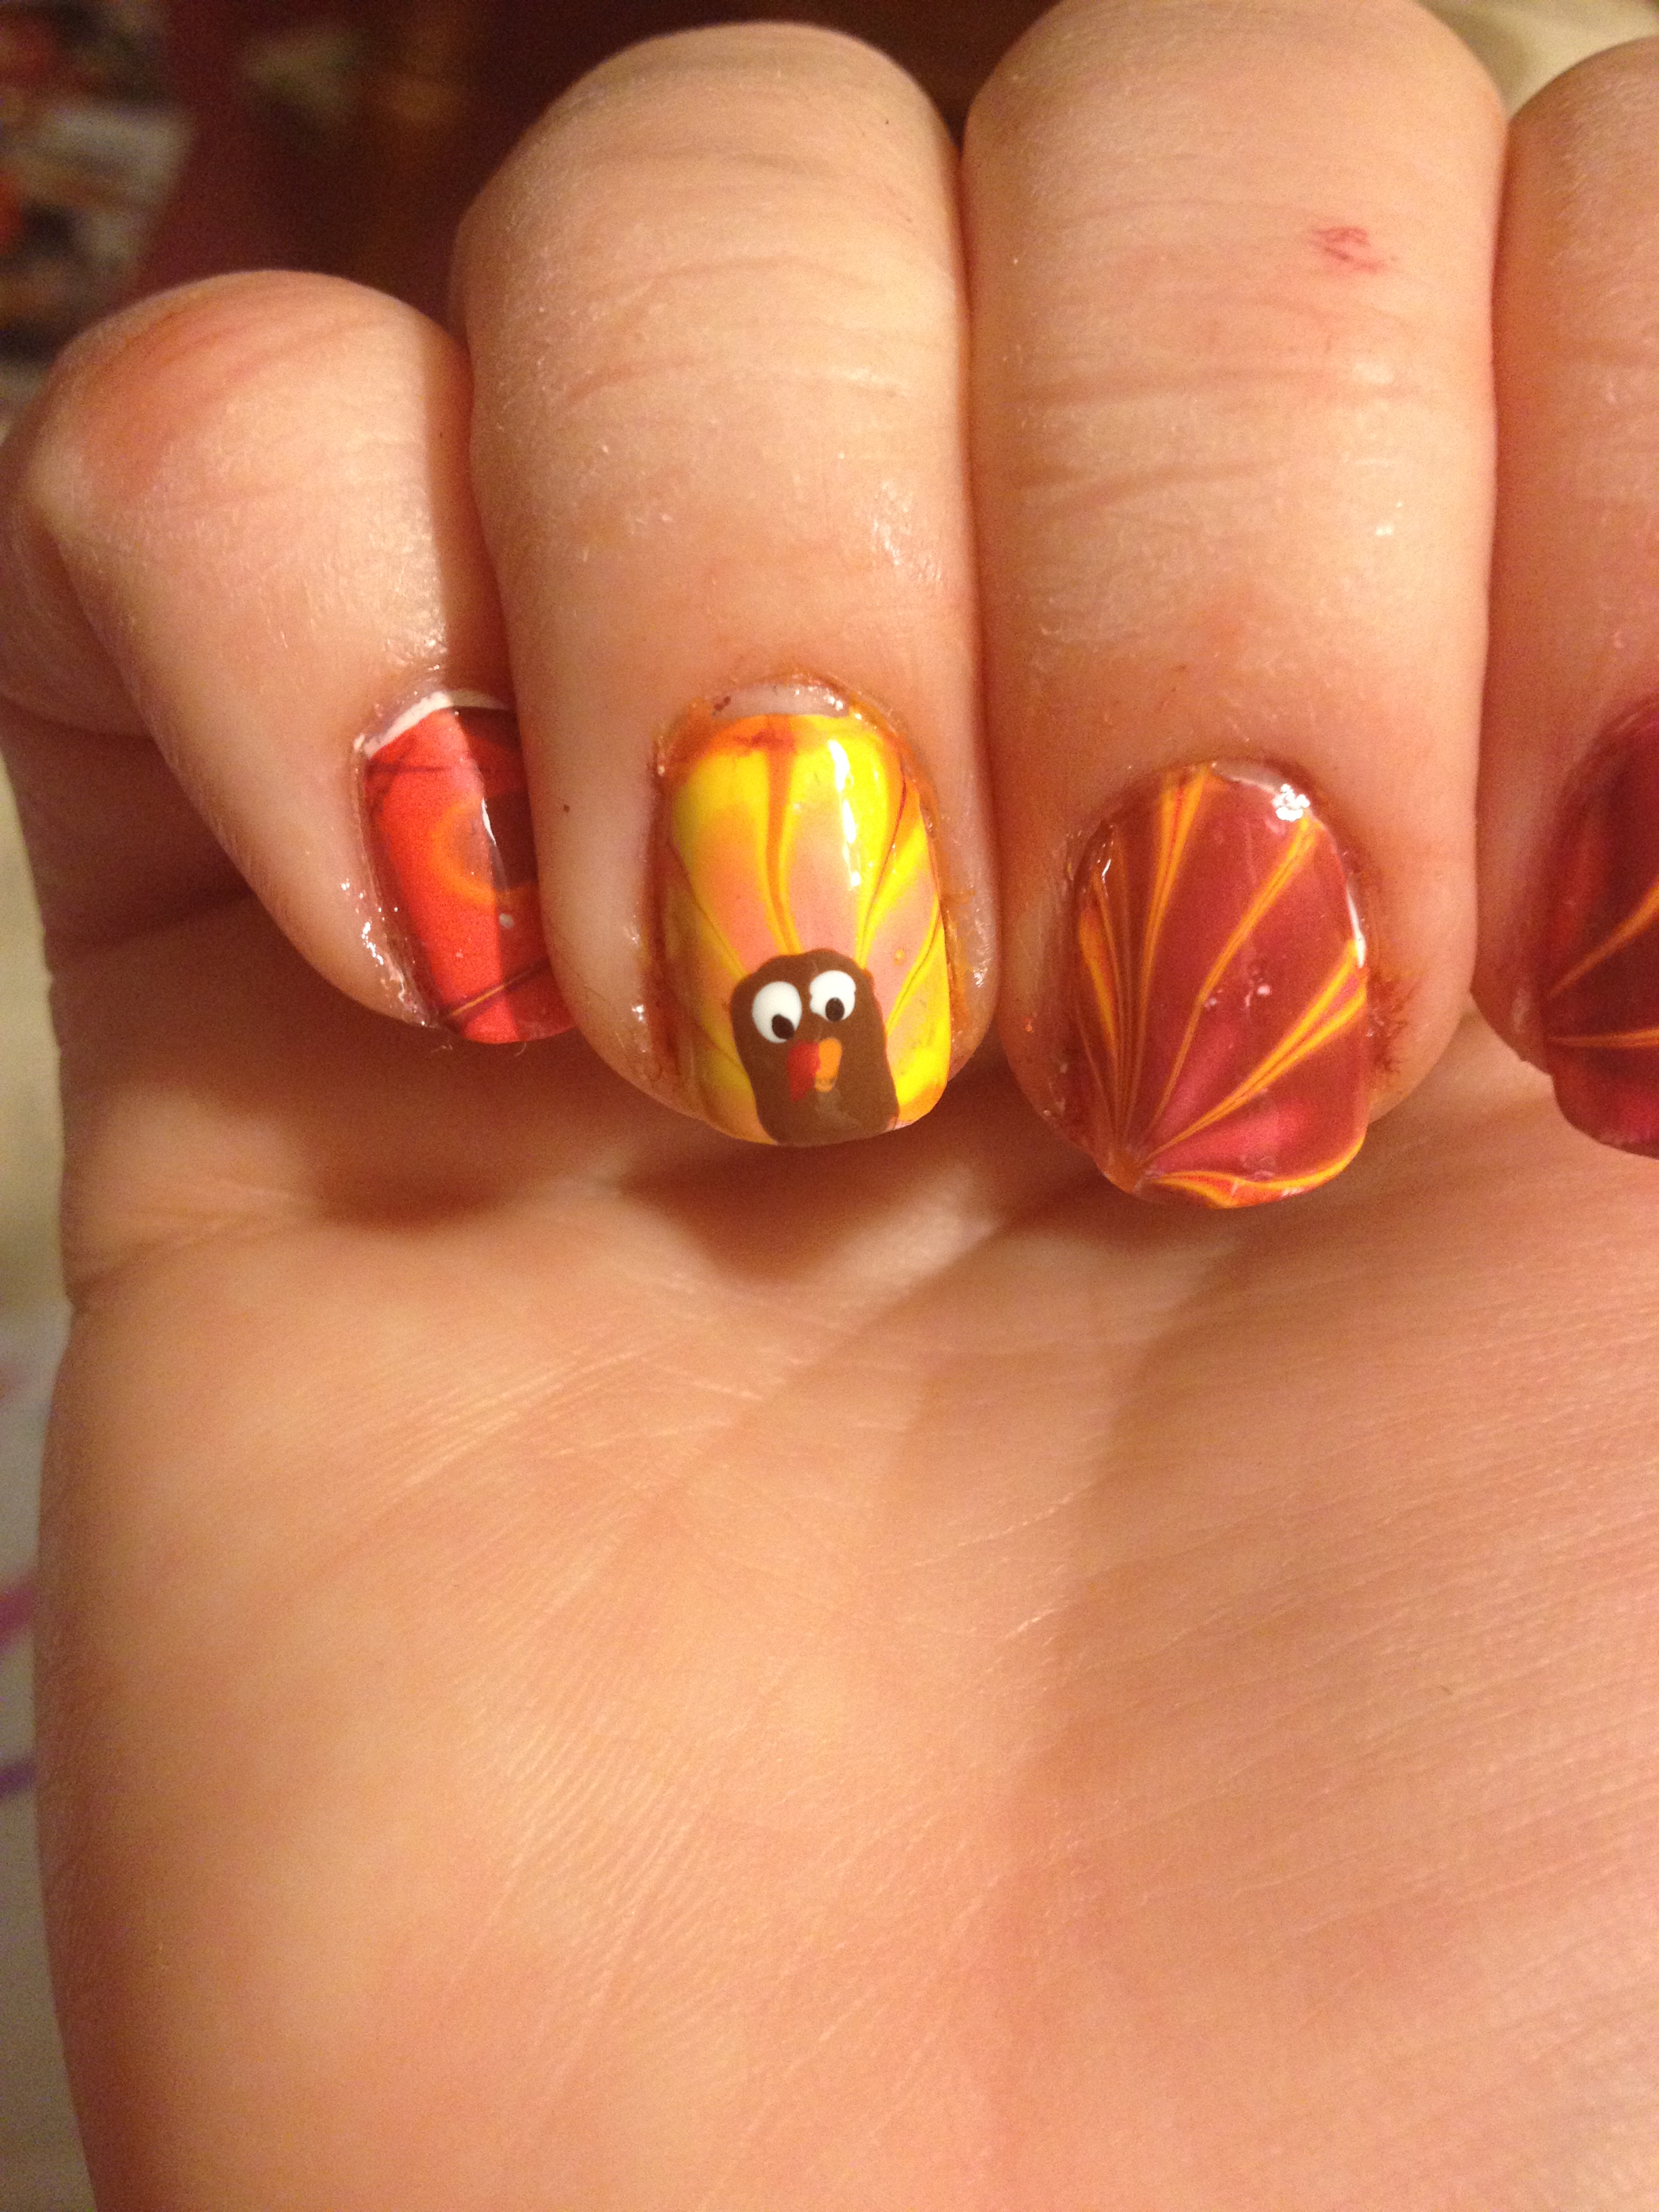
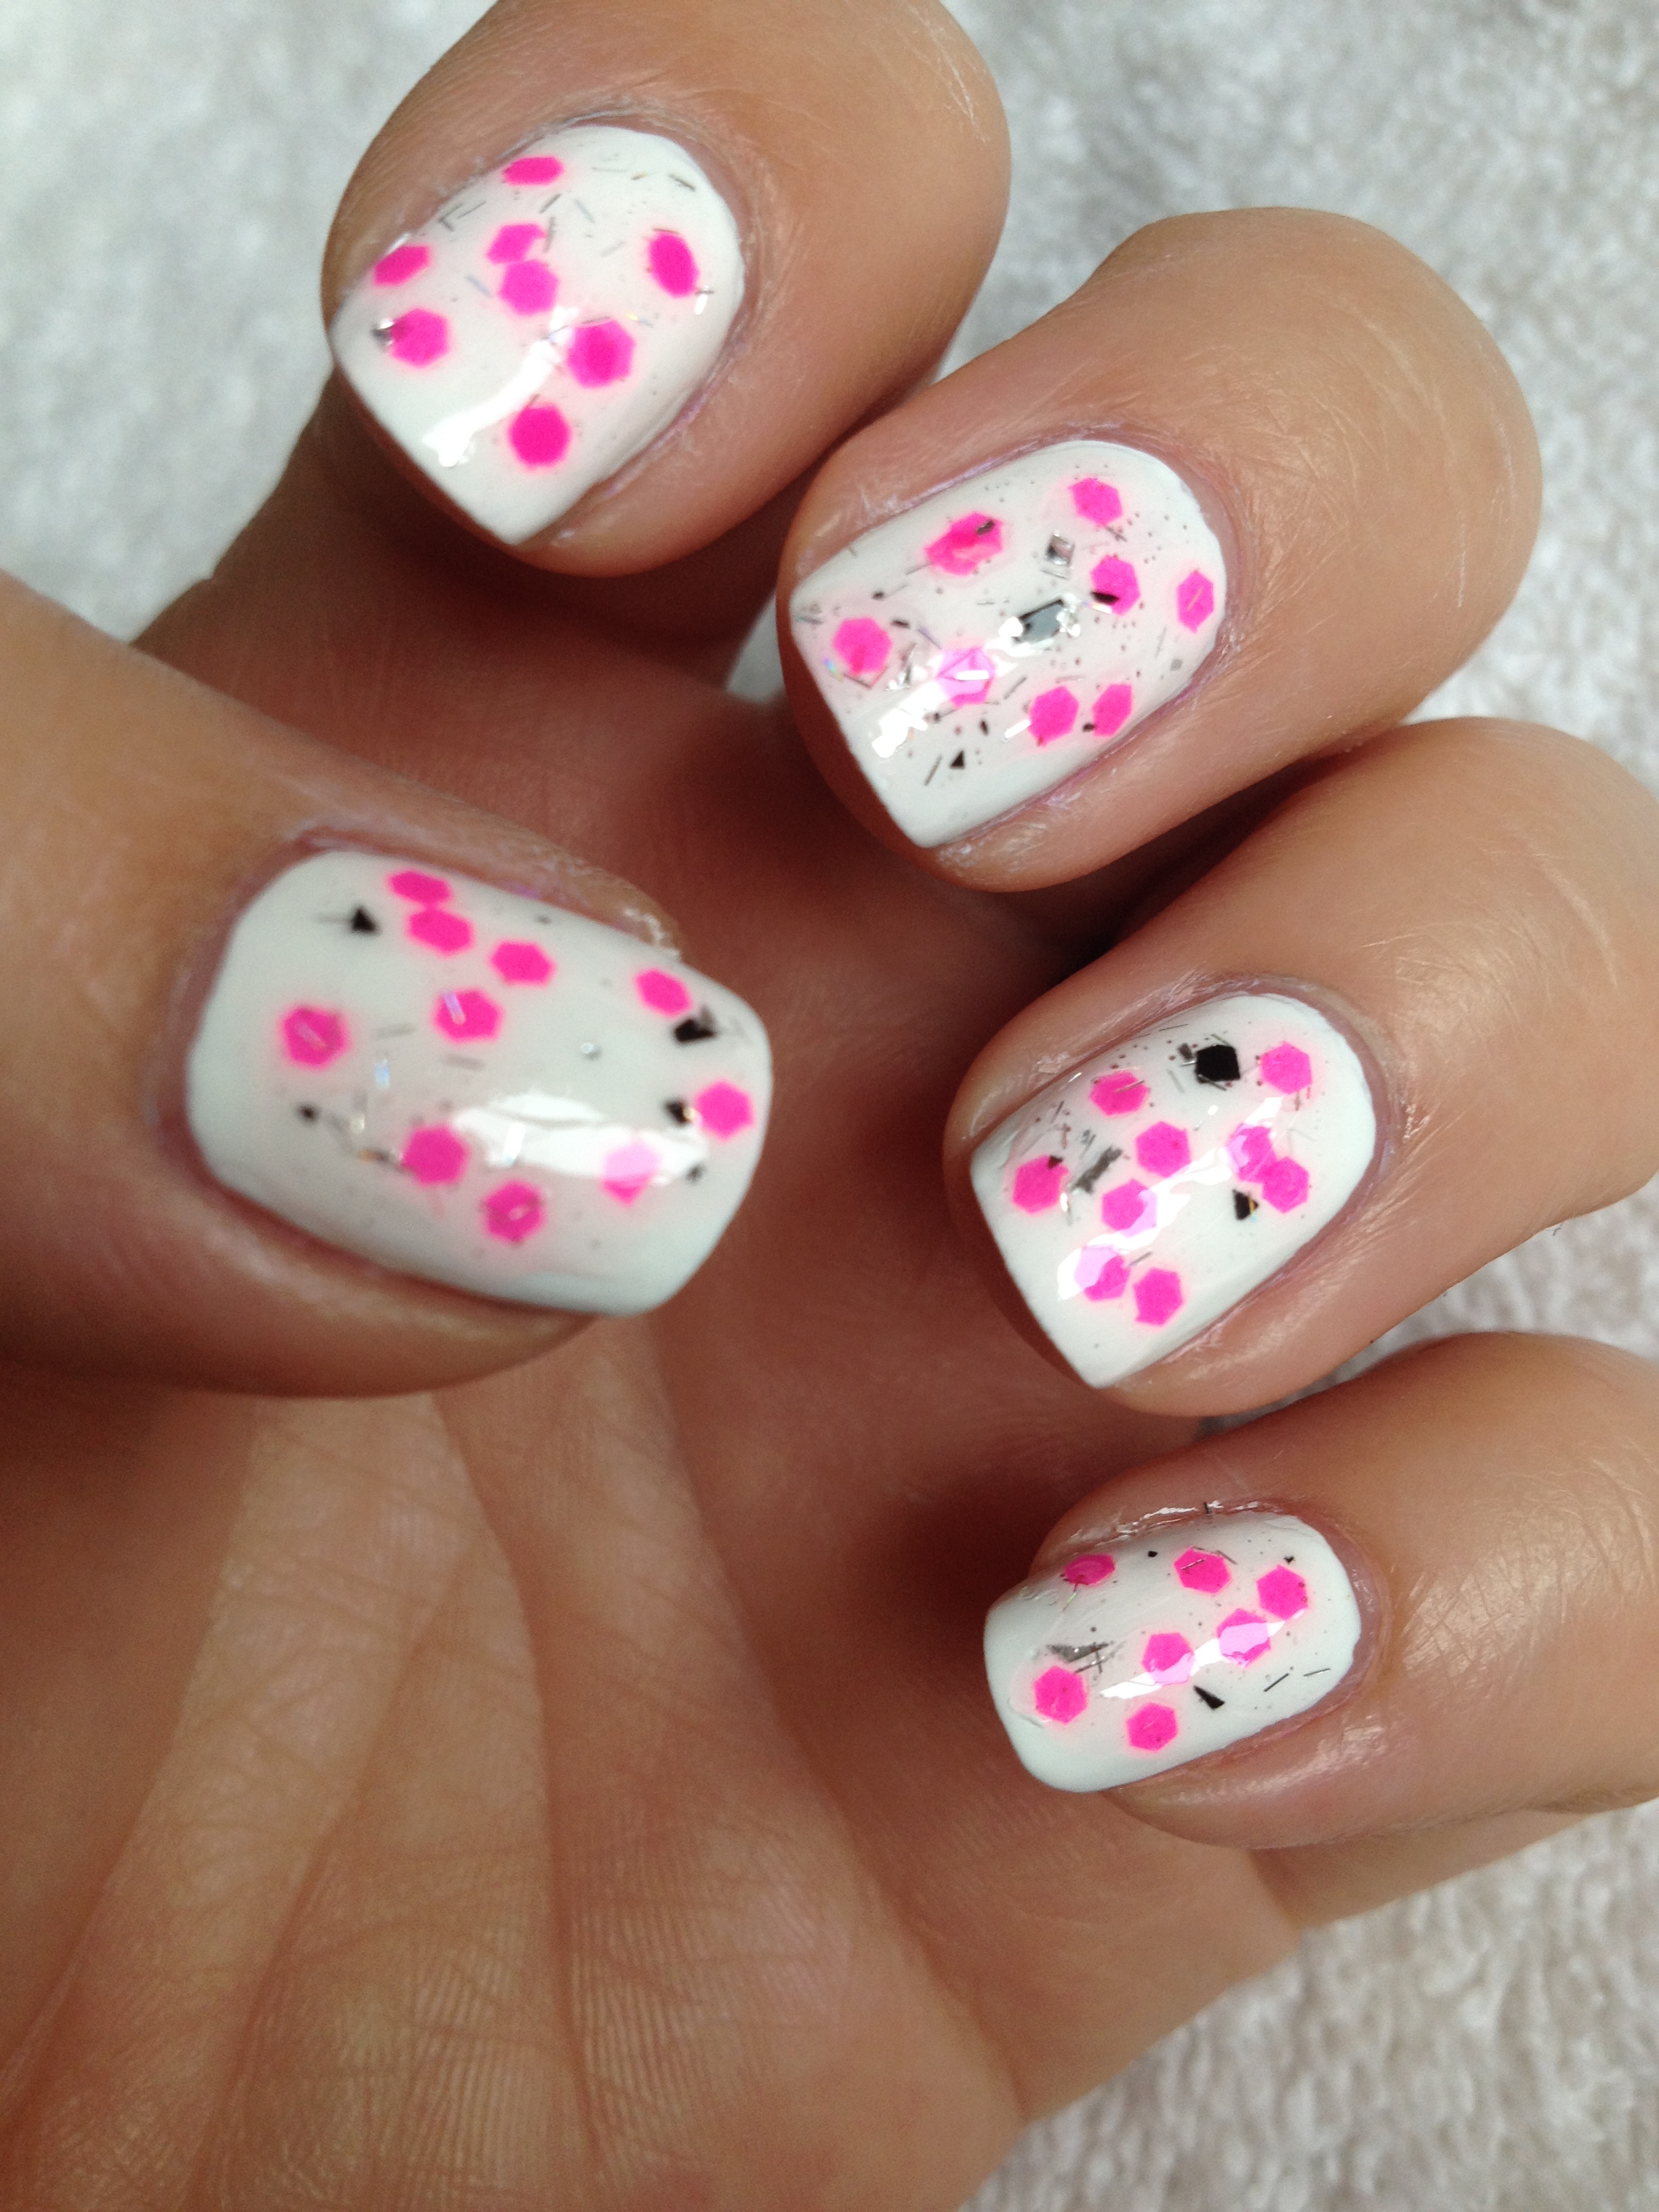
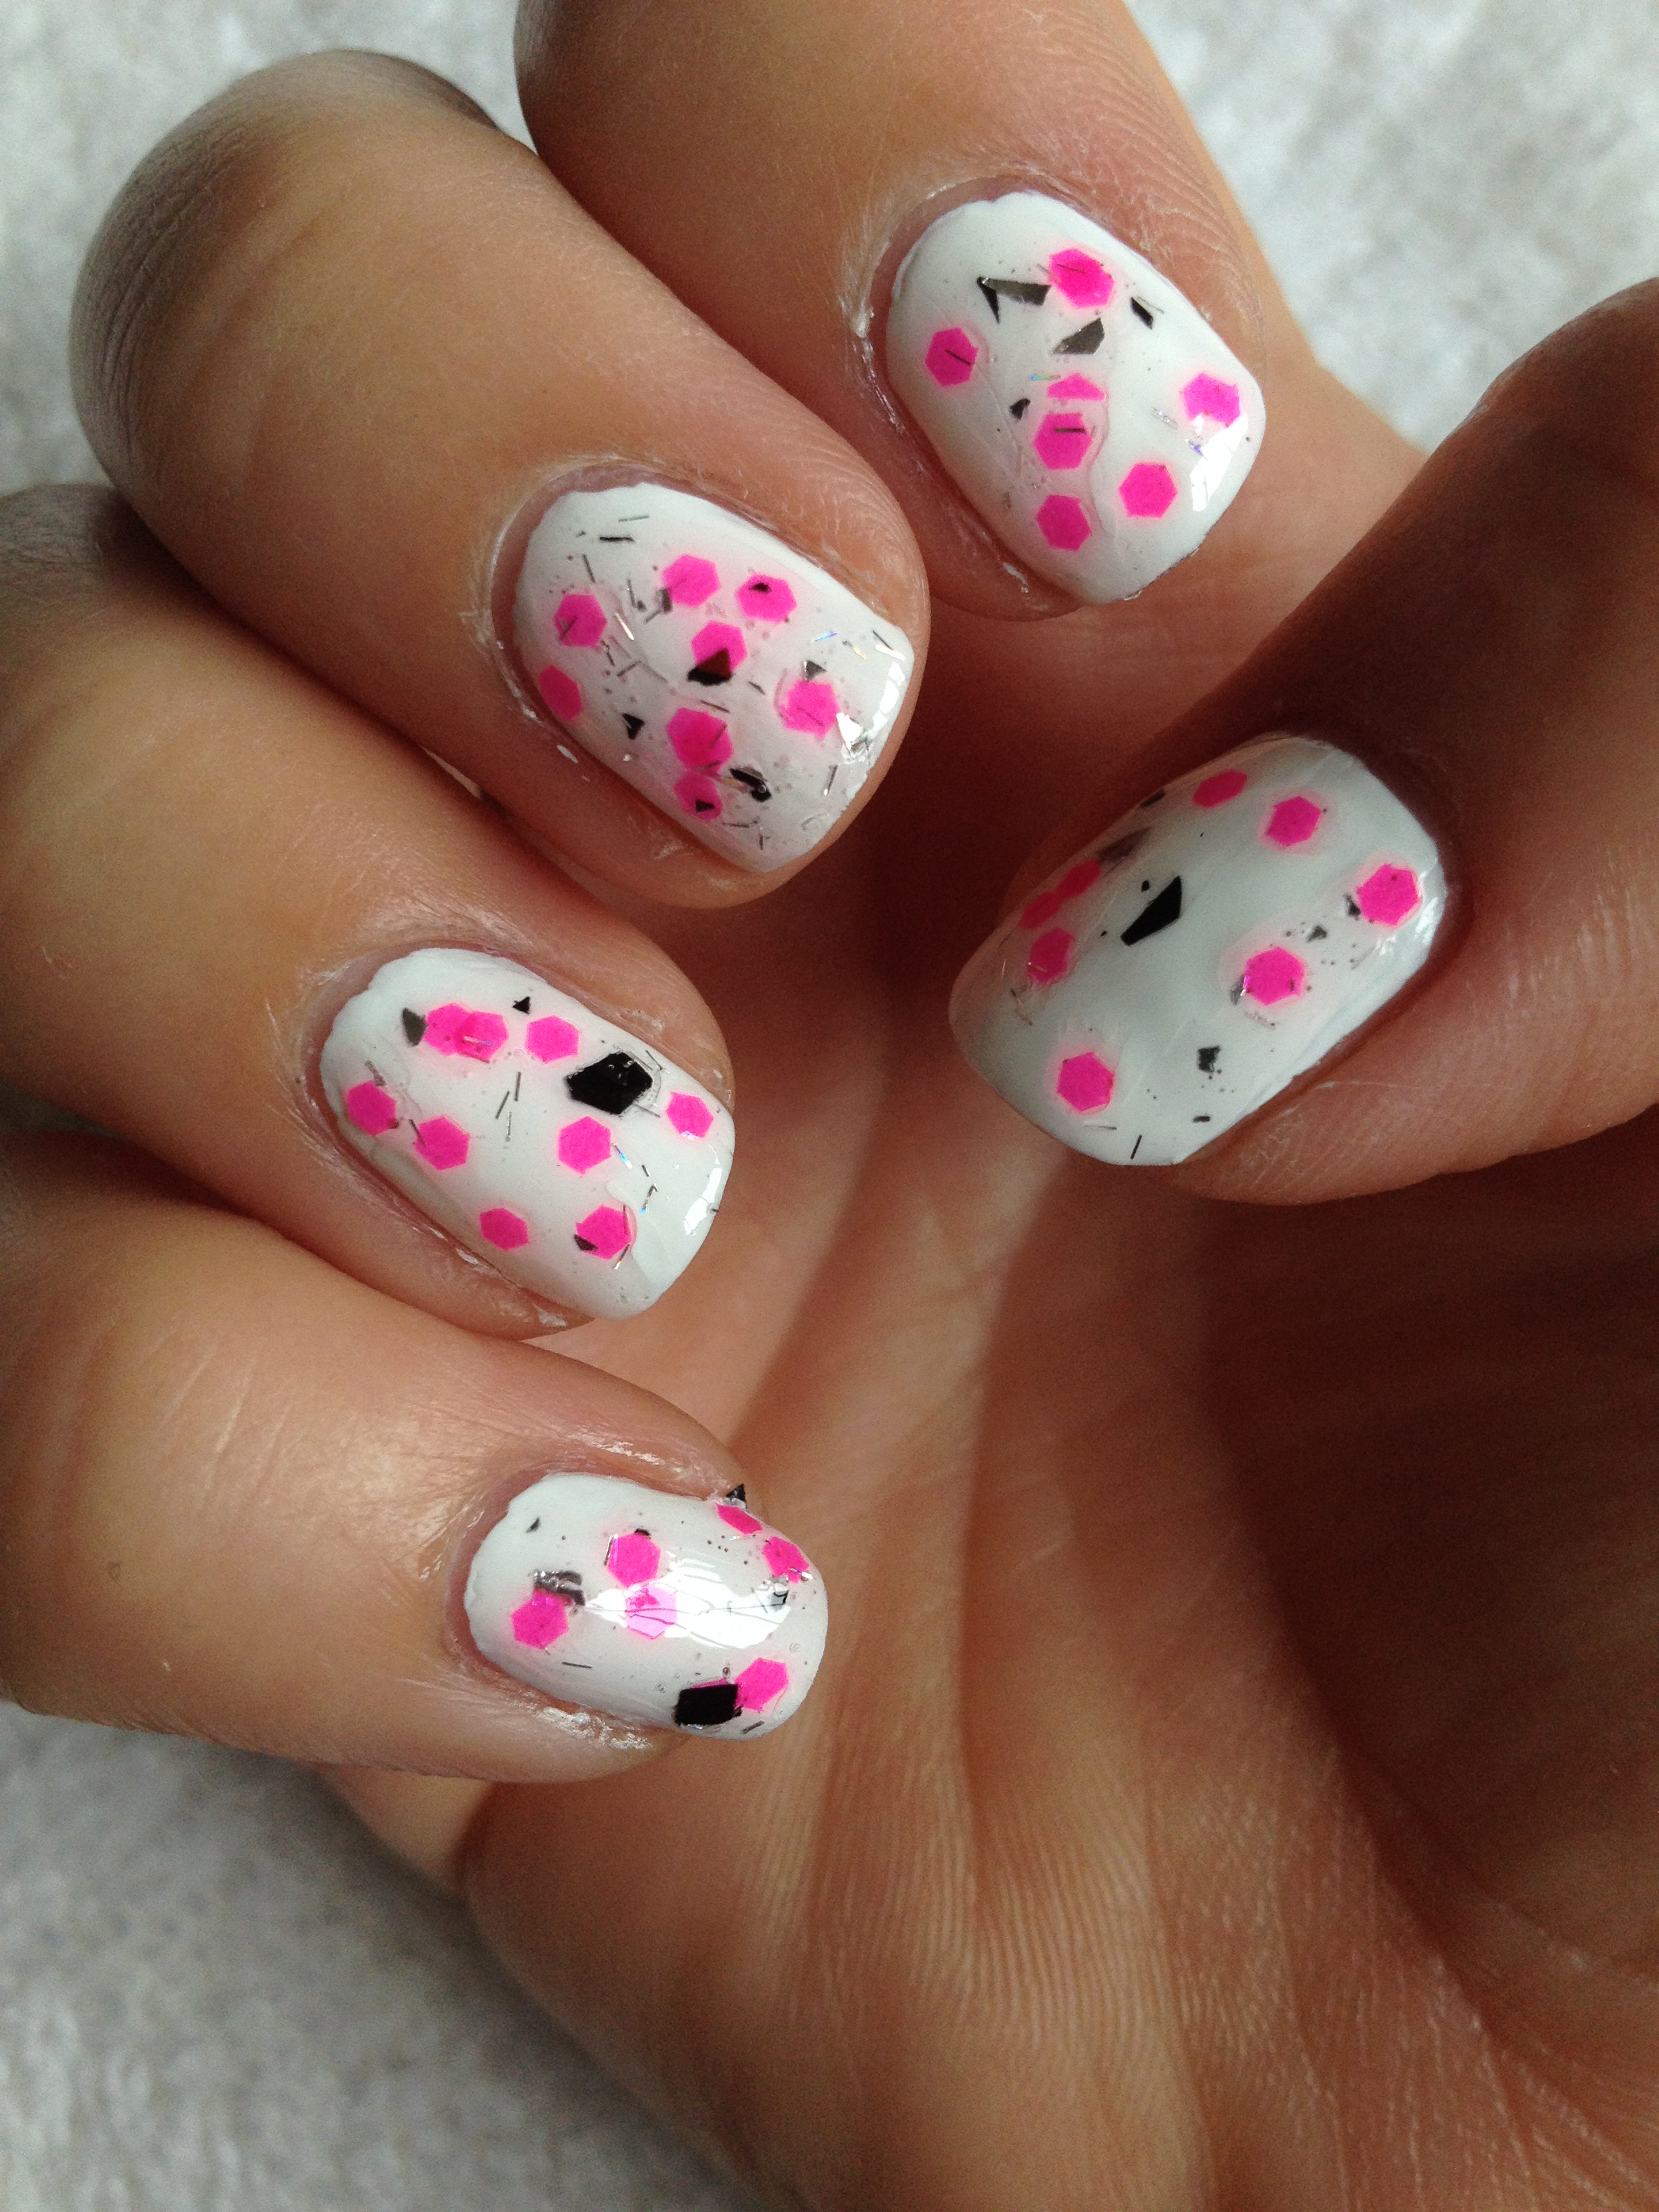
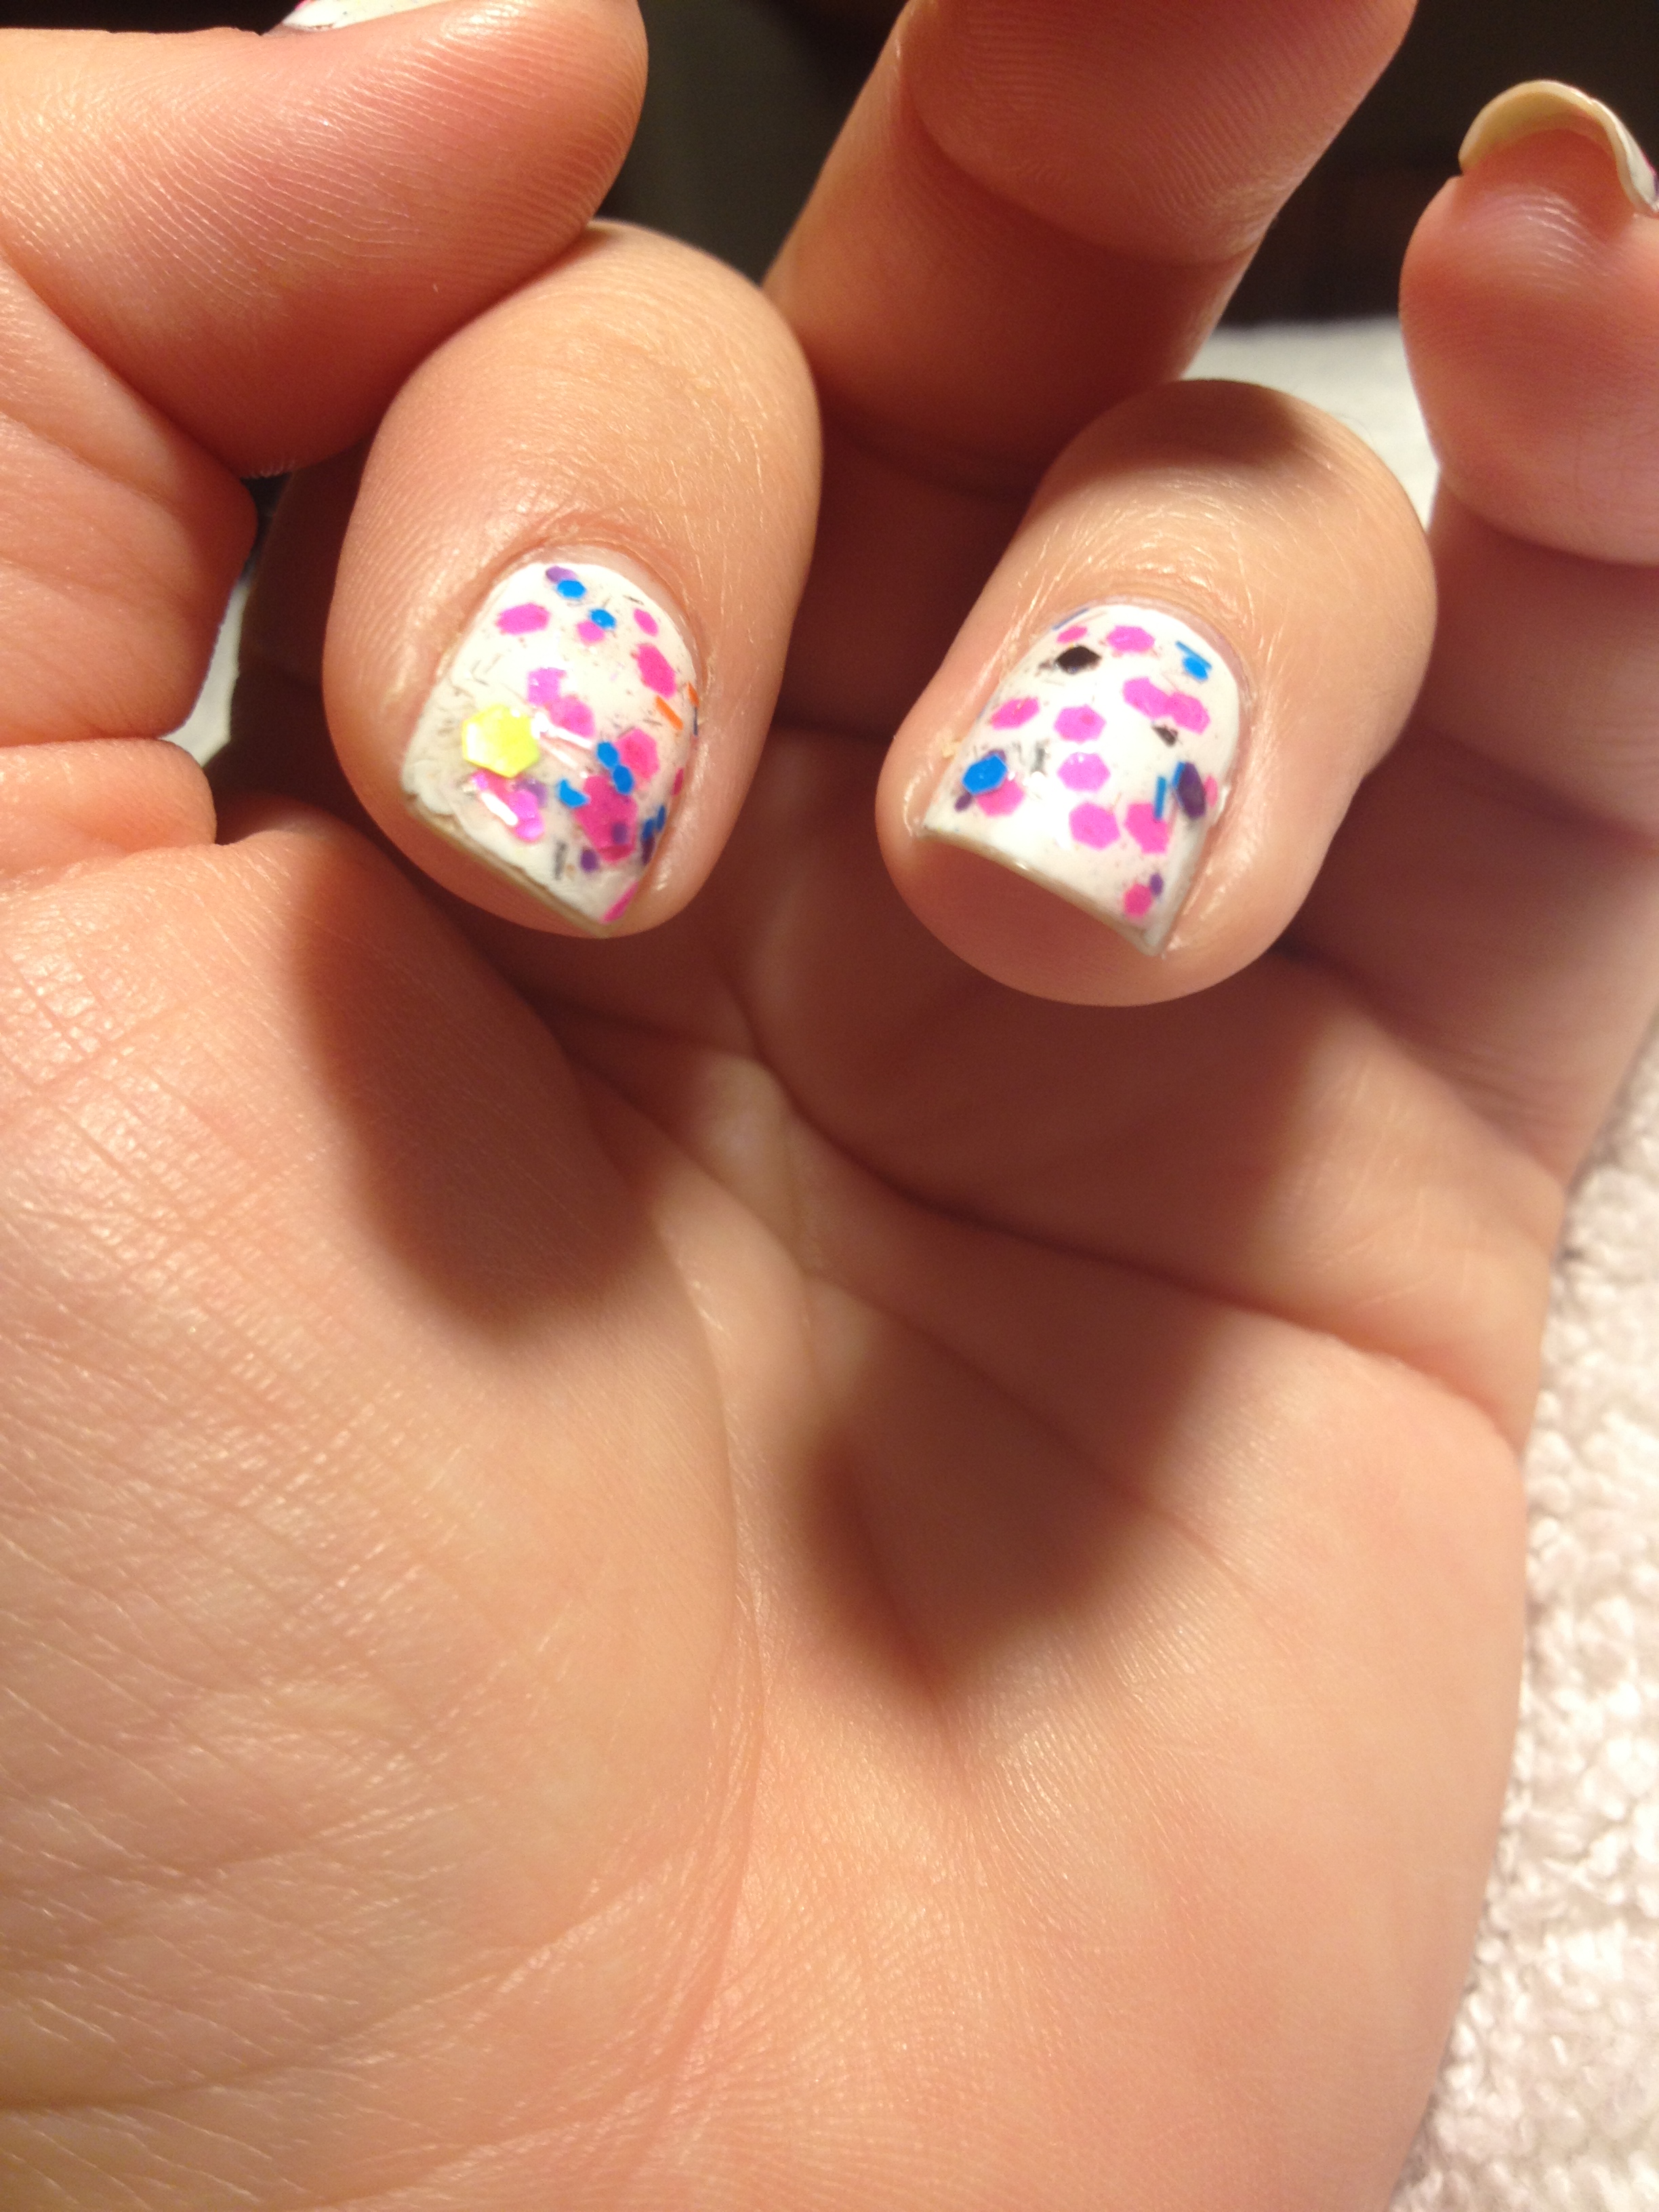
Here’s a mani I did a week or two ago for the Weekly Nail Art Challenge (#wnac2015) on instagram.  IMG_4810  The prompt was neon tribal.  I started with a white base of nail polish and then used neon craft paint for everything else.  I did the black lines first and then added in the color. I just sort of winged it.  (I always want to say “wung it”, but I know that’s not a word.)  I looked at a bunch of tribal prints on line to get some good ideas before I started, and then I really just made a bunch of diamonds and triangles and dots and circles and lines on my nails.  I sort of regret that I didn’t take a picture of my right hand, since all 10 nails were different.  The lines on my right (or Cinderella) hand weren’t as straight and crisp and the ones on my left hand, but it turned out decently enough. These suckers were time consuming!  They took around 2 1/2 hours on a Friday night in front of the TV.   I get that spending that long painting tiny shapes might be infuriating and painstaking for some people, but for me it’s sort of therapeutic and relaxing.  We all have our own thing, right?

Okay now, let’s cover some nail polishing basics.  This is all stuff that I either figured out on my own over the years or that I learned from some of the amazing nail guru types that are out there.   Here’s we go.

1.  Do the stuff in Nail Care Basics first.  Now that you have done that, you are allowed to move onto step #2.

2.  Start with clean nails.  I don’t just mean that you should clean the dirt and nonsense out from under your nails, although that’s always a good thing.  For nail polish to really adhere to your nails, you need to remove any and all oil and lotion from your nails.  A good drying soap, like dish soap that breaks down oil works well.  For extra measure, you can whip your nails down with rubbing alcohol or nail polish remover. If you have a lot of problems with your polish chipping really quickly, you may have naturally oily nails.  There are nail dehydrators out there that might help.  They typically are in a little bottle and look just like clear polish.  I’ve never used one.  I think in my old age, my nails are probably naturally kind of dry.

3.  Apply a base coat.  This will do two things: it will protect your nails from staining and it will help the polish adhere.  There are a ton of base coats out there, so you might have to try a few to find one that works well for you.  I covered based coats a little more thoroughly here.  Since I wrote that post, I have found two more base coats that I like.  The first is Orly Bonder.  This is a “rubberized”  base coat, so like the Revlon base coat, it feels like rubber cement on your nails when it’s dry.  The Orly base coat is a lot thinner than the Revlon one, so one bottle seems to last forever.  I don’t feel like it wears quite as well as the Revlon one, but it’s a great value since one bottle lasts so long.  Another thing I really like about the Revlon base coat is that it is sort of thick, so it fills in any ridges you might have on your nails. The other base coat that I’ve been using a lot lately is Rejuvicote.  I don’t feel like it wears as well as either the Orly or the Revlon base coats, but it really works well to strengthen my nails.  If you have weak nails or nails that are prone to pealing, you might want to give this a try.  With Rejuvicote, I can really grow my nails as long as I want them.  (They start to drive me nuts when they get too long, so I sort of keep them a medium length.)

3.  Roll your polish.  Don’t shake the bottle like a crazy person.  If you do that, you’ll get little irritating air bubbles in your polish which will show up as your polish dries.  Just roll the bottle on its side between your palms.  I’m good, so I can just roll the bottle with one hand.  Just kidding.  The one-handed roll is not hard to do.

4.  Load your brush with the right amount of polish.  All polish is different, but generally, I pull the brush out of the bottle and wipe off one side of the brush on the bottle neck.  You want to transfer a decent size drop of polish onto your nail without having a bunch of polish drip all over the place in the process.

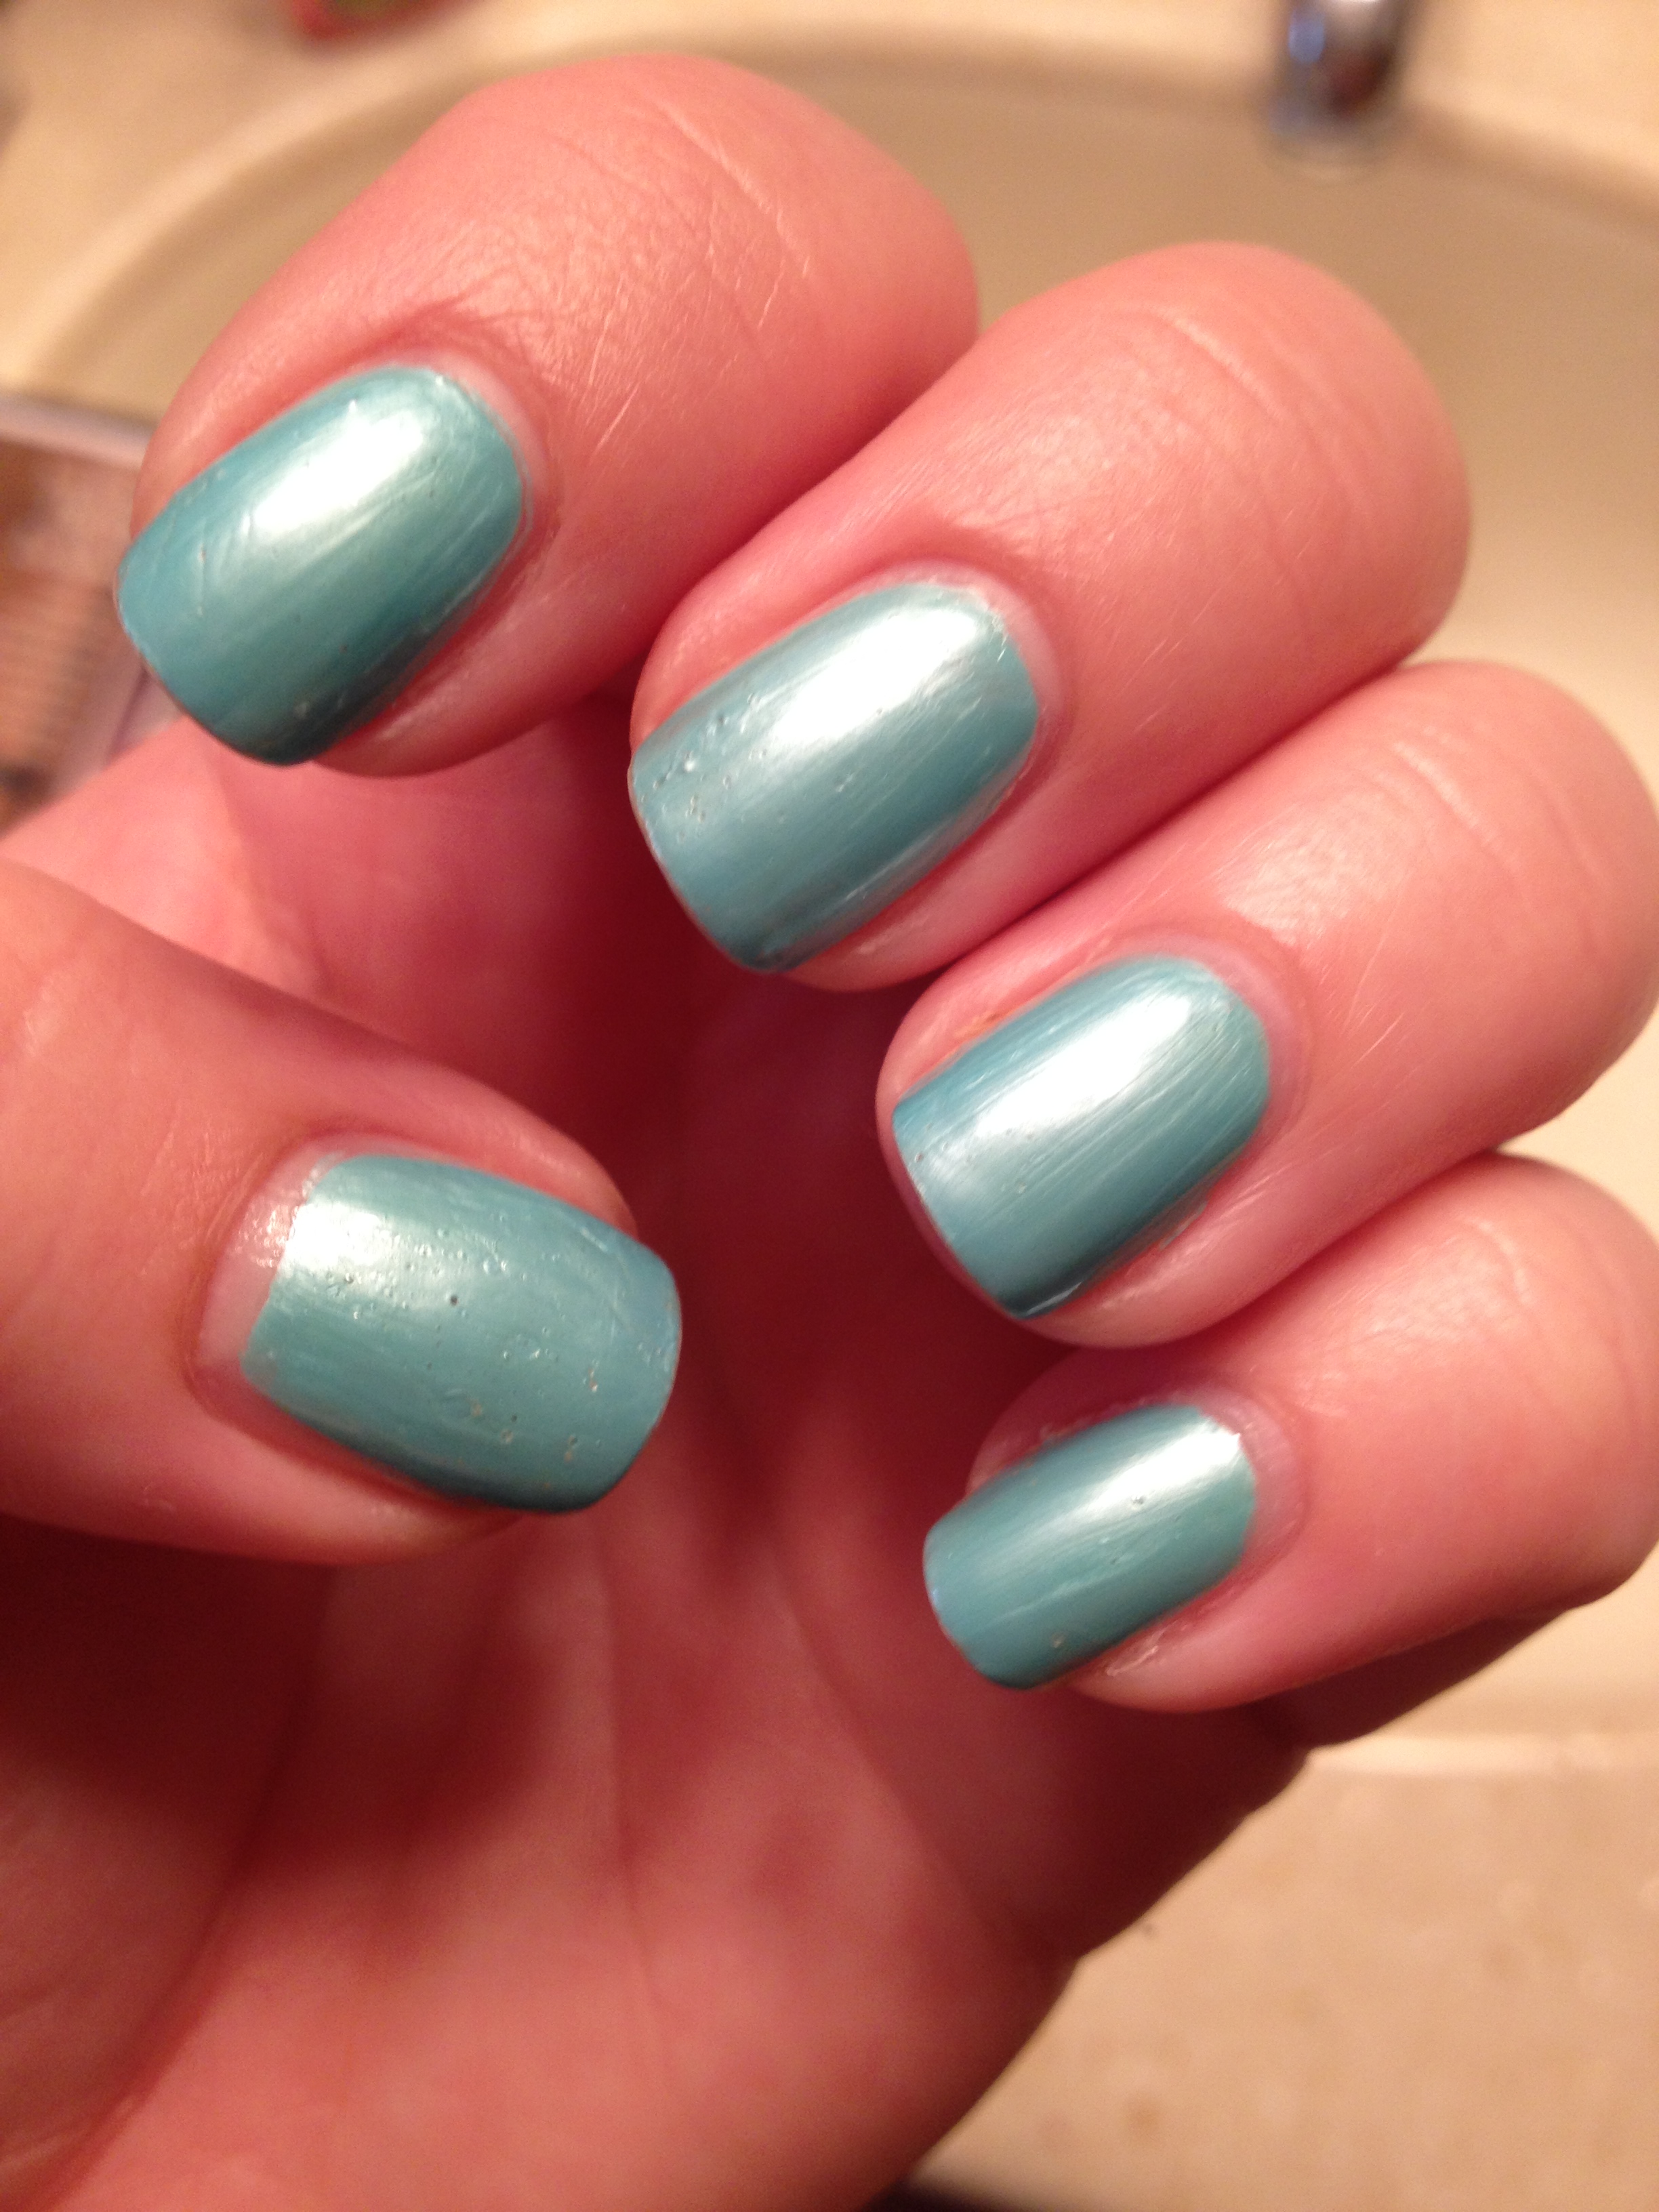
5.  This is maybe the most important thing: DON’T GET POLISH ON YOUR CUTICLES!  Seriously, this is what separates the5.10.14 002 pros from the amateurs.  I look at some of my old nail pictures and shudder.  Do you see that polish slopped all over my cuticles?  Oh the shame.   5.10.14 003Really, the only way to get good at not slopping polish all over your cuticles is to practice.  The best way that I’ve found to avoid getting polish on your cuticles is to take your polish brush (after you’ve loaded it correctly) and place it on your nail close to – but not touching  your cuticle.  Then sort of push the polish up as close as you can to your cuticle without touching your cuticle.  Then pull the brush down to the tip of your nail.  Lacquerized has a great little graphic of this technique. The only thing I do differently than she does is that I do the sides of my nails first and then finish with a swipe down the middle.  Figure out what works best for you.  JUST DON’T GET POLISH ALL OVER YOUR CUTICLES!…. So you messed up and got polish all over your cuticles?  There’s still hope for you.

6.  Do some clean-up with a little brush and some acetone.  I use the e.l.f concealer brush. This sucker only costs $1-2 and it works perfectly.  You should be able to find it at Target or Kmart, and I think Walmart is starting to carry e.l.f. products, too.IMG_4843 Just dip the tip of the brush into acetone and then give it a quick dab onto a paper towel.  Then use the brush to remove any polish that ended up where IMG_4843it wasn’t supposed to be.  To some degree you can clean up your nails with a Q-tip dipped in acetone, but you can’t really get into the tight placed with a Q-tip that you can with a little brush.

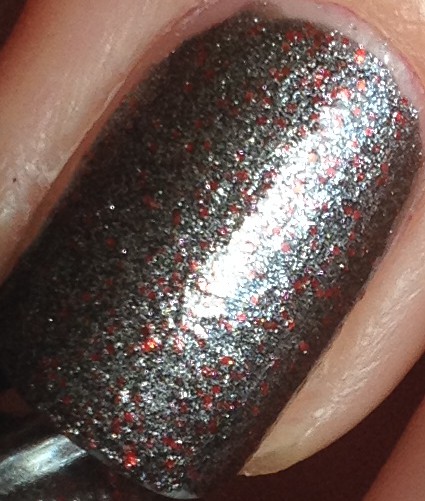
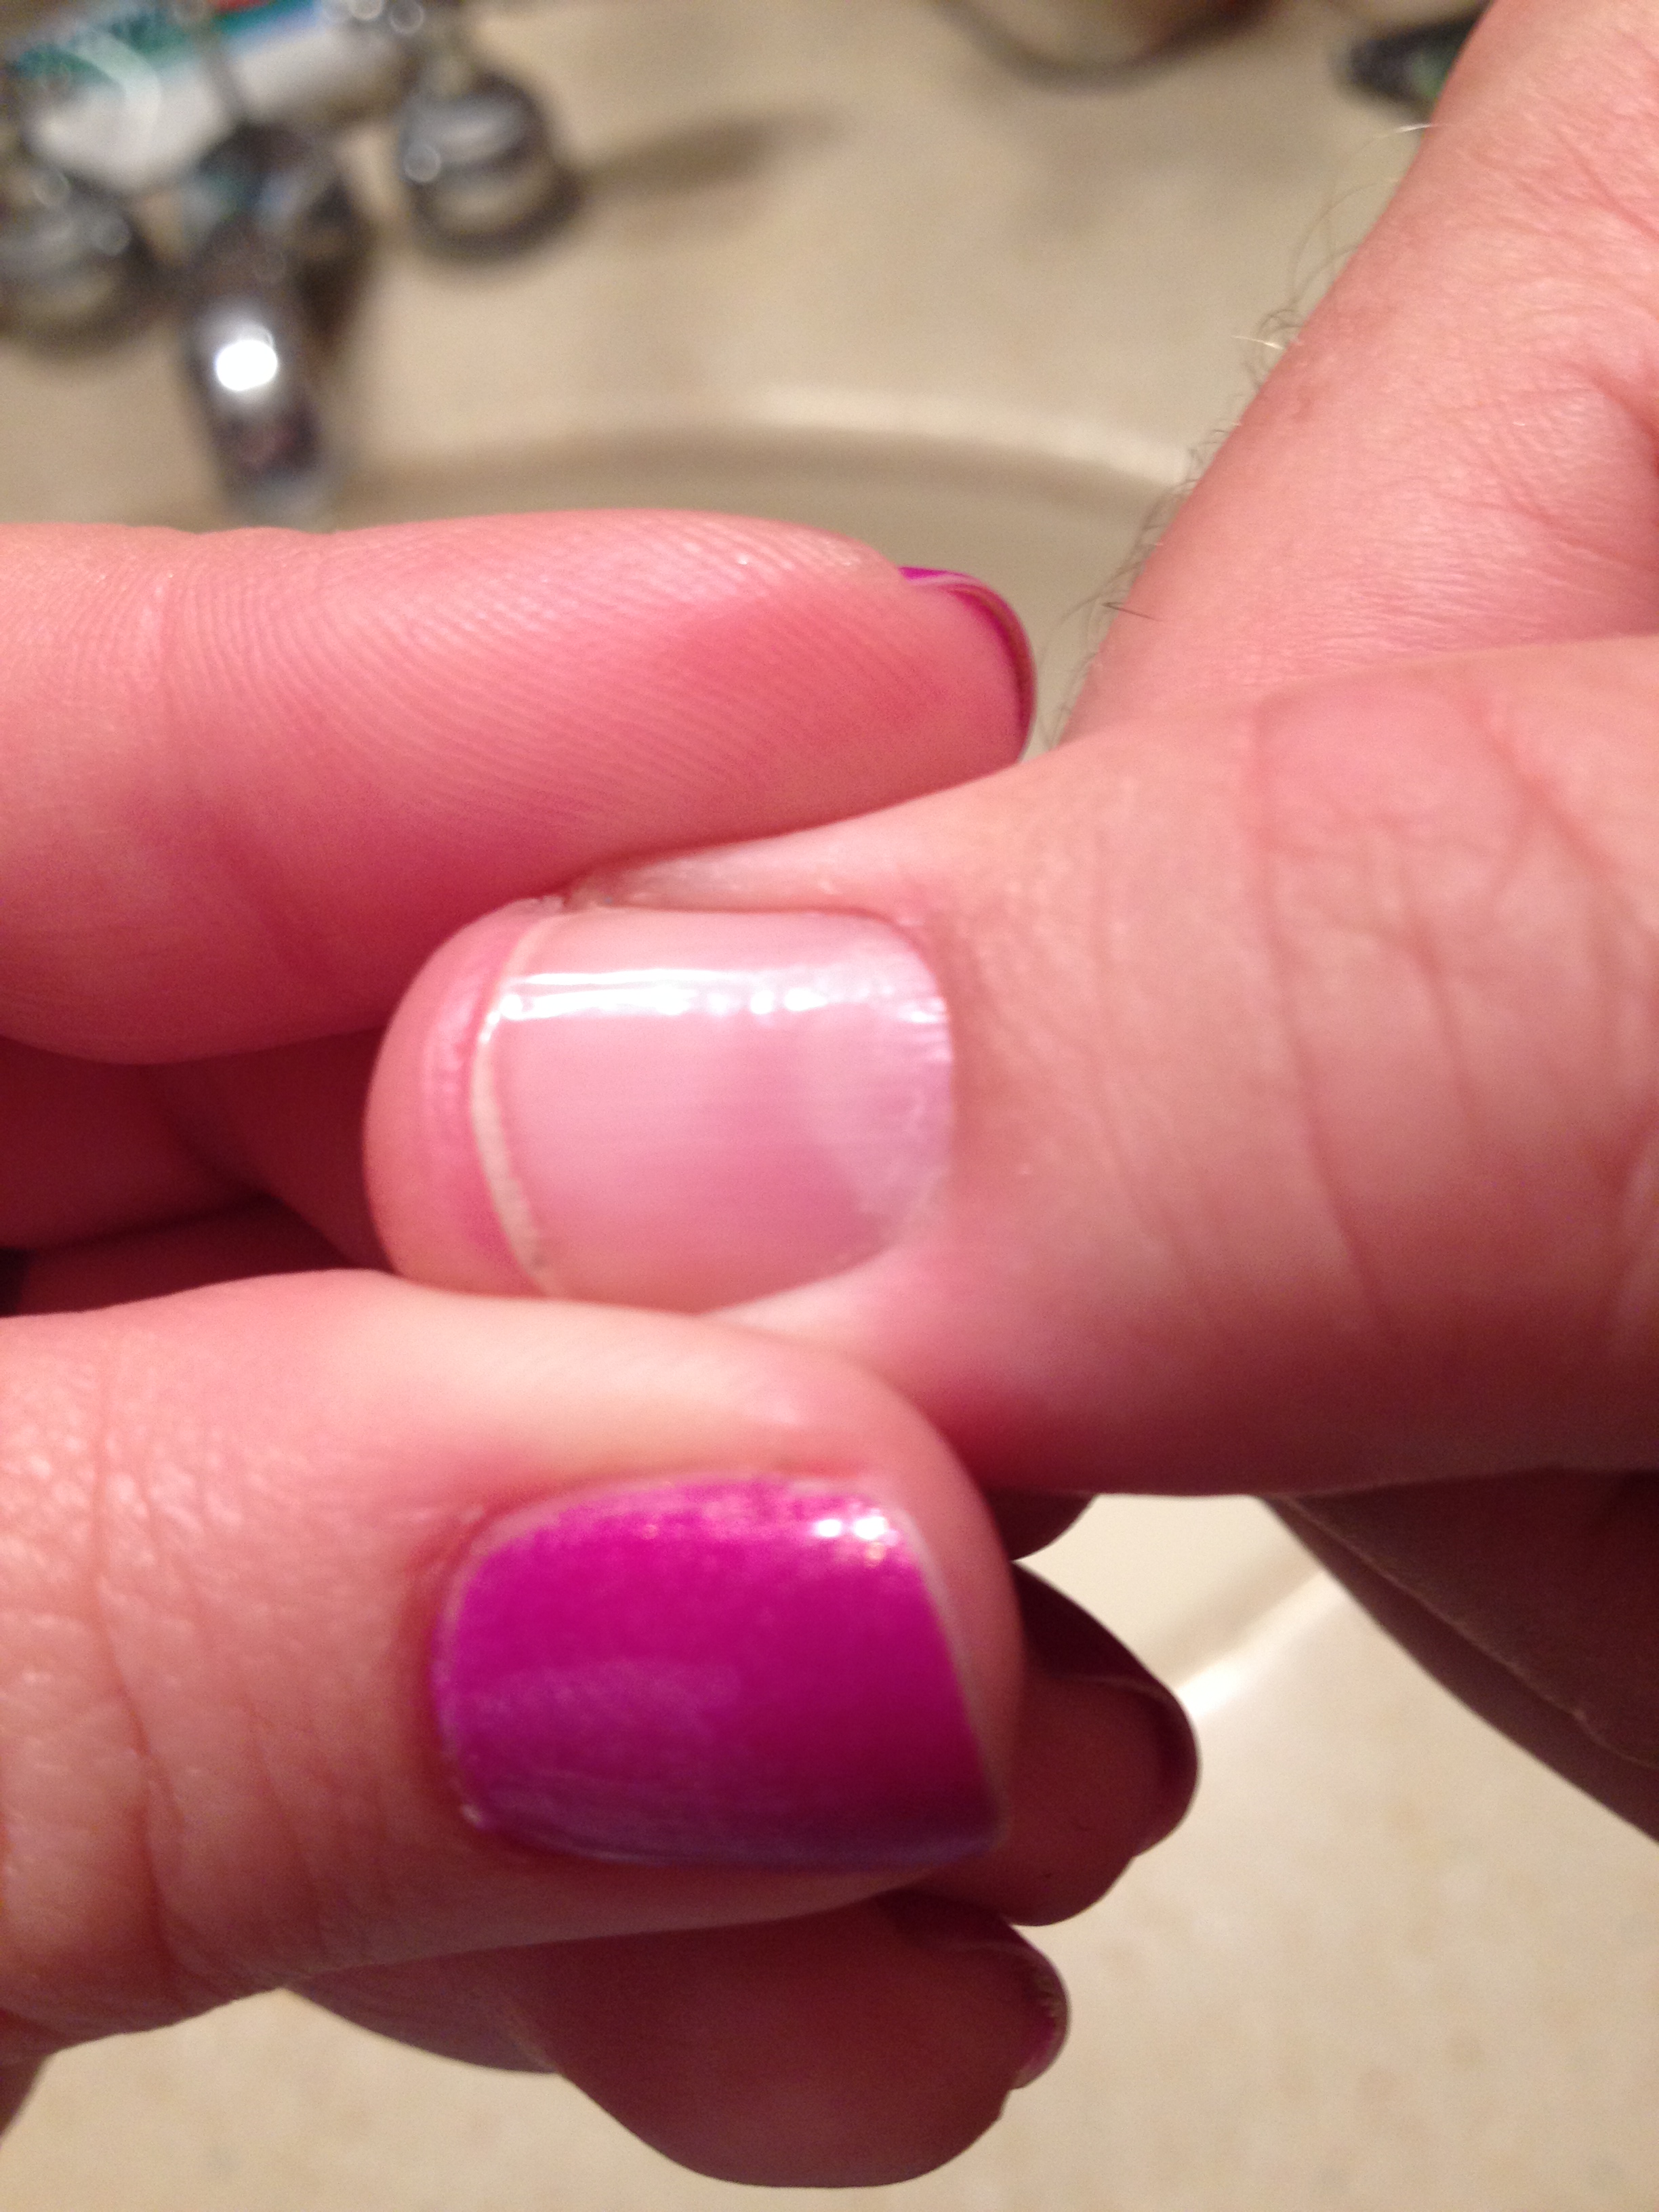
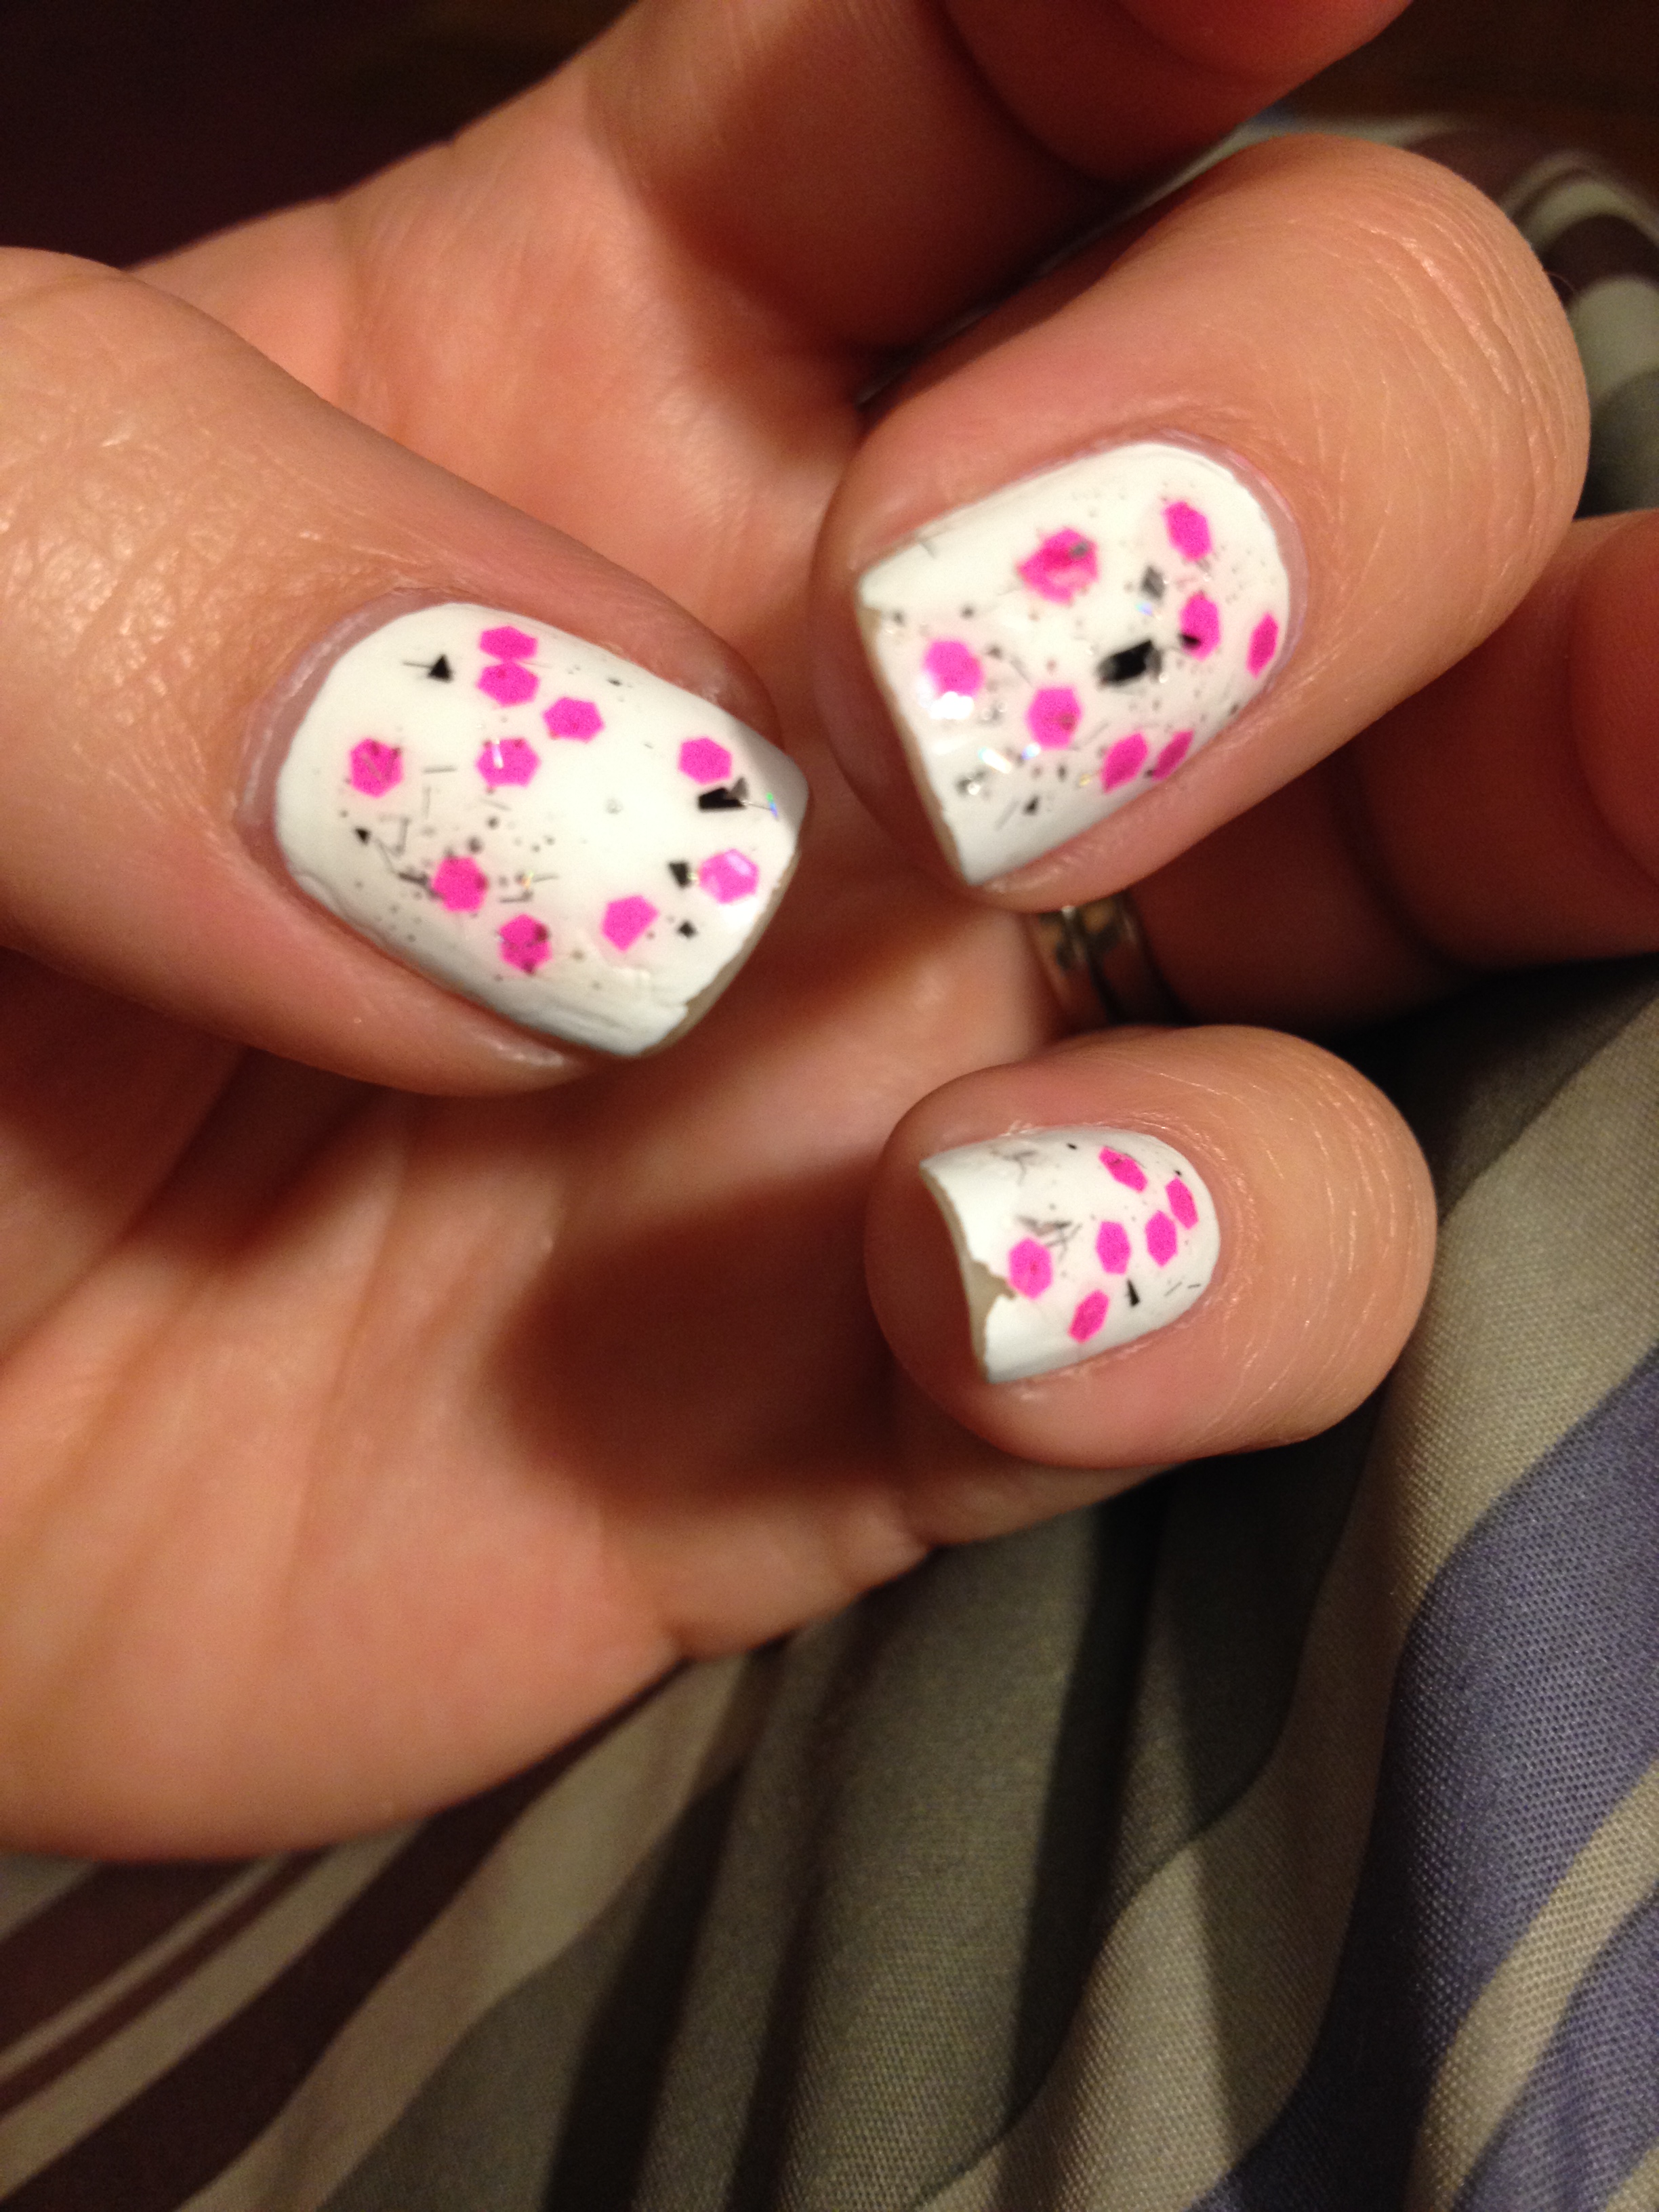
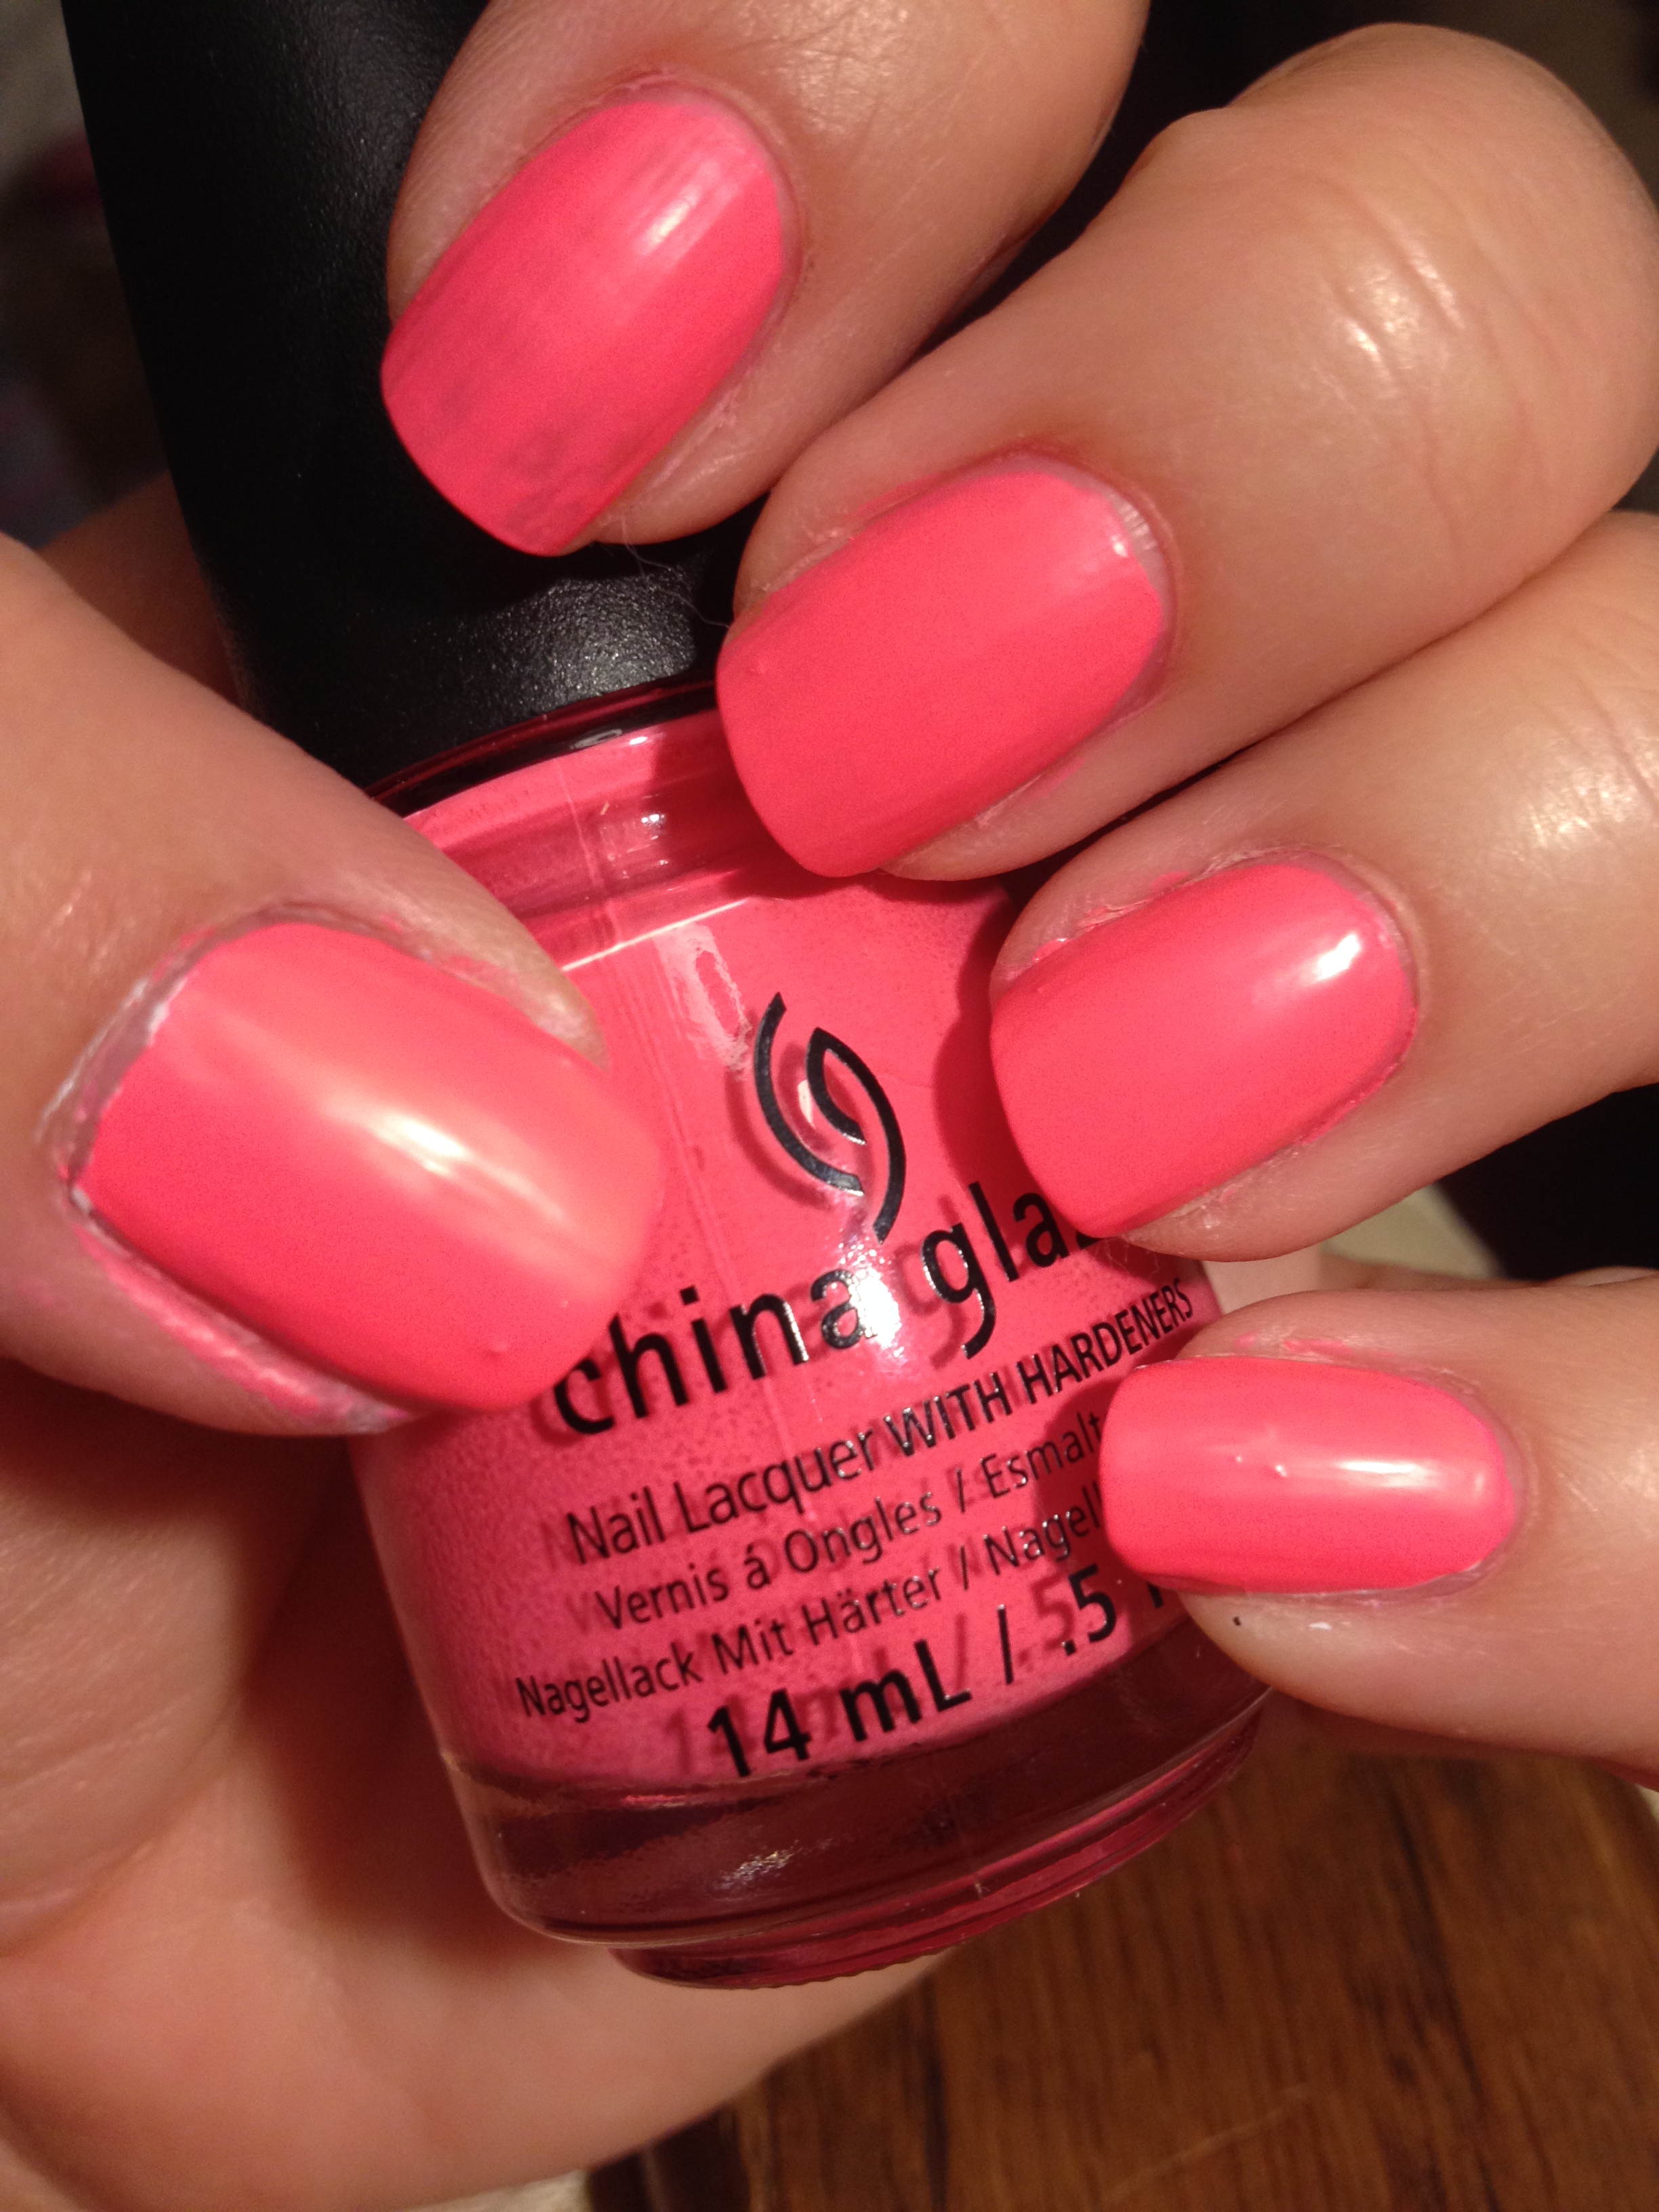
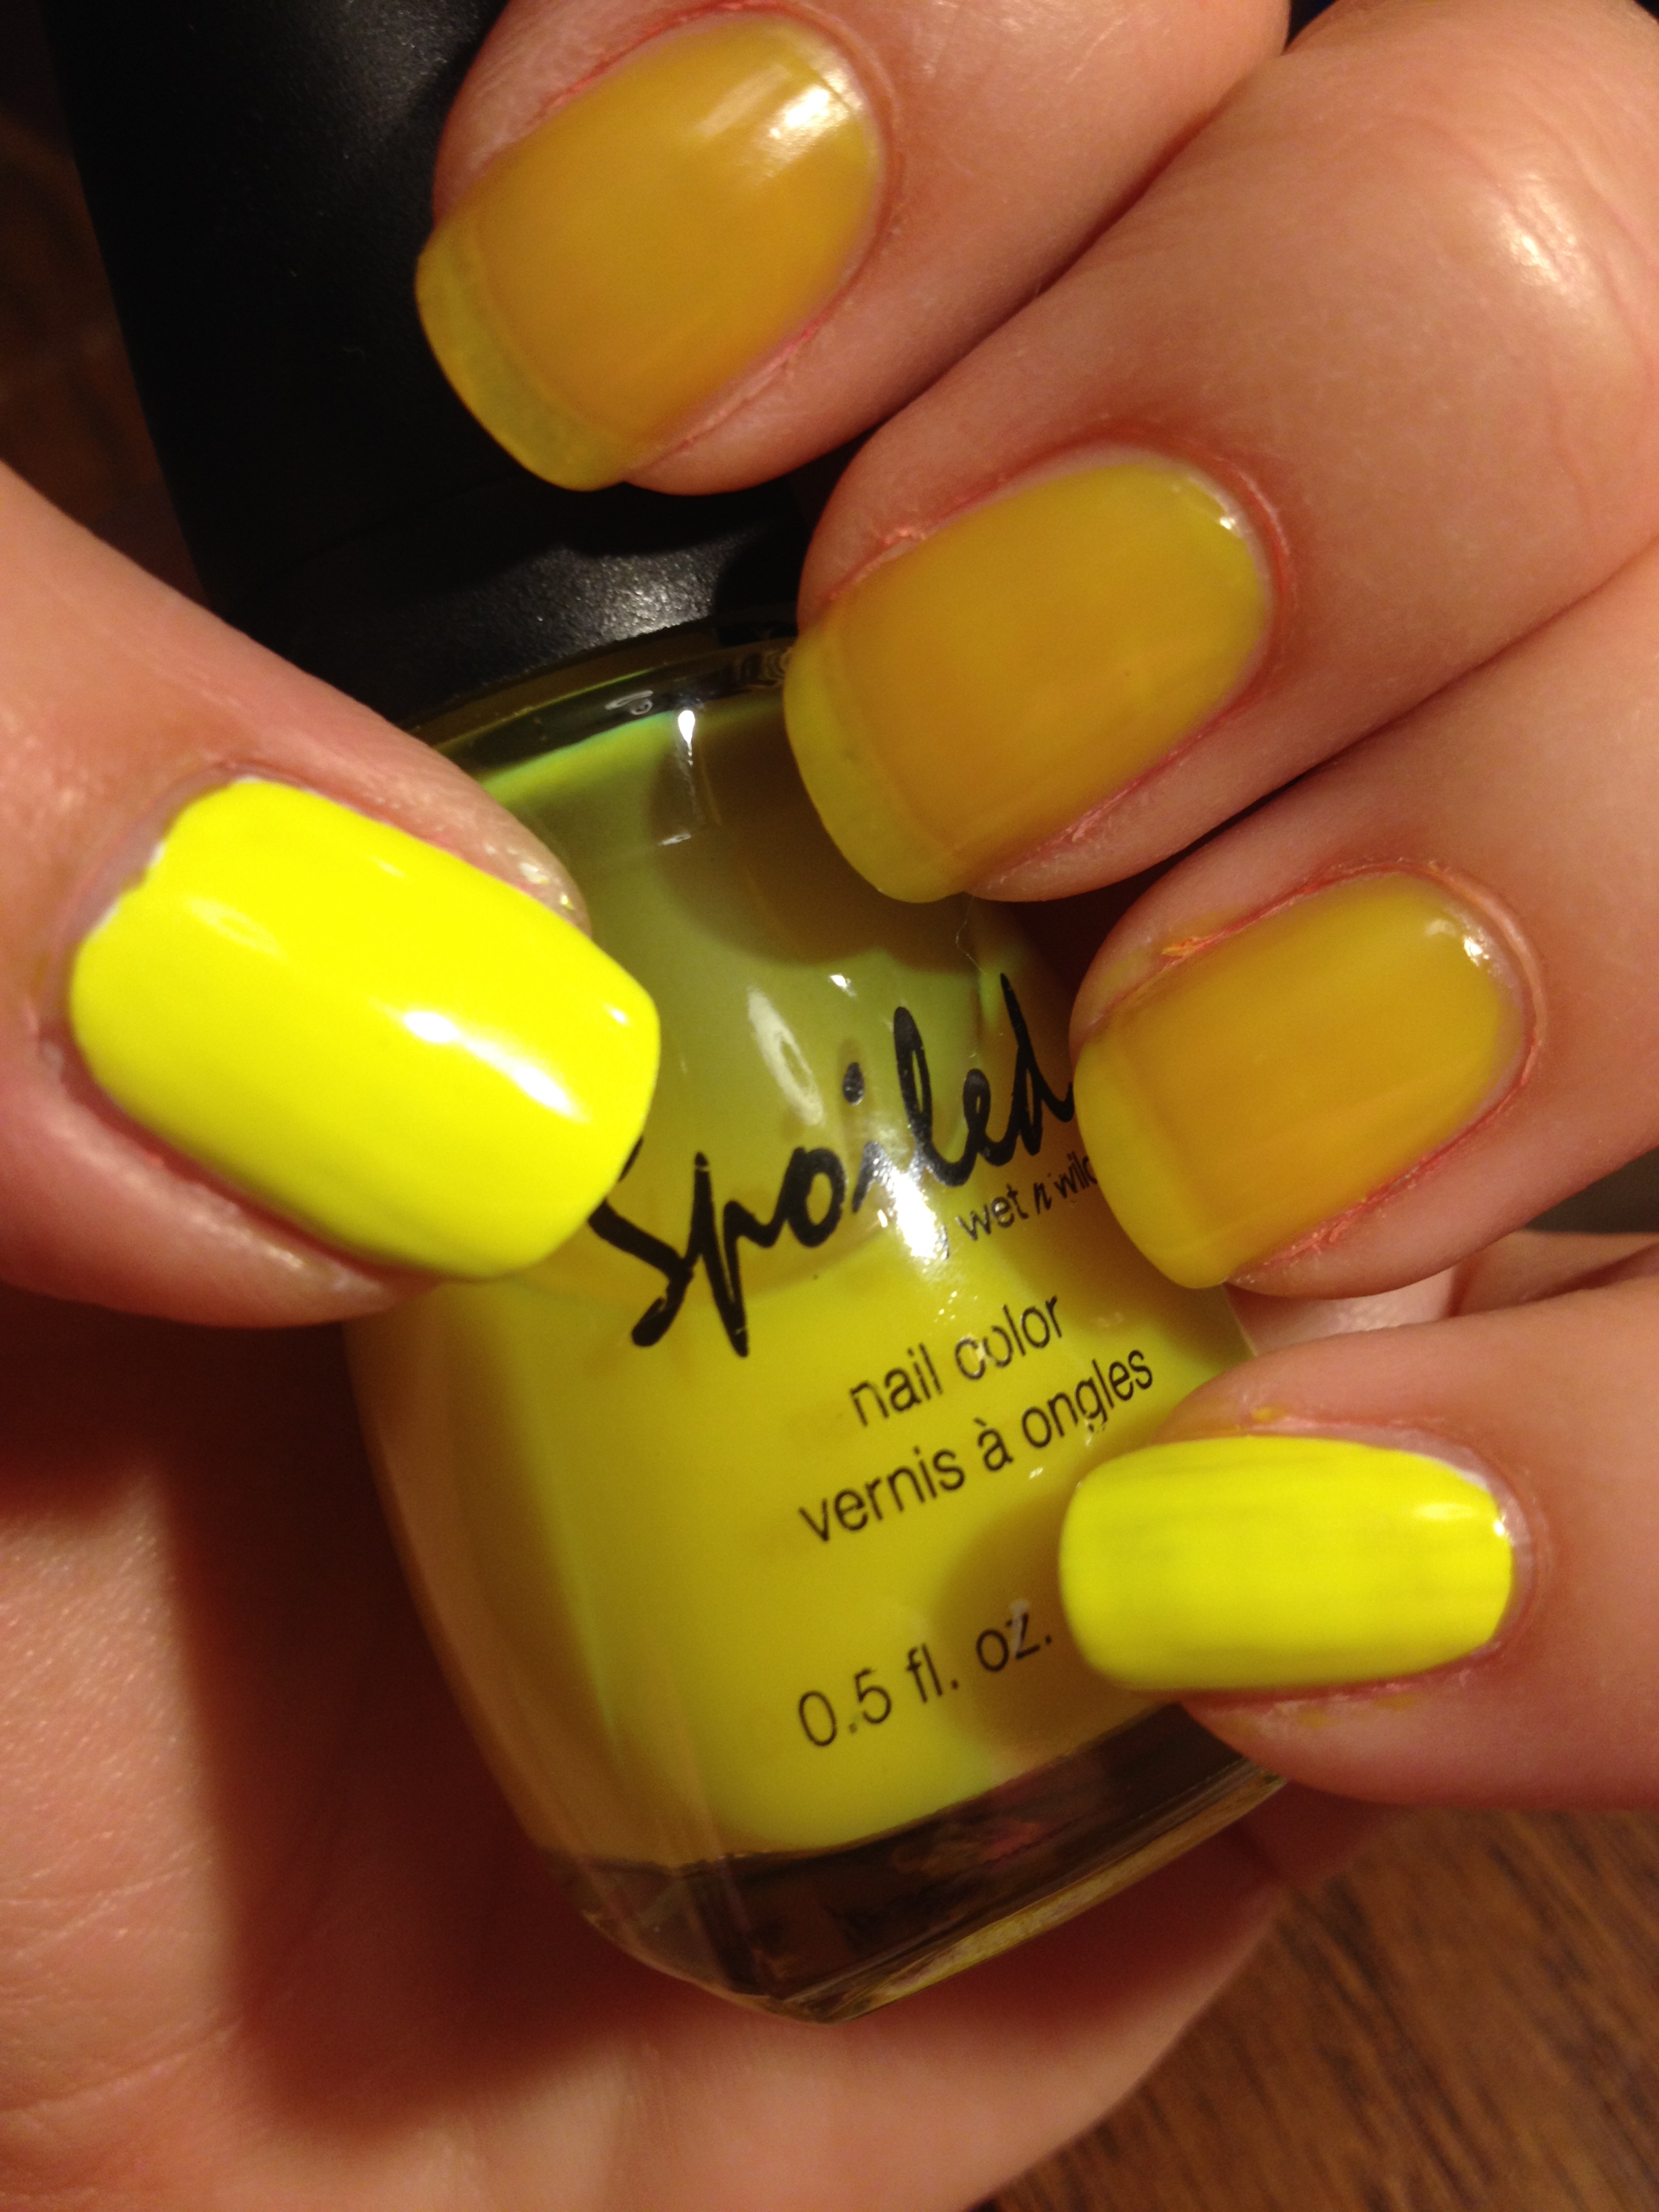
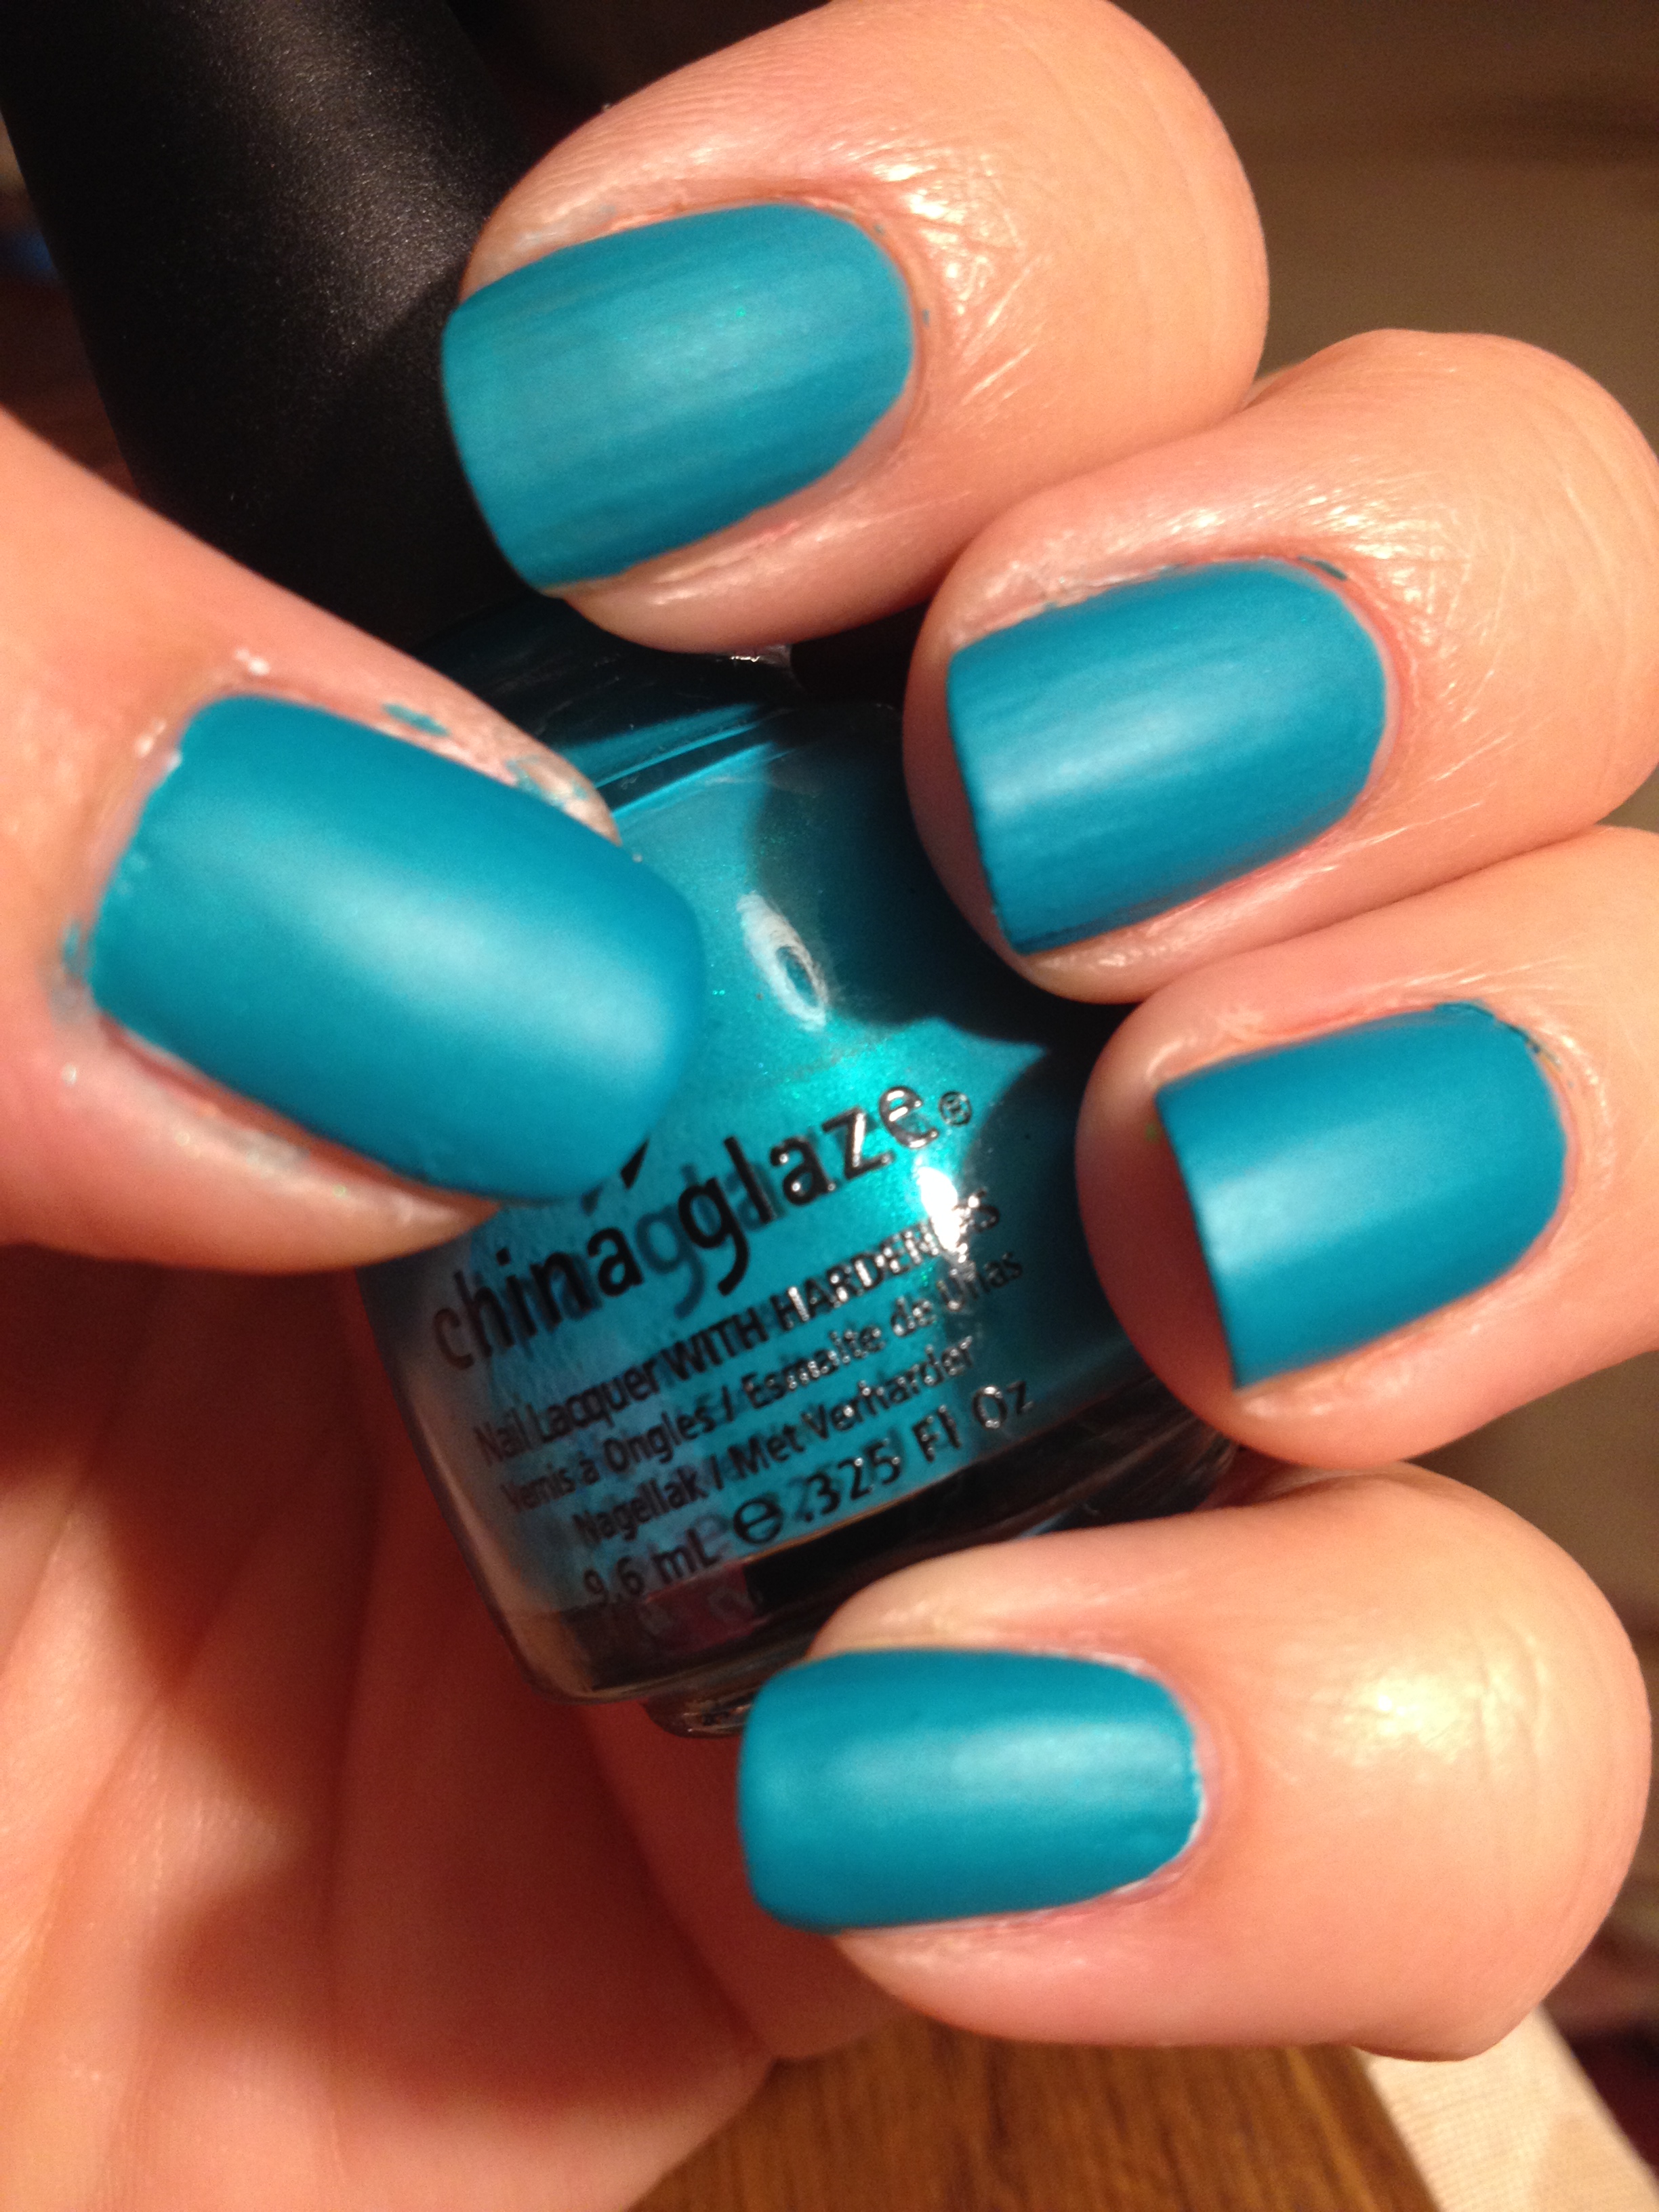
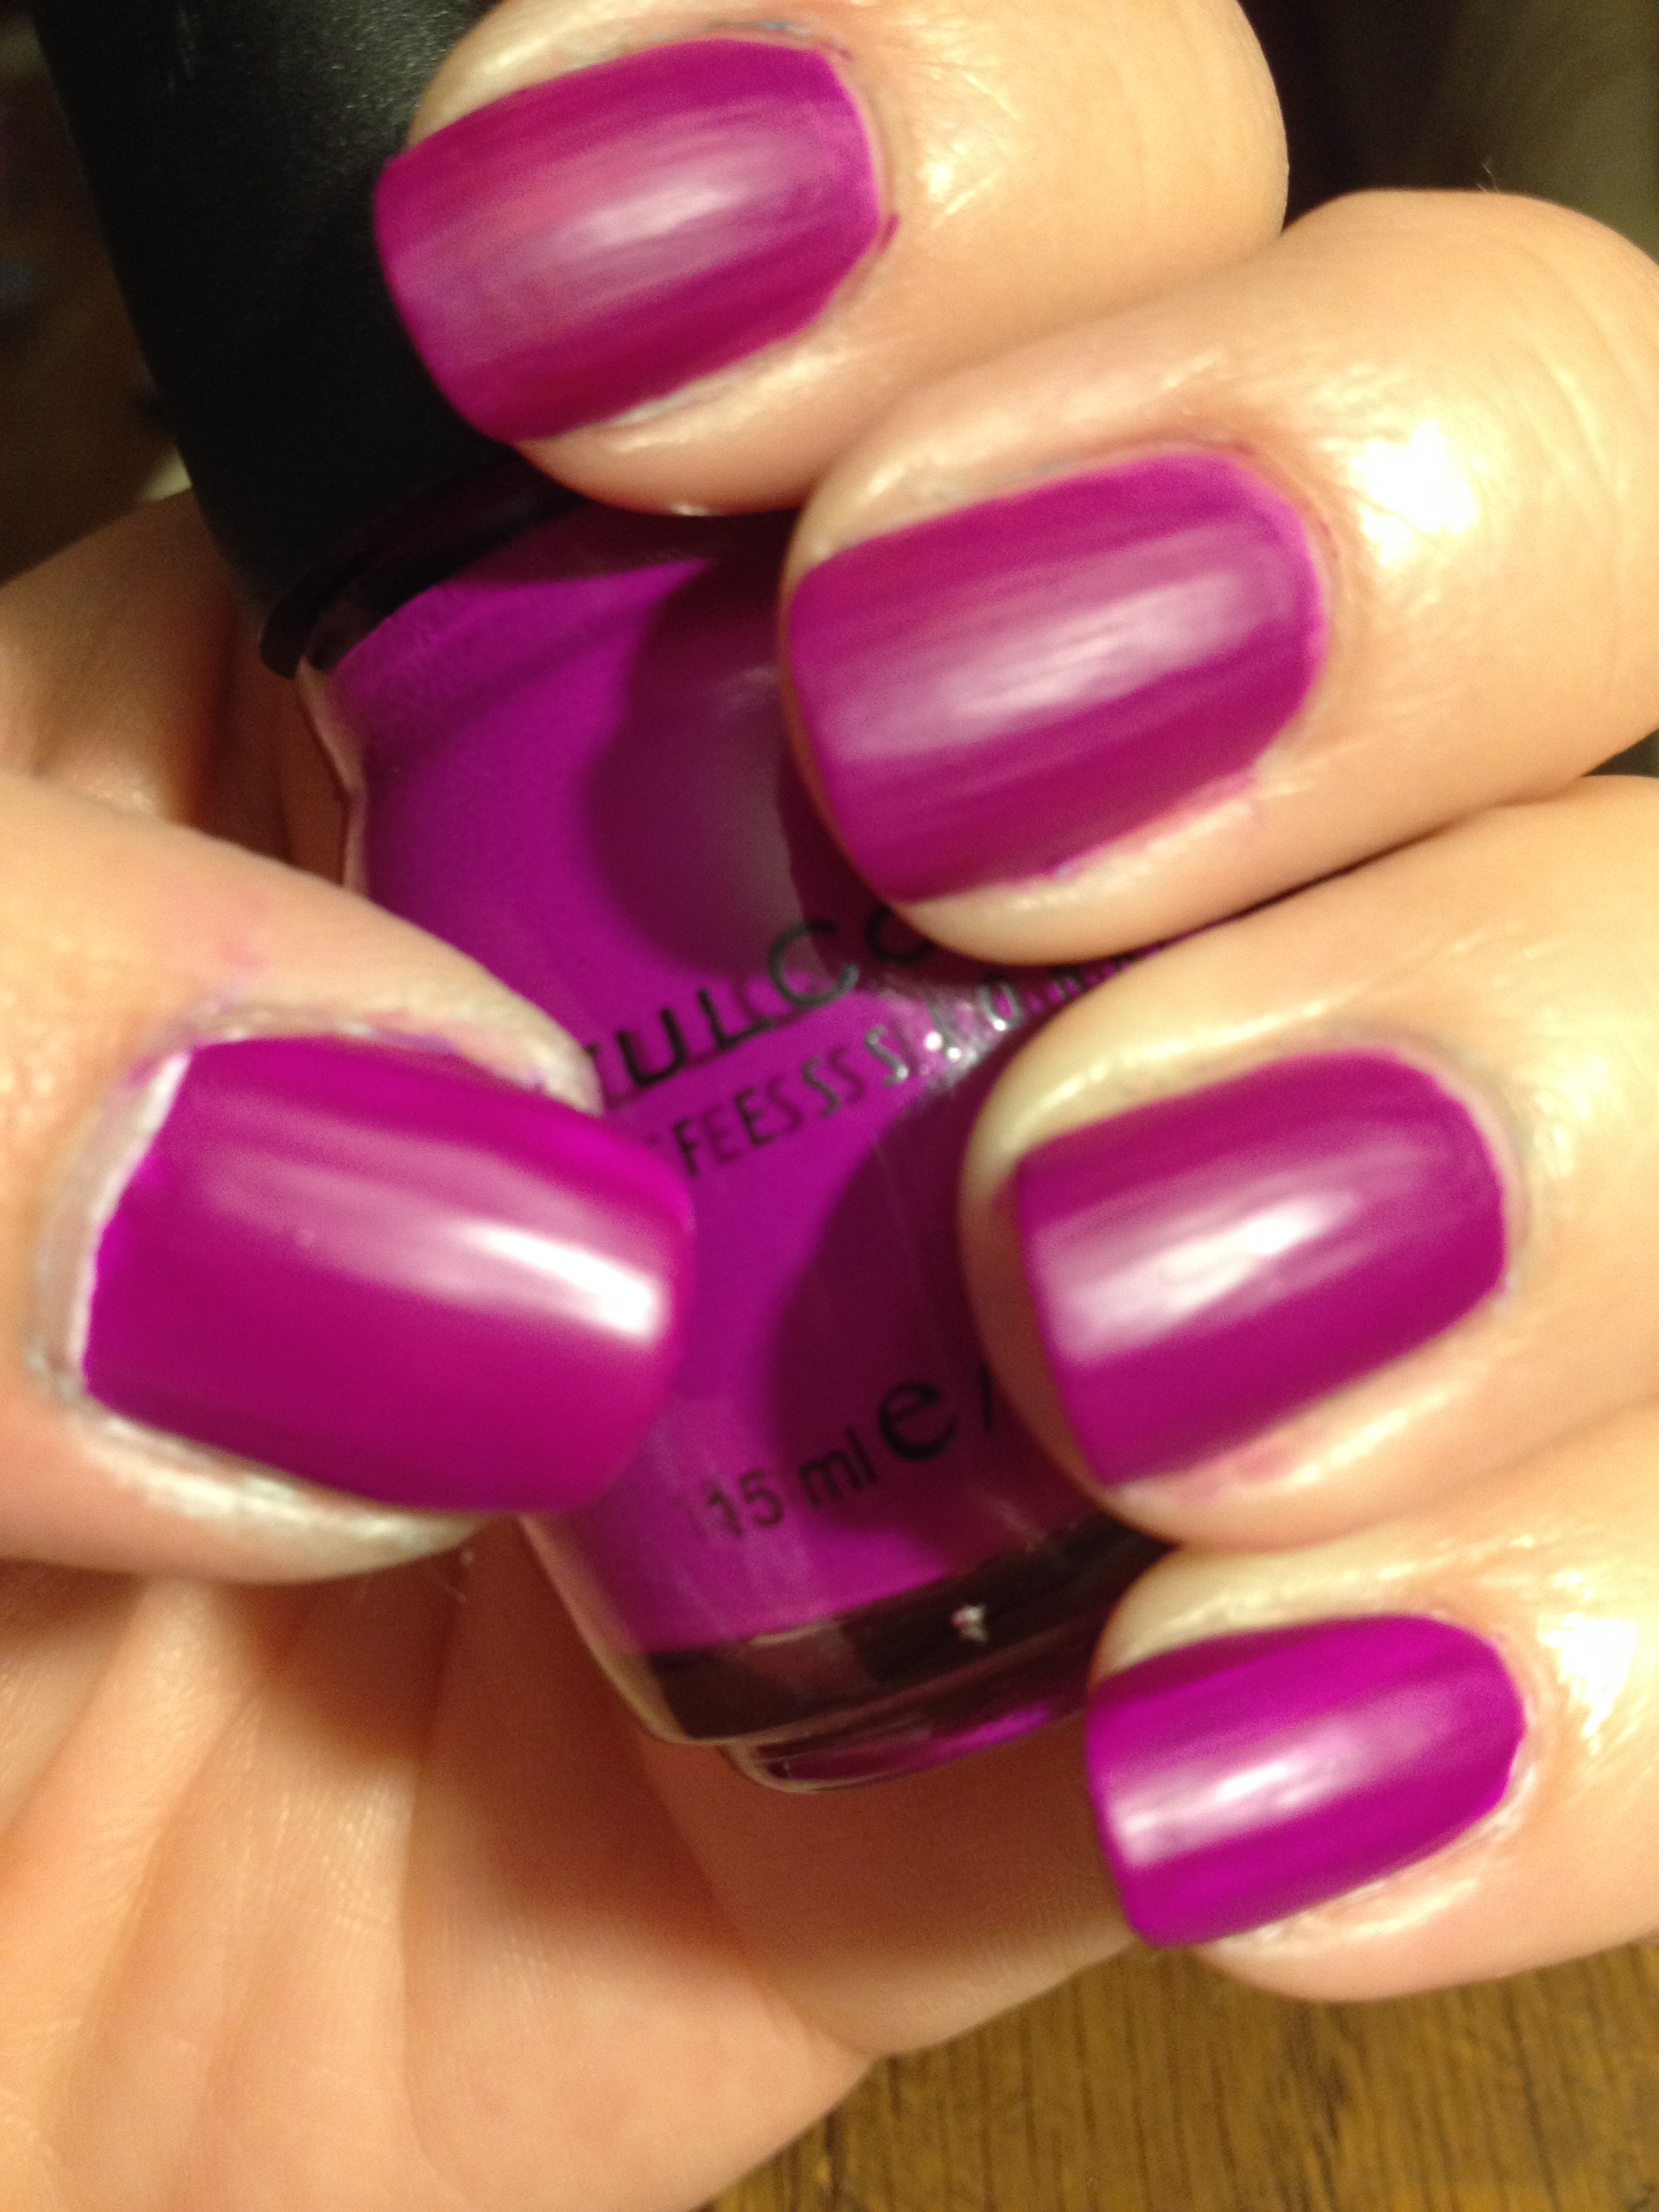
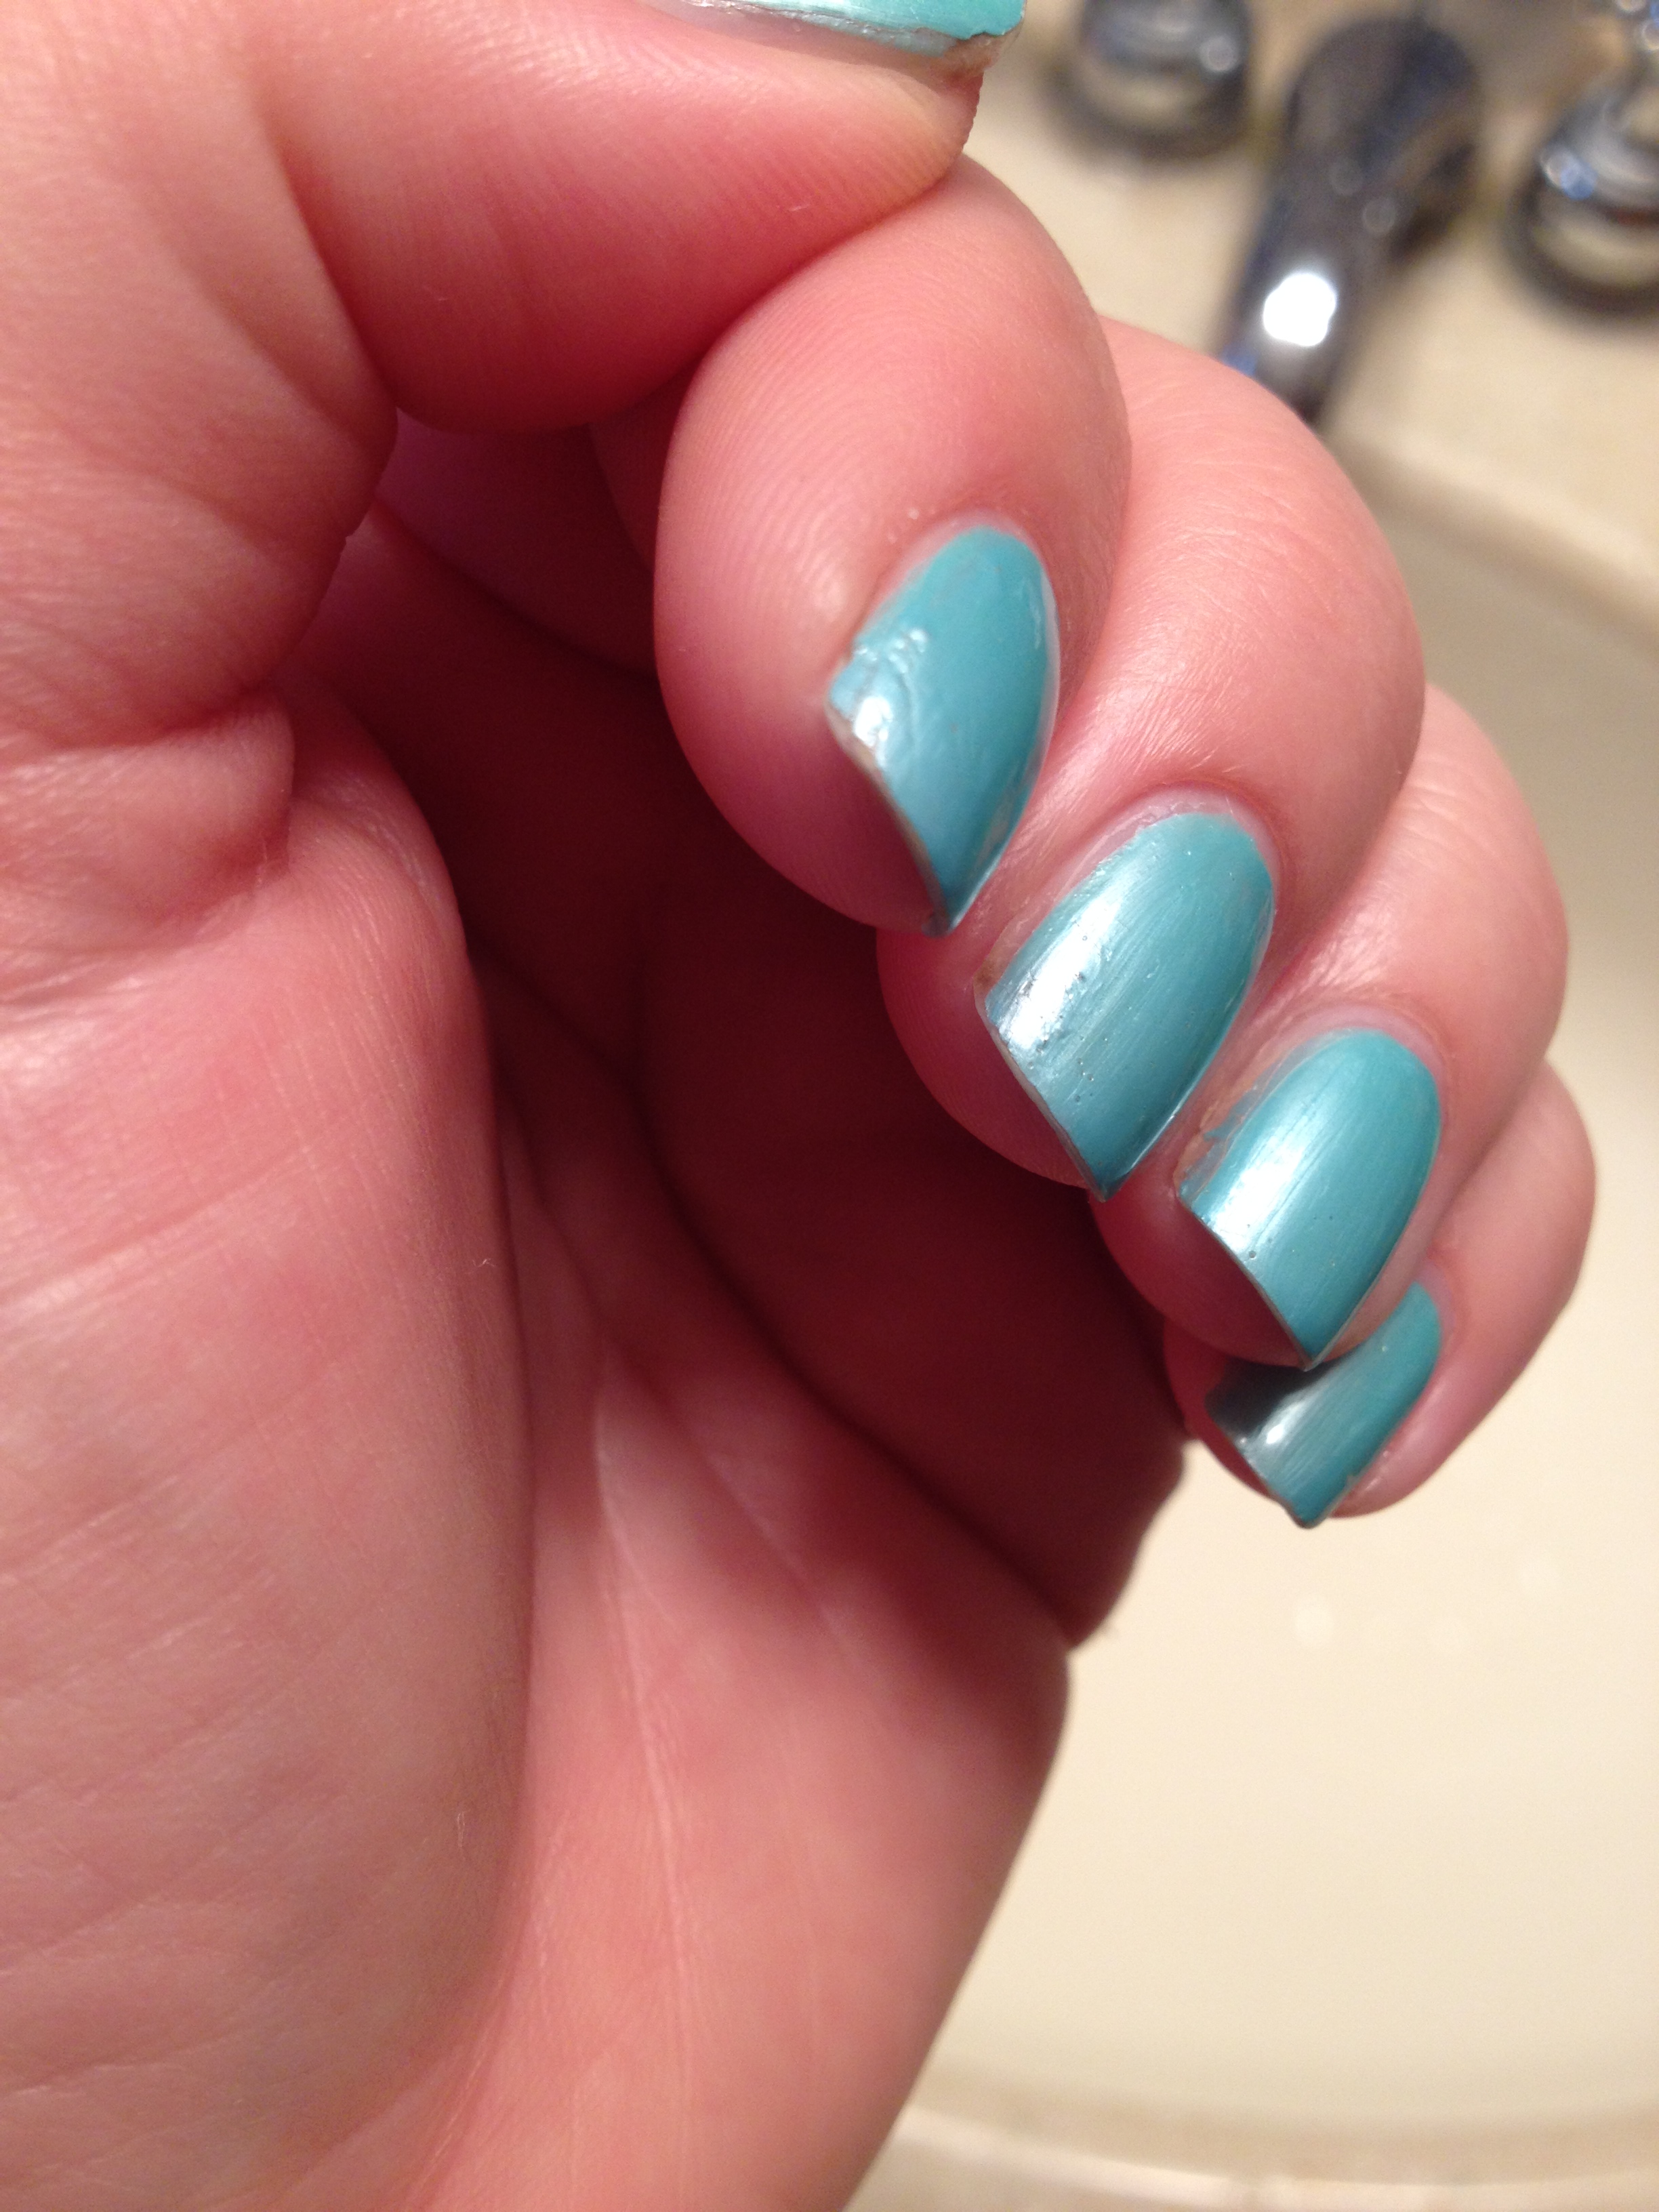
Apart from just using the little brush dipped in acetone to clean the polish off your skin and cuticles, you can also use it to get a perfectly rounded edge near your cuticle.  l  as you can see from the super-duper up close and unforgiving picture on the right my polish follows the curve of my cuticle with out actually touching it.  This is the goal, folks.  (By the way, over my white polish is Nicole By OPI – Party Bus and China Glaze – Point Me to the Party. I’m kind of loving this combo!)  After you get your polish all cleaned up and perfect looking, it’s time to…

7.  Apply a quick drying top coat.  There are lots of these out there.  I’ve used Seche Vite, INM Out the Door,  and Hoofer’s Choice, but I keep going back to NYC – Grand Central Station.  It dries so quickly and it’s so shiny and it only costs around $2!   I hear amazing things about Glisten & Glow HK Girl top coat, but I have yet to try it because I’m so happy with NYC.

So that’s it!  Your nails should look perfect now!  Seriously, it does take practice to get your polish looking perfect, so just hang in there.  It will come eventually.  Your thoughts, comments, questions, and tips are all very welcome!  Thanks for reading!

Water Marble Turkey Nails

I thought it was about time that I give water marbling another go.  I sort of did a bunch of experimenting, and as a result, every finger looks pretty different.  I’ll just say that’s what I was going for.

IMG_3965

And here are select fingers from my other hand:

IMG_3967IMG_3964

I think the polishes I was using were not really in the mood to be marbled with, because they were not very good spreaders.  I was using bottled room temperature water, so I don’t think my water was the problem…. You know, these close up pictures really show what a pain clean up is after water marbling.  Ugh.

Anyway, here’s another untried that got tried:

IMG_3960IMG_3961

This is NYC – Rule the City.  It’s a gunmetal shimmer with red micro glitter in it.  The red glitter sticks to the sides of the bottle, but not a whole lot of it transfers to the nail.  It’s still an interesting polish and I’m glad I have it in my collection, but it didn’t change my life or anything.

That’s all for now.  Have a blessed Thanksgiving, fellow Americans!  Everyone else, have a good forth week of November.

It’s a Rainbow of Organization!

Look what I finally did:

IMG_3596

And I don’t just mean that I arranged my nail wheels into as cute little circle.   What I do mean is that I finally got all of my polishes swatched onto nail wheels!  This will just make it so easy to figure out which polishes I want to use going forward, and it makes it a lot easier to remember what I have, too.

by nail blogger standards, I think I have a pretty modest collection at just north of 200 polishes.   (I know there are those of you out there in the quadruple digits.)   Even so, I would find myself forgetting what the opacity or finish of a particular polish was like.  Now I can have that info right at my fingertips!

I started by kind of grouping all of my polishes by color.  I sort of made up my own color groups as needed, like “dark neutrals, light neutrals, etc.  Then I wrote the name of the color on the back side of each “nail”.  Next I painted two coats of each polish on designated “nail”.  This was sort of a long and slow but fun process.

It made me remember how pretty some of my older polishes are, and how great of a formula some of my frequently ignored polishes have.   Because I was consistent with putting two coats on each nail, it’s easy to pick out which of my polishes are jellies or crellies, which is always a good thing to know.  And now when I have a friend come over to get her nails painted, I don’t have to drag out all of my polishes; I can just present her with my cute little wheels!

That’s all I have to say about nail polish today.  I do want to let you all know that I’ve got a LOT of stuff on my plate next week, so I think I’m going to take a little break from posting.  I’ve got some really great stuff happening in my life next week, and I’ll fill you in after the fact.  I’ll be posting again for sure the week of October 19, and I might get a chance to post a little something next week.  Not sure yet.

Thanks for reading, liking and commenting!  You all are swell people!

IMG_3594


What Black Undies Can Do For You

Did you ever buy a polish that you couldn’t really tell in the bottle what it would look like on the nail, but you were sure it would be cool?  Then you tried it and it didn’t rock your world like you thought it would.  I’ve definitely done this a lot of times.   One thing I have discovered is that a lot of these types of polishes take on a whole new life when you put them over black polish.

IMG_3552

Let’s look at each of these starting with…

IMG_3554

These polishes are from Valley Girl Lacquer, and indie polish company.  Here’s the link to their etsy shop.  The polishes from left to right are Profundity, Enigma, and Conundrum. These were actually a gift from my little sis.  When I got them, I thought they pretty much looked the same in the bottle.  My sis assured me that according to the pictures online, they would look awesome over black. And do they ever!  They are all duo-chrome-ish to some degree.  Enigma has the strongest 2-color appearance, as it reflects a really strong purple from some angles.

The middle chunk of polishes I have for you is a little less exciting.

IMG_3557

From left to right: Sally Hansen – Disco Ball, Sephora by OPI – Hollywood if I Could, Nicole by OPI – Heavenly Angel, Zoya – Monet, Loreal –  The True Daimond.

None of these are really earth-shattering.  I guess the thing I want to point out is that all of these colors give a nice mellow sparkle to any lighter color, but when you put them over black, it’s like POW!

Here are the next two:

IMG_3558

They are Orly – Sky Blue-Pink and Sally Hansen Lustre Shine – Moonstone.  Yeah, I don’t know why it’s called Sky Blue-Pink either, because it definitely gives off a copper color.  When either of these are worn on their own, they really just look like a pearly nude polish.  Nice, but super subtle.  One coat over black gives a totally different look!  As I said, the Orly polish gives a really strong copper color, and Moonstone turns into a really cool pink-purple-blue-green multi-chrome.

My last one is the most amazing:

IMG_3560

This is Fresh Paint – Sugar Crush.  This is what’s generally called a flaky topper.  (I hate that name, but if that’s what everyone else wants to call these polishes, I guess it’s not in my power to change it. )  Flaky polishes can sort of look like glitter toppers at first glance, but they are just different, and you can tell when you apply them.  Flaky Polishes are packed with tiny duo-chrome little bits that apply really nicely and evenly to the nail.  They can seem a little like a holographic shredded glitter polish like Nicole by OPI – Heavenly Angel, but the application is really different.  A shredded glitter topper behaves like any other chunky glitter topper: it’s a little hard to apply and can take some dabbing and finagling to get even application.  Flaky polishes apply much more easily.

When I first got this, I swatched it over a neon coral, white, and black:

IMG_2686

(These are actually my sister’s fingers.)  As you can see, over the lighter colors, the effect is pleasant, but not amazing.  I still remember when we were doing the swatches and I painted this polish over the black, both my sister and I were like, “Whoa!”   Ever since I got this polish, I’ve been waiting for October to roll around so I could wear it over black.

Okay folks, that’s it for today.  Thanks for reading, commenting, and liking.  It means a lot!

It’s Not Exactly Polish, But You Might Need It Anyway

My usually part-time job is going to be closer to full-time this week, but I still plan to post things on my promised Monday-Wednesday-Friday schedule.  I apologize in advance if my posts end up being a little skimpy, though. 

Today I thought I’d highlight a few of my favorite nail products that are not nail polish.  Let’s start with these little guys:

IMG_2910

These are nail wheels that I got at Sally Beauty Supply.  I think they were around $7 for a pack of 10 wheels.   These are great for several things.

I love to use these to practice nail art.  They are a great way to organize your nail art ideas or recreations.  I find that when I do other people’s nails, they come in really handy in helping people determine what they actually want done on their nails. 

These wheels are also a great place to just simply try out your new polishes.  Often when I get a new polish, I will wonder how it will look with a specific topper (glitter, iridescent top coat,…) over it, and this is a great way to test it out.  

I also like this stuff:

IMG_2907

This is a really nice cuticle oil that will last me a really long time and it was under $3 (I think).  I like to use this after doing my nails, when the polish is dry or on days between polish jobs.  It will really keep your cuticles from looking ragged and crusty.    Truth be told, though, almost any oil that you have around the house will work just as well – olive, vegetable, …  Lately, I’ve been using coconut oil on my hands and cuticles right before bed, so I haven’t been using my actual cuticle oil as much.

I use these little guys ALL the time:

IMG_2909

The thing on the left is a cuticle pusher that I got at Sally Beauty Supply for like, $.69 or something really cheap.  The red end is a softer plastic that is great for gently pushing back your cuticles.  The other end is a tapered harder plastic which I end up using for all sorts of stuff, like scraping stubborn glitter off my nails during the polish removal process. 

The little brush on the right is a $1 concealer brush from e.l.f. cosmetics.  I dip it in acetone and use this to clean up any polish that accidentally gets on my skin after I do my nails.  It works like a charm!  Any brush with really stiff short bristles should work well as a clean-up brush.  I know a lot of people use a Q-tip dipped in acetone to do their clean-up, but a little brush allows you to be so much more precise.

Make-up sponges!

IMG_2911   

I guess they are technically called “cosmetic wedges”, but there’s really make-up sponges.  These are great for certain glitter application techniques (like the gold glitter here) as well as gradient or “ombre” looks (like I did on the blue fingers here).  And they’re cheap.  This bag of 32 sponges was under $3.

OK, I confess that I’m mostly including this last item because I just got it and I think it’s super cute:

IMG_2908

It’s the Revlon Crazy Shine Nail Buffer!  Isn’t that the cutest buffer you ever saw?  And PA folks, it’s on sale at Giant this week for $1.09, regularly $3.09!  Buffers are great for shining up your polish if it starts to dull after a few days.  (Truthfully, I just usually slap on another layer of top coat, but if you don’t want to mess with that, a buffer is a great option.)  Buffers are also a great way to shine up natural nails without any polish or chemicals, perfect for people in the medical field or any other job in which you can’t wear polish. 

By husband (begrudgingly) let me buff his thumbnail:

IMG_2906

It’s so shiny that it looks like it’s got a coat of clear polish on it! 

OK, that’s it for today.  As always, I love hearing your comments and ideas!  Thanks for reading!

Adventures with Elmer’s Glue

Glitter polish.  I love it as much as the next person.  (Actually, I think it’s safe to say that I love it more than the next person, since at any give time there’s a good chance that my husband is the “next person” to me.)  It sure is a bugger to remove, though.  Even when using straight acetone, it can still be a pain to remove completely.  

Then one day, someone somewhere had the brilliant idea of applying a base coat of Elmer’s School Glue on the nails before applying glitter polish so that you could just literally peel the polish of when you were ready to remove it.  When I first heard about this, I just about fell over.  I’m pretty sure that I went out that same day to buy some glue.   

Attempt #1:  I applied a medium-thick coat of glue to my bare nail with a little brush and let it dry completely.  I then applied a few coats of a really dense glitter polish.  It really seemed like everything was going well until I woke up the next morning and found that one of my one of my nails had just fallen off while I was sleeping!  (Well, the nail didn’t actually fall off, but the polish did and it looked just like a press-on nail.)  By the time I was done making breakfast, four more nails had fallen off, so I just easily popped the rest of them off, too.  This all happenbed pre-blog for me, but I actually did take a picture of it at the time:

polish fell off

So, Attempt #1 was a fail.

Attempt #2:  After lamenting about how my beautiful polish just fell off on facebook, someone suggested that I apply a base coat first, then apply the glue, then the polish.  So, that’s what I did.  The good news was that the polish did not fall off.  The bad news was that it was really, really hard to get the polish off without nail polish remover, and I actually did a little damage to the top layer of my nails when I ripped the polish off.  So, Attempt #2 was another fail.

Attempt #3:  Somebody – and I forget who, so if it was you, let me know so that I can give you credit – suggested that I water down the glue before applying it, so that’s what I did.  I mixed together roughly equal parts water and glue and brushed it only my toenails.  Adding the water made it easy to apply a really thin coat of glue.  I let it dry completely and then painted my toes with my currently favorite glitter polish, Funky Fingers – Sand & Stilettos.  Well, the next morning, none of my toenails had fallen off, so that was a good thing.  The polish actually survived 6 days, including a day at the beach until I noticed that the polish had popped off of my middle toenail on my right foot. 

IMG_2799 

(Yes, I’m fully aware that I have stubby toes, so you don’t need to tell me that in the comments or anything.)  Well, since one of the nails was bare, I decided that I might as well take the polish off the rest of the toes.  I took a little bit of picking around the edges with tweezers, but all of the polish on the little toes came off in one chunk.  The polish on the big toes came off in a 4 or 5 chunks.

IMG_2801

In the end, all of the polish came off pretty easily with little to no damage to the nail!

IMG_2804

I just gave my toenails a quick wipe-down with some acetone to remove a few stubborn pieces of glitter, but that was all I had to do!  Attempt #3 was a Success!  (And there was much rejoicing, yay.) 

So, I haven’t actually tried the watered down glue on my fingernails yet, and I know they take a lot more abuse than toenails, but someday I will and I’ll let you know how it goes.  And if you give it a try, please let me know how it works for you!

Battle of the Base Coats

I have long been under the impression that Revlon makes one of the best base coats out there.  I’m talking specifically about the Quick Dry Base Coat.   This stuff is sort of elusive.  It’s not always available at every Revlon nail polish display.  (The one place that consistently has it in stock at the best price is Christmas Tree Shoppes. )

It looks like this:

IMG_2631

I used this stuff for several years as my regular base coat, and was always really happy with the results.

Then Seche Vite (pronouced “SESH VEET”, according to French people) came onto my radar.  It pretty much seemed like everyone praised their top coat as being the best thing ever.  Well, I can now say from experience that they do make an awesome top coat, so I assumed that they made an awesome base coat as well.

That’s what prompted me to buy Seche Clear:

IMG_2634

The formula for these two base coats couldn’t be more different.  Revlon is thick and pretty much looks exactly like Elmer’s Rubber Cement.  It fills in any nail ridges and self-levels really well.  When it dries, your nails feel rubbery, almost sticky.  Seche Clear is crystal clear and super thin.  It feels like you are just painting a really thin clear polish on your nails.  When it dries, it is slightly shiny a bit tacky.

I have never put these two base coats to a head-to-head test, so I figured it was time to do so.  I painted alternating fingers with the two base coats and followed them with 2 coats of white polish, a cute neon glitter polish, and Seche Vite top coat.  Specifically, Revlon is on my first and ring finger on my left hand, and my thumb, middle finger and pinky of my right hand. Seche Clear is on my thumb, middle finger and pinky of my left hand, and first and ring finger of my right hand.

Let’s see what happens…

Day One:

IMG_2618IMG_2616

Both base coats trucked along beautifully for 3 days. On the 4th day, I started to notice a few little chips.

Day 4:

Seche Clear nails.  There’s definitely some tip wear, and a visible  chip on the pinky of my left hand, and the first finger of my right hand.

IMG_2700 IMG_2701


Revlon nails.  There’s some tip wear and a little chip on the middle finger of my right hand.

IMG_2707 IMG_2710

By day 5, I was getting really tired of looking at the same polish every day.  Under normal circumstances, I would have repainted my nails.  Since I wanted to hold out a little longer on this head-to-head challenge, I satisfied myself by adding some different colored glitter to my nails.

At the end of day 6, I got a HUGE chip on one of my nails.  The chip was huge enough for me to declare day 6 as the last day of this little challenge.  Here they are..


Day 6

Seche Clear nails.  The left hand doesn’t look too much different than day 4, but look at my first finger on my right hand!  I lost almost half of the polish!  It chipped off some time while I was at Hersheypark, but I didn’t actually notice when it happened.

IMG_2719 IMG_2720

Revlon nails.  Still only that little chip on the middle finger of my right hand.

IMG_2717 IMG_2721

I also compared the tip wear of each finger on my right hand with its counterpart on my left hand and found that…

Thumbs:  Revlon wins (on my right hand)

First fingers: Revlon wins by a landslide (on my left hand)

Middle fingers: Seche Clear wins (on my left hand)

Ring fingers: Revlon wins (on my left hand)

Pinky: Revlon wins (on my right hand)

This little experiment has pretty much confirmed my hunch that the Revlon Quick Dry Base Coat will help your mani look better longer than Seche Clear.  Revlon will continue to be my go-to base coat for the foreseeable  future.

What has been your experience with base coats?  What base coat do you love?

All About The Neon

So we’re smack in the middle of summer.  Summer is great for many reasons, not the least of which is wearing neon nail polish!  Actually, summer is pretty much the only season in which you can wear neon polish without looking…  What’s a nice way to say “trashy”?  (You are entitled to disagree with me, but that’s how I feel.)  Anyway, since we are in the season of neon, I figured it was a good time to talk about how we can all sport the most eye-searingly neon nails as possible.

Have you ever purchased a beautifully bright bottle of neon polish that you just couldn’t wait to put on your fingers?  You didn’t want much, just for your nails to be as bright as the bottle of polish.  Then once you got it on your nails, it was disappointingly drab.  It was streaky and see-through, and matte and just didn’t look like anything in the bottle.  It was a sad day.

Well, I’m here to tell you that you CAN have nails that are just as brilliantly bright as the polish appears in the bottle, and for the most-part, there’s just one really important step that you need to take before you slather on the neon polish…(Drum roll, please.)… You need to paint your nails white first.  A lot of neon polish has a pretty shear formula.  Those “highlighter yellow” polishes almost always have a really transparent jelly formula.  Because of that, the only way to get the true color to show up is to make sure it’s on a white background.

And you need to take your time and paint your nails really nicely with the white polish.  Since the neon polish is tends to be shear, any streaks or missed spots in the white polish are going to show through the neon layer, too.  Generally, two good coats of white will make a great base for your neon polish.

There are other bloggers out there (many of whom I like a lot) that claim that painting your nails white first should not have to be a requirement, and the nail polish companies need to step up their game and make true neon polish that doesn’t require a white base.  I say that those sentiments are all well and good, but the truth is, your neon nails will generally be a heck of a lot brighter if you just take the extra 5 minutes to put down a nice white base.

So, let’s get to some examples.  Here are the polishes that I tested:

IMG_2602

I arranged them nicely in rainbow order and took this picture in natural light to try to show the colors as accurately as possible. Starting with the upper left, the colors are:

  • Sally Girl #812157
  • Sally Girl #812158
  • China Glaze – Thistle Do Nicely
  • LA Colors – Hottie
  • Sally Girl – Crazy
  • Spoiled – Did I Dye It Too Blonde?
  • Broadway – Sour Apple
  • China Glaze – Turned Up Turquoise
  • Nina – Blue Blaze
  • Sinful Colors – Dream On

One each hand I painted my:

  • First finger: 2 coats of neon polish on bare nail
  • Middle finger: 3 coats of neon polish on bare nail
  • Ring finger: 4 coats of neon polish on bare nail
  • Pinky: 1 coat of white polish followed by 2 coats of neon polish
  • Thumb: 2 coats of white polish followed by 2 coats of neon polish

I did all of these swatches while watching The Bachelorette.  In retrospect, I should have done them during the day so that I could have photographed them in natural light.   It’s really hard to capture neon colors on camera as it is, and I think artificial light makes it even worse.   I should also point out that I am fully aware that my paint job on some of my fingers is pretty crappy.  I was mostly concerned with getting them all done before Andi gave out her final rose.

Here we go…

Sally Girl #812157:

IMG_2580

This picture is really deceptive.  The color is a crazy bright pink, and with this particular color, it is SO much more vibrant over white.

Sally Girl #812158:

IMG_2583

This is a neon bubblegum pink.  This one is actually just fine without a white base, as long as you do at least 3 coats.

China Glaze – Thistle Do Nicely:

IMG_2584

A hot pinky-coral.  China Glaze makes some really great neon formulas, and this is one of them.  Three coats without a white base looks great.

LA Colors – Hottie:

IMG_2595

This  is actually a bright coral.  This may not be a true neon, because the formula dries glossy instead of matte.  Three coats of this looks good without white underneath.

Sally Girl – Crazy:

IMG_2585

Traffic cone orange.  This picture is a little deceptive.  Without white underneath, it remains a dingy orange.  A white base makes the color blinding!

Spoiled – Did I Dye It Too Blonde?:

IMG_2588

This highlighter yellow is the color that most obviously benefits from a white base underneath.  On the pinky, you can see that the streaks from the thin coat of white show through.  I love how this looks on the thumb!  You definitely need two coats of white under this and then 2 coats of yellow, but the trouble is SO worth it!  You can stop traffic with these nails!

Broadway – Sour Apple:

IMG_2591

This color sure looks neon to me, so I was surprised that it dried glossy.  An amazing formula for a polish that costs $1!  Three coats without white and you are good to go.

China Glaze – Turned Up Turquoise:

IMG_2594

I LOVE this color!  This formula is great, so you don’t need a white base.  This is not a typical neon color, but it is part of China Glaze’s neon collection.  This looks really cool with it’s matte finish, but there is a greenish shimmer in this polish that really shows up when you put a shiny top coat over it.  This color, along with the last two, are actually colors that you can get away with wearing year-round.  Did I mention that I love this color?

Nina – Blue Blaze:

IMG_2598

Again the color in this picture is really deceptive.  I decided to include this color, because like most neons, it dries matte and it really is a bright electric blue in person!  It’s sort of irritating, but this color applies much more smoothly when it is not over white, but the color is much brighter when it is over white.  I think I’ll have to play with this one a little more to get it just right.

Sinful Colors – Dream On:

IMG_2599

This neon purple looks okay if you do 4 coats on it’s own, but a white coat underneath just makes it pop.

And here’s my little trash can by the end of The Bachelorette:

IMG_2600

You can see some of my husband’s peanut shells underneath.  He feels that it is important to shell and eat peanuts while he watches baseball on TV.   So, as long has he doesn’t complain about the nail polish bottles that are strewn all over our house, I won’t complain about the peanut skins that land on the carpet.  The things you do for love.

What are your thoughts on applying a white base under neons?  And what are your favorite neon polishes?


Four Days of Wear

I’m getting ready to take my current polish off to do some swatches for you, but I thought I should show you something first. Here are my nails after 4 days of wear, one of which involved 2+ hours of yard work:

IMG_2568IMG_2569

You can see a little bit of nail growth at the cuticle, and the tiniest bit of wear on the tip of my first finger, but that’s it.  (In retrospect, I probably should have taken a picture of my right hand, since that’s my dominant hand, but really, the wear is about the same.)

Anyway, my point is that this is why you should use a base and a top coat.  My polish would chip in a day if I didn’t.  For this particular manicure, I used Revlon Quick Dry Base Coat, 2 coats of NYC In a New York Minute Amazon green, and Seche Vite Dry Fast Top Coat.  In the near future, I am planing to put a few base coats and top coats up against each other in an attempt to find out which ones really are the best, but so far I’ve never been disappointed by the Revlon base coat/Seche Vite top coat combination.

I’m off to write a much more substantial post now on how to make your neon polish look as awesome as possible.  Until next time, happy polishing!