Wow, I’ve been a slacker of a blogger. Shame on me. I do have a legitimate excuse, though. For the past few months we’ve been really involved with an elderly family member who has been dealing with some health issues and major life changes. There are some seasons of life that are just a little extra stressful and busy and sometimes you have to shuffle your priorities around. For me, that meant taking a little break from blogging. I think life will be returning to “normal”, so I should be able to get back to posting more regularly. I know, you were all so worried.
While I haven’t had the time to write about my nails, I have still been doing my nails. I thought I would just do one big post to sort of catch you up on some of the looks I’ve sported over the past few months. Here we go..
I kicked the year of with these sparkly guys! I just can never get enough sparkle. The sparklier, the better. I know I’m really getting up there in years, and I suspect some people feel that super sparkly nails are not age appropriate for me anymore, but I just love glitter so much. So pretty. So sparkly.
Speaking of sparkly nails…
 Let me just get all of the sparkly nails out of the way. I think I like to wear sparkly nails over the winter months because in the warmer months, I tend to go for cream formulas in neon and pastel colors. Metallic and glitter nails just seem too “heavy” for warm months. Do you know what I mean? Plus, snow is sparkly, so there’s that connection.
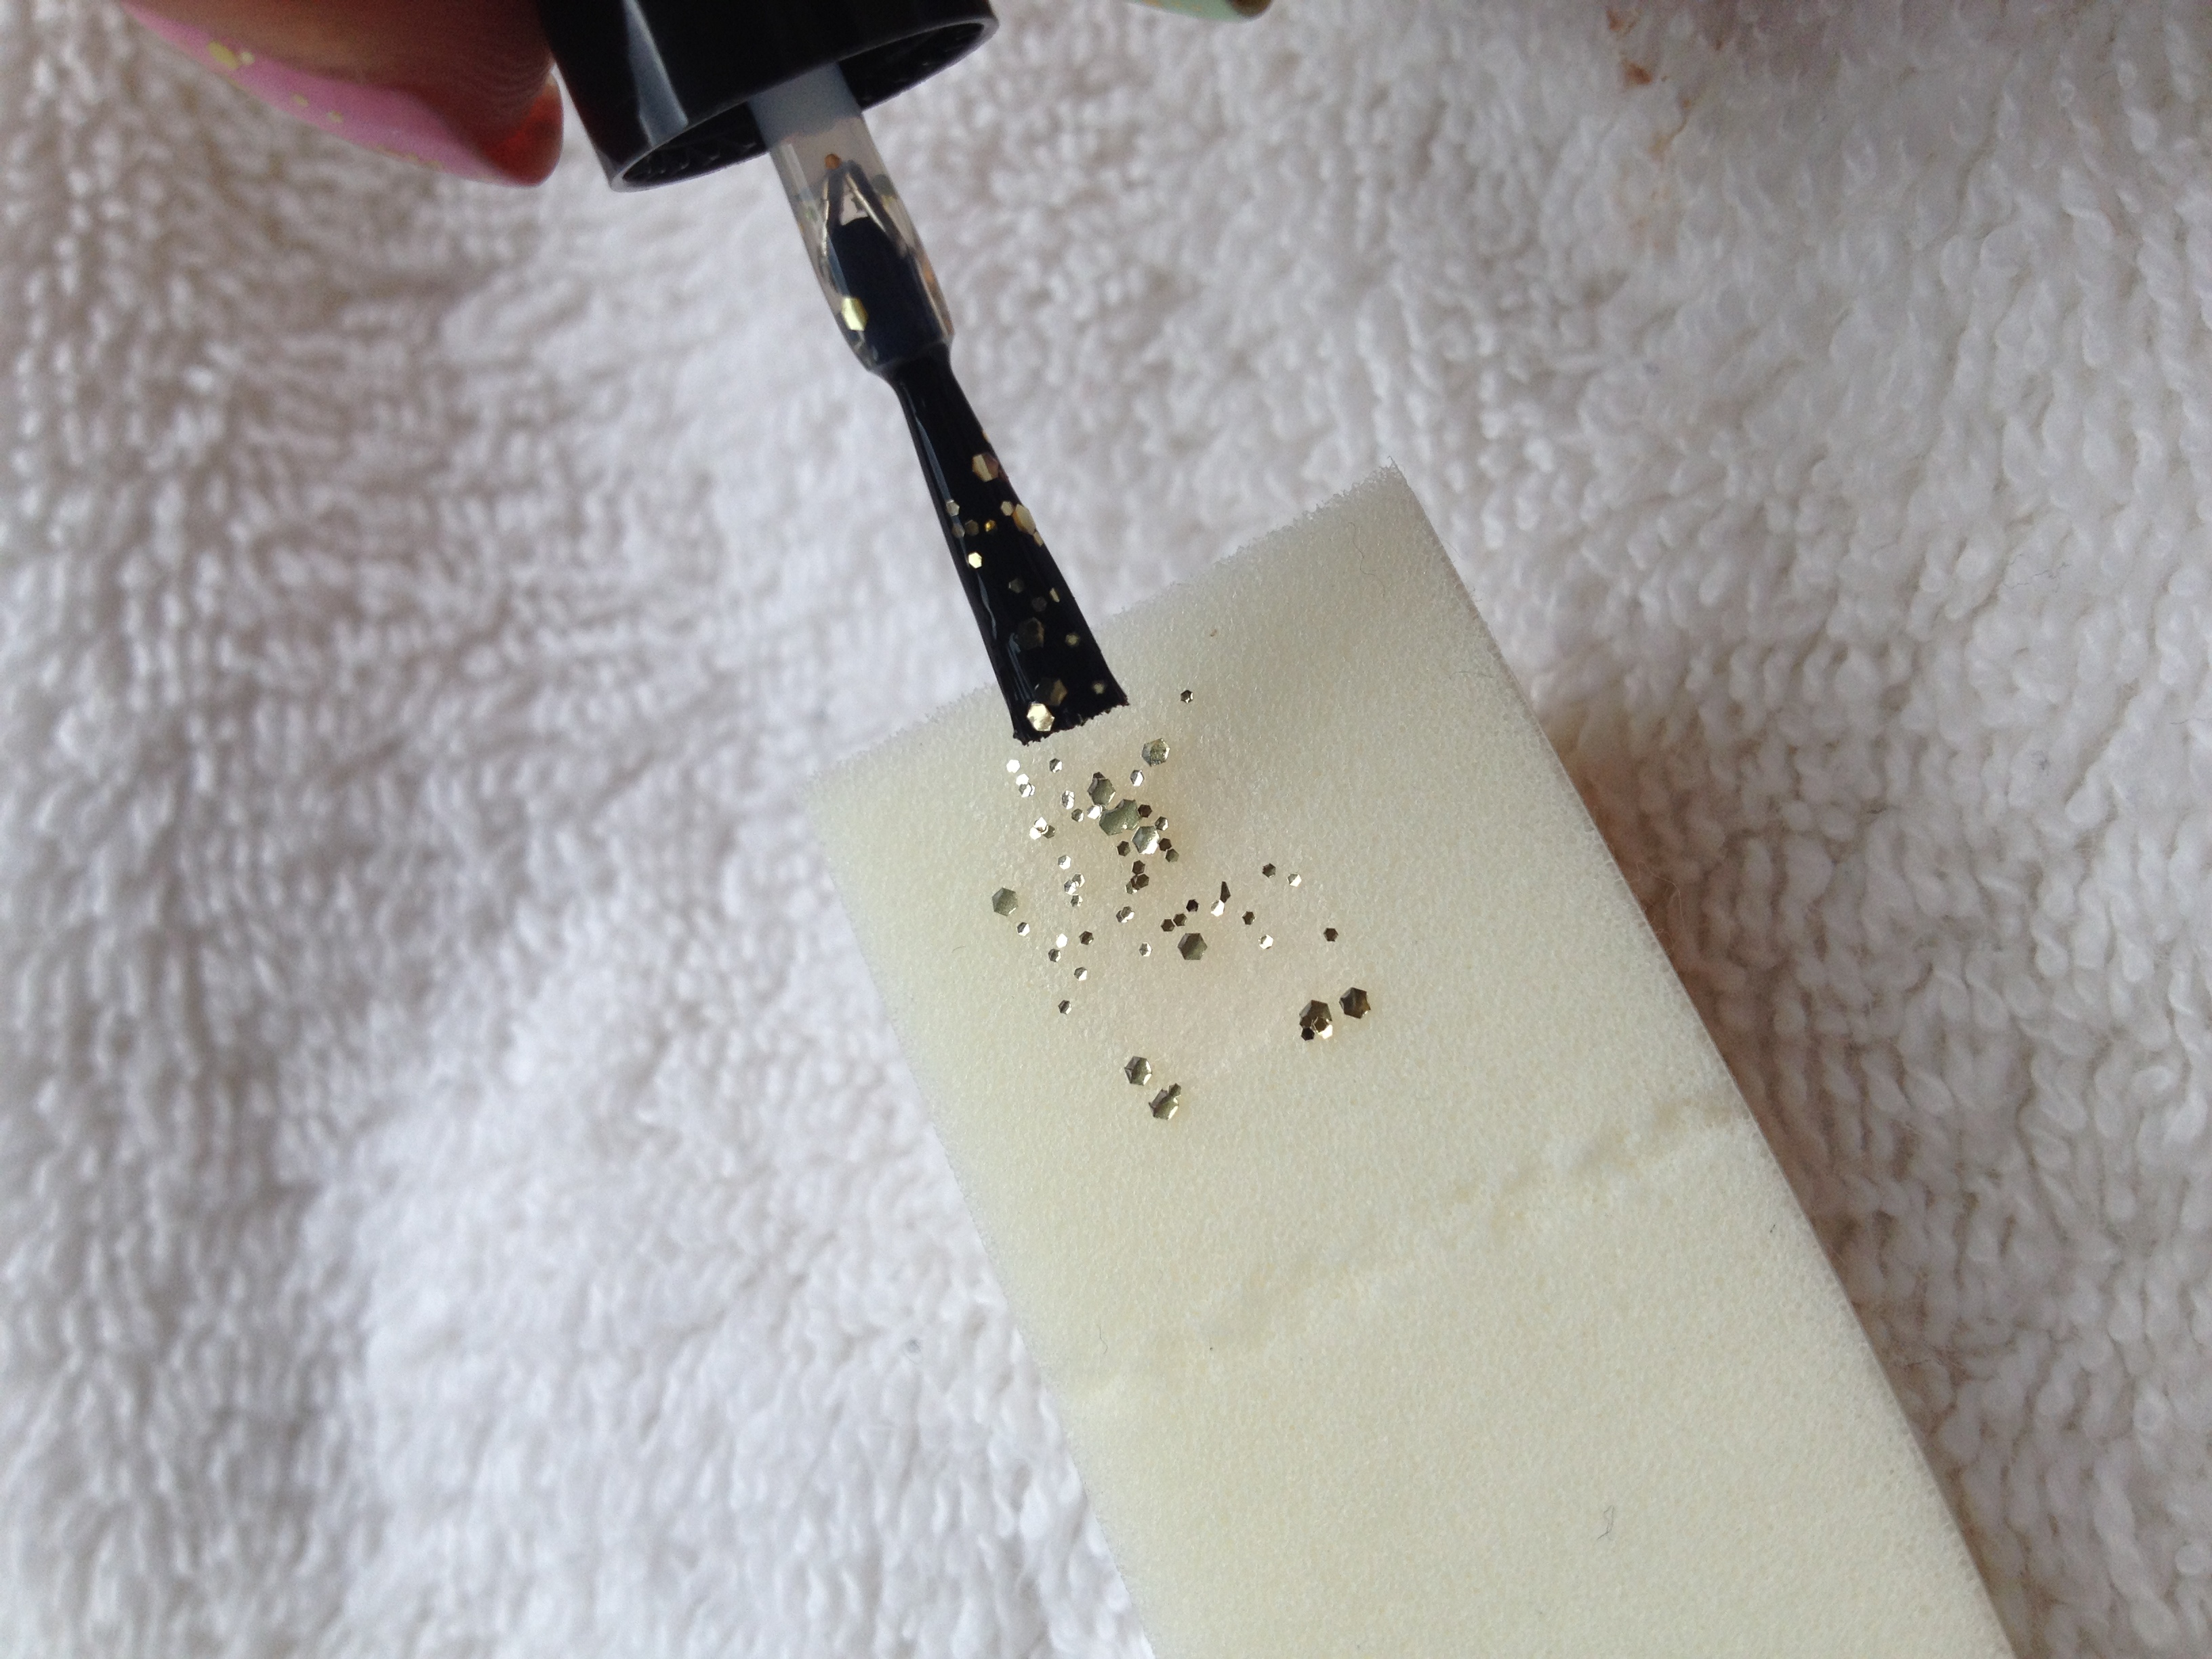
I did these glitter placement nails for a Weekly Nail Art Challenge (#wnac2016) on instagram. The theme for the month of January was Glitz and Glam, and one of the weekly prompts was Diamonds. Instead of opting for a design like a diamond gemstone, I arranged some glitter in the shape of a  diamond.
Here are some other really sparkly nails I wore recently. The darker base polish is Rimmel London – Diamond Dust, and the ring finger is Funky Fingers – Sand & Stilettos. That wasn’t sparkly enough, so I topped everything with a holographic glitter topper, Nicole by OPI – Party Bus.
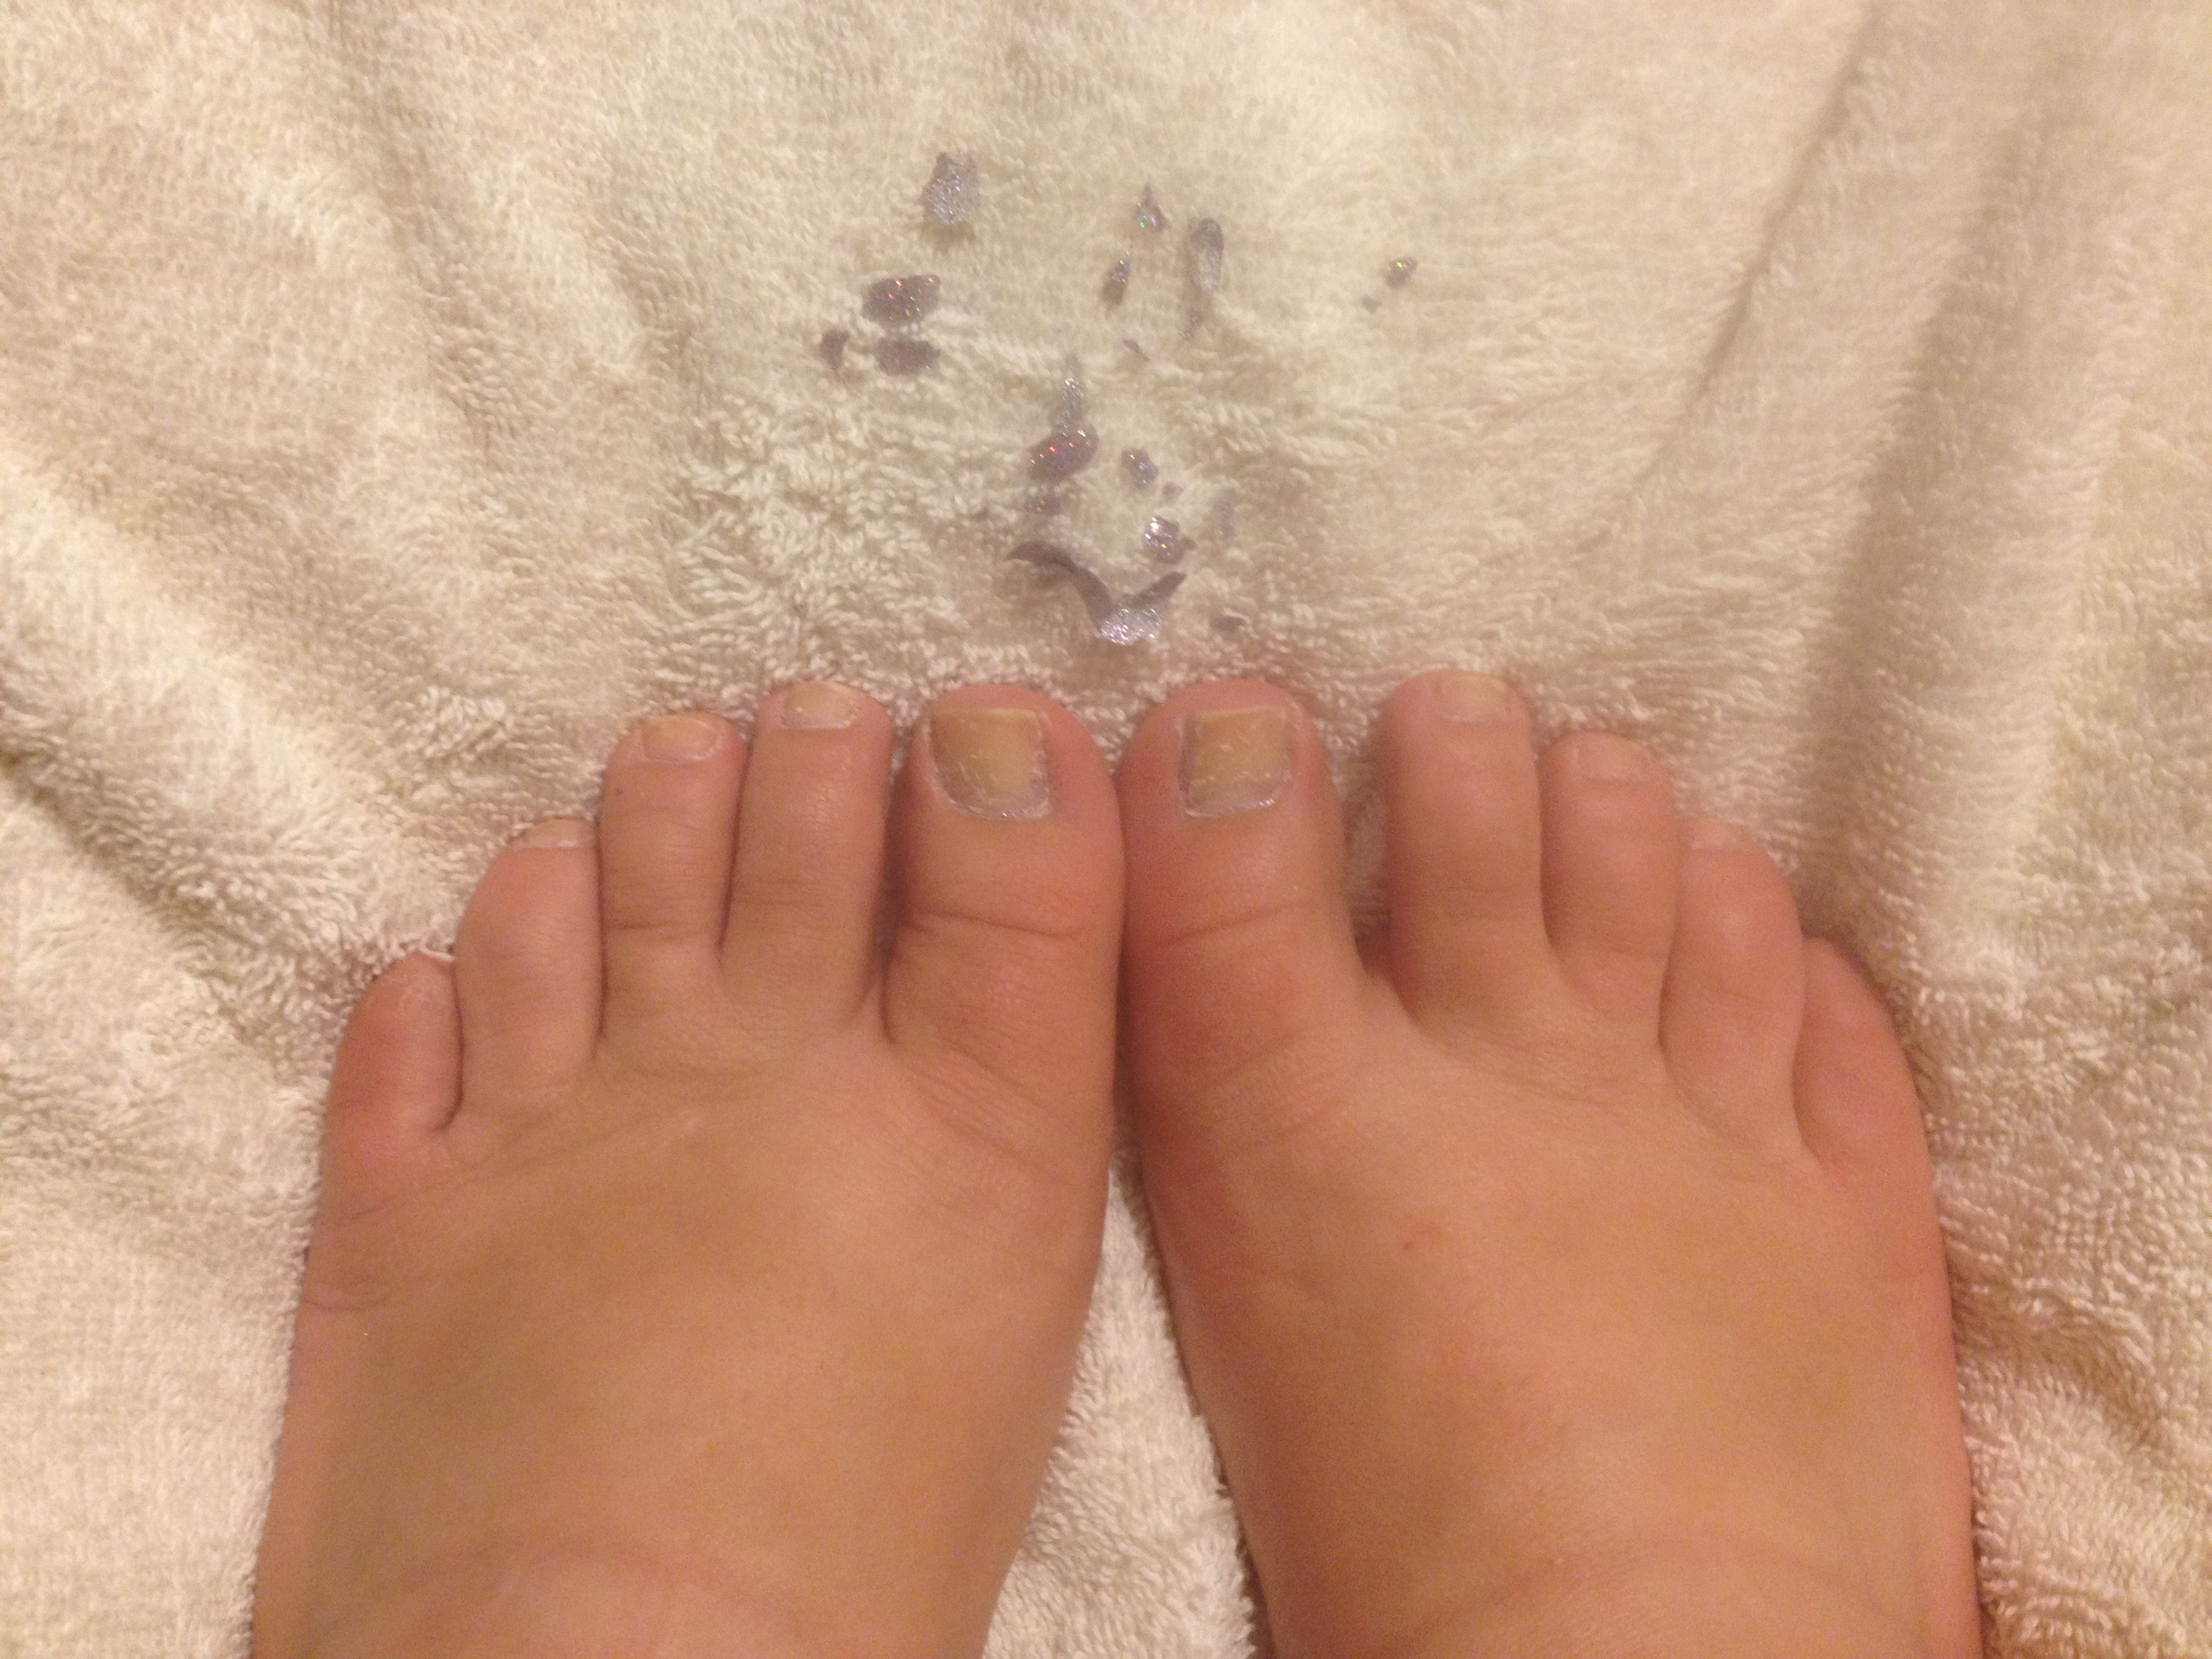
I had the foresight with these to use a peel off base coat, otherwise it would have taken about two gallons of acetone to get this off my nails.

Here’s a new polish that I picked up. This is Revlon – Scandalous. The top picture shows it with a matte top coat, the bottom shows a glossy top coat. (Sometimes it’s a serious struggle deciding on what kind of top coat to use. ) I think polishes like this are perfect for this time of year.
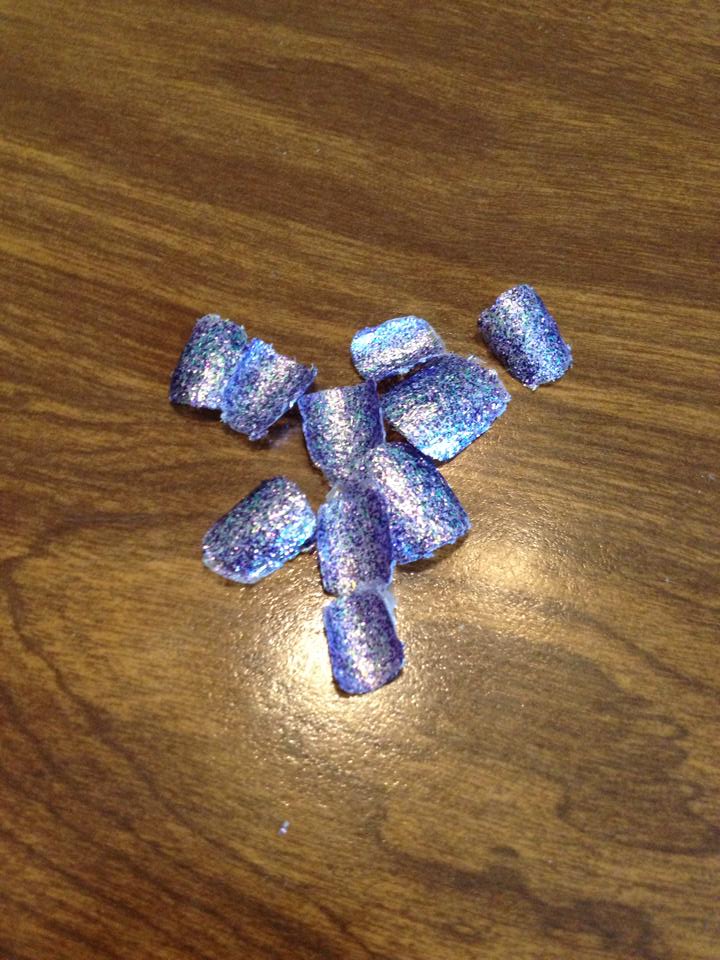
 And here is the final set of really sparkly nails. This polish is from China Glaze’s newest collection called House of Color. This polish is called Moonlight the Night and oh my word, it is amazing. When you look at it in the bottle, it kind of looks like it’s iridescent glitter in a blue base, but it’s not. The base is actually clear, but there are translucent purple and blue glitter along with iridescent glitter. When you put it over white, the iridescent glitter shows up as just a pale peach color. When you layer it over black, the blue and purple glitter aren’t really visible, but the iridescent glitter shows up as bright orange and green and teal. It’s wild! I try to refrain from telling people that they NEED to pick up a specific polish, but you won’t be sorry if you pick this one up.
Here’s another new polish I picked up. This is Sinful Colors – Rose Dust. I think this is just  the most beautiful color, and I think it would work for pretty much all skin tones. This color just makes me feel pretty.
Months and months ago, I picked up some nail foils on clearance at Rite Aid. Then they just sat around collecting dust. One of the prompts in January for  #wnac2016 was foil, so this was the perfect opportunity for me to finally give them a try. I really liked how they turned out. Perfect for wintry weather and SO SHINY! By the way, if you’d like more information on how I did these or any other nails in this post, just let me know, and I’ll see what I can do.
I also took another stab at water marbling. Yep, it’s still a pain in the arse. I made this picture small on purpose, because the less you can see it, the better it looks. Trust me.
 Now these gradient heart nails were some of my favorite nails that I’ve done in awhile. They are super cute, right?!? I just sponged on a gradient with a bright pink, a purple-ish pink, and a bright purple and then topped it with Sinful Colors – Love Sprinkles, a limited edition polish that I picked up last Valentine’s day. For my accent nail, I painted it white and then applied a quick dry top coat. Then I cut a little heart out of painters tape and stuck it on my nail and then did the gradient over the tape. Then I peeled the tape off and topped it with
  Love Sprinkles. I sort of felt like these nails were 20 years too young for me, but I loved them anyway.
I also did these “quilted” nails. I didn’t love how they turned out, but they can’t all be winners. I did take pictures each step of the way when I did them, so if you want to see a tutorial on these, let me know. If you don’t want to see a tutorial, I’m not offended. I know they’re not the greatest.
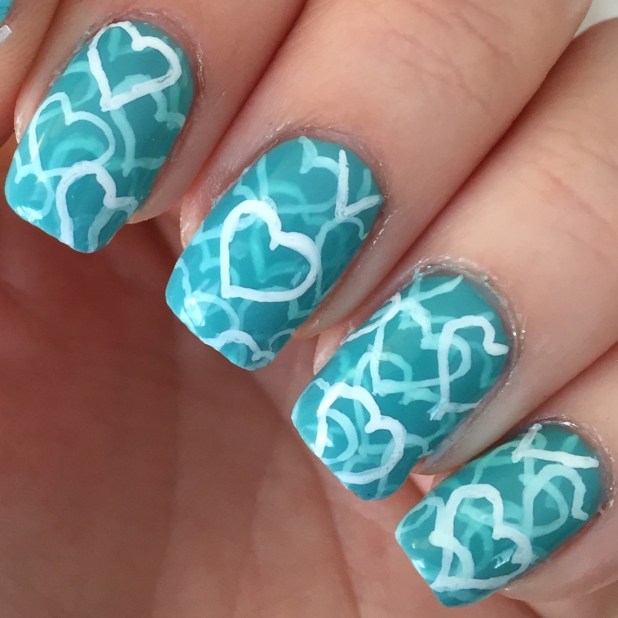
And here are the nails that I’m actually  currently wearing. This is a pond mani using Wet n Wild – Gyp-Sea Green, a limited edition polish from a few years ago. It’s a really sheer jelly polish, so I actually started with a base of Wet n Wild Megalast – I Need a Refresh-Mint. (I have the old formula which is a dead on dupe for China Glaze – For Audrey.) Then I used white craft paint to paint a few hearts on each nail. Then I added a coat of Gyp-Sea Green followed by a few more hearts, followed by another coat of Gyp-Sea Green, followed by more hearts,… I lost track of how many
  layers I actually did. I just kept going until I felt like they looked like I wanted them to look. They are pretty cute, I think.
And I finally decided to dive into the world of nail stamping. I have had a cheap stamper and a few really dinky stamping plates on hand for 3 or 4 years, but I just finally decided to use an Amazon gift card that I got for Christmas to get myself some reall stuff. I got a Winstonia marshmallow (sticky) stamper and eight Born Pretty Store stamping  plates. There’s been a definite learning curve to the whole thing, but I’m getting better! I did the quilted nails the day after I got my stamping stuff, and you can see my so-so attempt at stamping on my index and pinky fingers.
Here are some plaid nails I did using my stamping stuff. You can see that my pinky is  sort of wonky and crooked, but hey, I’m still learning.
I have always thought that stamping was sort of nail art for cheaters, but I’ve sort of changed my mind. I still have way more respect for awesome freehand designs, but lets face it, we can’t all be Jaunty Juli . (She’s awesome, by the way.) Stamping lets you get really intricate designs on your nails really quickly, while still allowing you to feel creative.
These French tip nails were my first attempt at reverse stamping. These turned out not too bad, but I definitely want to get better at this technique. This was one of those “they looked better in my head” situations.
And the final set of nails that I’ll throw at you in this post are these newsprint nails. I actually started with a white base and used a Sinful Colors – Rose Dust to stamp a delicate design on my nails. Then when they were dry, I dipped pieces of news paper in rubbing alcohol and pressed them onto my nail for about 30 seconds. I opted for a matte top coat with these, because that just seemed appropriate for  newsprint. I really liked how these turned out.
Again, if you want me to go into more detail about how I did any of these nails, please let me know, and I’ll be happy to provide a tutorial.
If you’ve made it this far, thank you for reading! As my life gets back to normal, I fully anticipate getting back to a more regular blogging schedule. Have a blessed weekend, everyone!