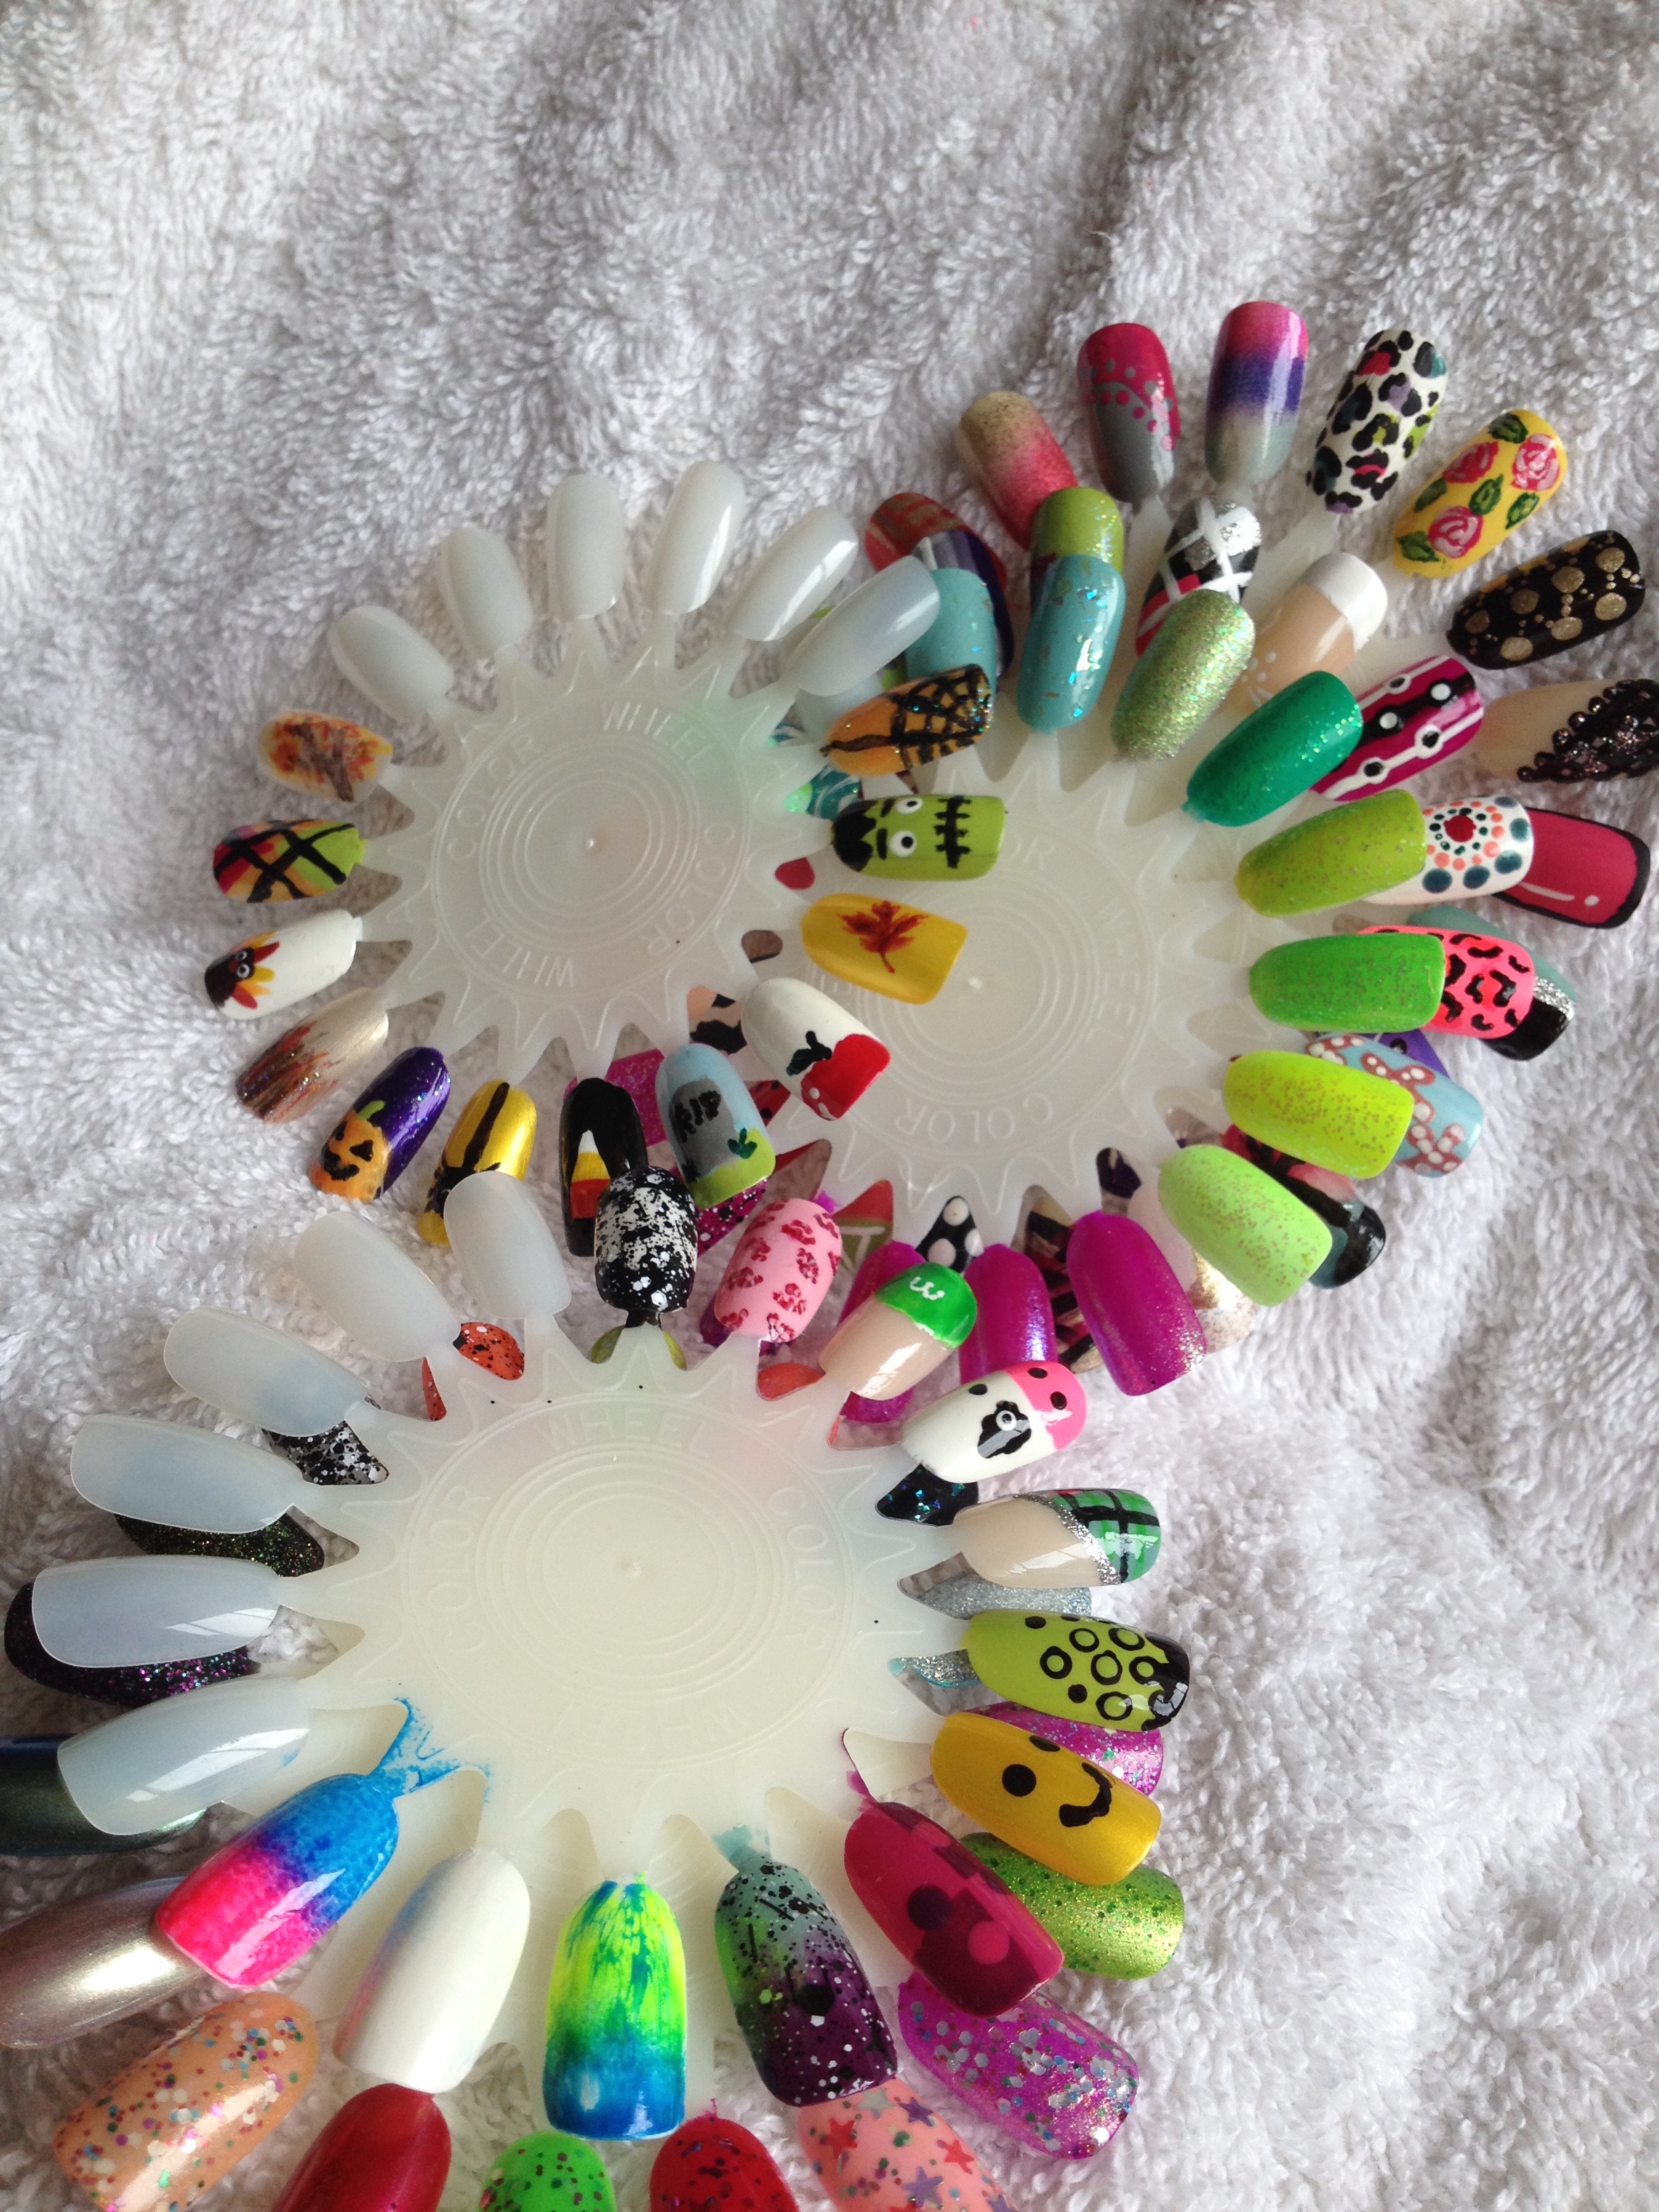
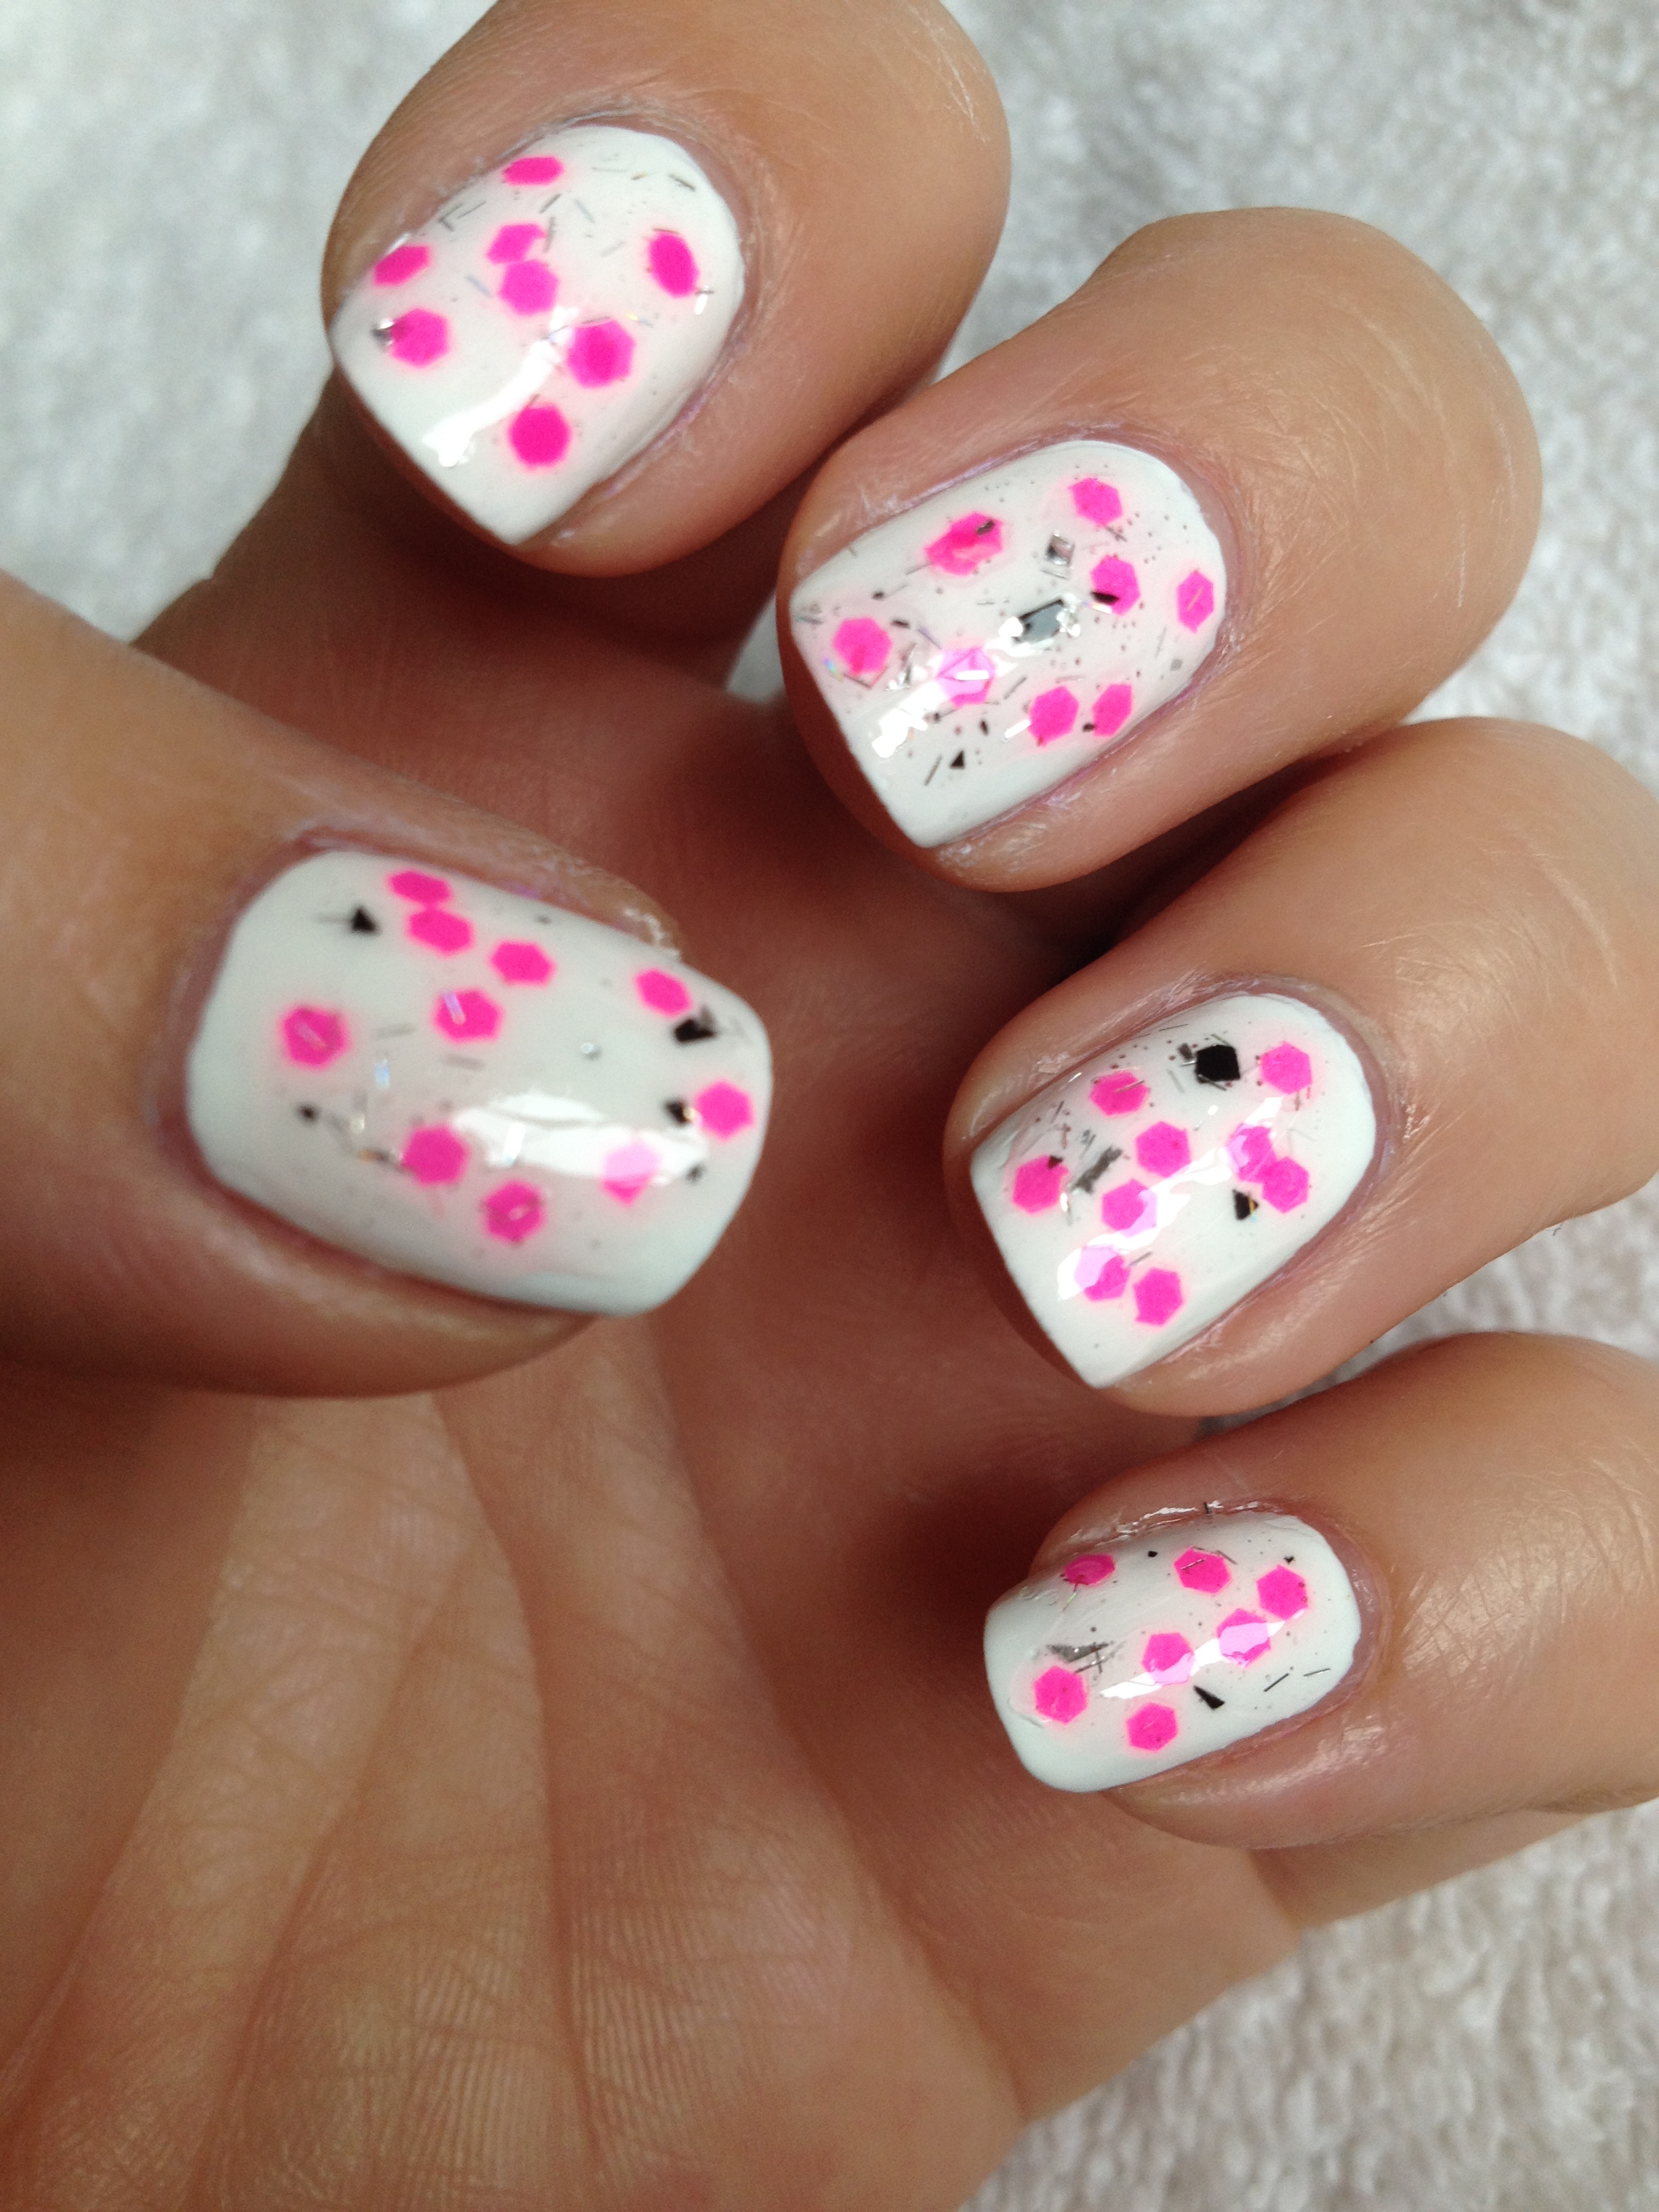
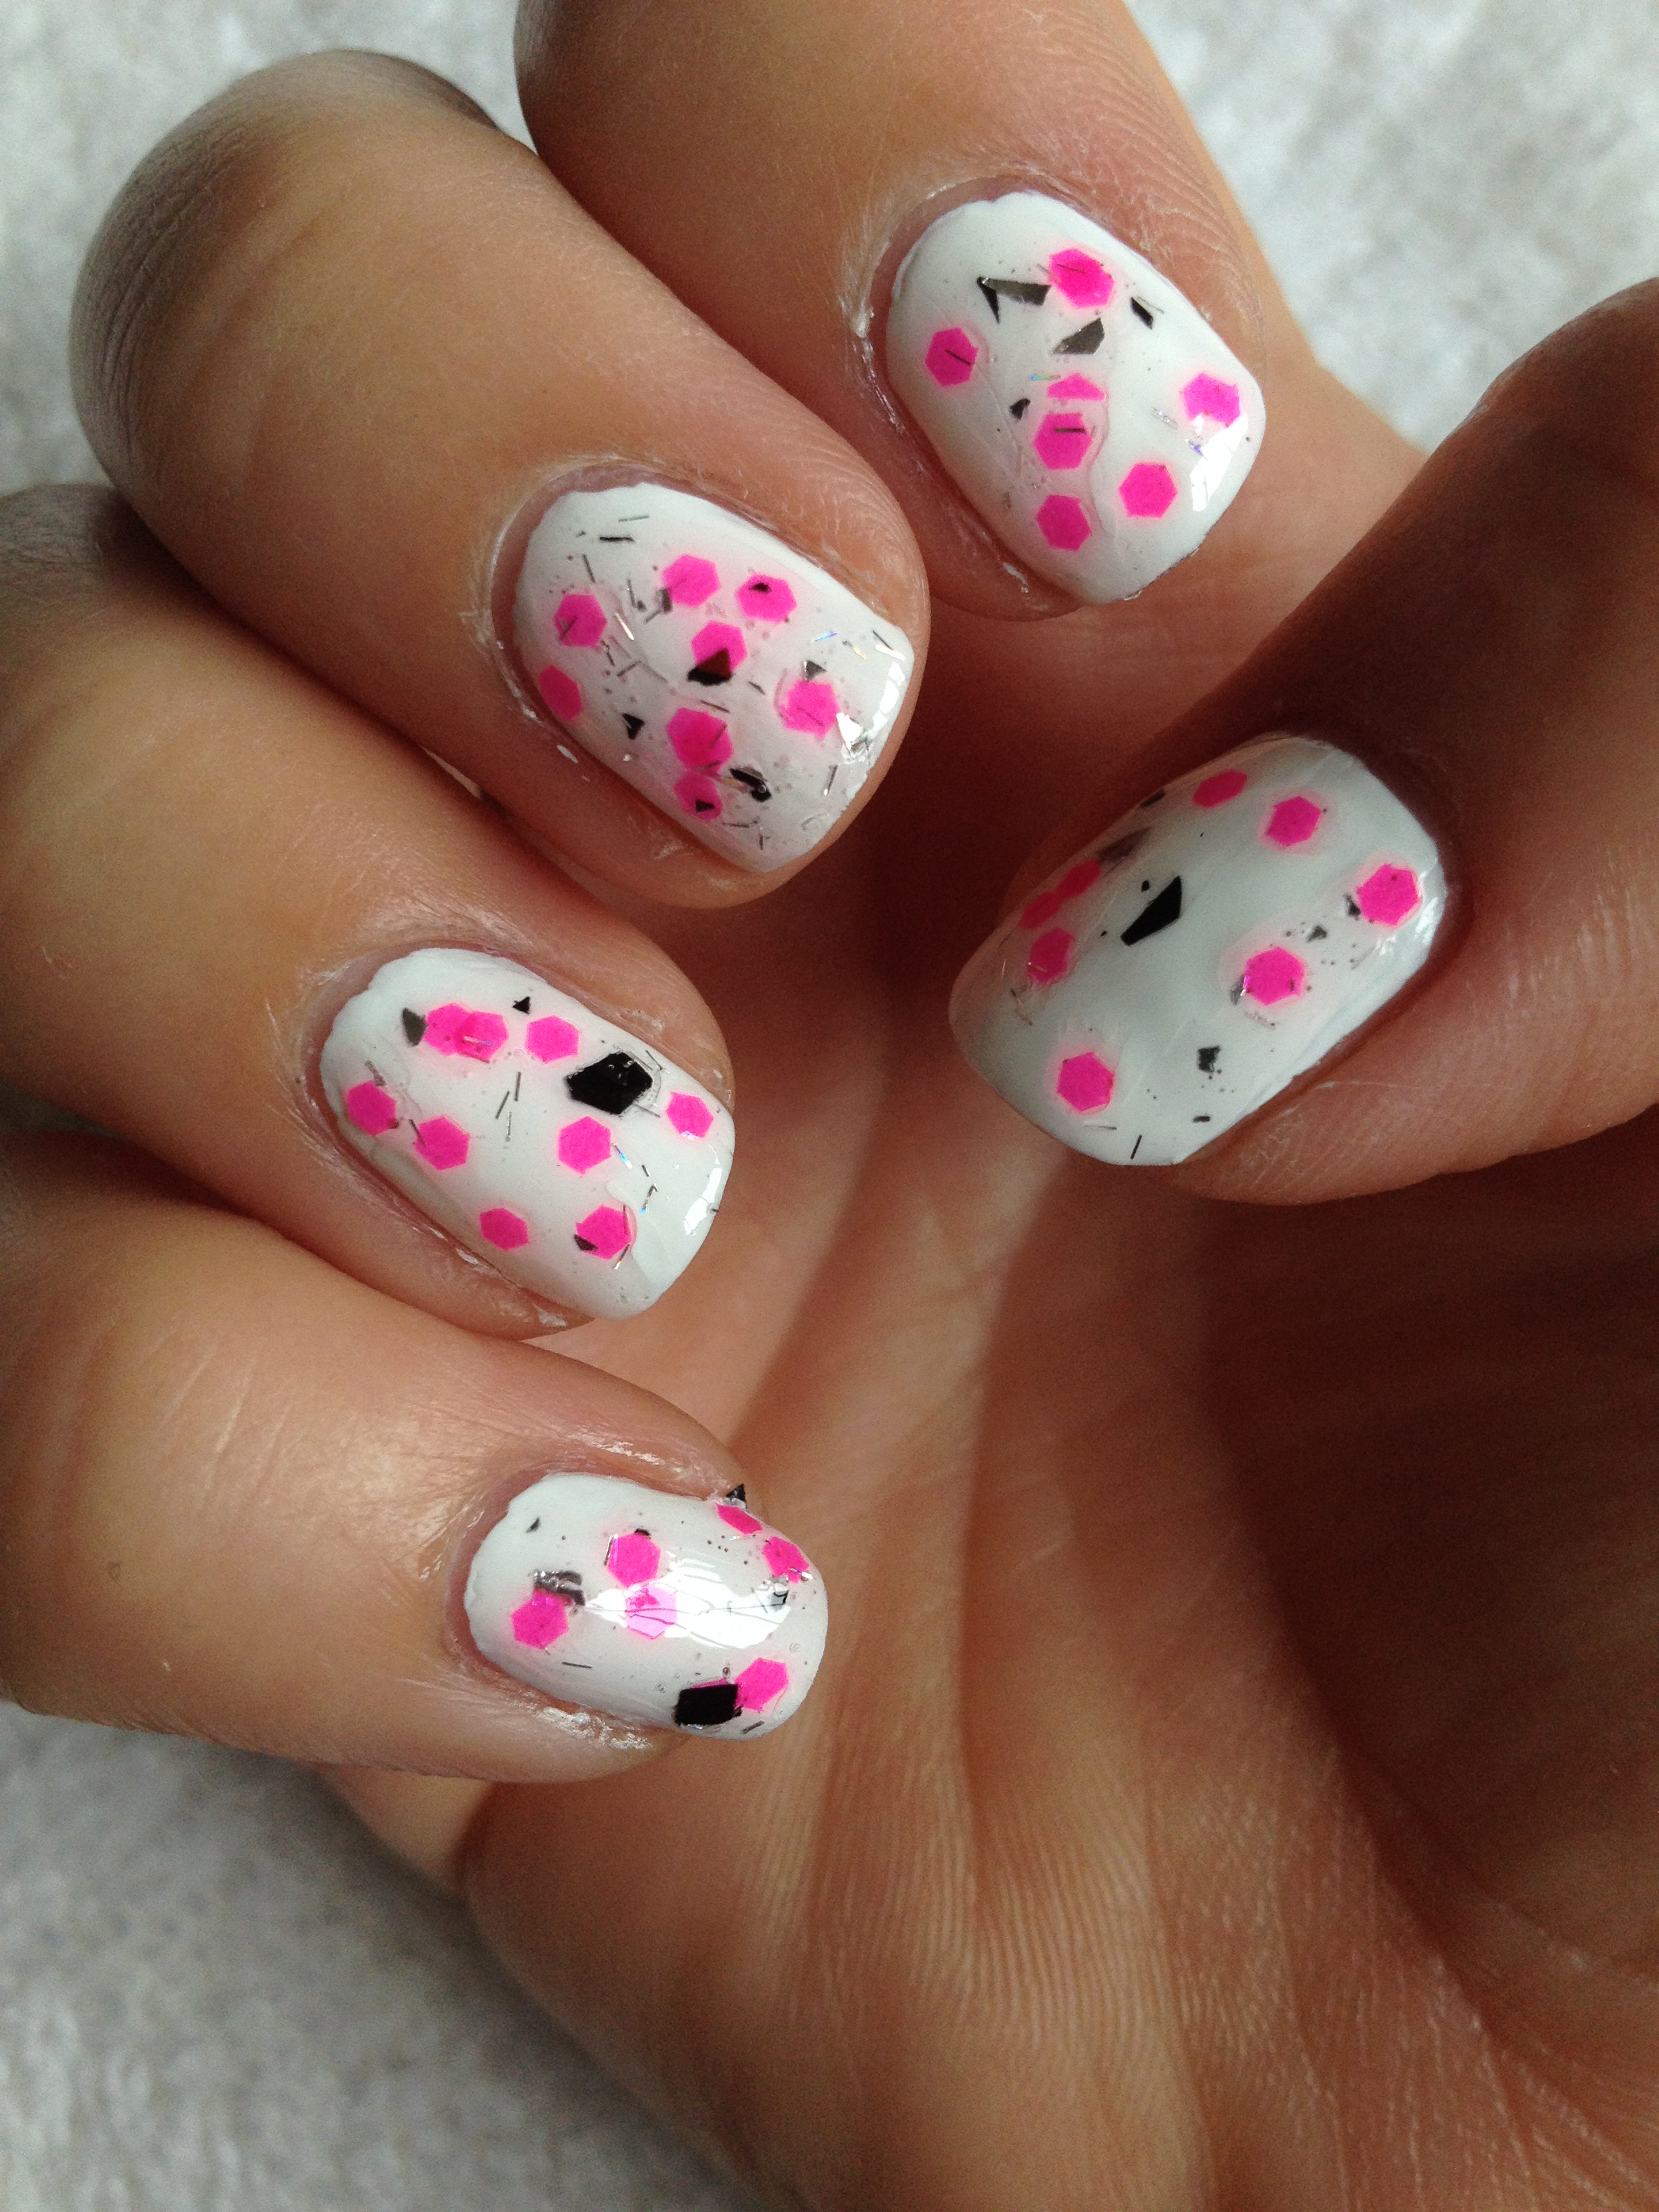
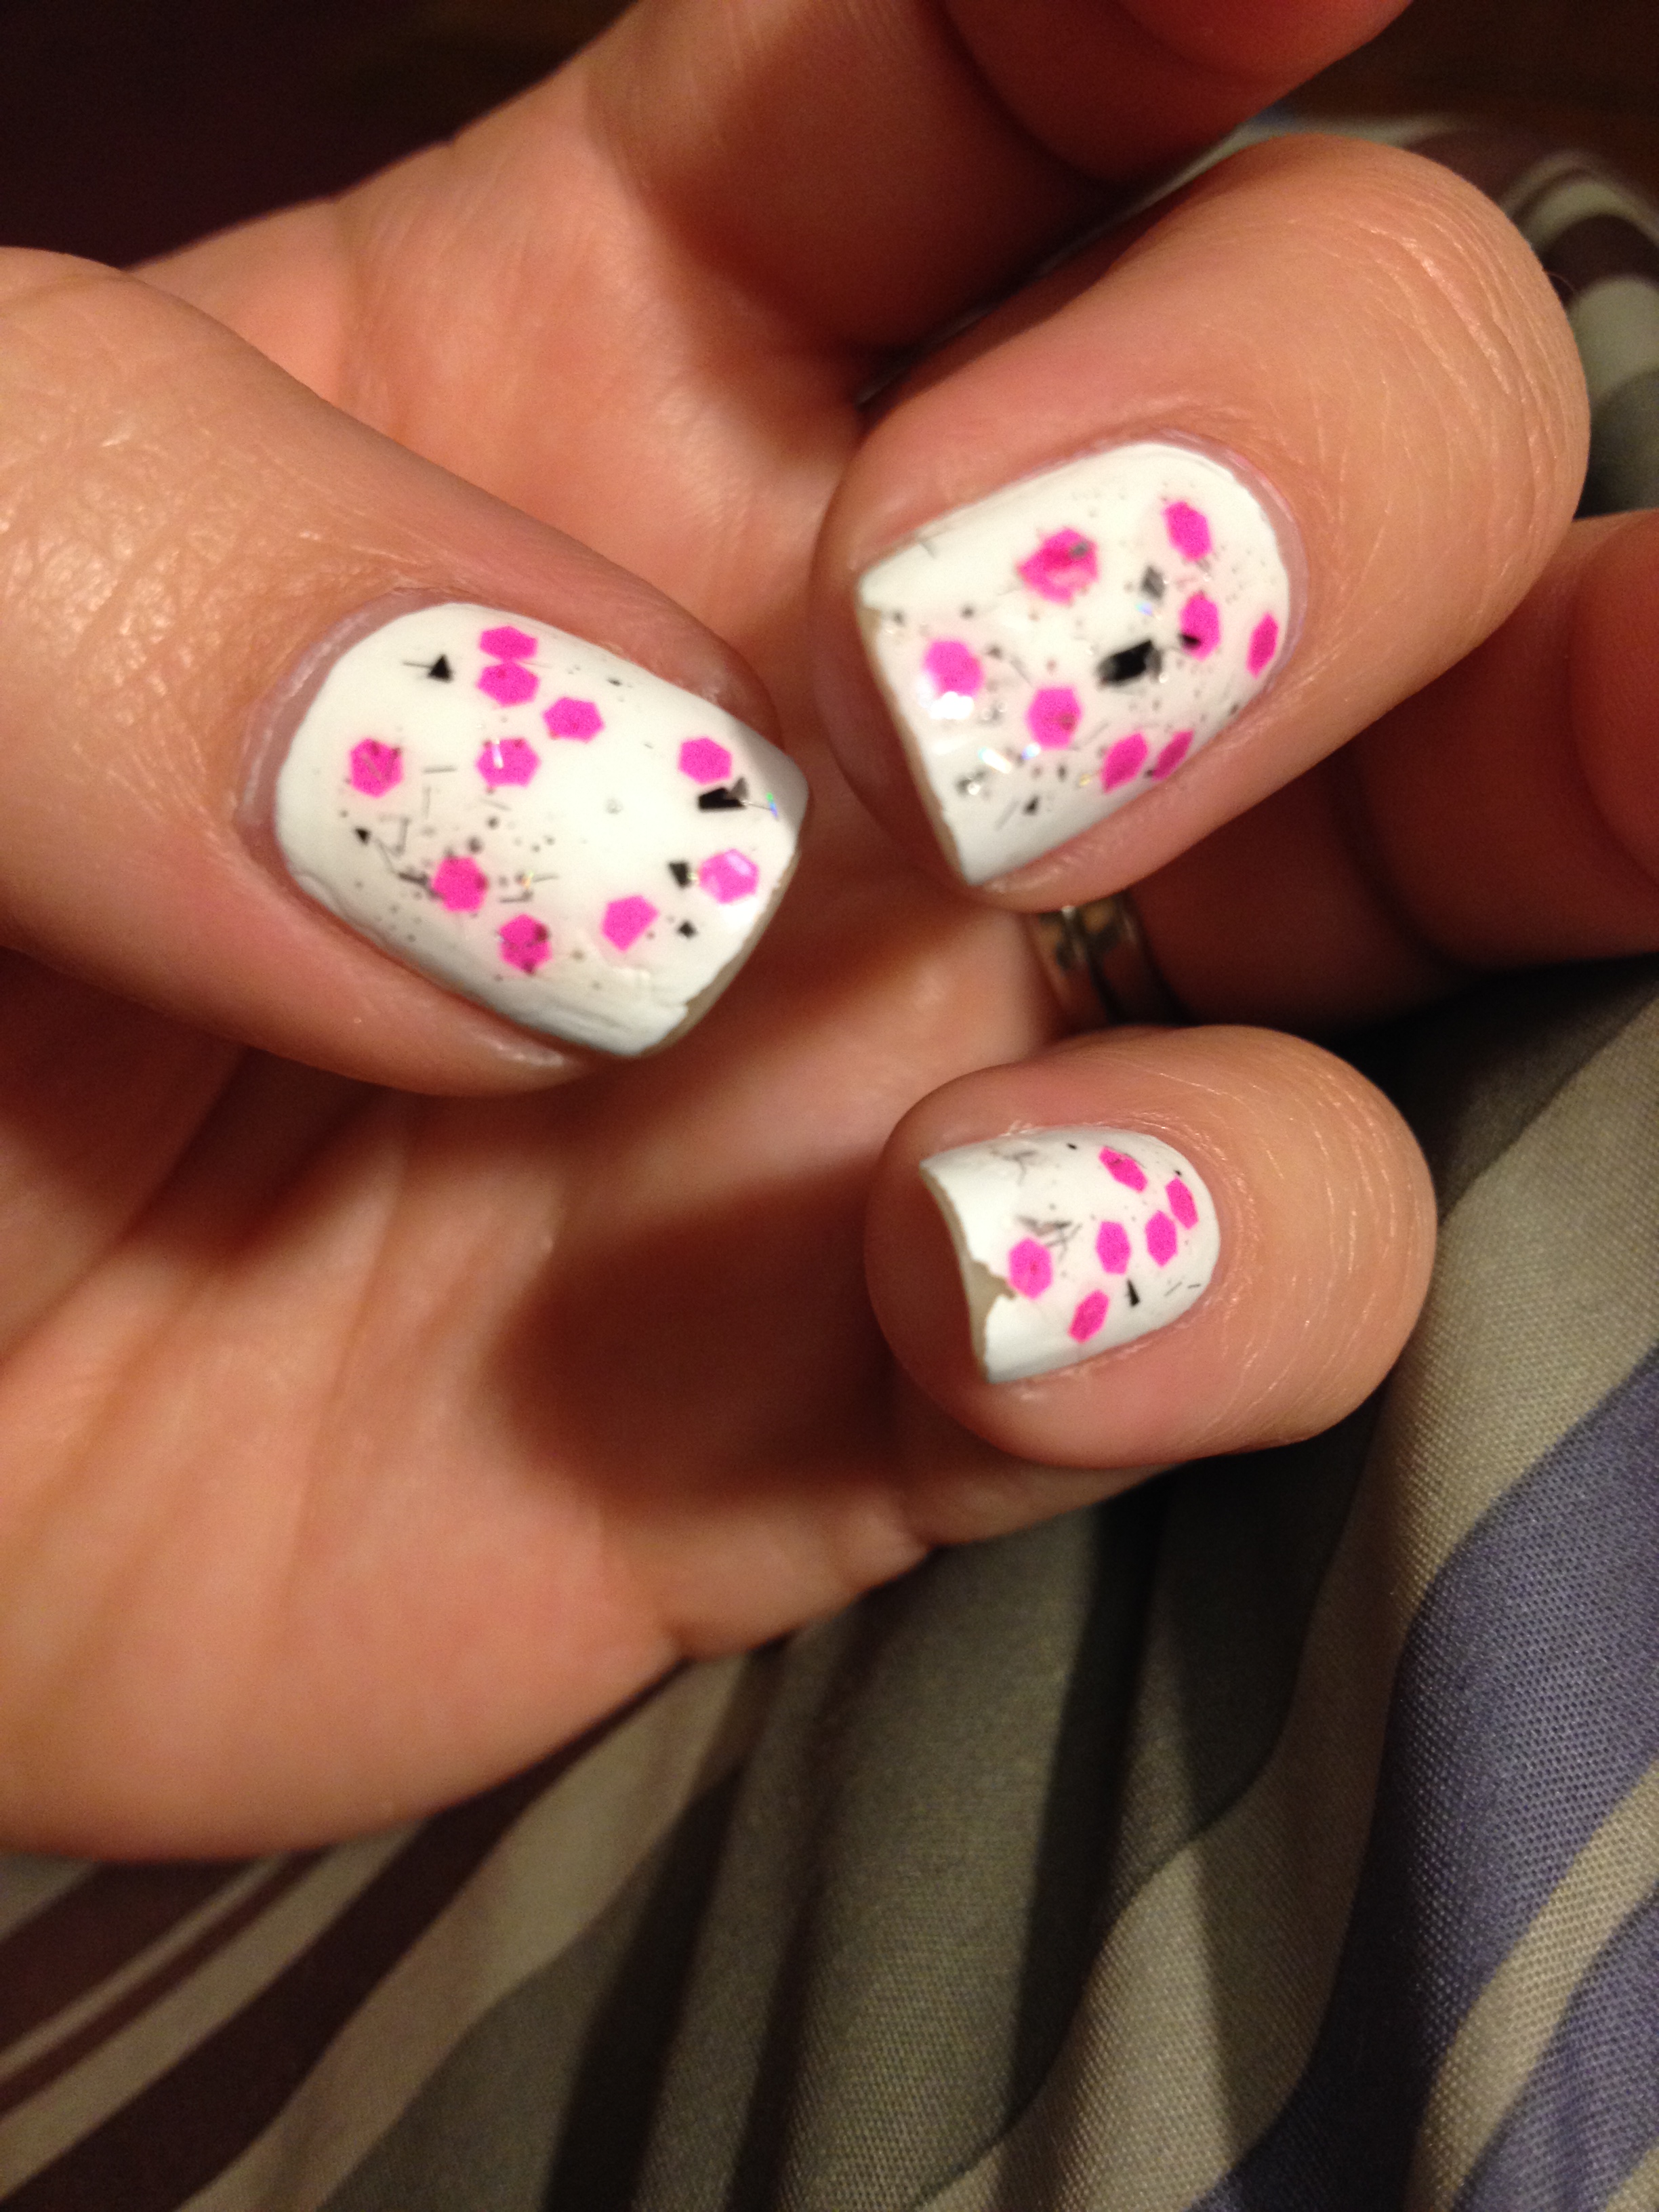
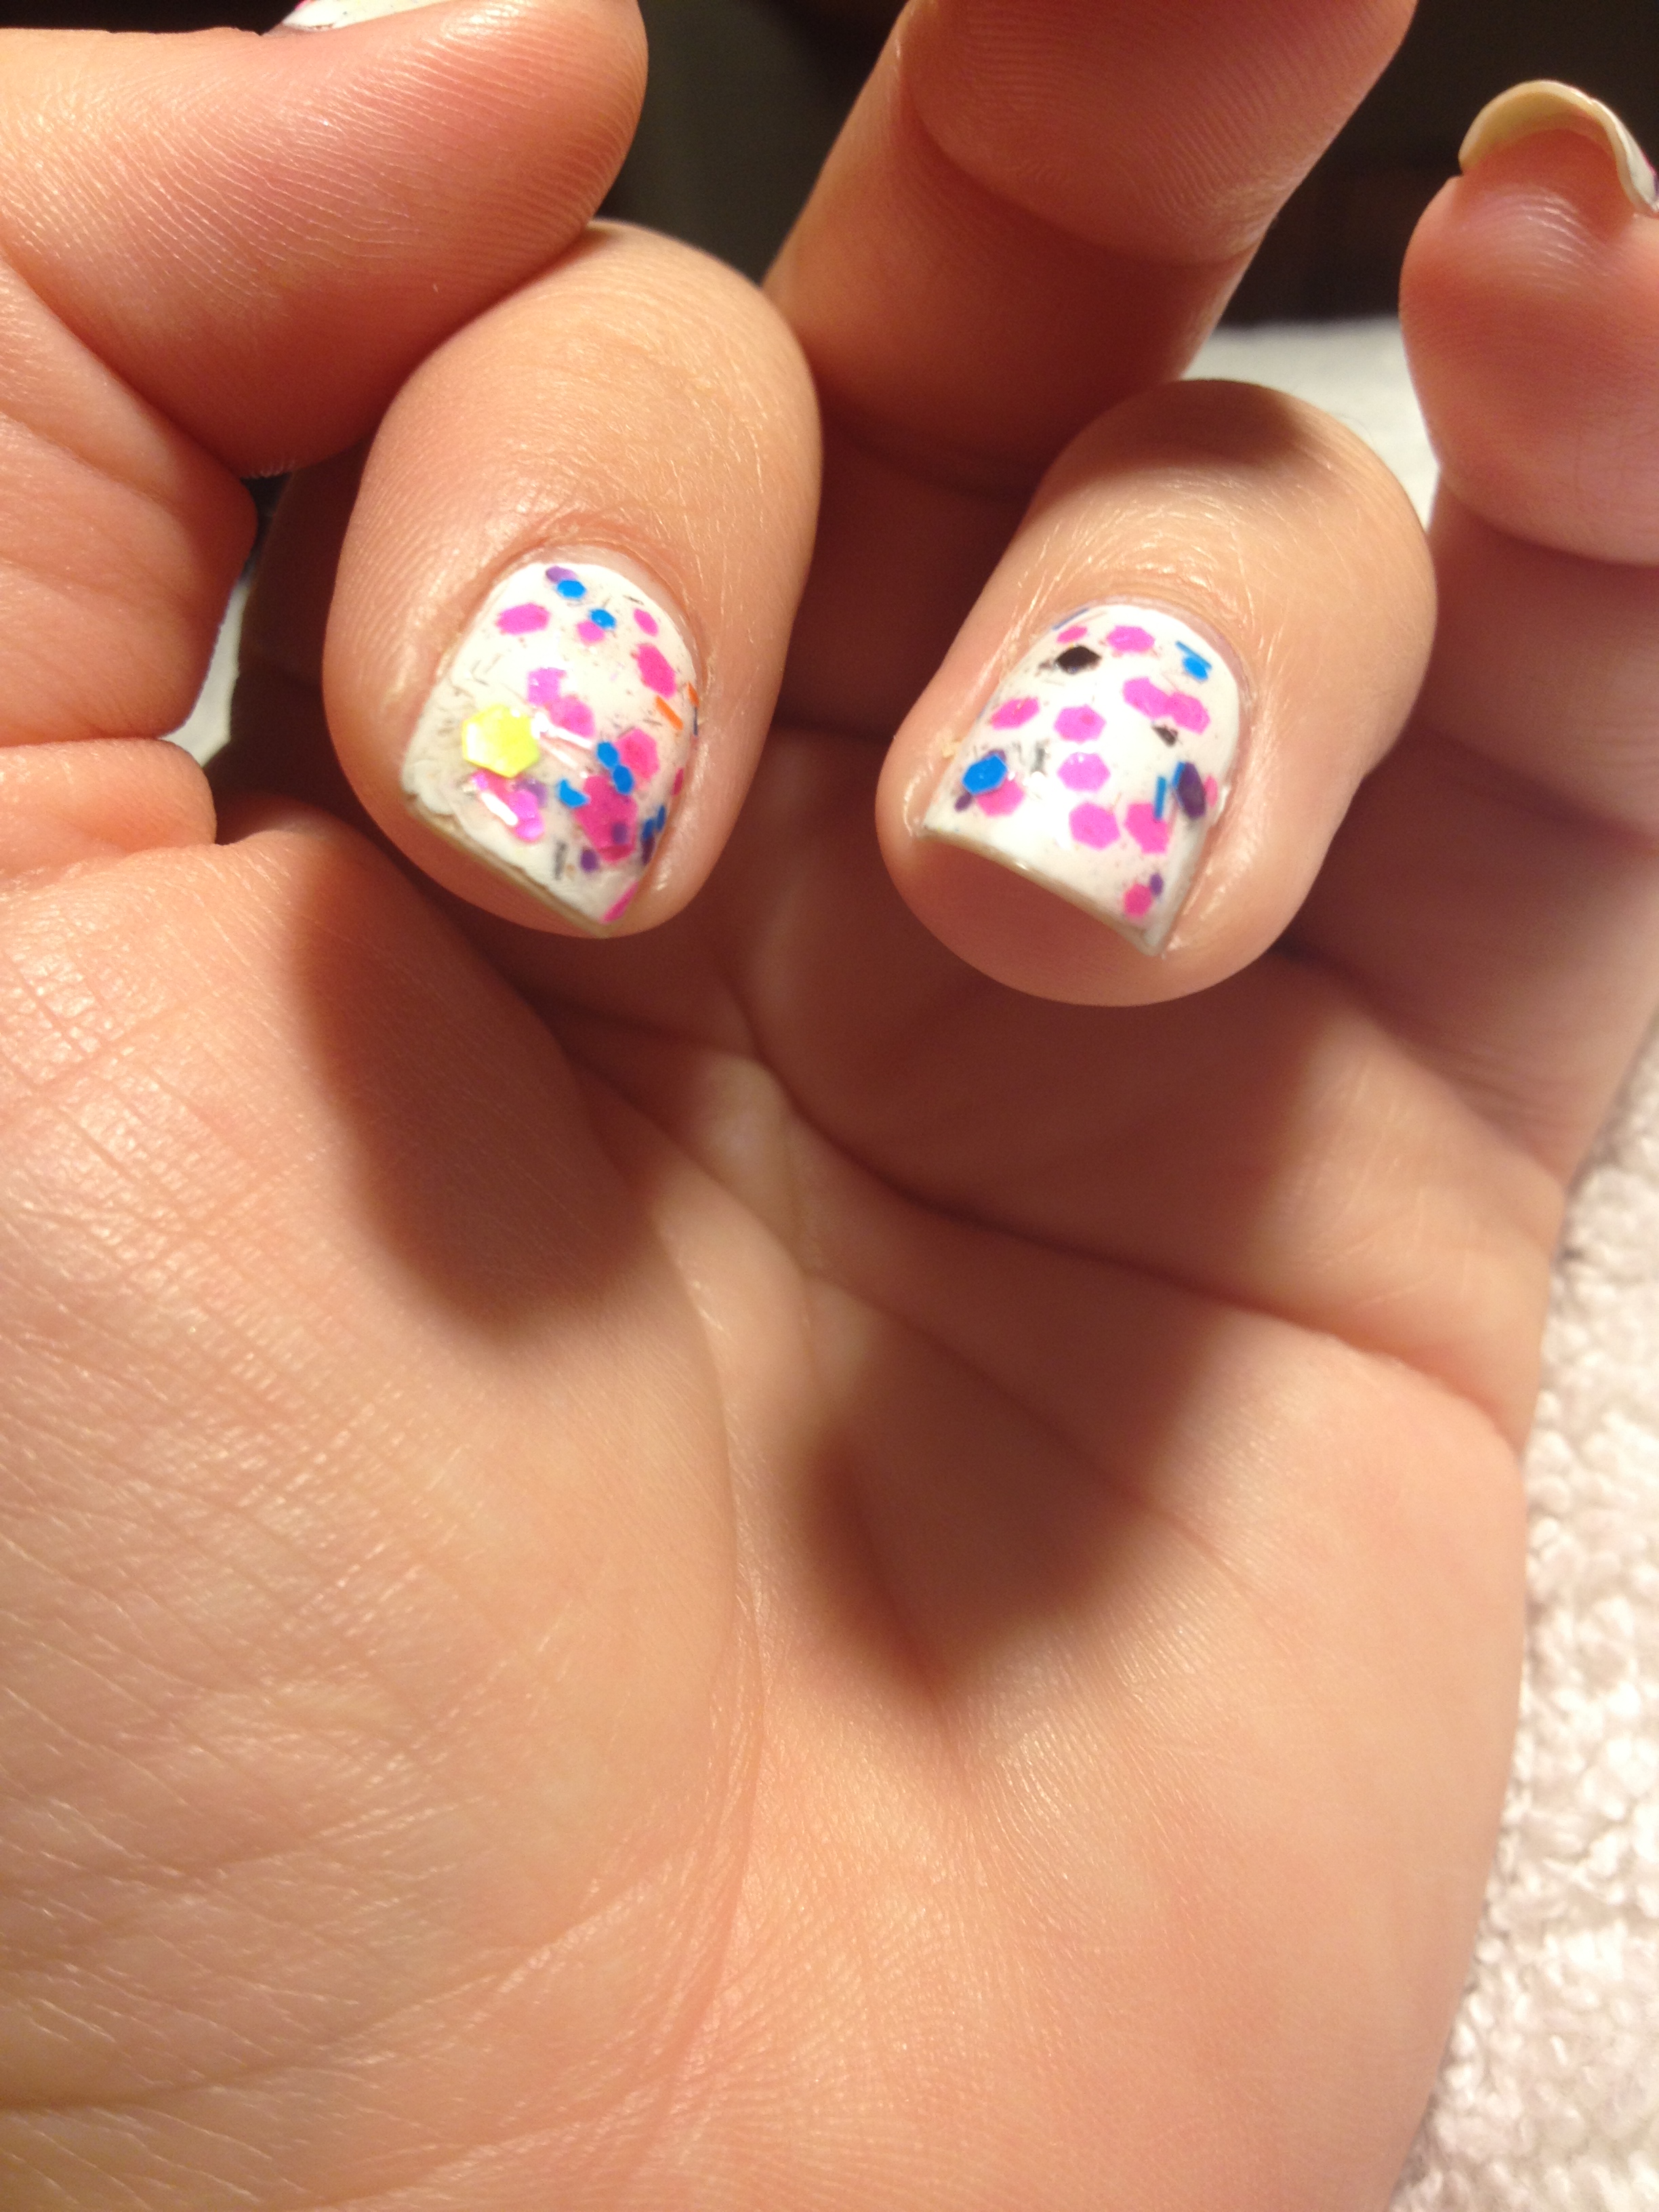
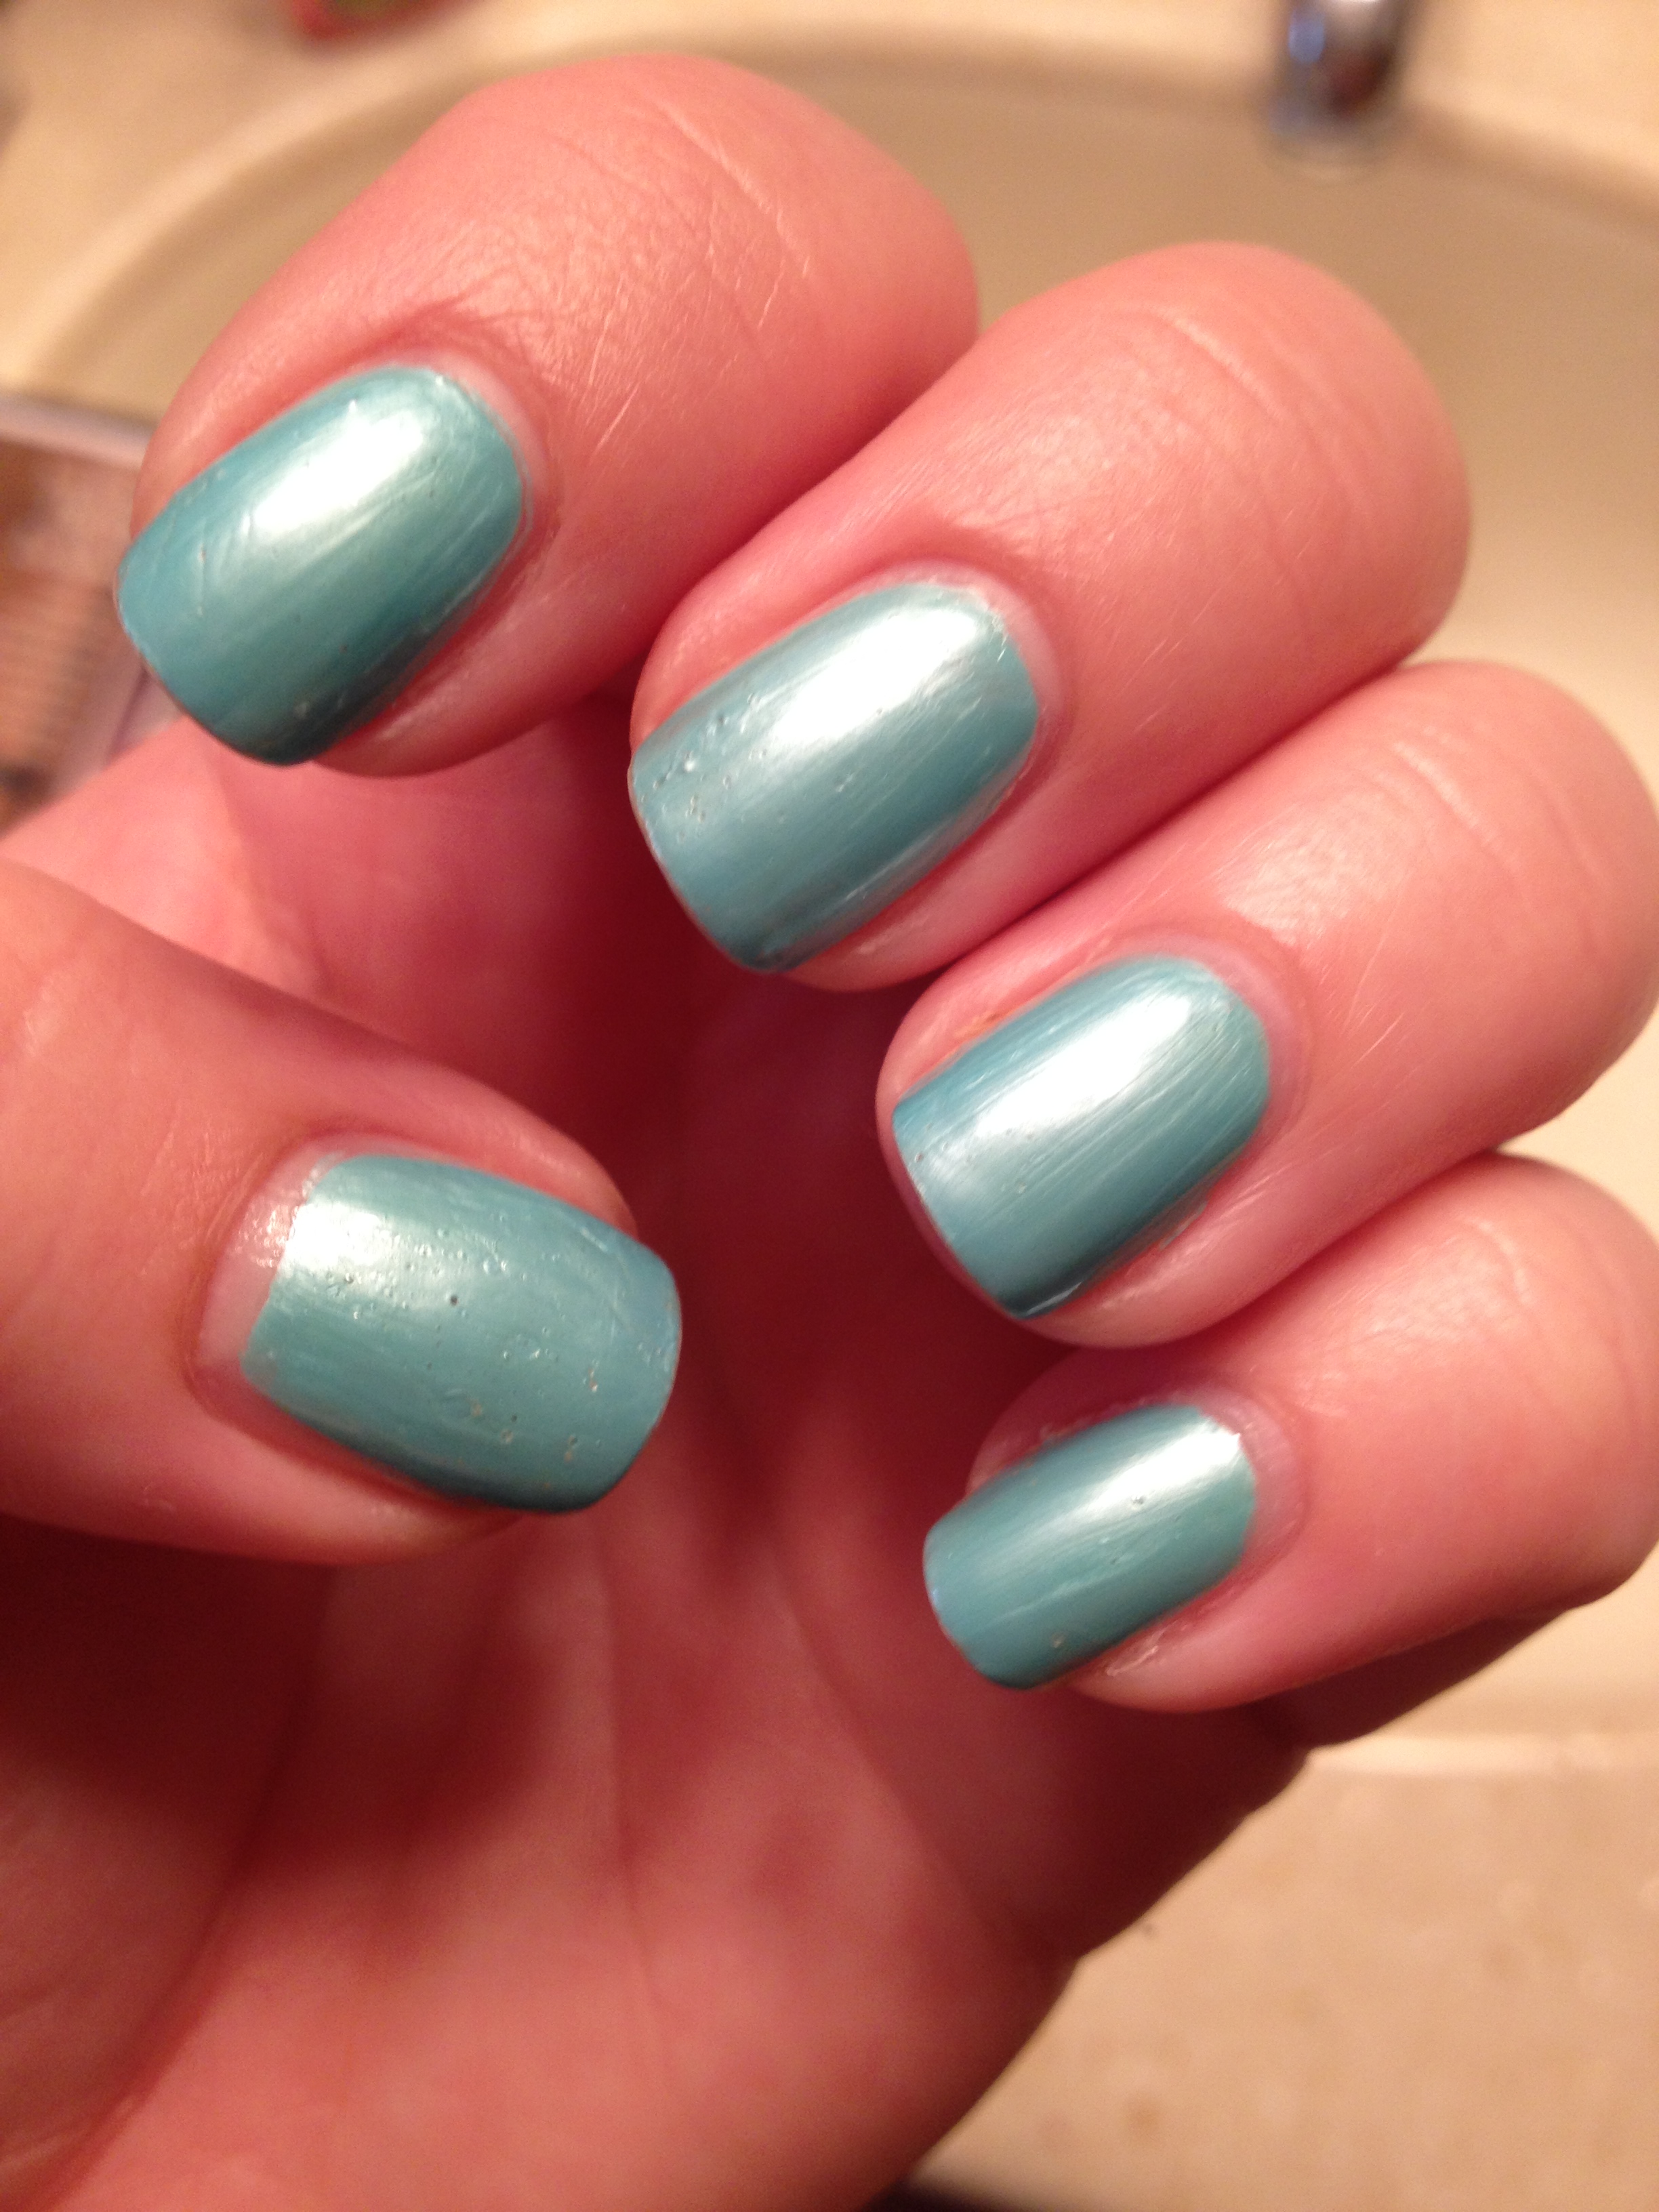
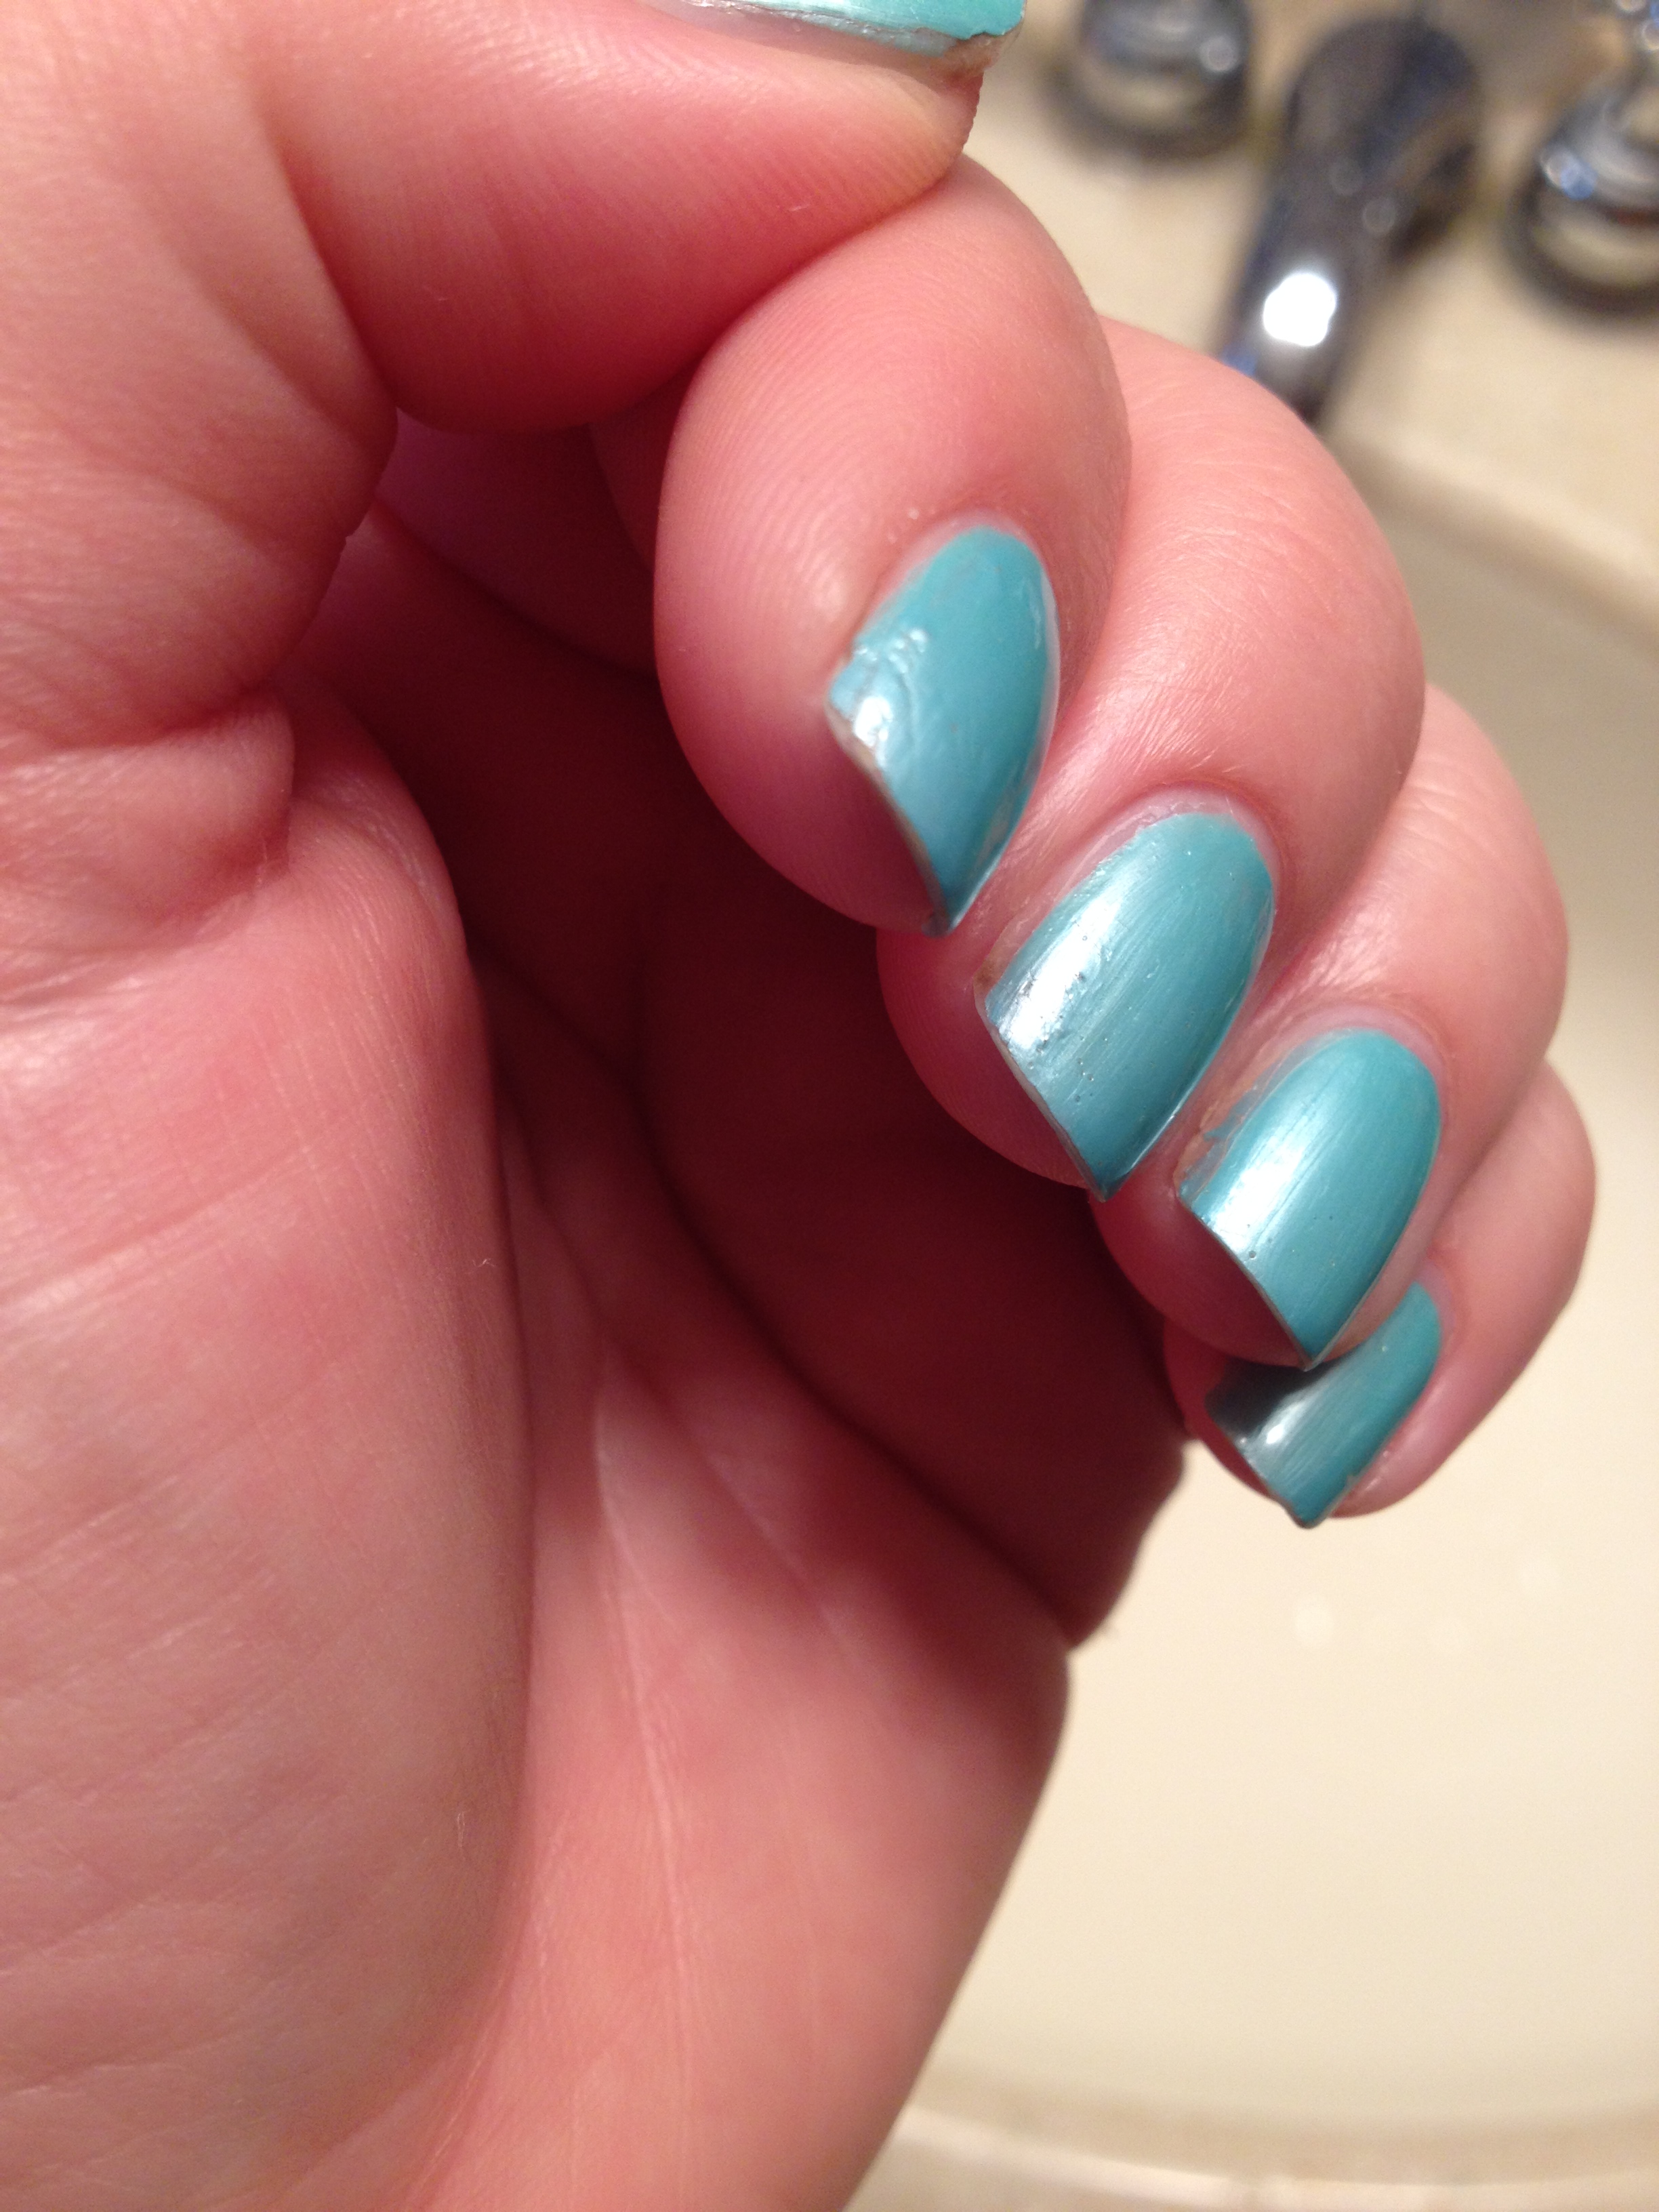
Nail Care Basics

Check out my nails!

IMG_4758These neon citrus nails really have nothing to do with what I’m writing about.  I’m just really happy with how they turned out!

I’m super happy to have gained some new readers lately, and that made me realized that a review of the basics of nail care is in order.  Here we go.

1.  If your nails aren’t as long as you’d like them, keep some kind of nail strengthener on them to help them grow.  Right now I’m using Rejuvicote.  It’s about $10 and one bottle is lasting me forever.  I’ve heard good things about OPI Nail Envy, and Sally Hansen has all sorts of nail care products that can help your nails grow.  Just keeping polish on your nails adds an extra layer of strength to your nails.

2.  Pick a shape for your nails.  Right now I’m rocking “squoval”.  I like how square nails look, but the corners of my nails feel sharp and scratchy, and that drives me nuts.  Because of that, I file my nails straight across the top, and then round off the sharp edges just enough so that they don’t bother me. I don’t ever cut my nails.  If they start to get a little too long for my liking, I just file them straight across with a glass nail file.  A glass file, by the way, is not nearly as harsh on your nails.

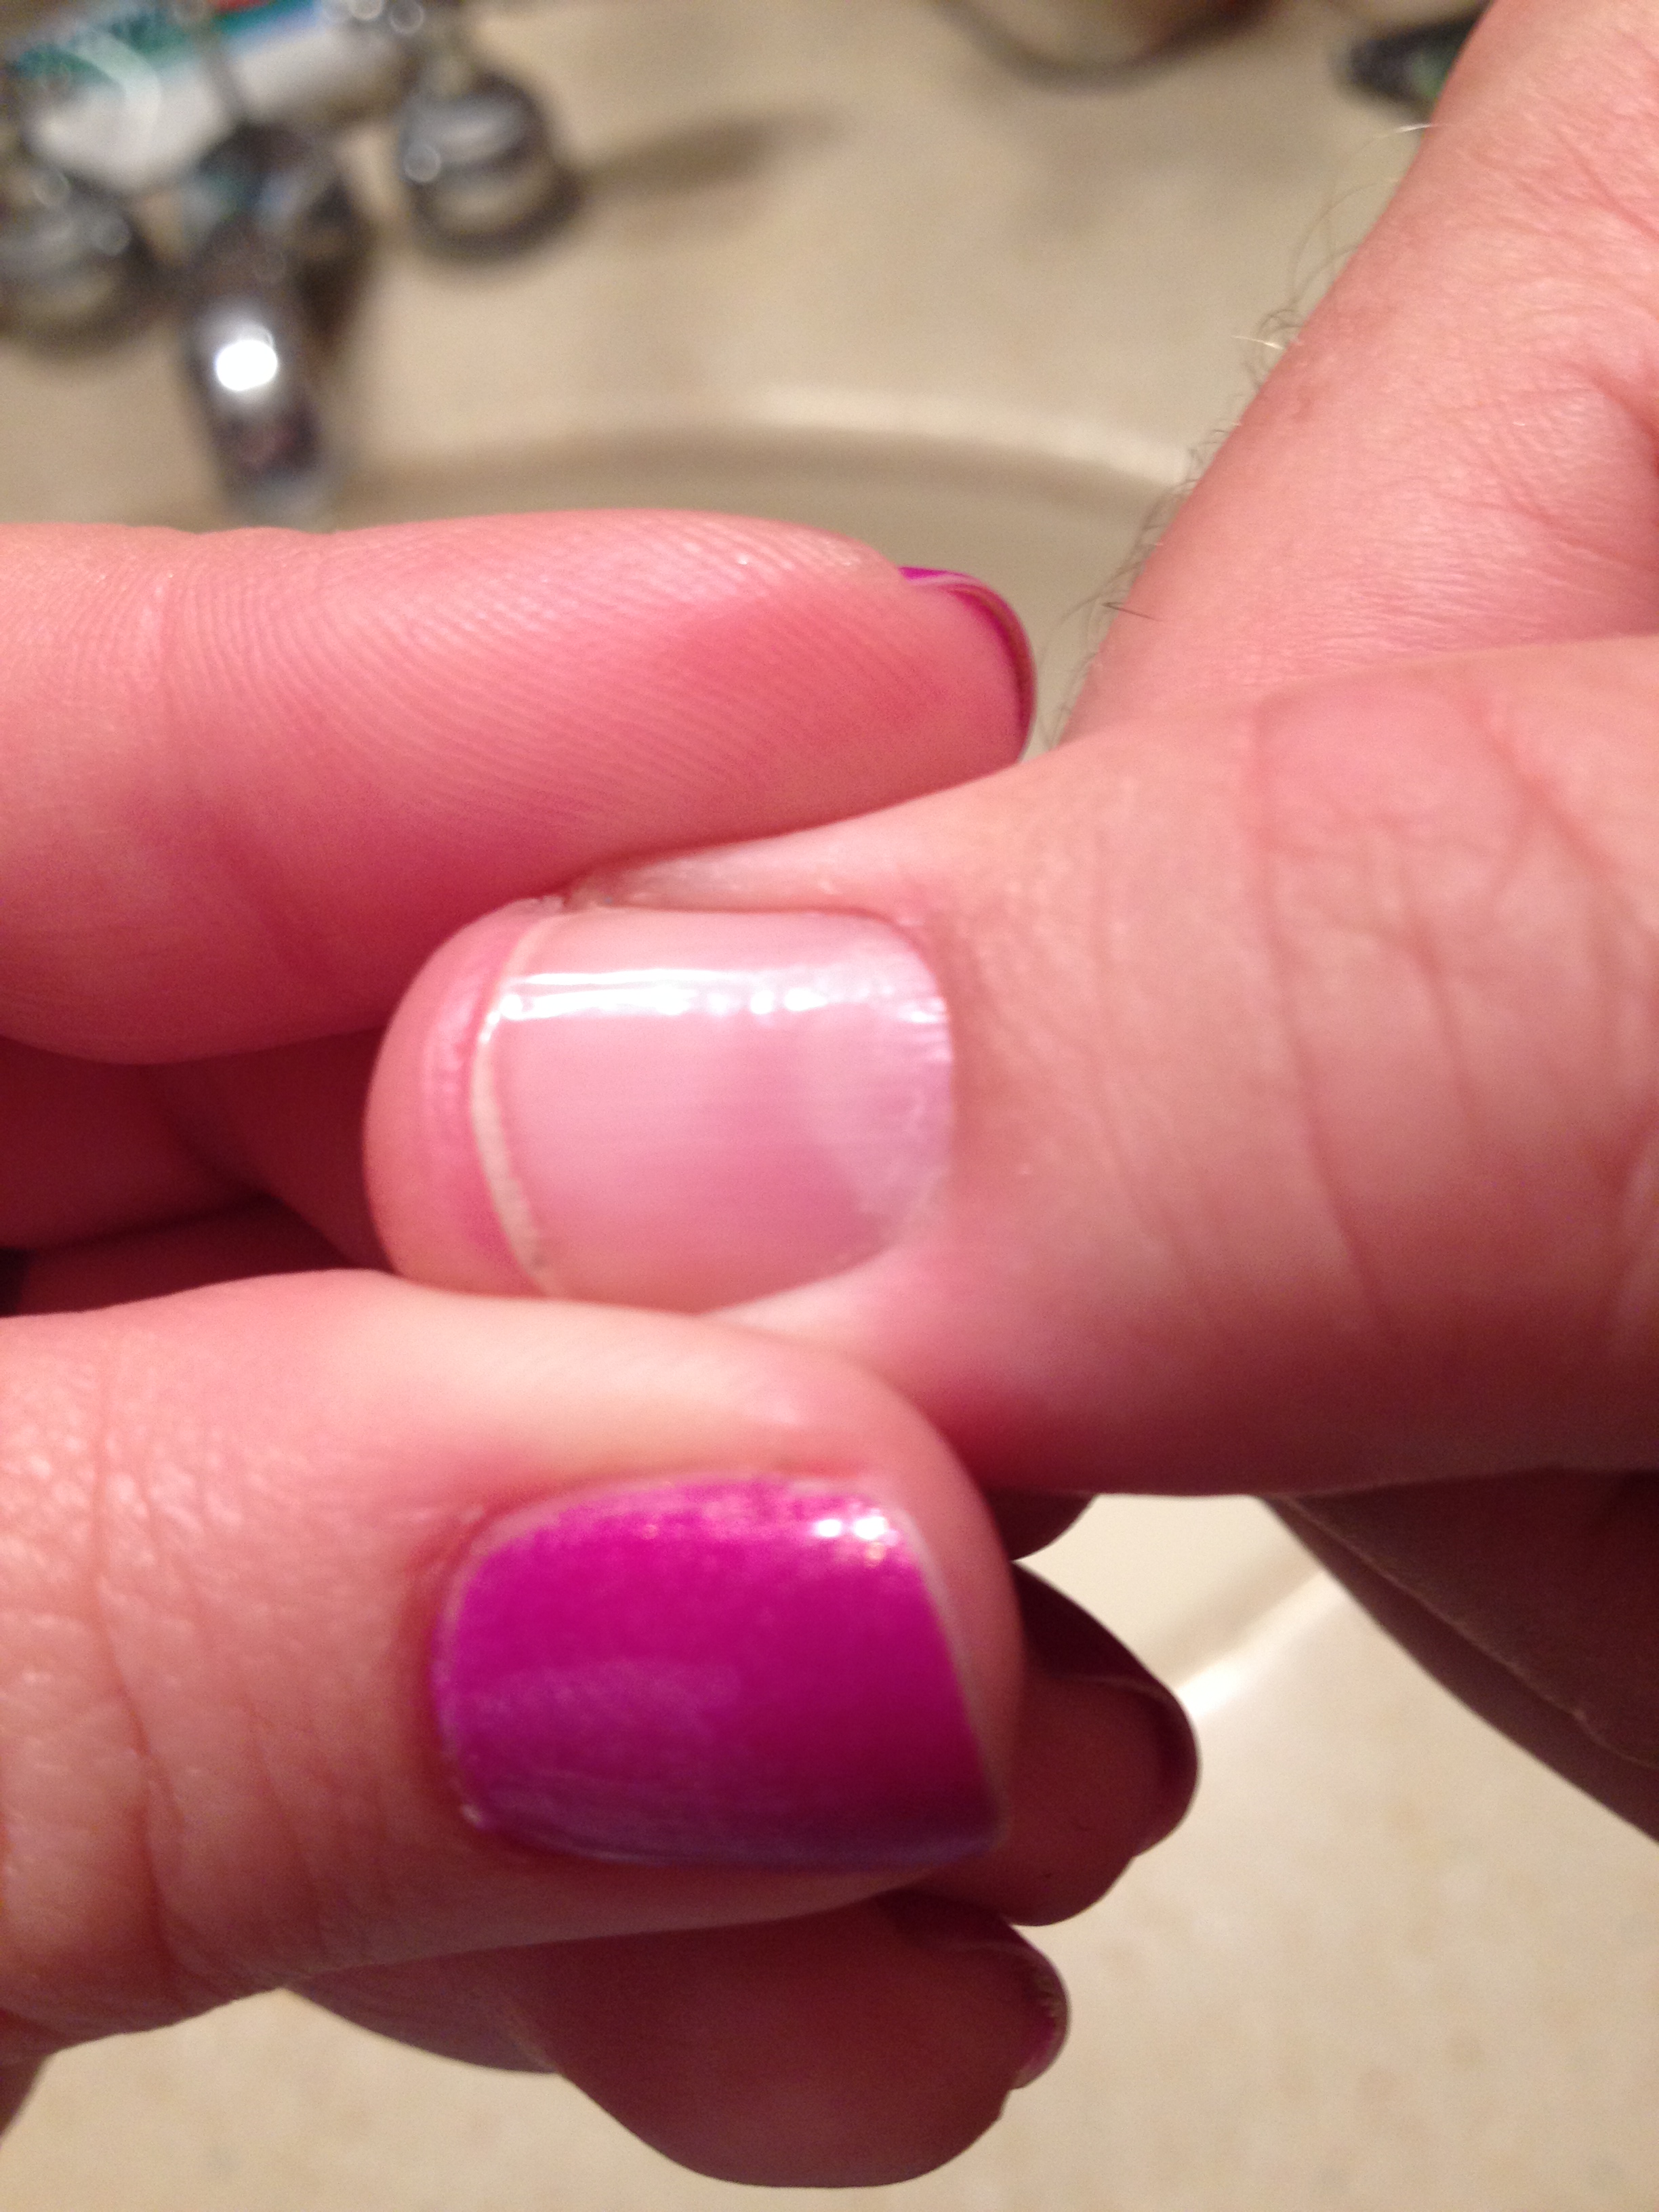
3.  For heaven’s sake, push back your cuticles.  Pushing back your cuticles instantly makes your nails look longer and gives you a larger surface area to polish.  You can buy fancy tools to do the job, but you don’t need them.  I generally push mine back when I’m in the shower.  After your cuticles are softened by the water, just take the thumbnail on your opposing hand and use it to gently push back your cuticles.

4.  Moisturize.  You can use cuticle oil for this, but any good, heavy hand lotion will do.  I generally moisturize throughout the day, especially after I wash my hands, and at night before bed. The only time you don’t want to moisturize is right before you polish your nails.  It will keep the polish from properly adhering to your  nails and your polish will be chipping off in no time.

As far as nail care goes, that’s all I can think of right now.  I think I’ll follow this up with Nail Polishing Basics and Nail Art Basics…. I’ll call this my Basics series.

Thanks for reading, commenting, subscribing and whatnot!

It’s Not Exactly Polish, But You Might Need It Anyway

My usually part-time job is going to be closer to full-time this week, but I still plan to post things on my promised Monday-Wednesday-Friday schedule.  I apologize in advance if my posts end up being a little skimpy, though. 

Today I thought I’d highlight a few of my favorite nail products that are not nail polish.  Let’s start with these little guys:

IMG_2910

These are nail wheels that I got at Sally Beauty Supply.  I think they were around $7 for a pack of 10 wheels.   These are great for several things.

I love to use these to practice nail art.  They are a great way to organize your nail art ideas or recreations.  I find that when I do other people’s nails, they come in really handy in helping people determine what they actually want done on their nails. 

These wheels are also a great place to just simply try out your new polishes.  Often when I get a new polish, I will wonder how it will look with a specific topper (glitter, iridescent top coat,…) over it, and this is a great way to test it out.  

I also like this stuff:

IMG_2907

This is a really nice cuticle oil that will last me a really long time and it was under $3 (I think).  I like to use this after doing my nails, when the polish is dry or on days between polish jobs.  It will really keep your cuticles from looking ragged and crusty.    Truth be told, though, almost any oil that you have around the house will work just as well – olive, vegetable, …  Lately, I’ve been using coconut oil on my hands and cuticles right before bed, so I haven’t been using my actual cuticle oil as much.

I use these little guys ALL the time:

IMG_2909

The thing on the left is a cuticle pusher that I got at Sally Beauty Supply for like, $.69 or something really cheap.  The red end is a softer plastic that is great for gently pushing back your cuticles.  The other end is a tapered harder plastic which I end up using for all sorts of stuff, like scraping stubborn glitter off my nails during the polish removal process. 

The little brush on the right is a $1 concealer brush from e.l.f. cosmetics.  I dip it in acetone and use this to clean up any polish that accidentally gets on my skin after I do my nails.  It works like a charm!  Any brush with really stiff short bristles should work well as a clean-up brush.  I know a lot of people use a Q-tip dipped in acetone to do their clean-up, but a little brush allows you to be so much more precise.

Make-up sponges!

IMG_2911   

I guess they are technically called “cosmetic wedges”, but there’s really make-up sponges.  These are great for certain glitter application techniques (like the gold glitter here) as well as gradient or “ombre” looks (like I did on the blue fingers here).  And they’re cheap.  This bag of 32 sponges was under $3.

OK, I confess that I’m mostly including this last item because I just got it and I think it’s super cute:

IMG_2908

It’s the Revlon Crazy Shine Nail Buffer!  Isn’t that the cutest buffer you ever saw?  And PA folks, it’s on sale at Giant this week for $1.09, regularly $3.09!  Buffers are great for shining up your polish if it starts to dull after a few days.  (Truthfully, I just usually slap on another layer of top coat, but if you don’t want to mess with that, a buffer is a great option.)  Buffers are also a great way to shine up natural nails without any polish or chemicals, perfect for people in the medical field or any other job in which you can’t wear polish. 

By husband (begrudgingly) let me buff his thumbnail:

IMG_2906

It’s so shiny that it looks like it’s got a coat of clear polish on it! 

OK, that’s it for today.  As always, I love hearing your comments and ideas!  Thanks for reading!

Battle of the Base Coats

I have long been under the impression that Revlon makes one of the best base coats out there.  I’m talking specifically about the Quick Dry Base Coat.   This stuff is sort of elusive.  It’s not always available at every Revlon nail polish display.  (The one place that consistently has it in stock at the best price is Christmas Tree Shoppes. )

It looks like this:

IMG_2631

I used this stuff for several years as my regular base coat, and was always really happy with the results.

Then Seche Vite (pronouced “SESH VEET”, according to French people) came onto my radar.  It pretty much seemed like everyone praised their top coat as being the best thing ever.  Well, I can now say from experience that they do make an awesome top coat, so I assumed that they made an awesome base coat as well.

That’s what prompted me to buy Seche Clear:

IMG_2634

The formula for these two base coats couldn’t be more different.  Revlon is thick and pretty much looks exactly like Elmer’s Rubber Cement.  It fills in any nail ridges and self-levels really well.  When it dries, your nails feel rubbery, almost sticky.  Seche Clear is crystal clear and super thin.  It feels like you are just painting a really thin clear polish on your nails.  When it dries, it is slightly shiny a bit tacky.

I have never put these two base coats to a head-to-head test, so I figured it was time to do so.  I painted alternating fingers with the two base coats and followed them with 2 coats of white polish, a cute neon glitter polish, and Seche Vite top coat.  Specifically, Revlon is on my first and ring finger on my left hand, and my thumb, middle finger and pinky of my right hand. Seche Clear is on my thumb, middle finger and pinky of my left hand, and first and ring finger of my right hand.

Let’s see what happens…

Day One:

IMG_2618IMG_2616

Both base coats trucked along beautifully for 3 days. On the 4th day, I started to notice a few little chips.

Day 4:

Seche Clear nails.  There’s definitely some tip wear, and a visible  chip on the pinky of my left hand, and the first finger of my right hand.

IMG_2700 IMG_2701


Revlon nails.  There’s some tip wear and a little chip on the middle finger of my right hand.

IMG_2707 IMG_2710

By day 5, I was getting really tired of looking at the same polish every day.  Under normal circumstances, I would have repainted my nails.  Since I wanted to hold out a little longer on this head-to-head challenge, I satisfied myself by adding some different colored glitter to my nails.

At the end of day 6, I got a HUGE chip on one of my nails.  The chip was huge enough for me to declare day 6 as the last day of this little challenge.  Here they are..


Day 6

Seche Clear nails.  The left hand doesn’t look too much different than day 4, but look at my first finger on my right hand!  I lost almost half of the polish!  It chipped off some time while I was at Hersheypark, but I didn’t actually notice when it happened.

IMG_2719 IMG_2720

Revlon nails.  Still only that little chip on the middle finger of my right hand.

IMG_2717 IMG_2721

I also compared the tip wear of each finger on my right hand with its counterpart on my left hand and found that…

Thumbs:  Revlon wins (on my right hand)

First fingers: Revlon wins by a landslide (on my left hand)

Middle fingers: Seche Clear wins (on my left hand)

Ring fingers: Revlon wins (on my left hand)

Pinky: Revlon wins (on my right hand)

This little experiment has pretty much confirmed my hunch that the Revlon Quick Dry Base Coat will help your mani look better longer than Seche Clear.  Revlon will continue to be my go-to base coat for the foreseeable  future.

What has been your experience with base coats?  What base coat do you love?

In Pursuit of the Perfect Green

Lately, I’ve been into light green nail polish.   More than once, I’ve purchased what I thought would be a perfect light green and it either turned out to be too blue or too dark or just not quite what I thought it would be.  Meanwhile, I have this half-a-bottle of Essie in the color Blanc, that I really wasn’t loving anymore:

IMG_2619

Truth be told, I never really loved it in the first place.  The formula was never as opaque as I felt it should be for an $8 white polish.  (There are much better whites out there for much cheaper.)  Plus, it was starting to get a little old an gunky.

The first thing I did was restore the polish out with this awesome product:

IMG_2620

This stuff is great!  It was only around $3 at Sally Beauty Supply, and I’ve revived so many old polishes with it already!  A little side note here: Don’t thin your polish out with acetone or polish remover.  It may work temporarily, but ultimately, it will ruin the polish you are trying to fix.

Anyway, after I thinned out my Blanc, I added about 20 drops of this green and one or two drops of this blue:

IMG_2621

I did a lot of shaking and ended up with this:

IMG_2626

It’s exactly the color I was hoping for!  I haven’t actually used it yet, but I totally will before too long!  I totally feel like a winner, winner, chicken dinner because I now have a new color that I can’t wait to use, and I didn’t spend any money!  My hubby will be so proud!

UPDATE:  I finally did use this polish for this pink, green, and glitter mani and I love it!

Have you ever mixed your old polishes to create a new one?  Did you like your results?

Four Days of Wear

I’m getting ready to take my current polish off to do some swatches for you, but I thought I should show you something first. Here are my nails after 4 days of wear, one of which involved 2+ hours of yard work:

IMG_2568IMG_2569

You can see a little bit of nail growth at the cuticle, and the tiniest bit of wear on the tip of my first finger, but that’s it.  (In retrospect, I probably should have taken a picture of my right hand, since that’s my dominant hand, but really, the wear is about the same.)

Anyway, my point is that this is why you should use a base and a top coat.  My polish would chip in a day if I didn’t.  For this particular manicure, I used Revlon Quick Dry Base Coat, 2 coats of NYC In a New York Minute Amazon green, and Seche Vite Dry Fast Top Coat.  In the near future, I am planing to put a few base coats and top coats up against each other in an attempt to find out which ones really are the best, but so far I’ve never been disappointed by the Revlon base coat/Seche Vite top coat combination.

I’m off to write a much more substantial post now on how to make your neon polish look as awesome as possible.  Until next time, happy polishing!