Snowflake Sandwich with Frankenjelly

I’m pretty open about my love for Broadway Nails – Space Flight.

IMG_3297IMG_3335IMG_3321

I mean, what’s not to love?  It’s a beautiful blue jelly polish that only costs $1!  Well, actually, there are two things that I don’t love about this polish…

1.  It stinks crazy bad.  Like oil-based paint bad.  Like “It’s below freezing, but I need to open a window for ventilation” bad.

2. It’s really dark.  I mean, it’s definitely a jelly polish, but it’s so dark that it covers up whatever is in the middle of my jelly sandwich just a little too much.  And if I felt the need to apply a second coat over my glitter in the name of smoothness or evenness, it just covered my glitter more than I wanted it to.

Then, late one night, in a moment of inspiration I though, “Why don’t I just add some of Space Flight to a clear polish to make a more sheer jelly?”  So that’s what I did.  Behold:

IMG_4277

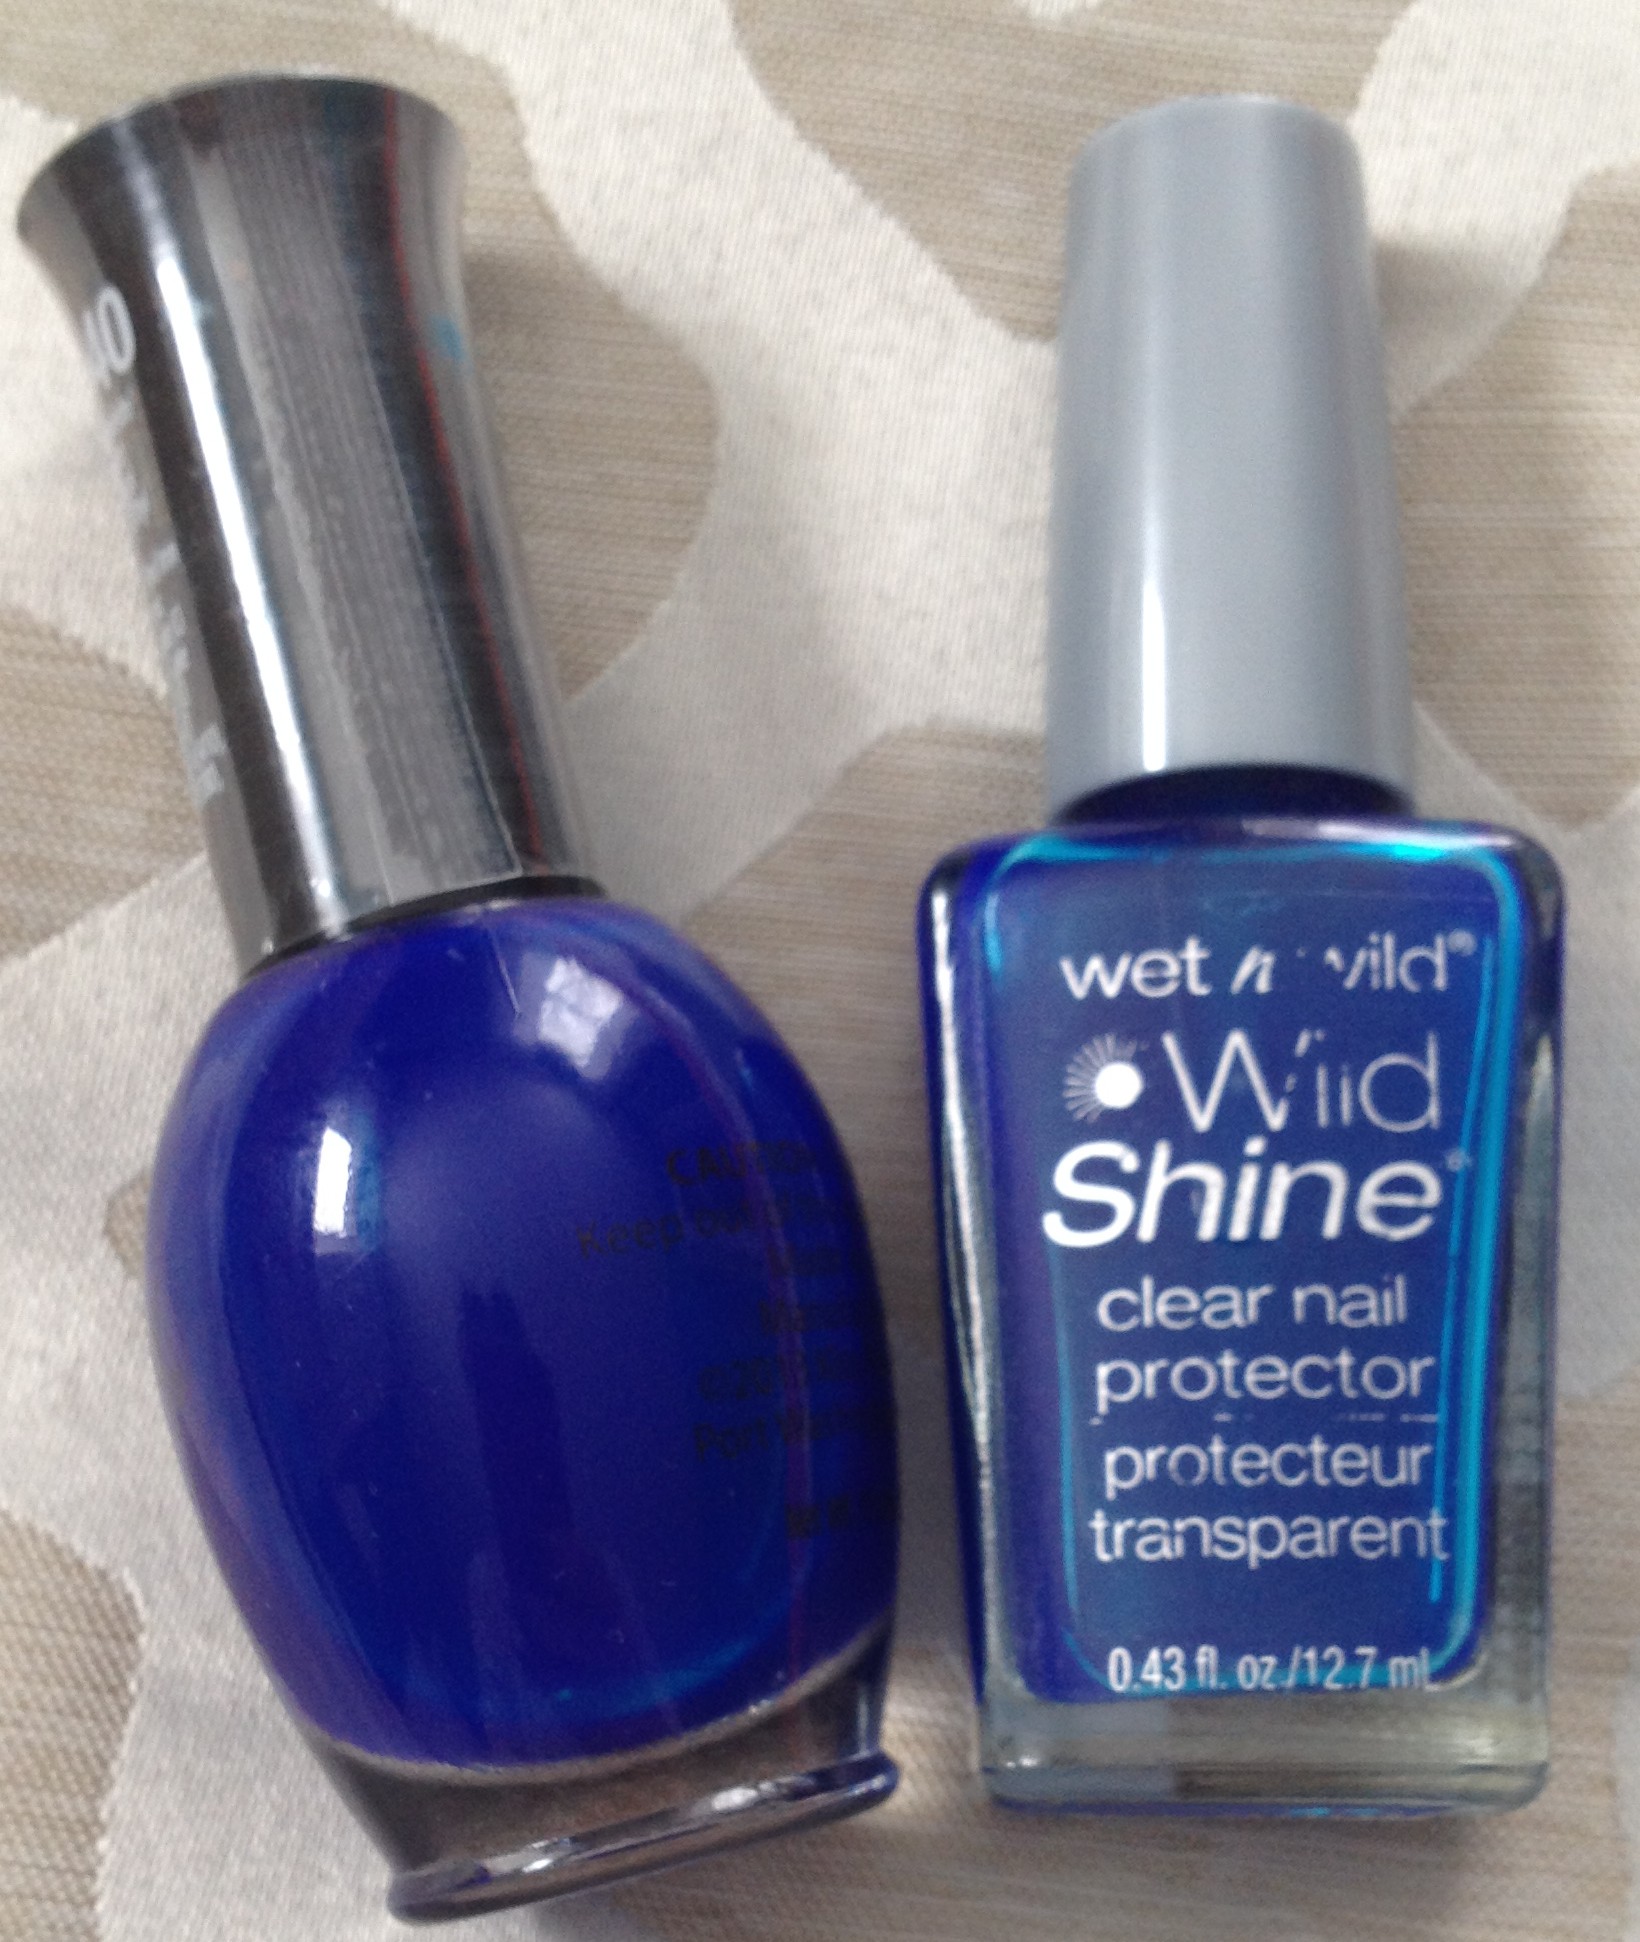
I added maybe 20 drops of Space Flight into a 3/4 full bottle of clear Wet n Wild polish.  Seriously, it did not take much Space Flight at all to make the clear polish a lovely shade of blue.  Here is one coat of each of these painted over an expired mailer from Bath & Body Works:

IMG_4276

Isn’t that great?  Now that I had my new lovely sheer blue jelly polish, I needed to do something with it.

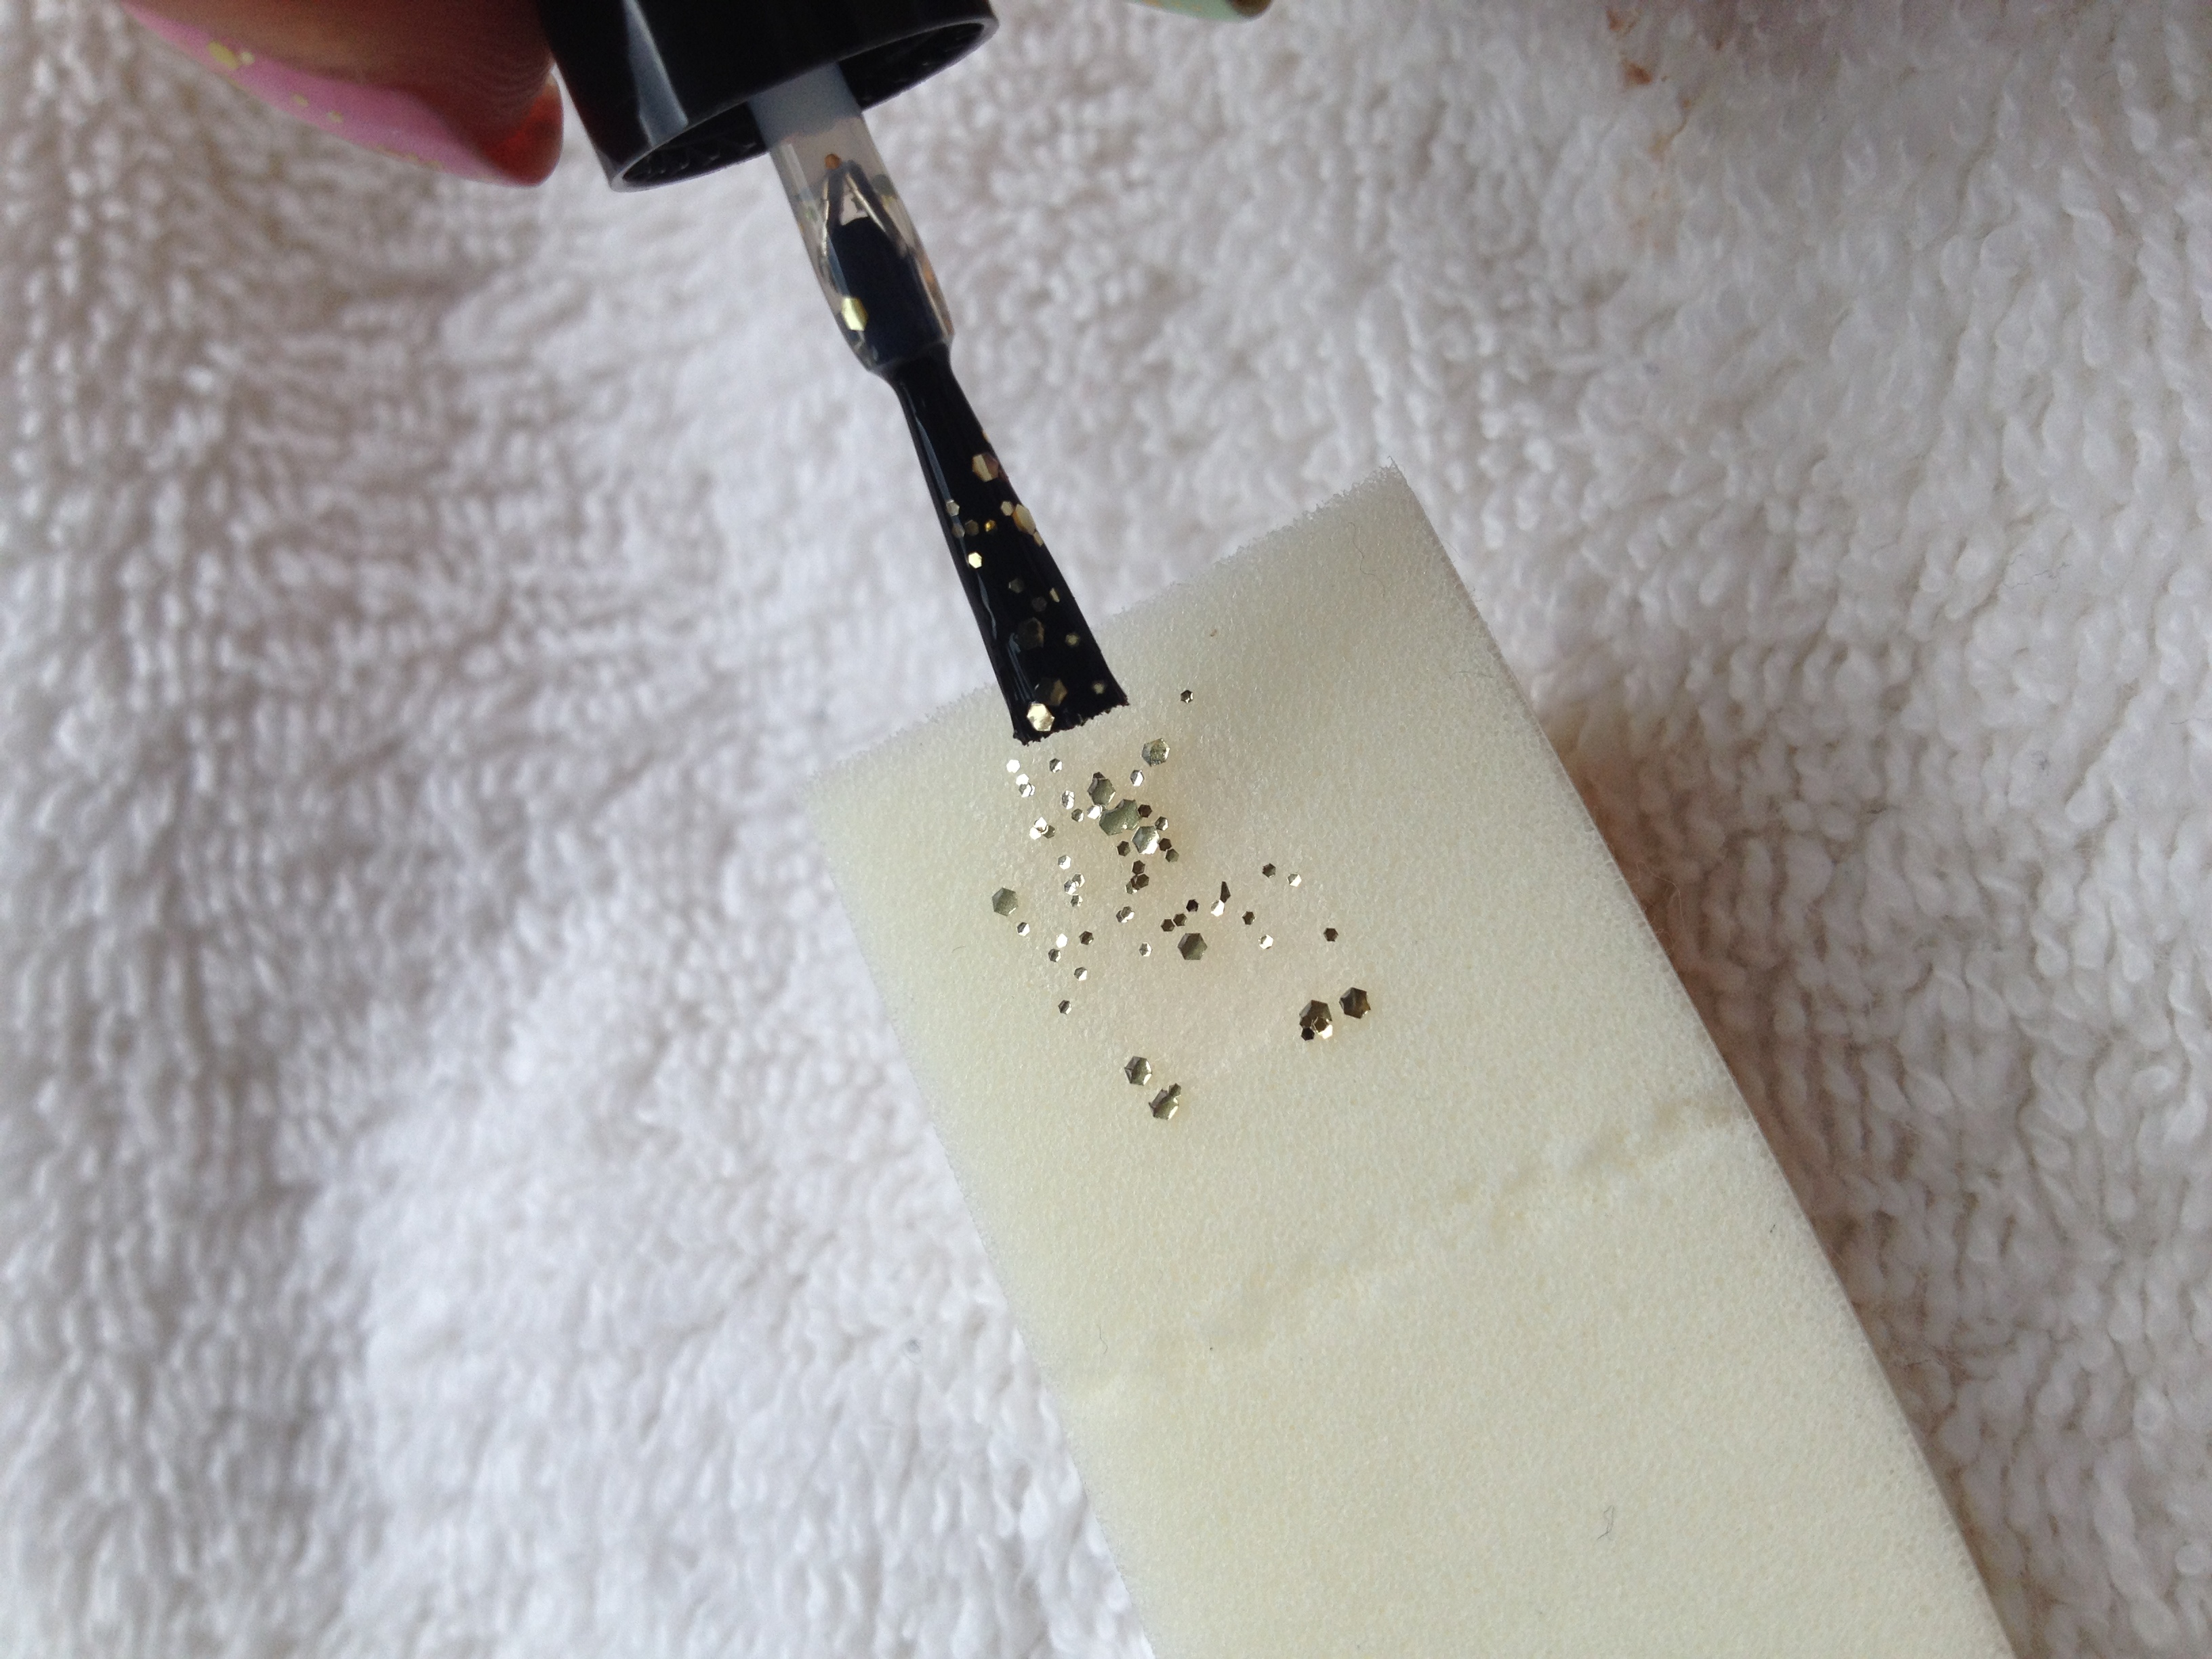
I acquired Funky Fingers – Olaf on a recent trip to 5 Below.

IMG_4275

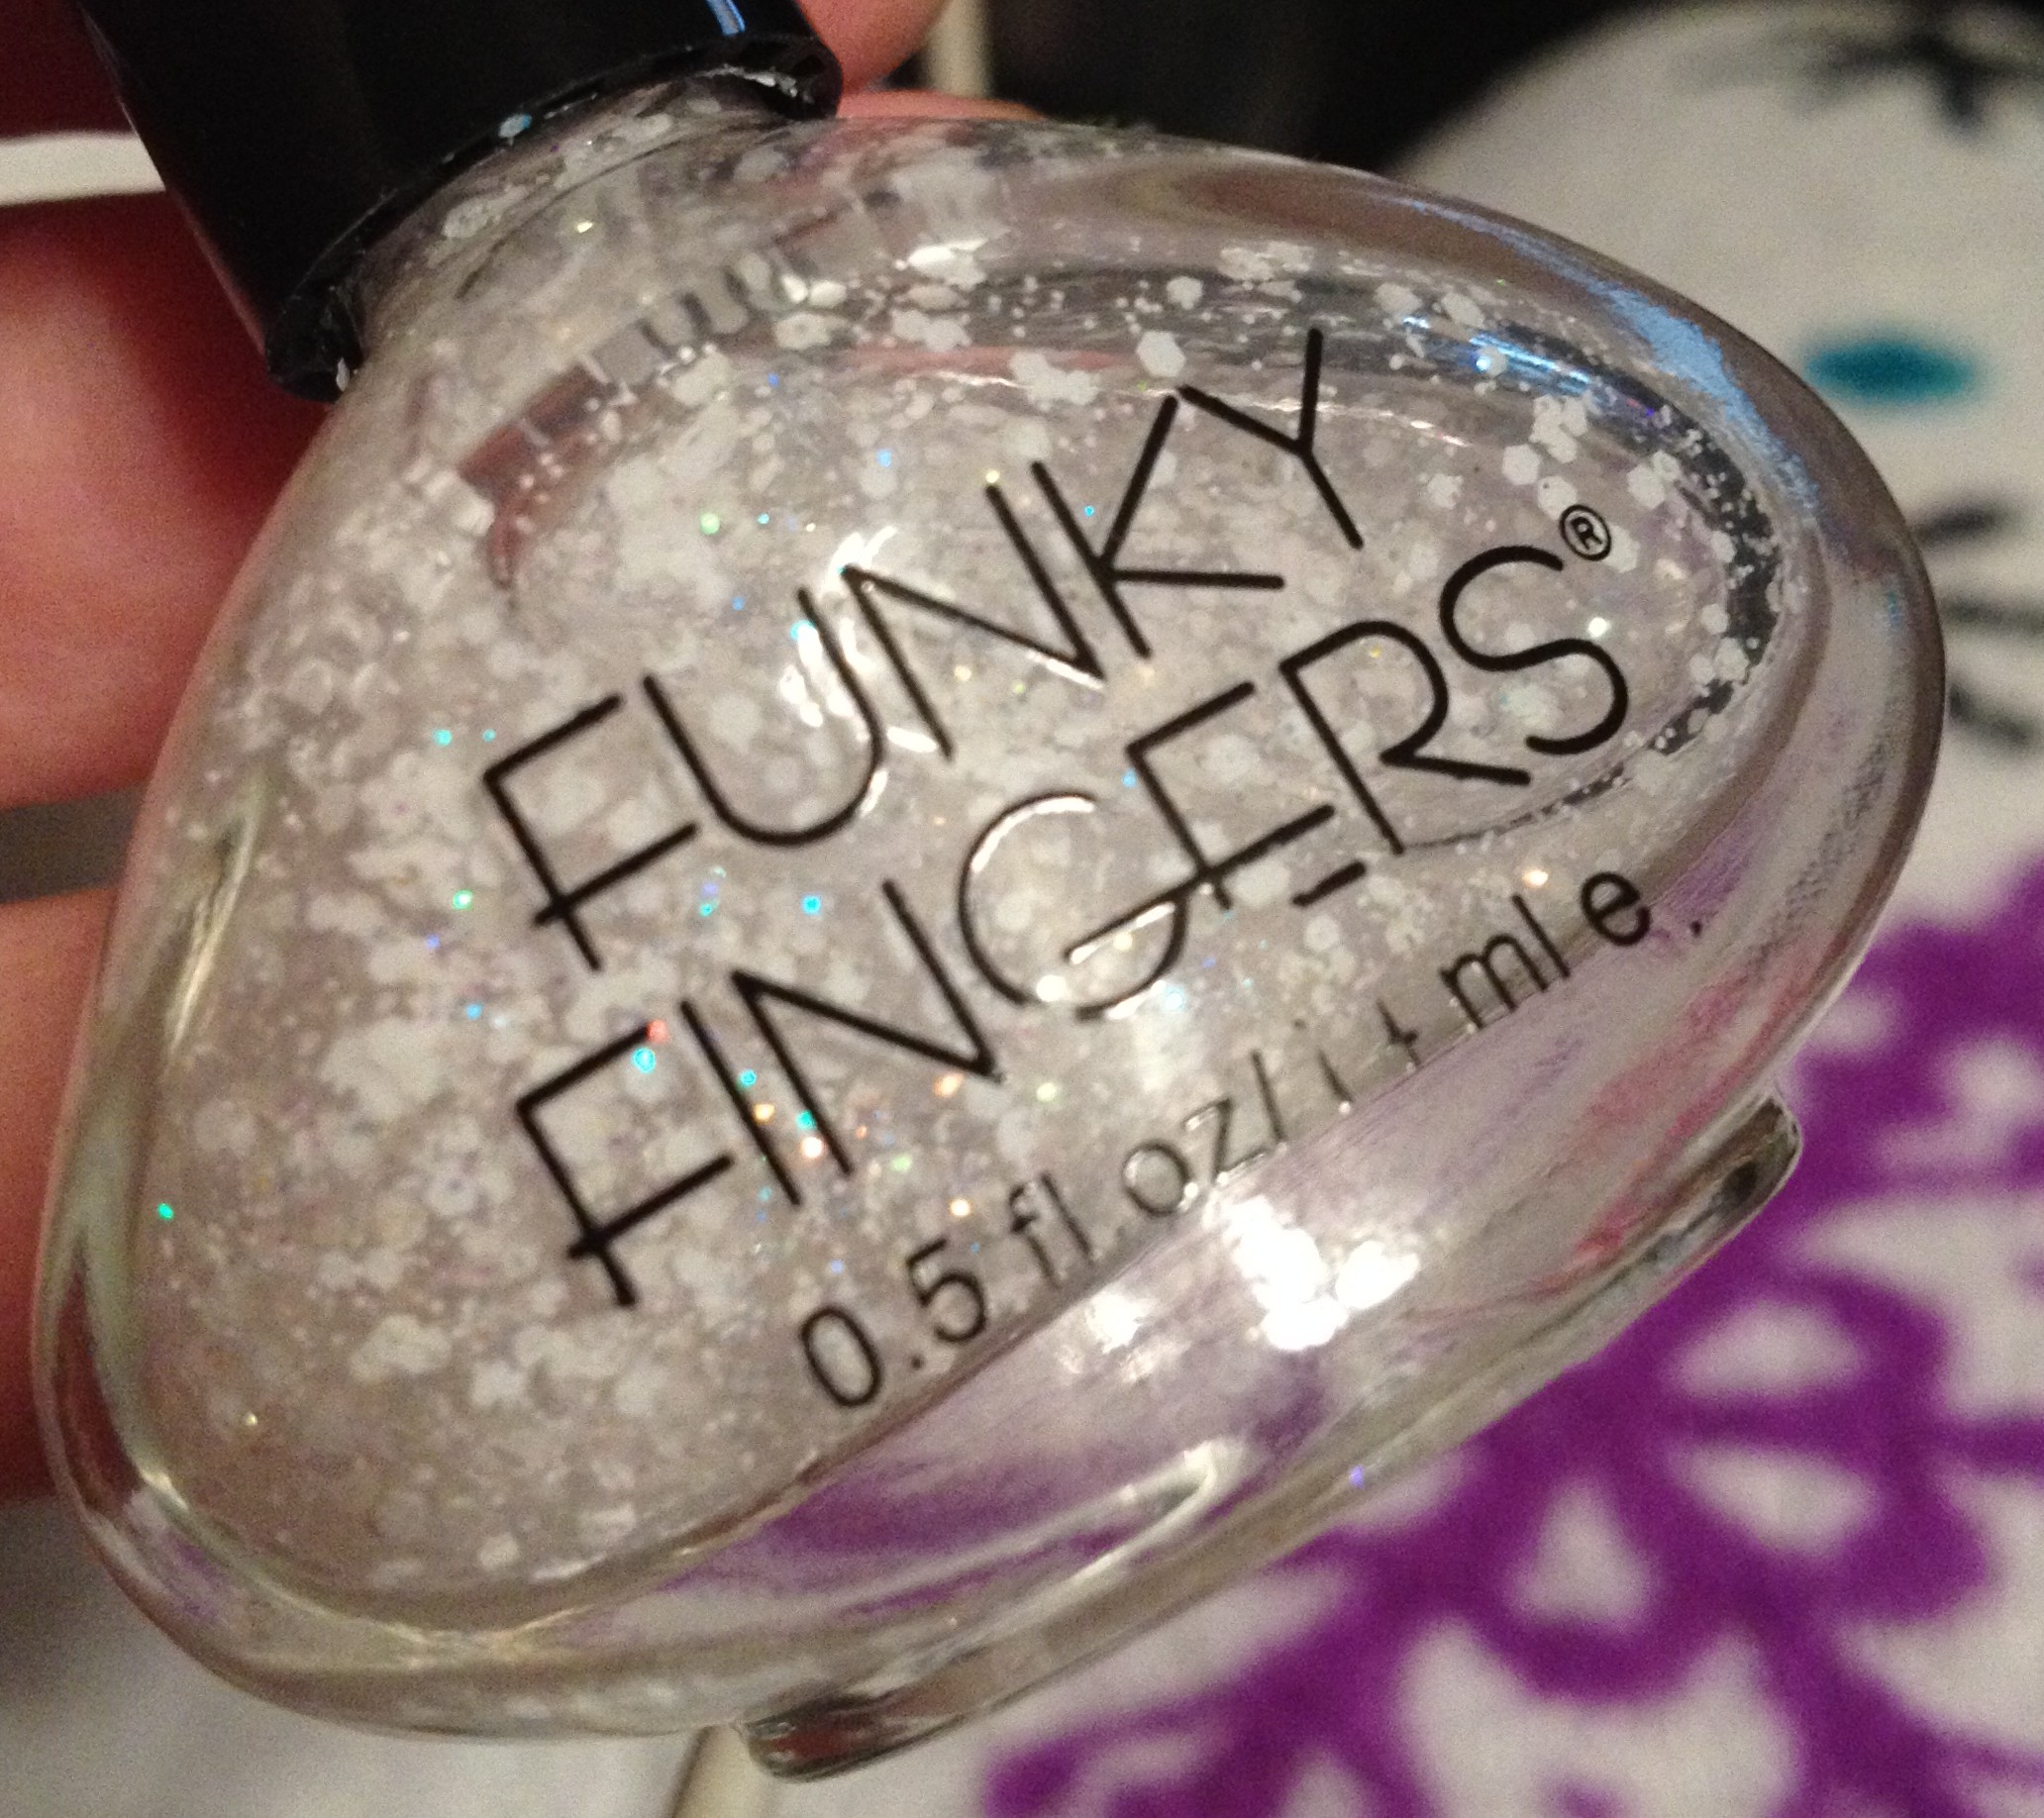
This is a clear base with small white hex glitter, tiny white and iridescent glitter, and large white snowflake shaped glitter.  I figured that this would be perfect to use in a jelly sandwich with my Frankenjelly!

I actually started by applying 2 coats of Space Flight to get a nice deep base.  Then I applies one coat of Olaf followed by one coat of my new blue Frankenjelly.  Here’s the result:

IMG_4259I love how this turned out!  The Frankenjelly was dark enough to give the glitter a wonderful blue color and give the effect that the glitter is suspended in the middle of the polish with out covering it up too much!  I wore this for almost 5 days, so that’s saying something!

With the success of this frankenjelly, I may be experimenting with more jellies like this in the future.  Stay tuned!  Thanks for reading!  Oh, and just a reminder, I’m on intagram so find me there!!!

I

Frankenpolish Strikes Again!

Lately I’ve been seeing a lot of cute nail art around that starts with a base that is sort of a light nude color.  You know, not as dark as a “mannequin hands” nude, but definitely not white.  I didn’t have a color like this, but I’m trying (although my hubby may not believe it) to not buy unnecessary nail polish.  

Then I remembered that I bought a bunch of white polish so that I could compare them, and really, who needs 5 bottles of white?  You know what that means?  Frankenpolish time! 

My initial plan was to add some of NYC – Fashion Safari to NYC – French White Tip.

IMG_2876

I realized pretty quickly that I was going to have to add a ton of Fashion Safari to get my desired shade, so I raided my nail polish rack and found these two:

IMG_2921

Wet n Wild Megalast – Haze of Love is a beautiful brownish-reddish-raisinish color that I love to wear in the fall.  Spoiled – Permission to Proceed is just a true green.  I knew if I just added Haze of Love to the white, it would end up being too pink, so added some Permission to Proceed just to mellow out the pinkness. I didn’t really keep track of how much of each I added to the white.  I would just add some and then shake-shake-shake the bottle, assess the color and then add some more of the colored polish as needed. 

In the end, I wound up with the color on my middle finger:

IMG_2913

(Sinful Colors – Snow Me White is on my first finger, and Fashion Safari is on my ring finger.)

So, I think I’m pretty happy with how it turned out!  Sometimes when I look at it, I think it might still be a little too pink.  Maybe I’ll add a few more drops of green polish to it.  Not sure yet.

Do any of you have any Frankenpolish stories?   I’d seriously love to hear them!

Nails of the Day

Here’s what I’m currently sporting on my nails:

IMG_2722

The pink color is Wet n Wild Tickled Pink and the green color is my Frankenpolish that I made here.

The gold glitter I used is from Sally Girl, available at Sally Beauty Supply.  You know how sometimes glitter polish is in a really thick clear base and it seems like you can’t get the glitter coverage that you want on your nails without applying a bunch of really thick coats?  Well, there’s a way around that.

For this look, I first waited until my pink and green polish was mostly dry.  Then I brushed the gold glitter polish onto a makeup sponge like this:

IMG_2724

Then I waited just a few seconds so that the clear base was mostly absorbed into the sponge, but still wet.  Then I dabbed the sponge with the glitter directly onto my nail.  This technique works like a charm!  I learned this from jessface90 on youtube.  Check out her tutorial on this.

I then applied the NYC You Matte Me Crazy top coat.  I love how the glitter looks with the matte top coat!  The glitter is still shiny, but in more of a frosted glass sort of way.

If you found this information helpful, I’d be honored if you’d share this by using the little “share” buttons below!  If you try this technique, I’d love to see your results, so use the hashtag #polishmesnazzy on instagram or facebook so that I can find your posts.  Thanks for reading!

In Pursuit of the Perfect Green

Lately, I’ve been into light green nail polish.   More than once, I’ve purchased what I thought would be a perfect light green and it either turned out to be too blue or too dark or just not quite what I thought it would be.  Meanwhile, I have this half-a-bottle of Essie in the color Blanc, that I really wasn’t loving anymore:

IMG_2619

Truth be told, I never really loved it in the first place.  The formula was never as opaque as I felt it should be for an $8 white polish.  (There are much better whites out there for much cheaper.)  Plus, it was starting to get a little old an gunky.

The first thing I did was restore the polish out with this awesome product:

IMG_2620

This stuff is great!  It was only around $3 at Sally Beauty Supply, and I’ve revived so many old polishes with it already!  A little side note here: Don’t thin your polish out with acetone or polish remover.  It may work temporarily, but ultimately, it will ruin the polish you are trying to fix.

Anyway, after I thinned out my Blanc, I added about 20 drops of this green and one or two drops of this blue:

IMG_2621

I did a lot of shaking and ended up with this:

IMG_2626

It’s exactly the color I was hoping for!  I haven’t actually used it yet, but I totally will before too long!  I totally feel like a winner, winner, chicken dinner because I now have a new color that I can’t wait to use, and I didn’t spend any money!  My hubby will be so proud!

UPDATE:  I finally did use this polish for this pink, green, and glitter mani and I love it!

Have you ever mixed your old polishes to create a new one?  Did you like your results?