Wet n Wild Summer Collection 2016: Lost in the Wild Flowers

This collection is almost old news by now, but I’m still seeing it in stores, so I’ll still tell you about it.  Plus, I  bought the whole collection and in my head that’s not really justifiable if I don’t officially blog about it.  So here it is, the Wet n Wild Summer Collection for 2016: Lost in the Wild Flowers!

IMG_7902IMG_7833This is such a pretty collection, right?  Let’s start with the pink…

Cherry Blossom On TopIMG_7796

This bright pink cream is opaque in two coats and dries to a really shiny finish.  There’s not too much else to say about it.  The formula is really nice and it’s a really pretty color.    IMG_7798

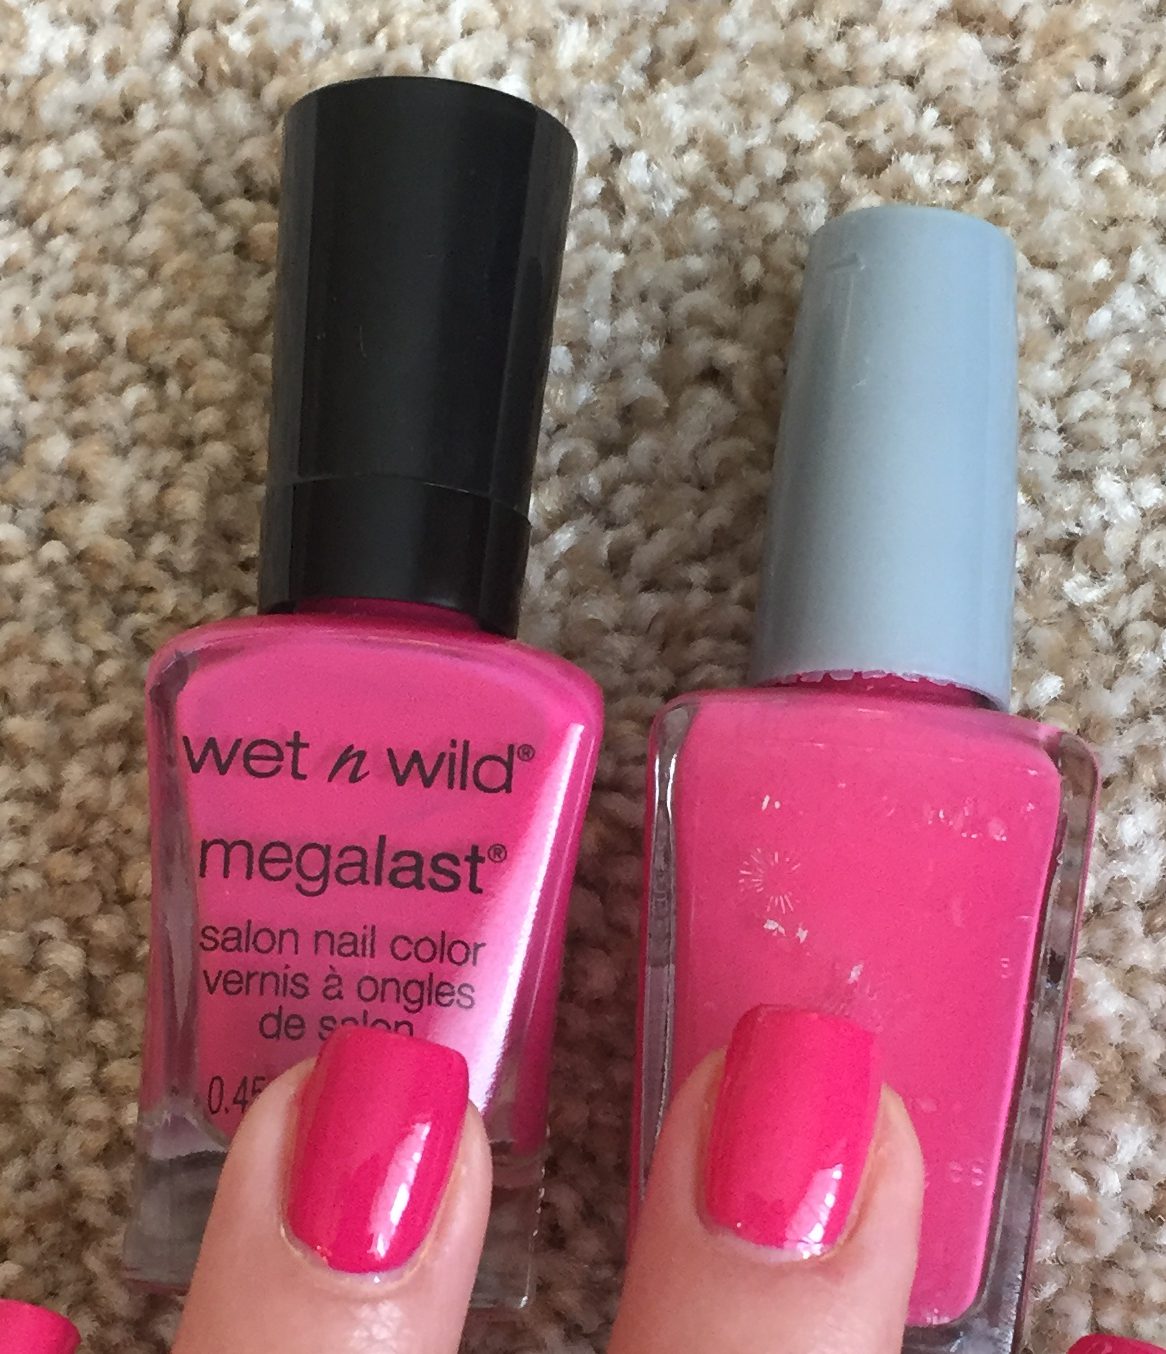
In looking through my collection for dupes, I found a match that is almost dead on, and that is Wet n Wild – Lavender Creme.  The one I own is in the old style bottle, but this same shade is still available in the new shaped bottles.  Really, they are super close!  Lavender Creme is a hair lighter than Cherry Blossom On Top, but really, if you already have Lavender Creme, you can skip picking up Cherry Blossom On Top.  It baffles me when a brand puts out pretty much the exact same color like this.  I mean, I know Lavender Creme is in the Wild Shine line, and Cherry Blossom On Top is in the Megalast line, but really….  I feel like it’s not too much to ask for a limited edition polish to be different from what that particular brand already makes available.  First world problems, I know.

IMG_7817Leaf Me Be

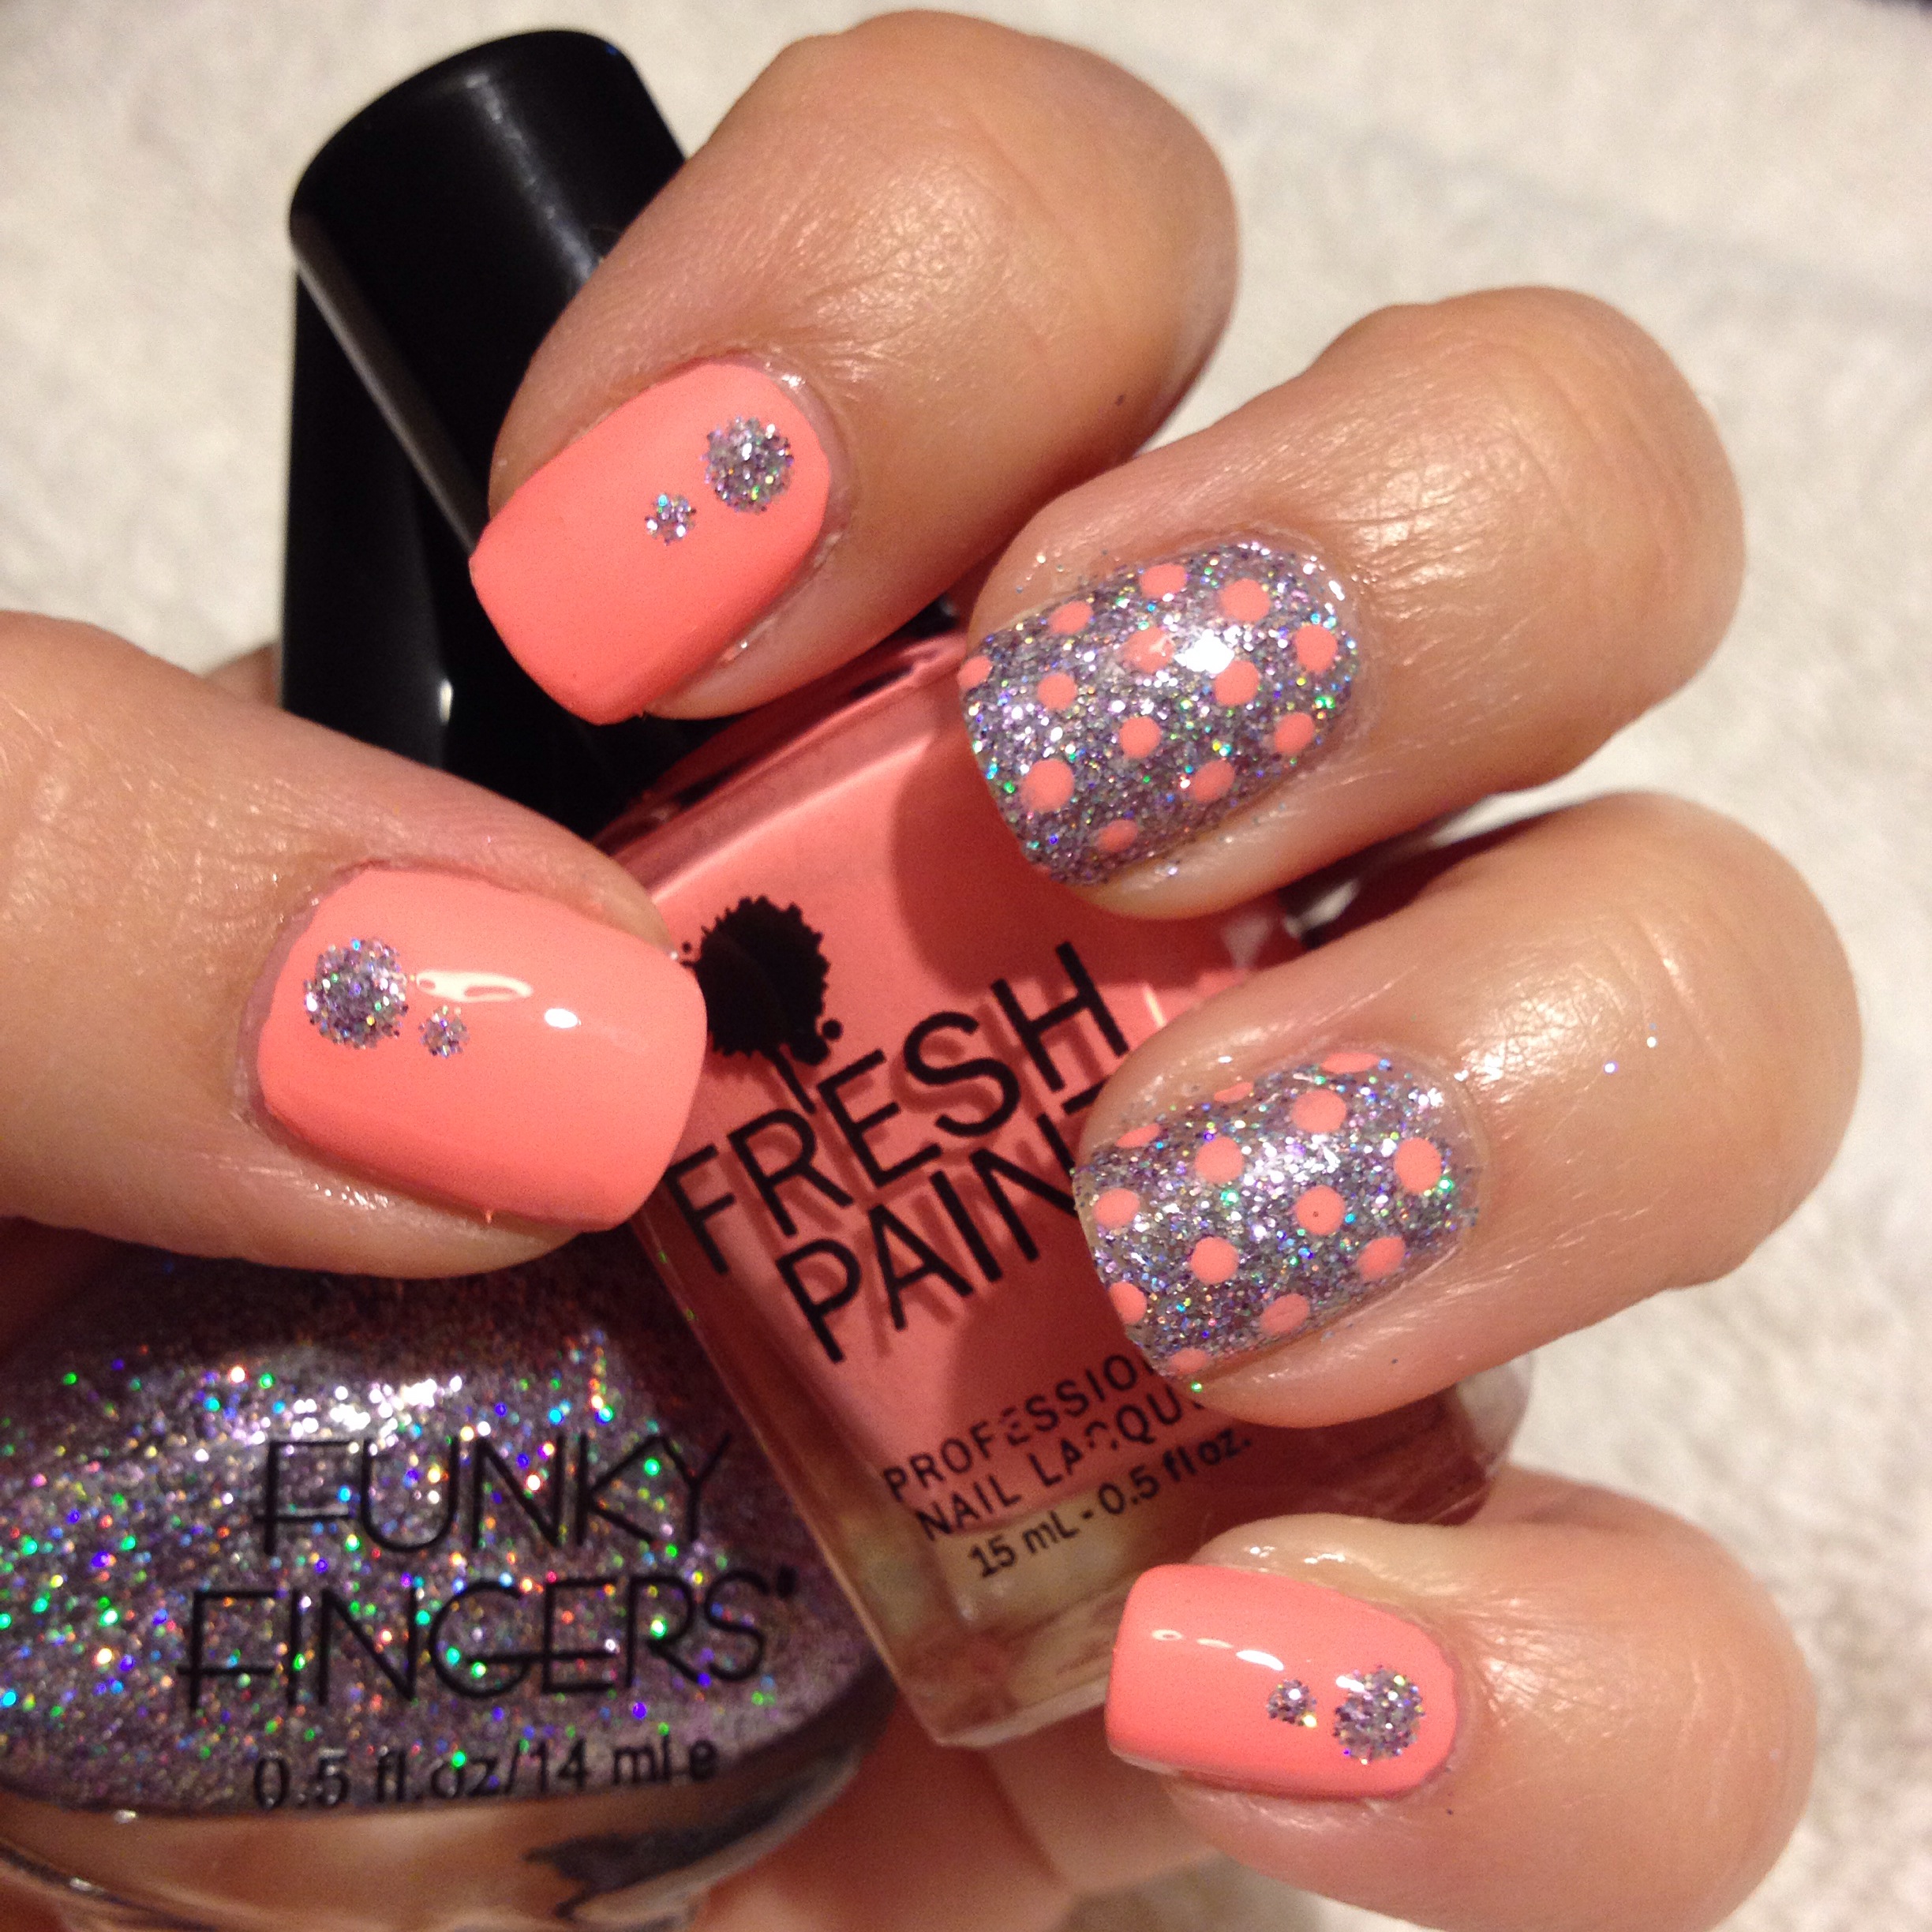
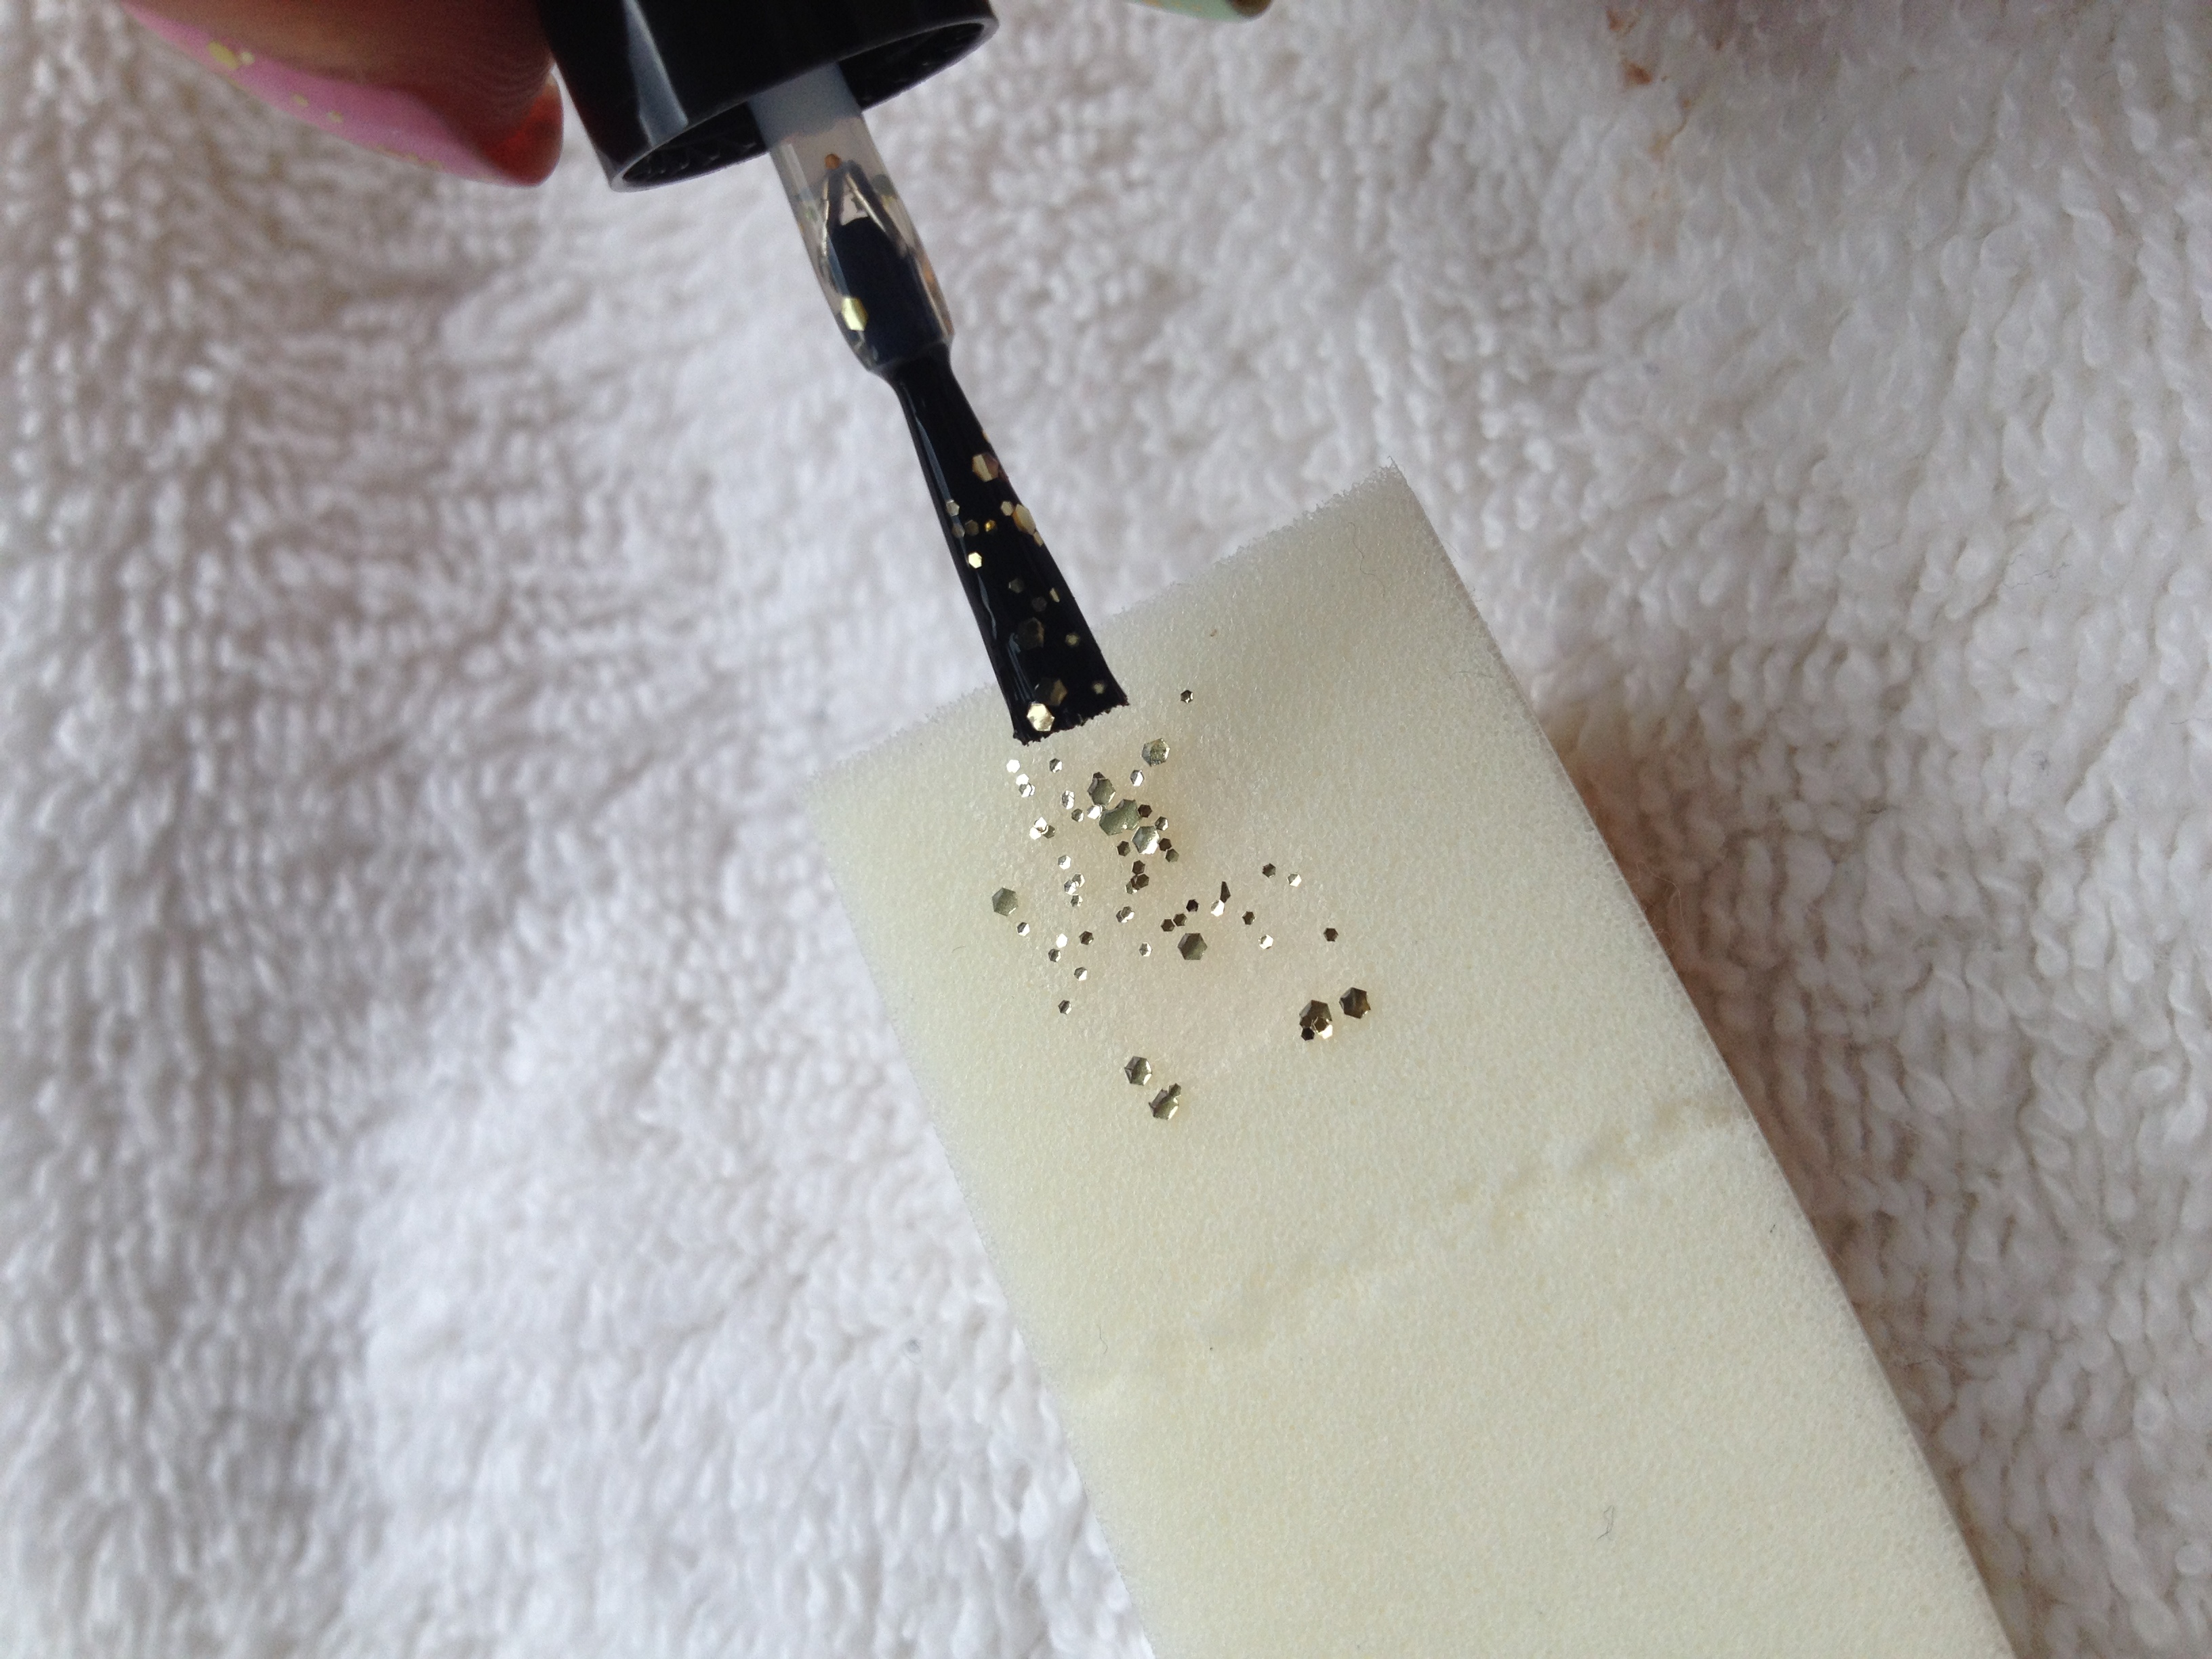
This bright spring green polish is a jelly formula, so it dries really shiny.  On my index and ring finger is three coats of the polish on its own.  On my middle and pinky fingers IMG_7739is three coats over white.  Jelly polishes are always fun because of the nail art and jelly sandwich potential that they have.  And actually, the first thing I did with these polishes when I got them home, was to make a jelly sandwich!  Here it is on the left with two coats of Leaf Me Be, a coat of silver glitter polish, and then another coat of Leaf Me Be.  So sparkly and fun, but muted at the same time!

As far as dupes of this polish go, I didn’t really have any good ones in my own IMG_7845collection, but I did find a kind of close one while I was at Dollar General.  (By the way, there are a bunch of the Wet n Wild polish colors that are exclusive to Dollar General.  Really pretty colors, too!)  This polish is called Limelight, and it’s just about the same color as Leaf Me Be, except it has a yellow/gold shimmer.  It’s really pretty, but since I just bought Leaf Me Be, I couldn’t justify buying Limelight.  I’m not sure what Limelight’s formula is like.

Oh, one more thing about Leaf Me Be: it’s a stainer.  After my jelly sandwich mani, my nails were (well, still are) a lovely booger green color.  Really unattractive.  It’s not a big deal for me because I just slapped more polish over my gross looking nails, but if you don’t always wear polish, this might be a deal-breaker for you.


Wild Wild VioletIMG_7809

Wild Wild Violet is a beautiful warm purple polish.  Much like Cherry Blossom On Top, it’s opaque in two coats and dries to a really shiny finish.  This is such a flattering color against my really light skin!

IMG_7812
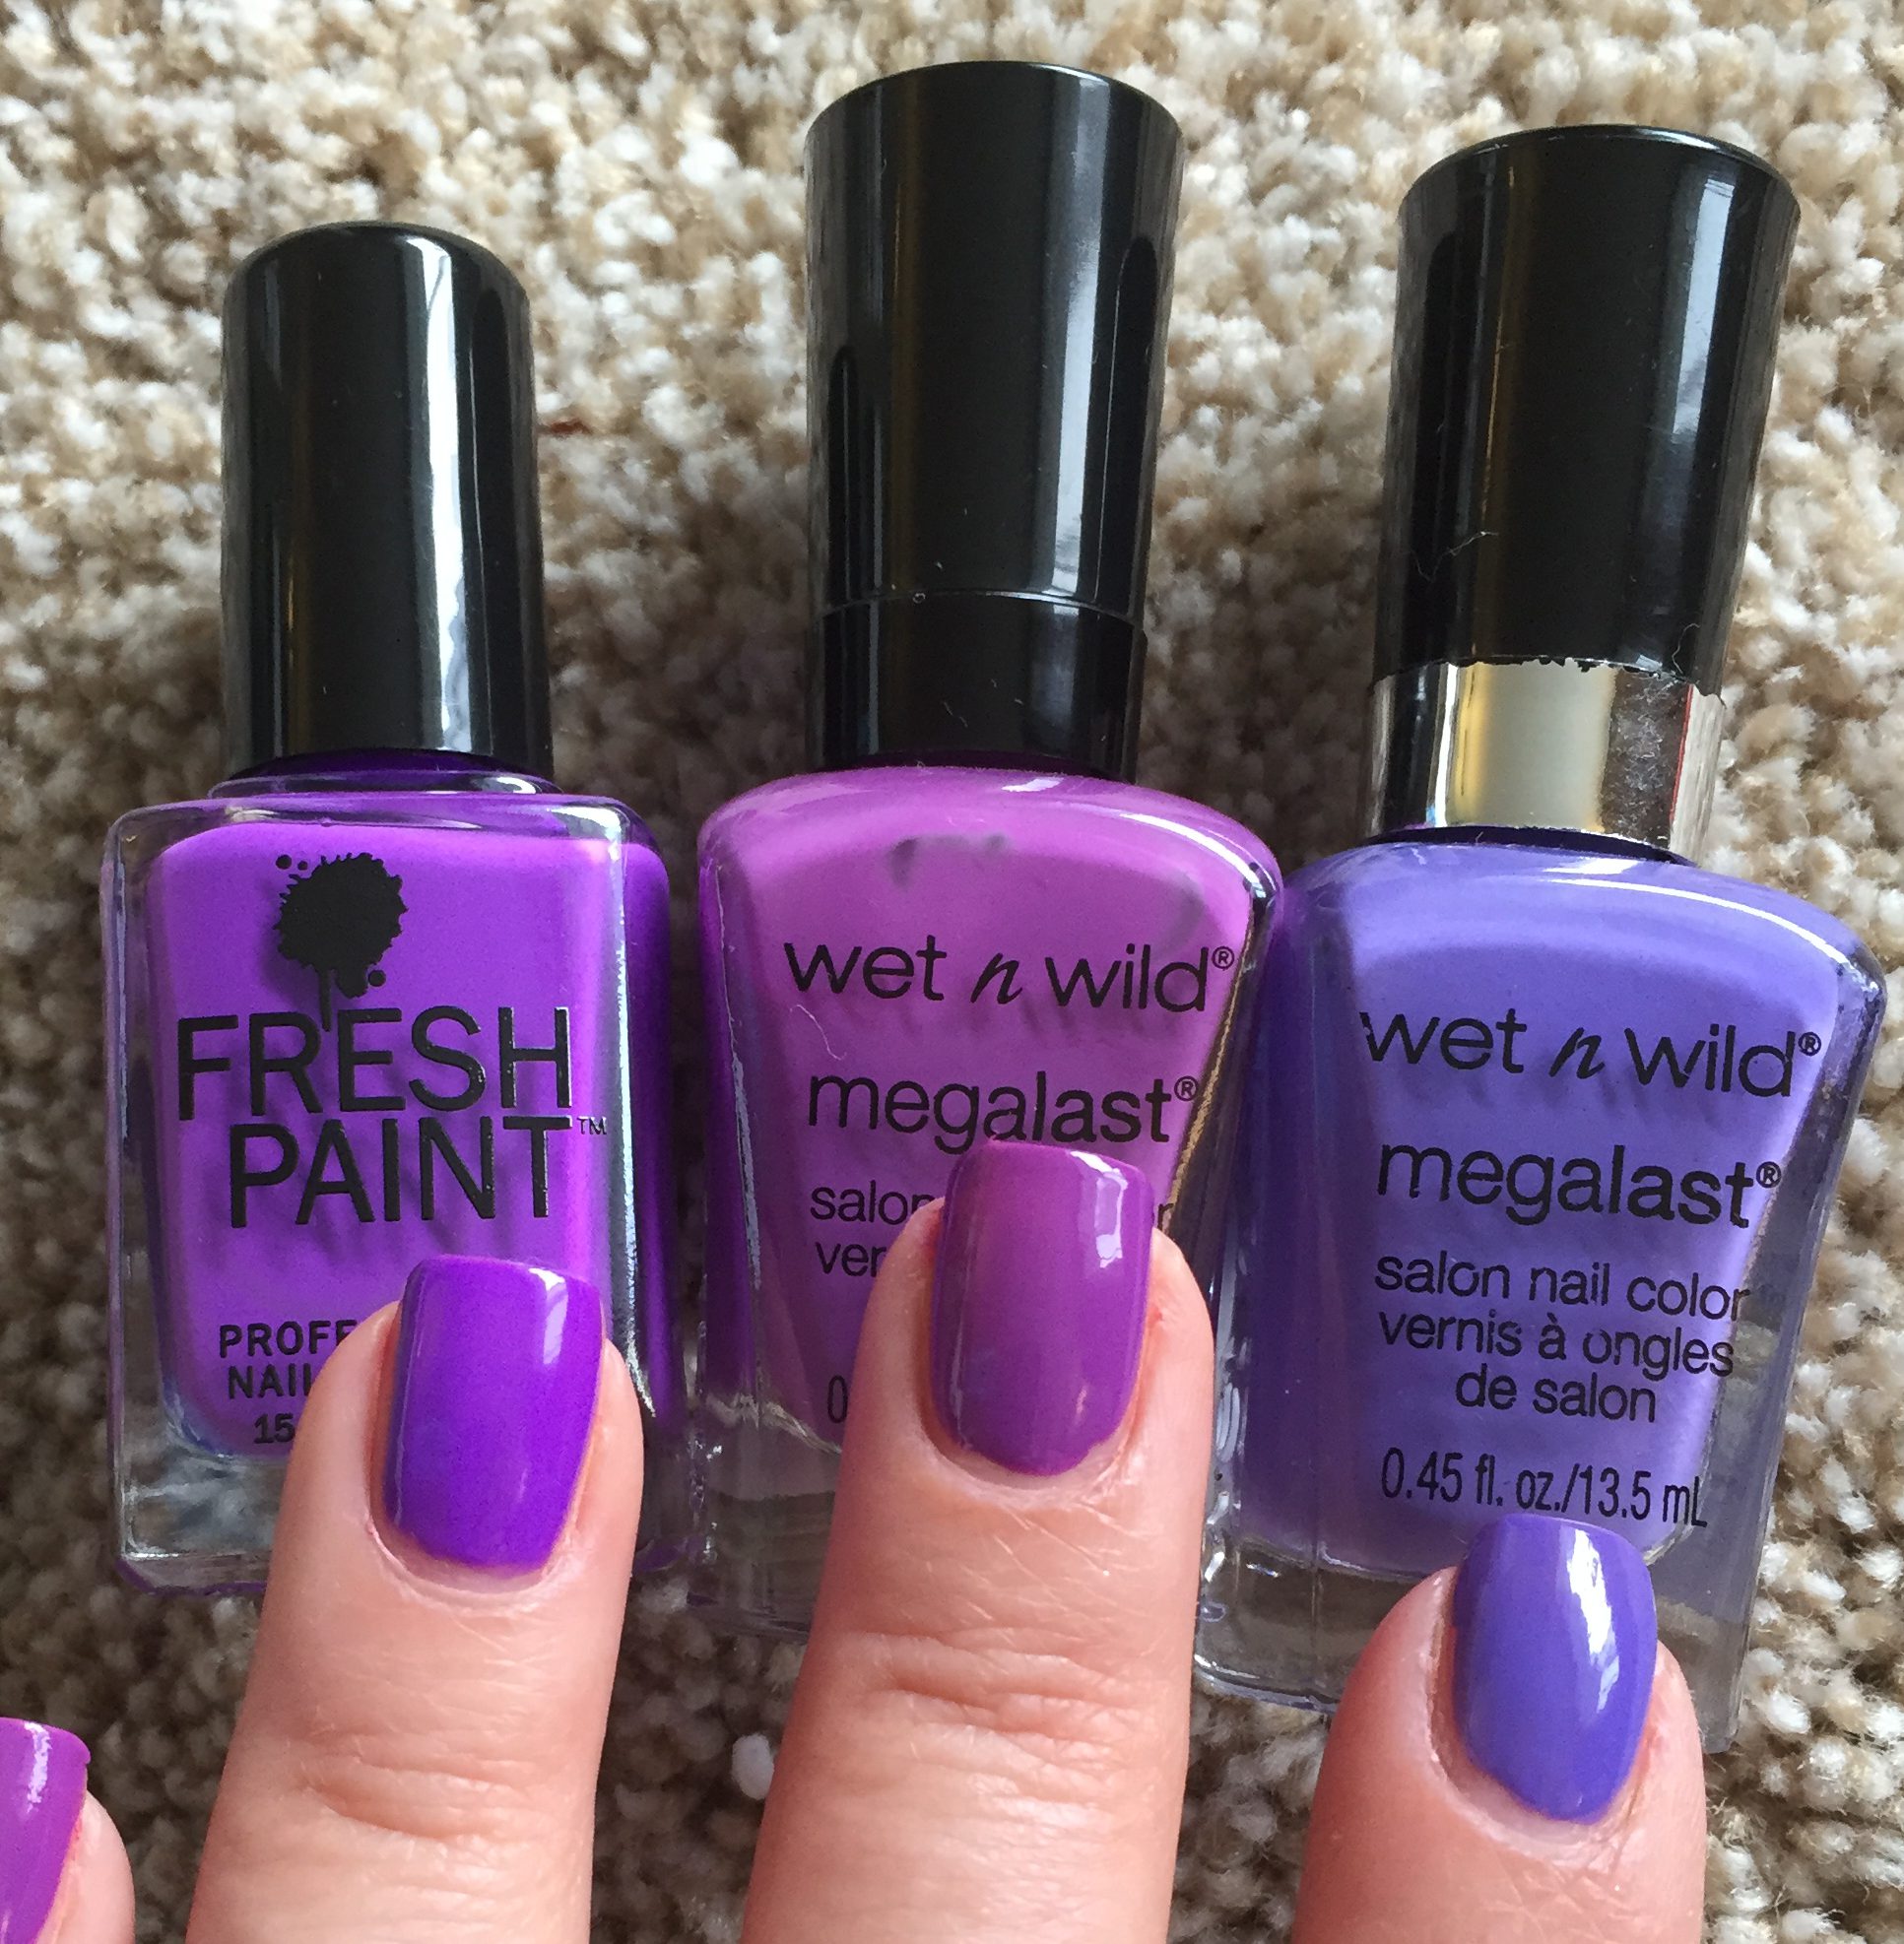
In comparing it to other purples in my collection, I found that I don’t have anything super close to this color.  In the comparison picture, Wild Wild Violet is in the middle, Fresh Paint – Sophia is on the left, and Wet n Wild – On a Trip is on the right.  You can see that Wild Wild Violet is the warmest of the three.  Sophia is a much more intense color; it’s almost neon in person.  On a Trip is obviously much cooler in tone.  I really like this polish and I’m super happy to have it in my collection.  IMG_7891

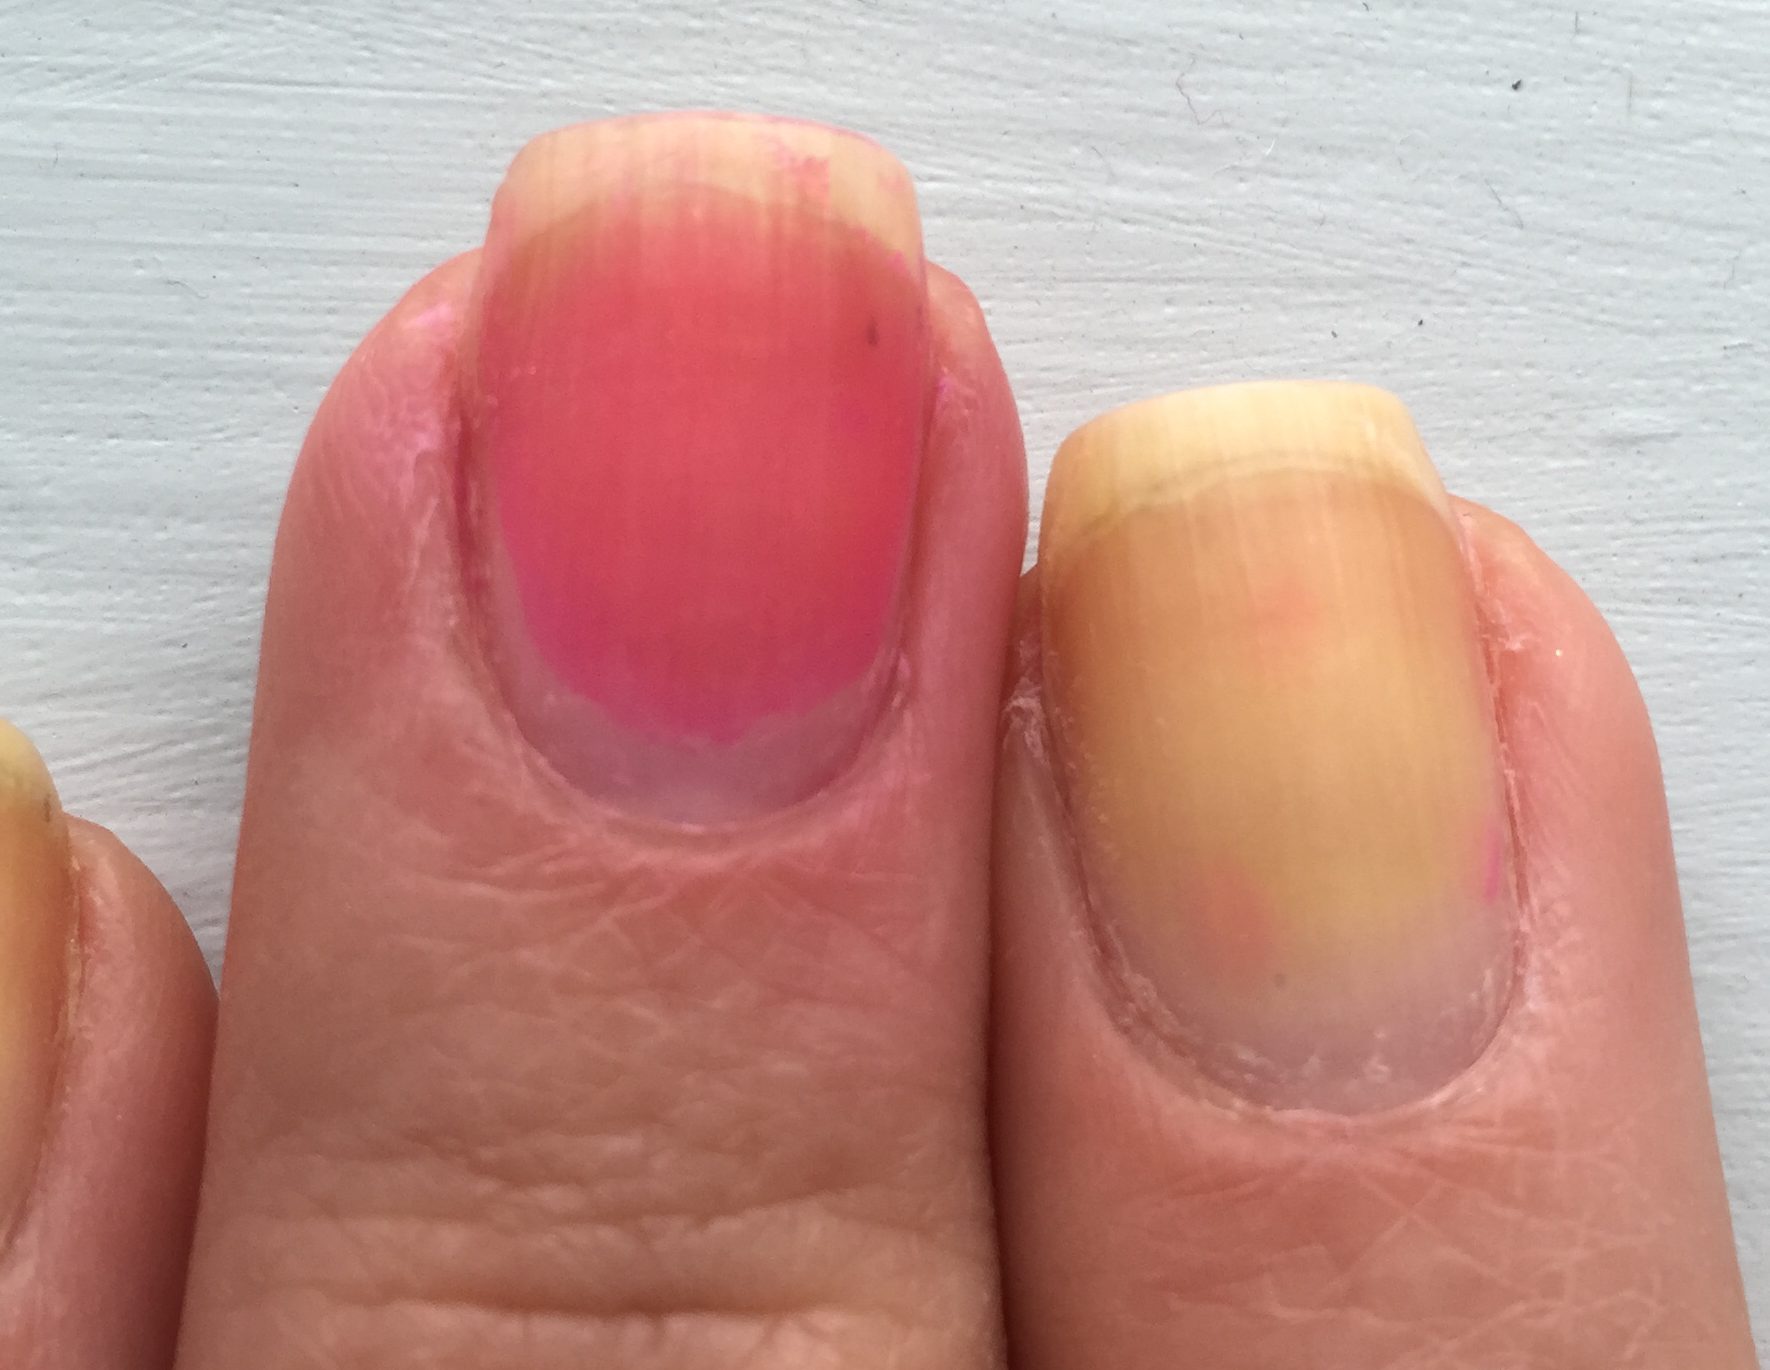
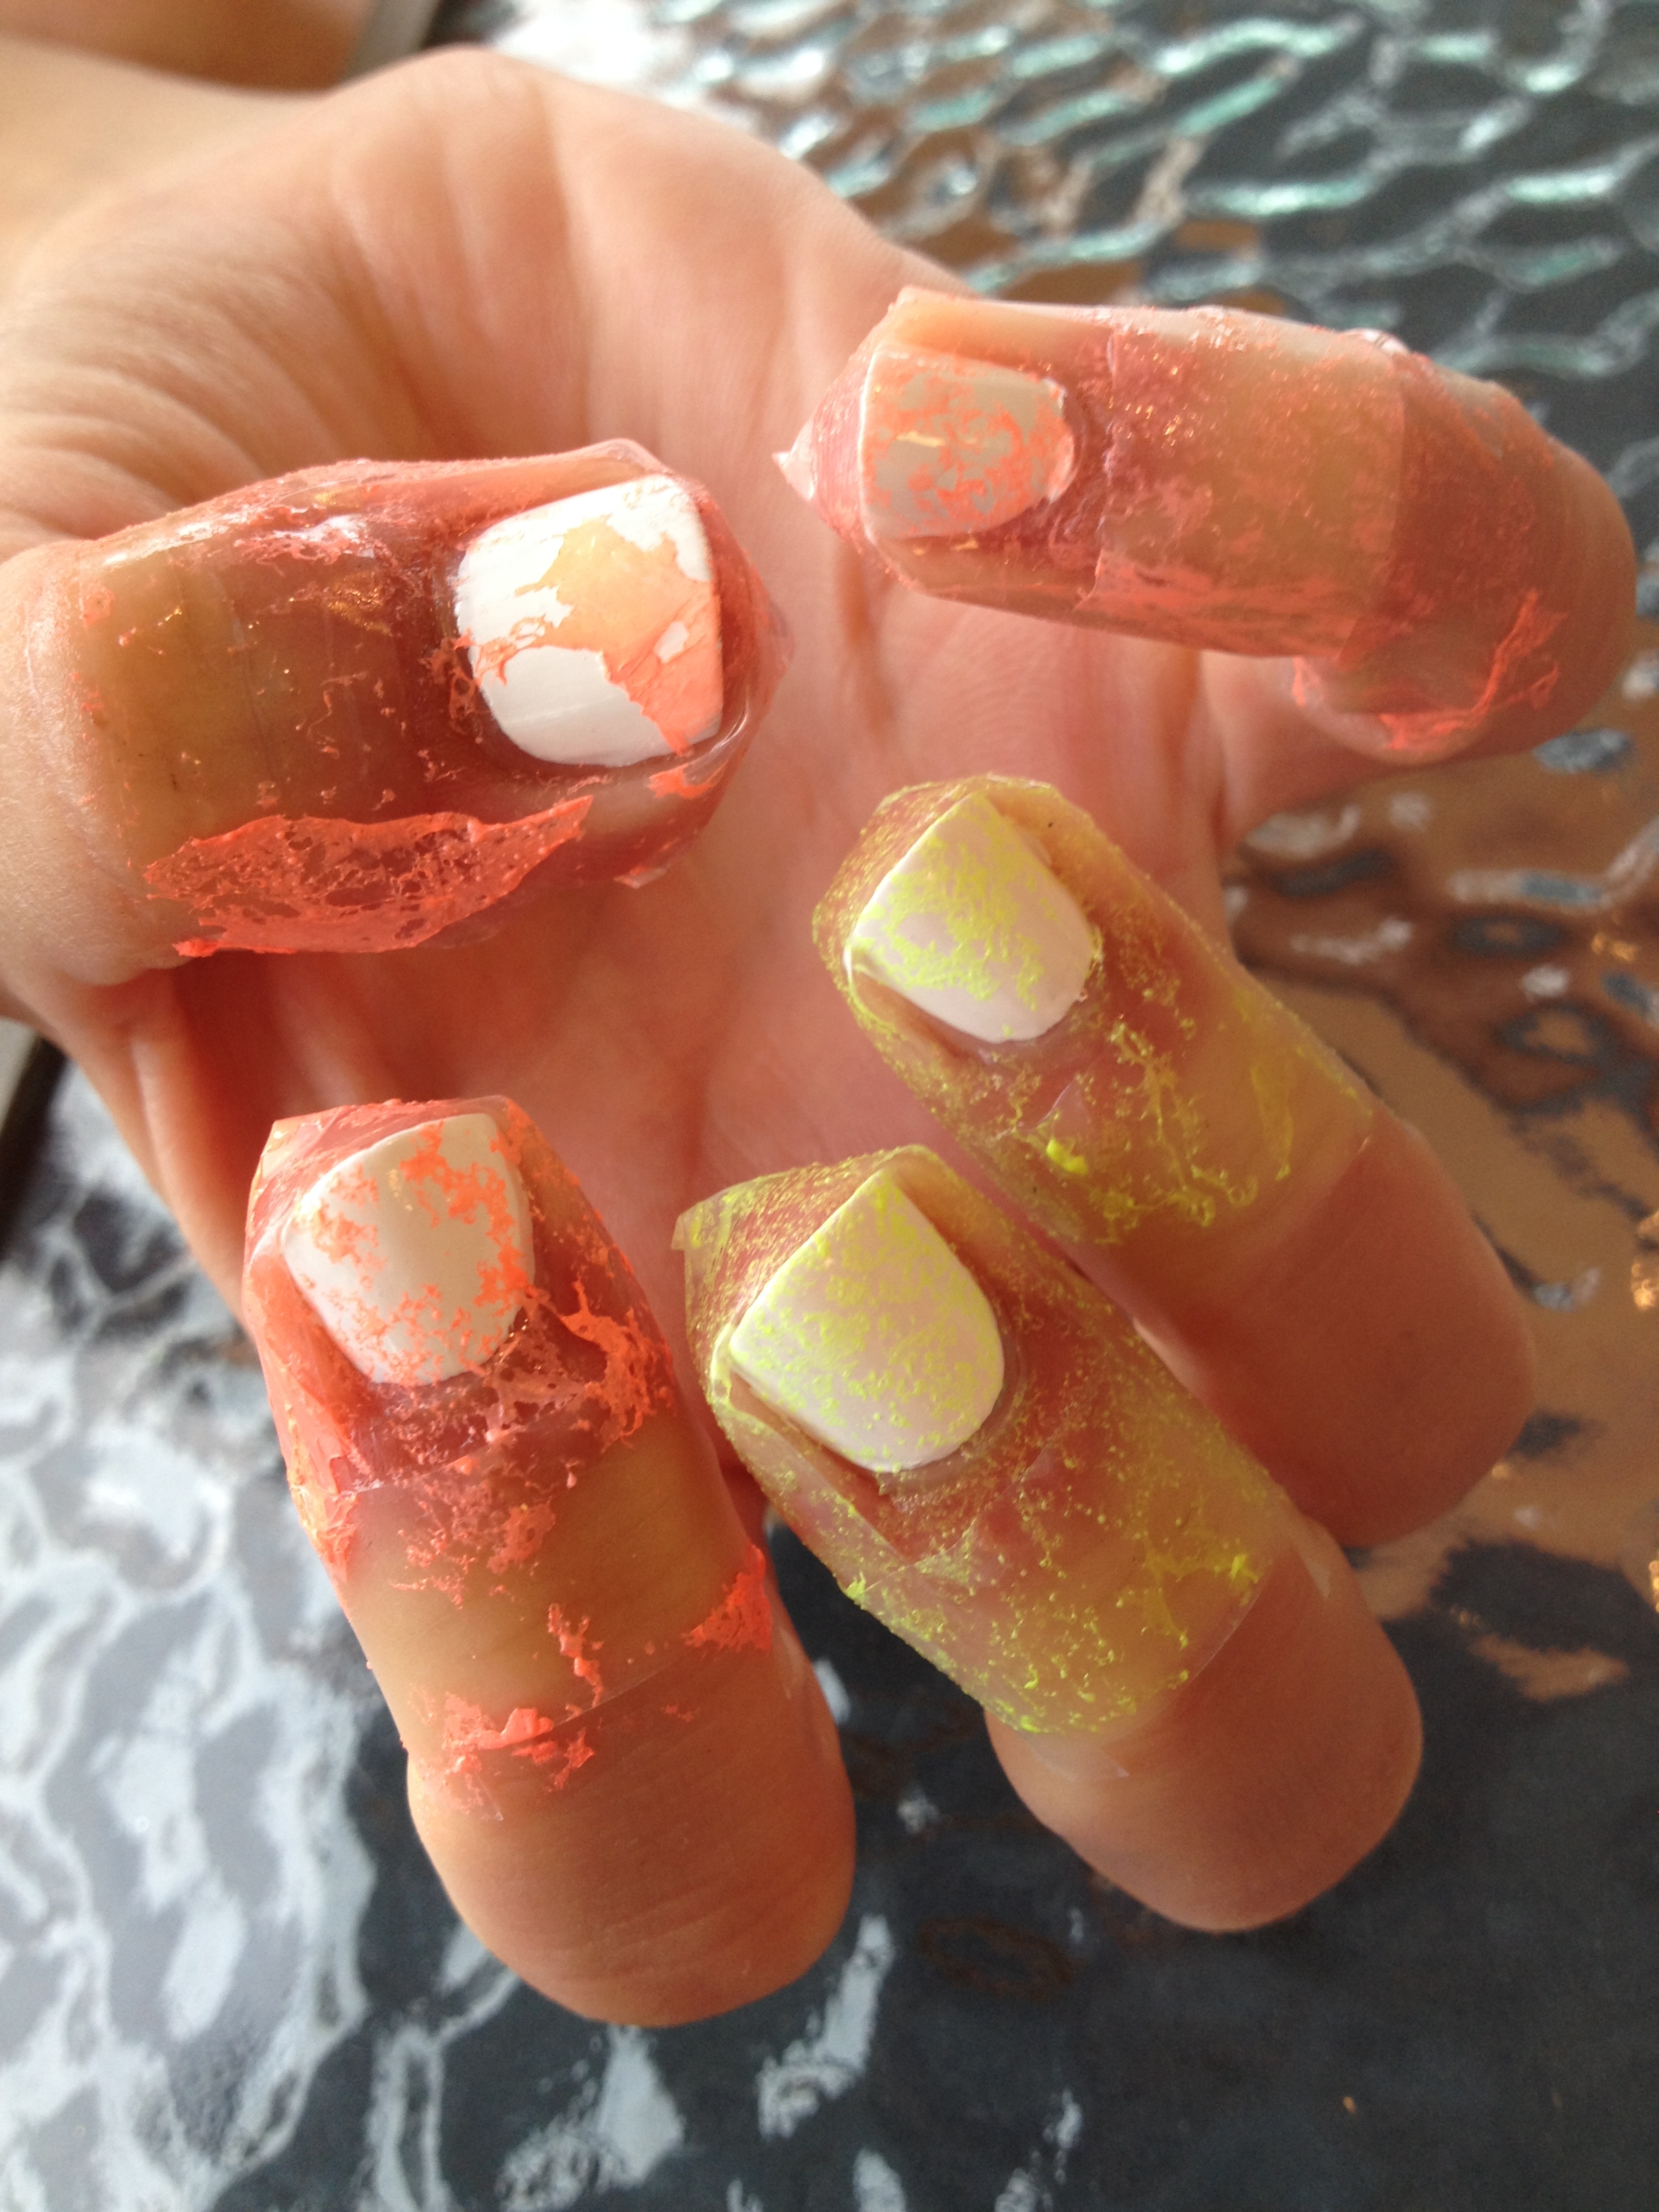
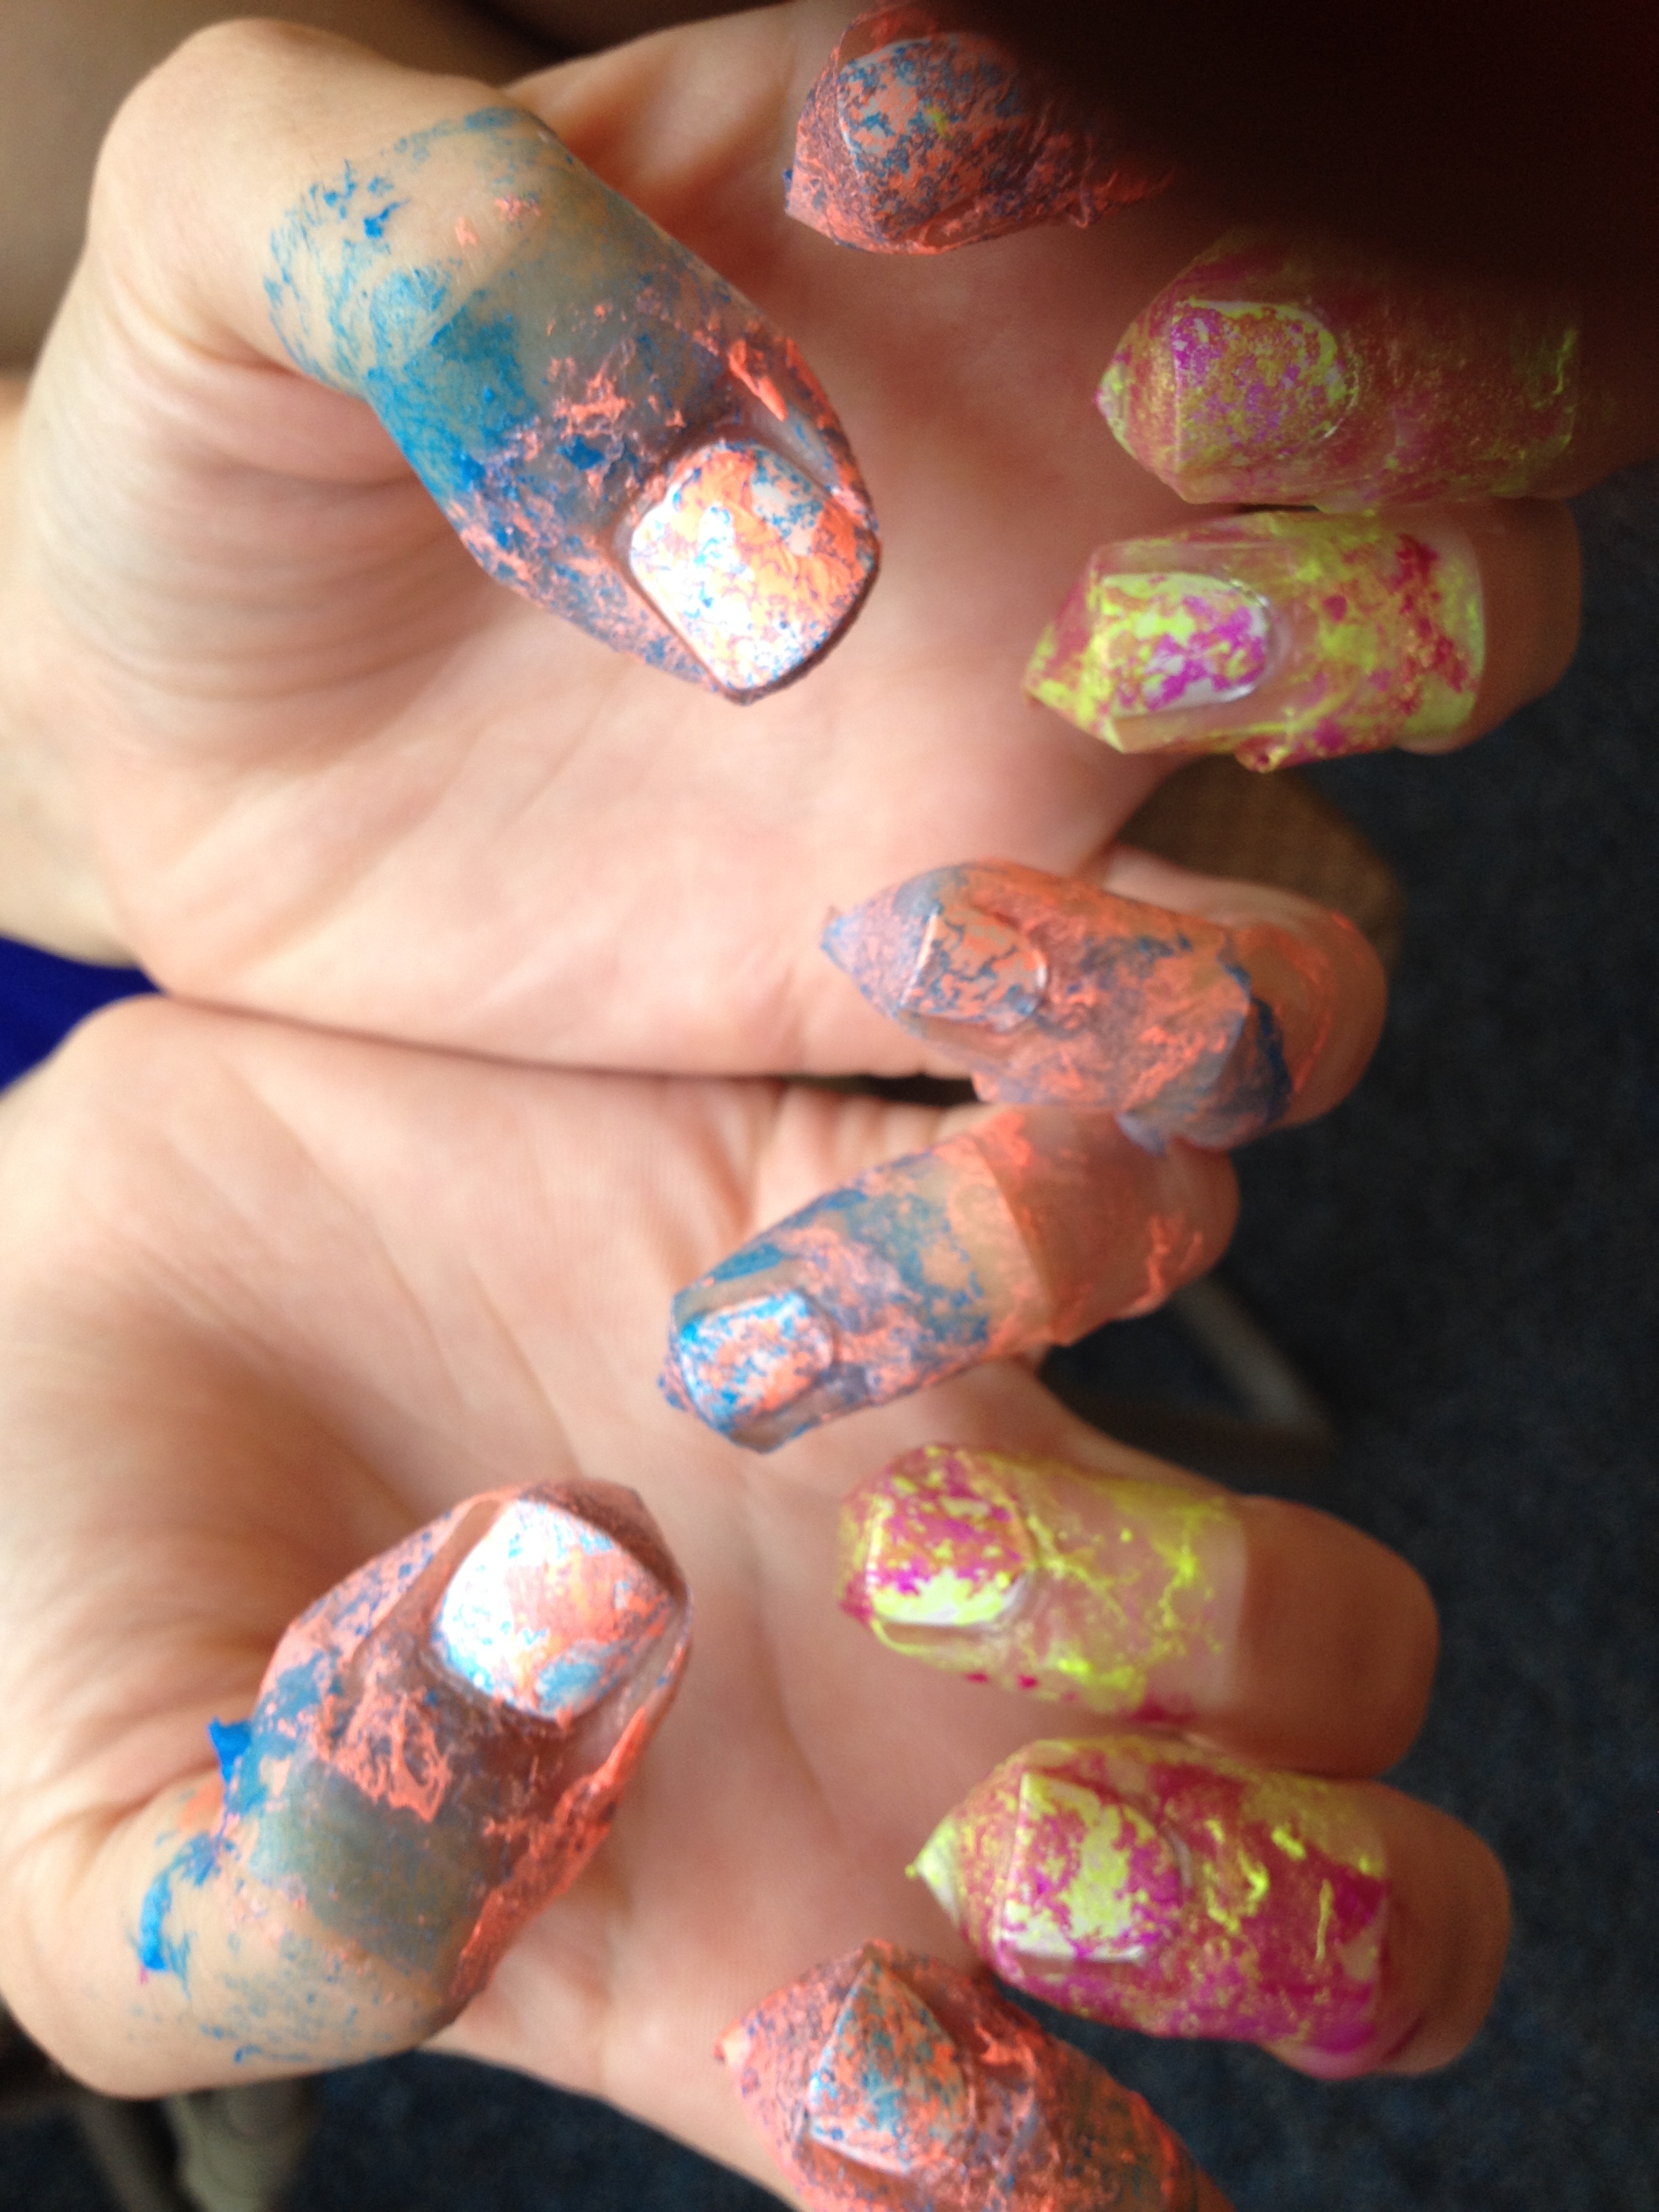
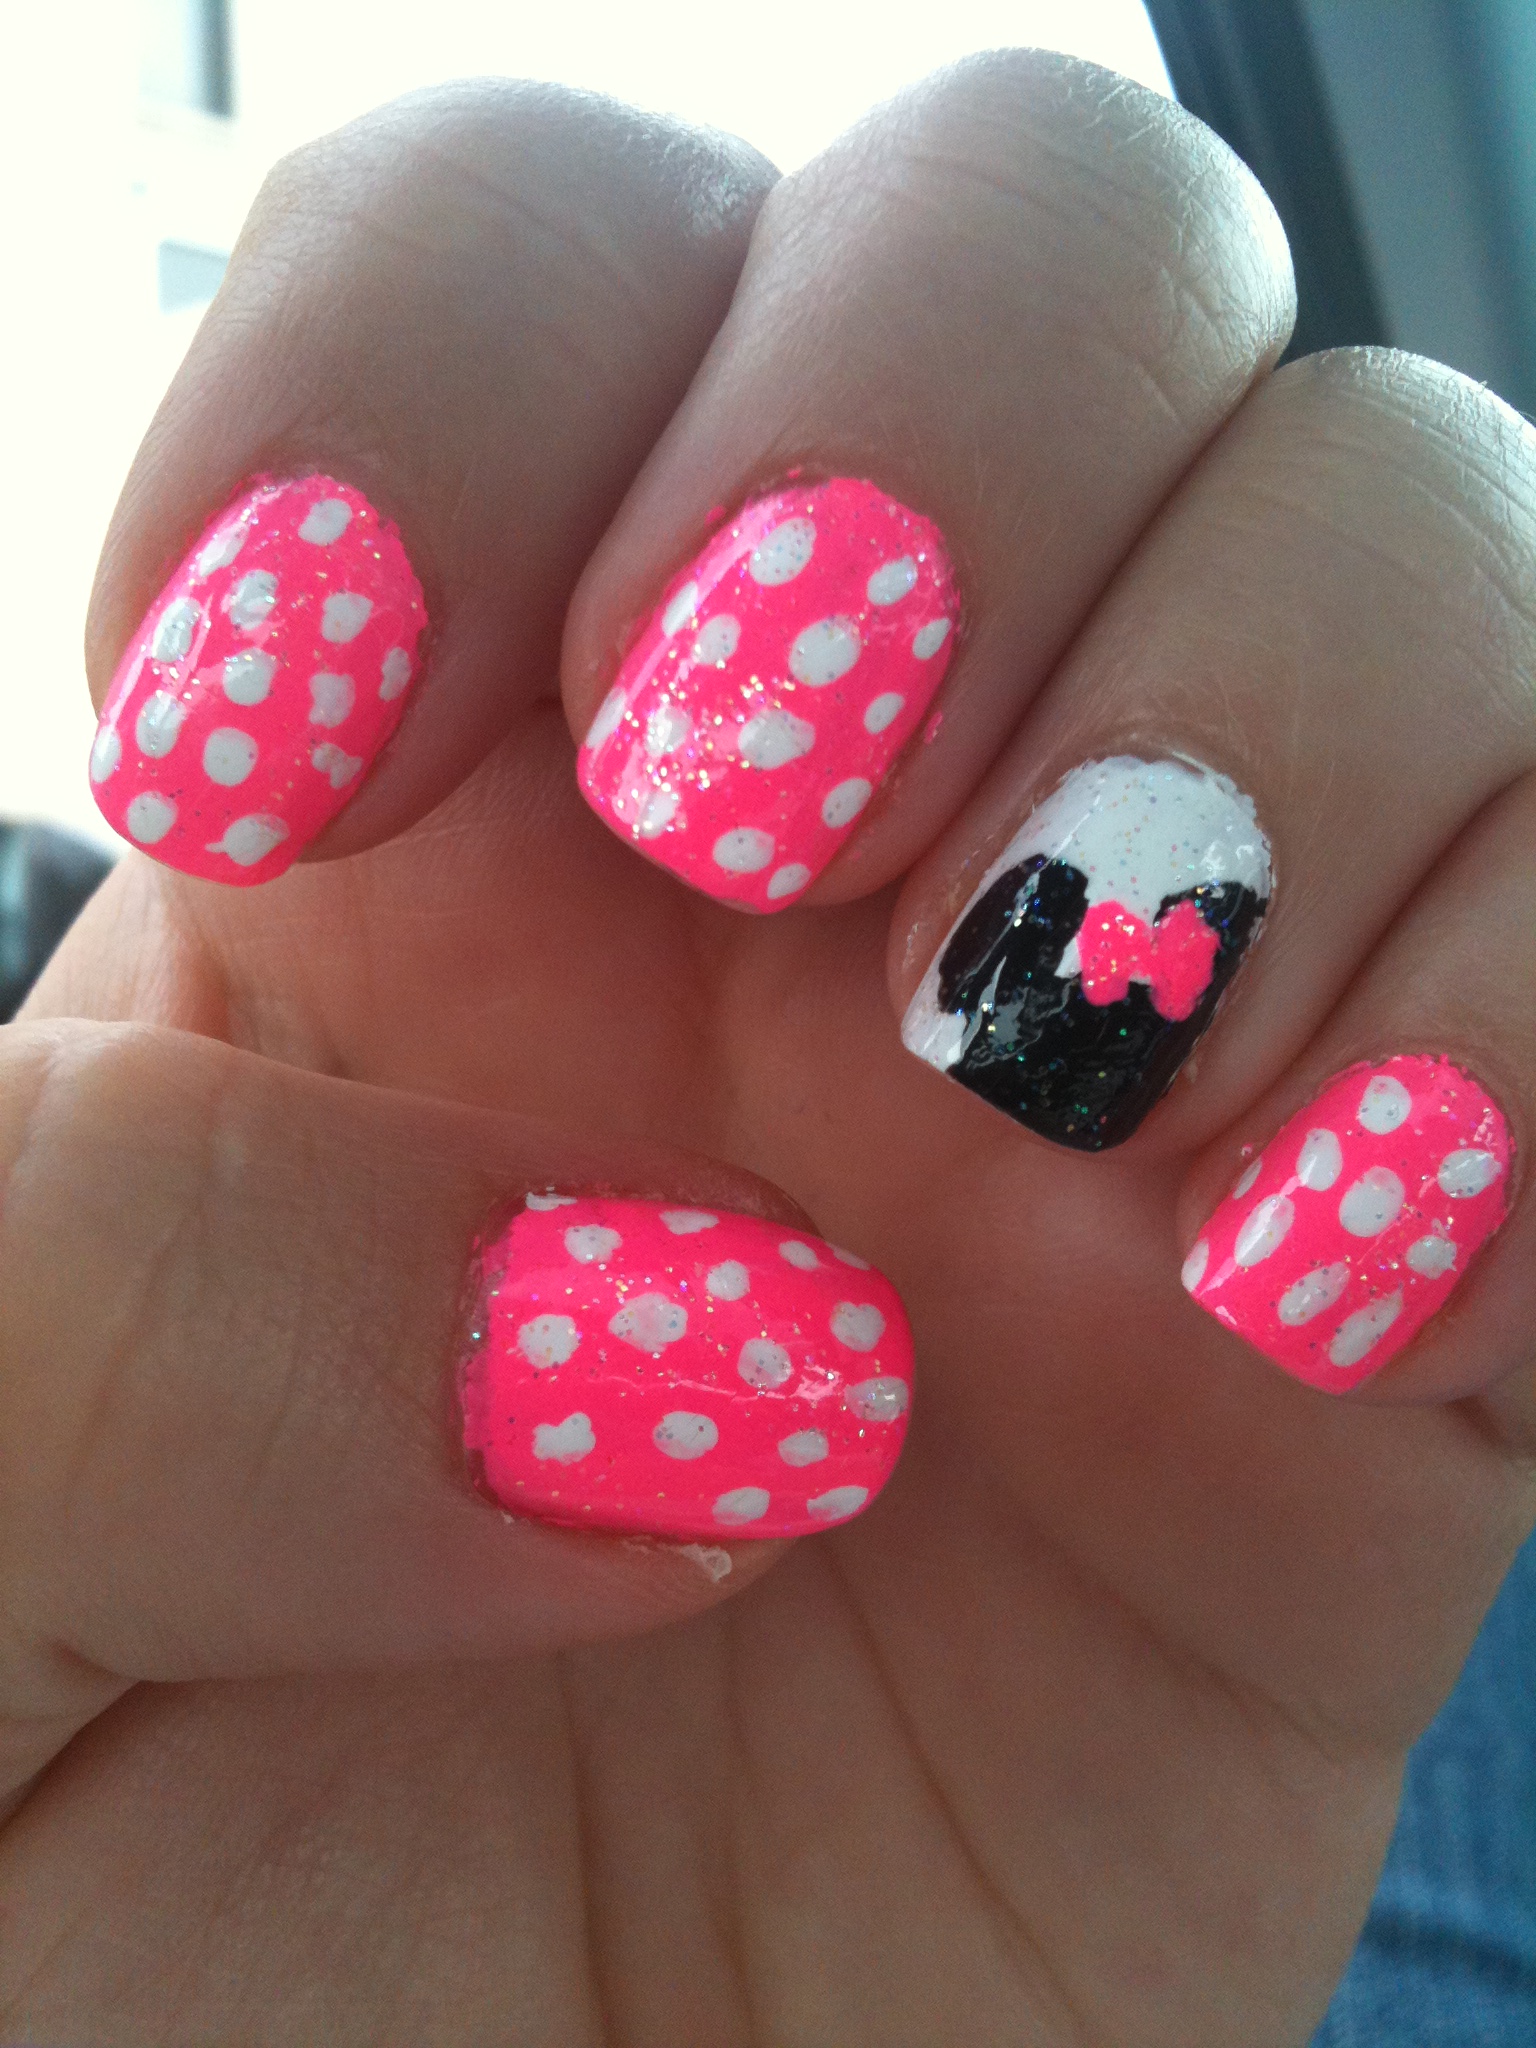
One more thing, though… This polish is the mother of all stainers.   What you’re looking at here on the right is my middle and ring finger on my right hand after I removed the mani I was wearing on the left.  Wild Wild Violet left the nail on my middle finger a crazy bright pink!  I’ve never seen a IMG_7832purple polish (or even a red or pink one for that matter)  stain like this!  Holy moly!  And even on my ring finger (which is still kind of green from my Leaf Me Be jelly sandwich) you can see pink dots which are from the leopard spots!  That means that this polish is capable of staining your nails even if you are wearing white polish underneath it!  And I had a base coat on!  The fact that I’ve ended the last five sentences with exclamation marks should be a good indicator of how crazy that is.

By the way, isn’t this mani using all of the polishes from this collection so fun?  I enjoyed sporting these nails.

Poppy CultureIMG_7802

The last polish in this collection is a vibrant reddish-orange cream.  This one took three coats to be opaque, and like all of the others in this collection, it dries to a high shine.   This polish is red enough to not look too bad on my fair skin, but I think it would look extra good on darker skin.

IMG_7805
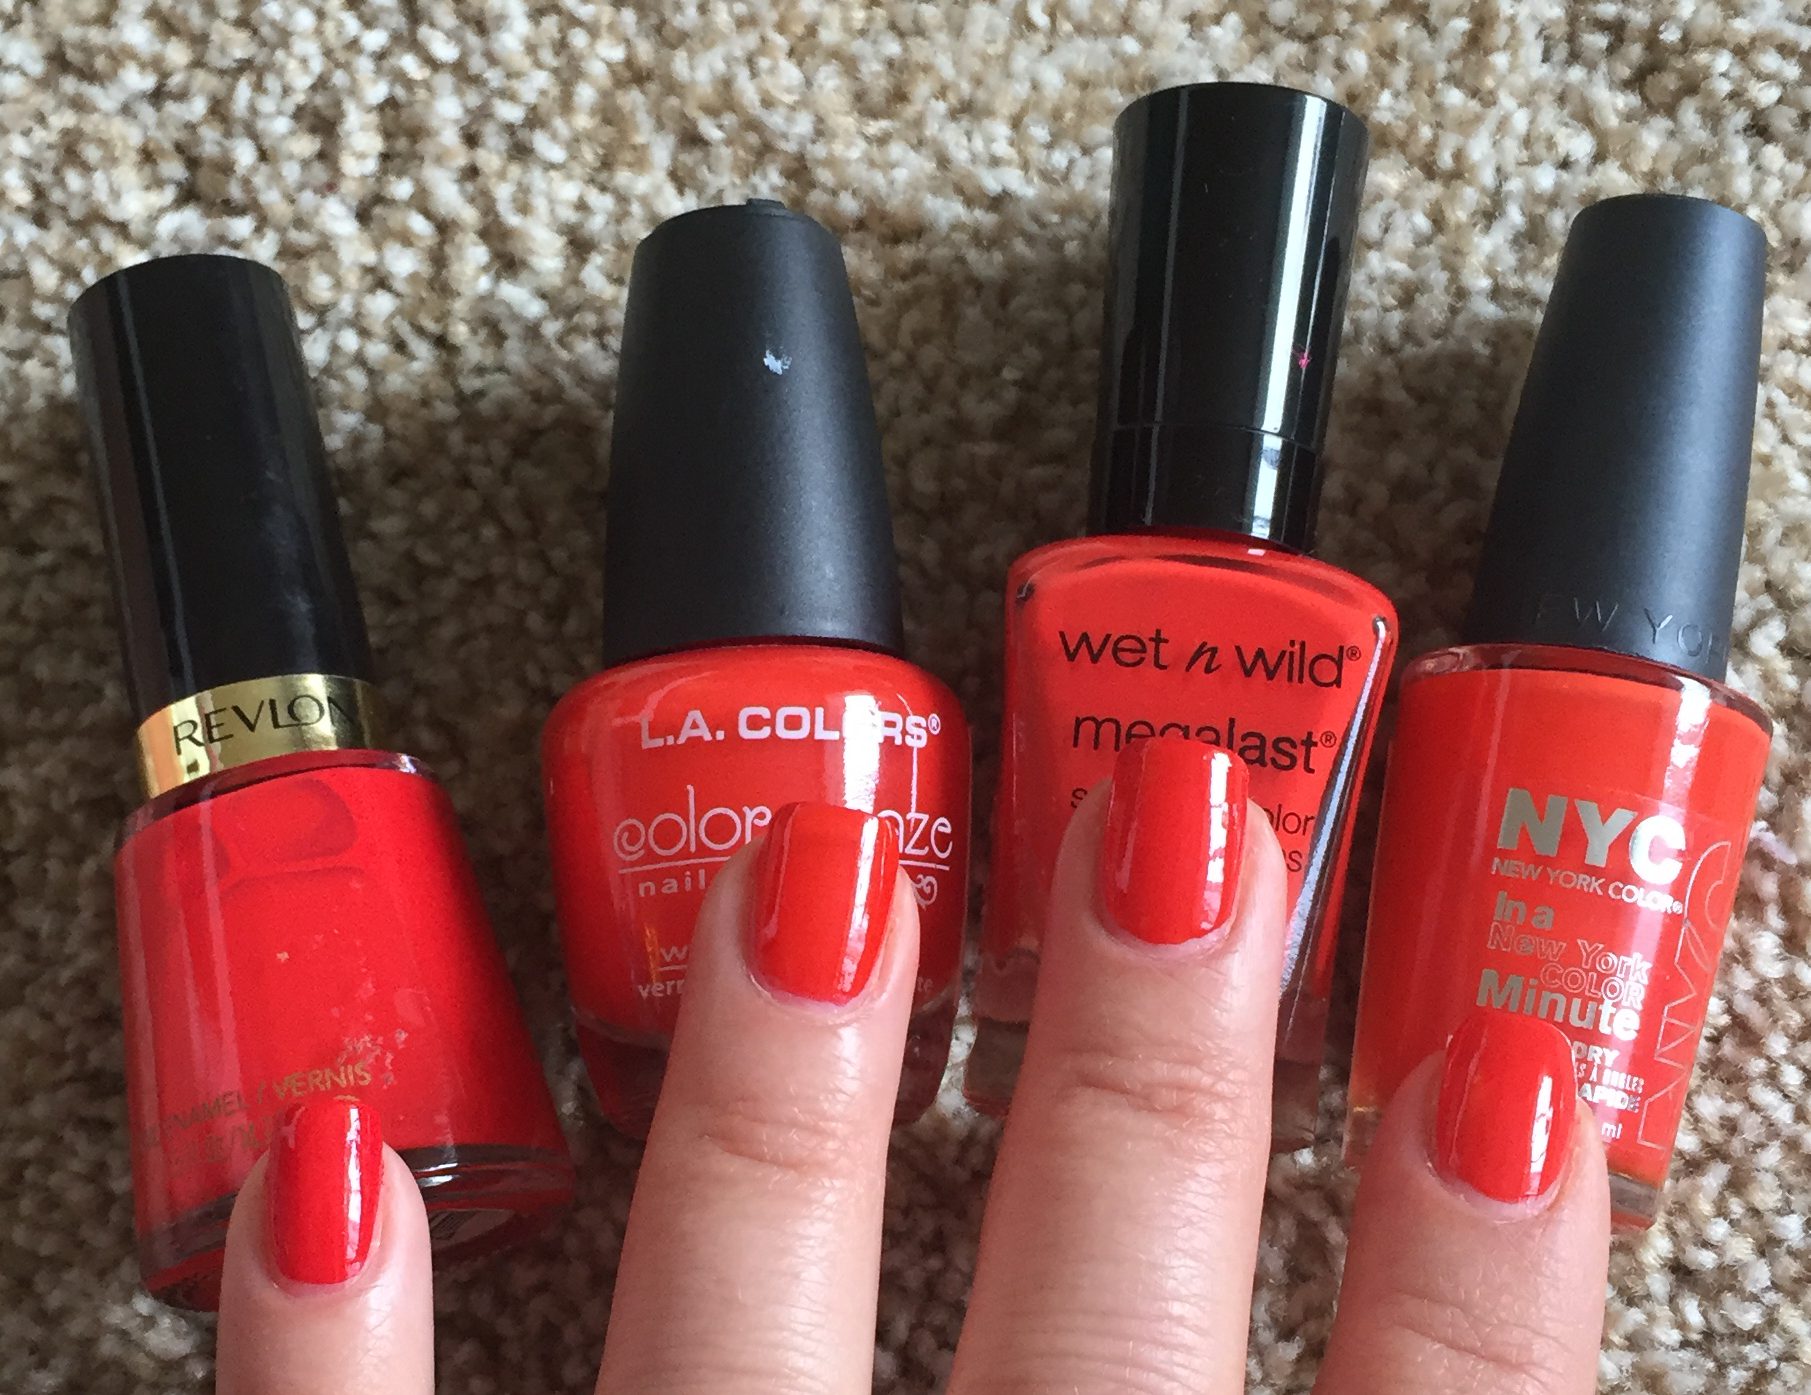
As far as dupes for this polish go… There are a lot.  Pictured from left to right are Revlon – Fearless, LA Colors – Moody Red, Poppy Culture, and NYC Spring Street.  If I had realized that I had so many  polishes that were nearly identical to Poppy Culture, I probably wouldn’t have picked it up.  If you don’t have a fiery orange-red in your collection, Poppy Culture is a perfectly fine polish to pick up, but this color is hardly unique.


IMG_7904

Overall, I think this is a really fun collection, and the colors all work well with each other, even though they are not crazy unique.  The formulas are consistently good and the price tag of under $2 a bottle is awesome!  The only negative is that two of the four polishes are mega stainers.

So, what do you think of this collection?  Have you picked up any of these polishes?  Is staining a deal-breaker for you?  Let me know what you think!


Golden Leafy Nails

Right now I’m spending a good chunk of my free time raking up all of the leaves in our yard, so it seems like the appropriate time to sport some leafy nails. Here they are:

IMG_3868IMG_3865

I just can’t make my right hand pose nicely.  It’s all awkward or something.  Anyway, the base for these nails is NYC – Royal Chic.  I sort of think this is from a collection that was out not that long ago, so it might be a little hard to find now.

IMG_3867

The wet polish looks just like Hershey’s Syrup.  I feel like this polish should smell like chocolate.

Then I added some leaves with Wet n WIld Fergie – Gold Album.  Every time I use that polish I can’t believe how beautifully gold and sparkly it is.

I was sort of tempted to just “leaf” my mani like that, but since I had already pulled all of my fall colored polishes off my rack, I decided to go ahead and add some color.  I used polishes that tend to to be sheer so that the gold would show through.  I just used a little brush and added a little bit of color to each leaf.  I topped it off with a shiny top coat.

After four days of wear, I had no major chips, just some tip wear.  I touched up the tips of my nails with the brown polish and then for kicks I added a matte top coat.

IMG_3895

I really like how this looks with a matte top coat!  The metallic leaves just really pop off of the brown background!  I think I’m going to get a full week’s wear out of these.  Hooray for that!

Thanks for reading!

Tip Top Nails Competition

I learned from Wonderful Wolf, a fellow nail blogger that Tip Top Nails, a South African nail polish company is hosting a nail art competition on their facebook page.  Here are the rules:

1.  You can only use 3 colors and they need to be chosen by a male in your life.

2. Your focus needs to be on an accent nail.

3.  No acrylic paint or stamping.  This is supposed to show off your freehand skills.

4.  It’s also a photo contest, so your picture needs to somehow reflect your inspiration for your nail art.

This just sounded fun to me.  When I told my hubby Mike about it, he did some sort of evil laugh and said something about how he had all the power.  He chose a hot pink, bright blue and white.

Then I hunted around the house for some inspiration and I found some cute cupcake scrapbook paper that seemed to have potential.  Here’s the look I ended up with:

IMG_3011

IMG_3014IMG_3005 IMG_3009

I haven’t officially submitted my entry yet.  I think I might submit the picture with the close-up of 3 fingers since that shows the detail on the accent nail the best, but I’m not sure yet.

Anyway, you have until the end of August to enter this contest if you’re interested!   Check out Tip Top Nails South Africa’s facebook page for all of the details.   Let me know what you think and if you are going to enter!


Mannequin Hands… And Then I Added Stuff.

I while back, I went on a quest to find my perfect “mannequin hands” polish.  By that I mean a polish that was as close to a perfect match to my skin as I could find.  I had heard that Deborah Lippmann had a polish called Naked that was a good match for a lot of people who are fair like me, so I checked it out at Sephora.  Yep, it’s a great nude shade that was a really close match to my skin, but you know what?  Deborah Lippmann polishes cost $20 and I absolutely refuse to spend $20 on a single polish.  Nope, I’m never going to do it.  I can’t imagine any possible scenario in which I would spend $20 on a single polish.  If I’m spending $20 on polish, you’d better believe that I’m going to be getting like, 10 bottles for that price.  Okay, let me get back on track…

So, this one time I was at Kmart and I spotted a color that I had never noticed before from NCY from the In A New York Minute line called Fashion Safari.  I did that thing that you’re not supposed to do (even though everyone does it) and opened up the bottle in the store.  I had polish on my nails already, so I just brushed a tiny bit of the polish onto the back of my hand and it blended right in!  best of all, it cost under $2!  I feel bad for the suckers who buy Deborah Lippmann Naked when there’s NYC Fashion Safari in the world.  Anyway, here it is with a matte top coat:

IMG_2919IMG_2918

Fun, right?  My hand really almost looks like a mannequin’s, right?  By the way, this is the color I used for the sand colored nails in my Beach Inspired Nail Art. In that tutorial, I actually painted my sister’s nails and her skin is definitely a shade or two darker than mine.  It’s a little hard to tell in the picture, but in person, you could definitely see that Fashion Safari was lighter than my sister’s skin.  I also used it in my Real Seashell Nails with a pearly color shifting polish over top.

Well, my mannequin hands fascinated me for about 24 hours, and then I decided that I needed to add something to them.  I opted for some of the chunky glitter that is Funky Fingers Pep Rally and I ended up with this look:

IMG_2923IMG_2922

I didn’t actually just brush the glitter onto my nails.  I used a little dotting tool to pick the individual pieces of glitter off the brush and placed them where I wanted them.  It’s a little time consuming, but not very hard.  I also opted to top them with Sech Vite, since it’s thick enough to smooth out this really chunky glitter. 

That’s it for today!  As always, thank you for liking, following, and sharing!  Come find me on instagram and facebook!

Splotchy Neon Nails

Splotchy Neon Nails is what I’m calling these, because I can’t think of a better name, although I’m sure there is one:

IMG_2848

Again, these are my sister’s nails.  She felt she needed something cute and beach-appropriate for her trip to Cancun.  Here’s how we got this look…

First, I started with two coats of white polish.  Specifically, I used Sinful Colors – Snow Me White.  Then I put tape around the nails to make clean up easier at the end. 

IMG_2830IMG_2831

I’m hoping you can see the tape that is over the top of the nail, and around the finger at the base of the cuticle. 

I used these four polishes for the colored part:

IMG_2866

L-R: Nina – Blue Blaze, Fresh Paint – Guava, Funky Fingers – Glow Stick, Sinful Colors – Dream On. 

From here on out, the technique was pretty much exactly the same as it was for the white polish for my Beach Inspired Nail Art.  (Check it out for a more detailed description of this technique).  Basically, I took a disposable plastic container, filled it with room-temperature filtered water, dropped nail polish on the surface of the water, and sprayed it with some alcohol-based body spray to get the polish to break up.  Then I had my sister dunk her fingers in the water, which allowed the polish that’s floating on the surface to adhere to her nails.  While her fingers were still in the water, I used a Q-tip to pull the remaining polish off the surface of the water.  It’s hard to do more than about 2 fingers at a time, so you will need to repeat this process quite a few times.  There is a bit of a learning curve, but it’s really not too hard, just a little time-consuming.

We did Guava on the index finger, pinky, and thumb, and Glow Stick on the other two fingers. 

IMG_2832

Then we repeated the steps with Blue Blaze over the Guava nails, and Dream On over the Glow Stick nails.

IMG_2834

Then, one more time we did Guava on the index finger, pinky, and thumb, and Glow Stick on the other two fingers, just to make sure that those lighter colors were showing up well enough on the nail. 

At this point, it was a little hard to appreciate the designs on her nails since there was so much polish all over her fingers.  My sister was an enthusiastic finger dunker so she had polish pretty far up her fingers. 

From here we took off the tape and topped the nails with Seche Vite, a quick dry top coat.  Then using a Q-tip dipped in acetone as well as a little brush dipped in acetone, I cleaned up all of the excess polish.  

Here’s our end result!

IMG_2852

Fun and cute, right?  If you give this look a try, I’d love to see your recreations on either facebook or instagram.  Just make sure you tag Polish Me Snazzy or use the hashtag #polishmesnazzy so that I can see it.  Thanks for reading!

Nails of the Day

I guess this post should actually be called “Nails of Last Week” since that’s more accurate.  I just realized that I never officially posted a pick of this really easy “doticure”.  No artsy skills required, just a few different size dotting tools. 

IMG_2727

These are two of the polished that I picked up in my Five Below Haul a few weeks ago.  These colors just make me so happy!  I loved this manicure so much that I kept it on for 8 days, and even when I took it off, I was tempted to just paint my nails again with these colors.  

Thanks for reading!  I’ll be back with a more substantial post on Monday!


Nails of the Day

Here’s what I’m currently sporting on my nails:

IMG_2722

The pink color is Wet n Wild Tickled Pink and the green color is my Frankenpolish that I made here.

The gold glitter I used is from Sally Girl, available at Sally Beauty Supply.  You know how sometimes glitter polish is in a really thick clear base and it seems like you can’t get the glitter coverage that you want on your nails without applying a bunch of really thick coats?  Well, there’s a way around that.

For this look, I first waited until my pink and green polish was mostly dry.  Then I brushed the gold glitter polish onto a makeup sponge like this:

IMG_2724

Then I waited just a few seconds so that the clear base was mostly absorbed into the sponge, but still wet.  Then I dabbed the sponge with the glitter directly onto my nail.  This technique works like a charm!  I learned this from jessface90 on youtube.  Check out her tutorial on this.

I then applied the NYC You Matte Me Crazy top coat.  I love how the glitter looks with the matte top coat!  The glitter is still shiny, but in more of a frosted glass sort of way.

If you found this information helpful, I’d be honored if you’d share this by using the little “share” buttons below!  If you try this technique, I’d love to see your results, so use the hashtag #polishmesnazzy on instagram or facebook so that I can find your posts.  Thanks for reading!

Nails of the Day

So, here are my nails of the day… My NOTD, as they say. 

IMG_2627

Whoa, I just learned how to add a boarder to my pictures.  I’m pretty stoked about that.

I was pretty happy to find this L.A. Colors Flash Pop in my local Dollar General / Family Dollar.  I’ve never seen these sets anywhere else, so my guess is that they may be exclusive to those stores.  It’s weird that there are polishes that are exclusive to Dollar General / Family Dollar, but there totally are.  More about that at a later time.

They thing that prompted me to buy this was the neon pink glitter.  Outside of the indie polish scene, neon glitter is pretty darn hard to find.  At $2.50, I couldn’t pass it up.

The pink glitter is mixed with some shredded black and silver glitter along with some silver micro glitter and tiny silver bar glitter.  The pink glitters are pretty thin transparent, so unfortunately, I don’t think they would show up well over a dark color, but I’ll have to test that out later to be sure.  Since the glitters are thin, they do lay nice and flat on the nail. The clear base is a bit gunky, so you sort of have to have a little patience to get it to apply how you want it, but it all smoothed out nicely after applying my Seche Vite top coat. 

I haven’t tried the purple shade that came on the other end, so I can’t give my 2 cents about that polish.  (It looks sort of blue in the picture, but it really is dark purple.)

This particular manicure is part of an experiment to compare 2 different base coats, so you’ll see these nails again later after the results are in. 


My Disney Nails

I’m a Disney fan.  I don’t consider myself to be an over-the-top crazy Disney lover, but I do have an affinity for the Mouse and I enjoy a trip to one of his parks every 5 years or so.

Earlier this year, my hubby and I enjoyed a week of magic down in Walt Disney World.  Leading up to, and during that trip, I made sure that I was always sporting nails that would be Mouse approved.  I thought I’d share those looks with you!

*I do want to put out a little disclaimer that I didn’t come up with these designs 100% on my own, but a number of months have passed, so I’m not exactly sure where I got some of these ideas. There are are some really creative nail artists out there, and I don’t want to get into a beef with anyone for stealing a design.  If one of these designs was originally yours, feel free to contact me so that I can give you proper credit.

Anyway, here are some of my Disney nail recreations:

2013-07-09 13.34.34

The base was a light neon pink.  I loved these nails!  Please forgive the sloppiness around the cuticles in this pic.  My technique has improved since then!

2013-12-25 12.38.41

These aren’t actually my nails, but nails I did on a friend.

2014-01-17 21.22.13

These were pretty tricky to do, but I loved them!  These  were my nails for the first half of our trip.

2014-01-16 14.01.13

These were the toes I sported for our trip.  Yes, those little faces took forever to get right!

2014-01-23 09.45.10

This is the look I sported for the second half of our trip.   These were super simple, and I got tons of compliments on them while we were in the parks!  Note the refillable Disney mug in the background.

Just looking at these pictures reminds me of our trip and gives me the warm Disney fuzzies.  Sporting special nails for a particular event (or vacation in this instance) really does add a little something extra.  Don’t be afraid to nails that are bold and bright, if the occasion is right!