March. For those of us in the eastern half of the US, it was one more month of winter weather when it should have been feeling like spring. It was a heck of a lot better than February, though. Am I right?
Anyway, onto what you are actually here for: my favorites from March.
 Again March I participated in the Weekly Nail Challenge (#wnac2015) on instagram, and the theme for the month was holographic. For that reason, a lot of my monthly favorites were holographic polishes. Let’s start with the top left…
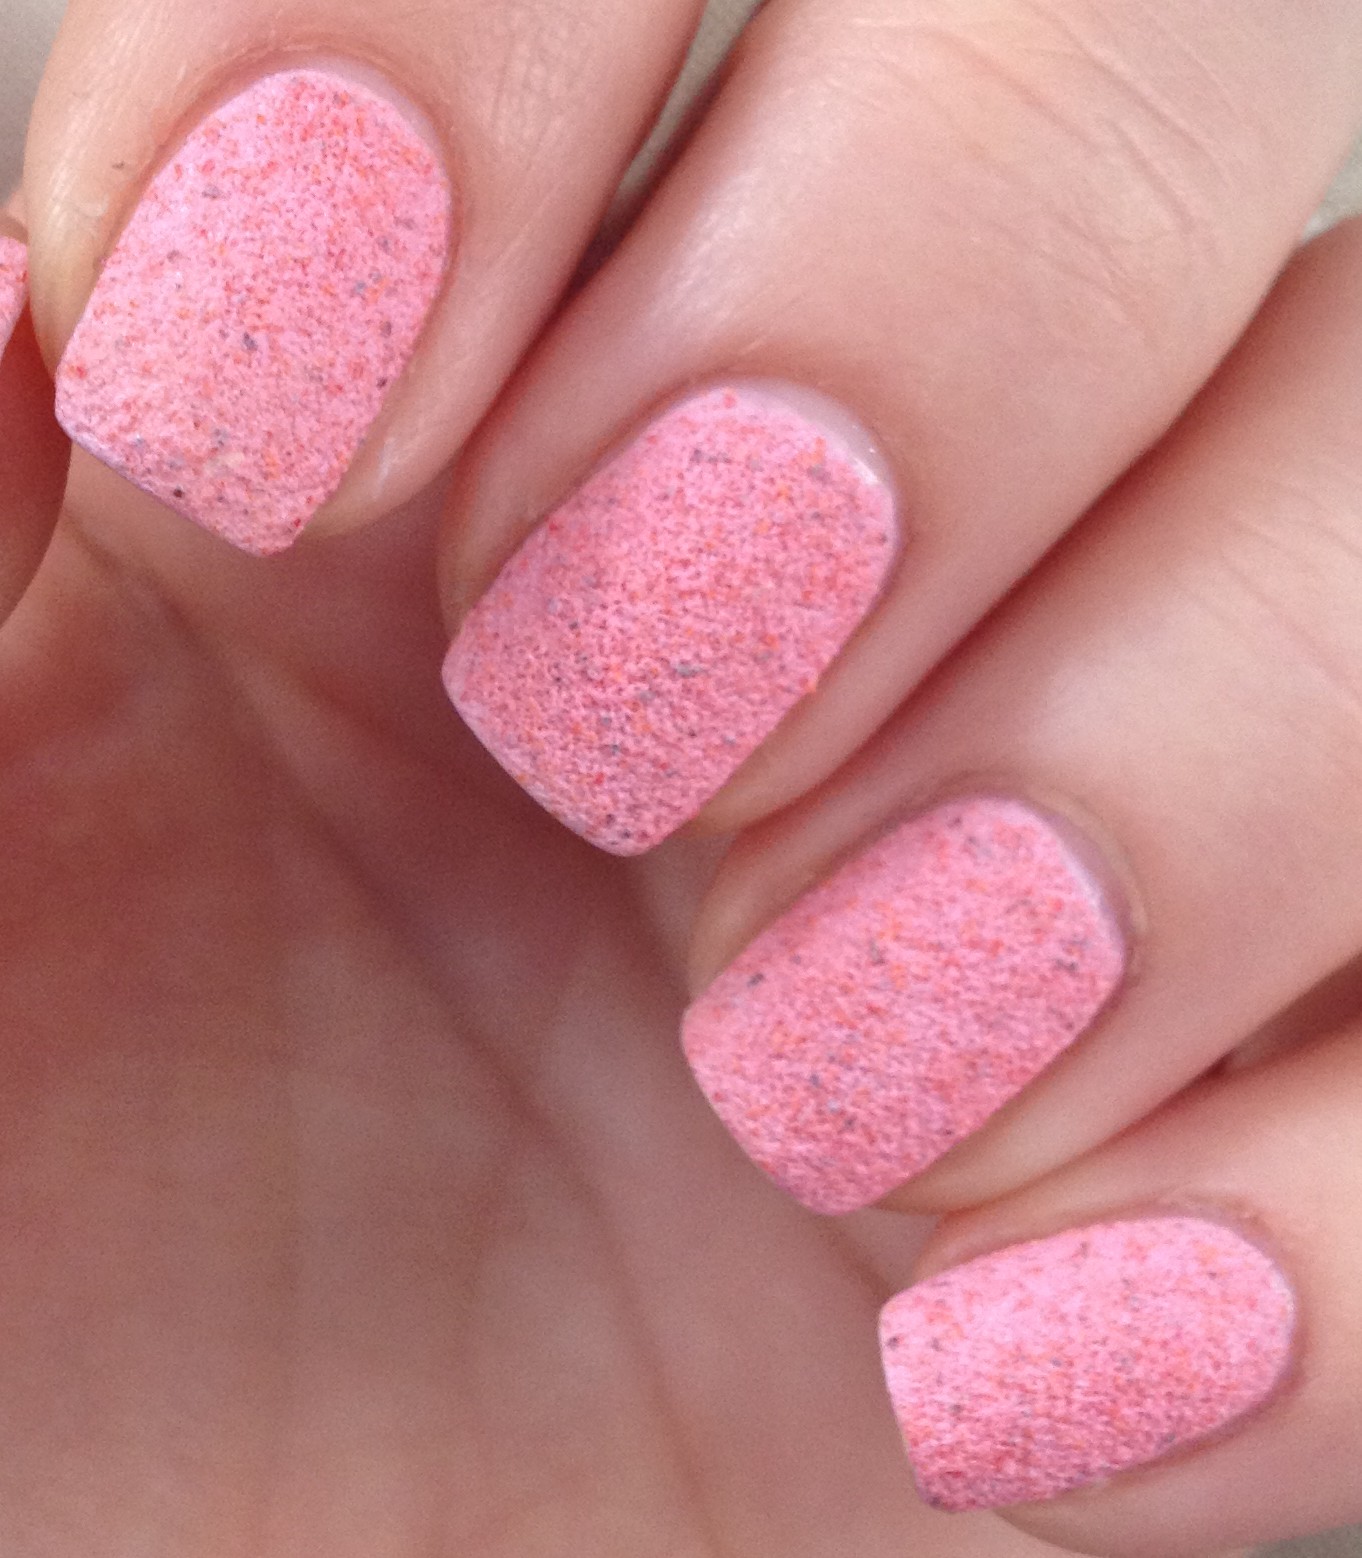
This is  Nicole by OPI – Rock the Look from the Roughles collection. This came out awhile ago on clearance… I’m thinking it was last spring or summer. This was one that sat in my untried pile for months. I haven’t been big into the textured polish thing, but I figured I should finally try it. The longer I wore it, the more it grew on me! It was just so soft looking and different from anything else I wear on a regular basis. The feel of the textured polish took a little getting used to, but I really liked it! I think I’ll be wearing this one again!
 Next is Nicole by OPI – Party Bus. I got this one on clearance for $149! I mostly got it for the large flower shaped holographic glitters in it. These are great to fish out and use for glitter placement manis. Like most holographic things, it’s hard to catch the true beauty and sparkly-ness of these glitters.
The next two polishes become a monthly favorite when they are paired together. Pictured is Revlon – Matte Pearl Glaze over NYC – Lexington Yellow. I love yellow, but like most light-haired white girls, yellow doesn’t love me back. I can’t tell you how many times I’ve picked happy yellow clothing of the rack while shopping only to discover in the dressing room that it makes my complexion look sickly. It’s so sad.
When I first put on Lexington Yellow, it really didn’t look that great with my skin tone, but then I added Matte Pearl Glaze, and it transformed it into this soft yellow with a pinkish glow that was actually wearable for me! Plus, my nails reminded me of Belle from Beauty and the beast.
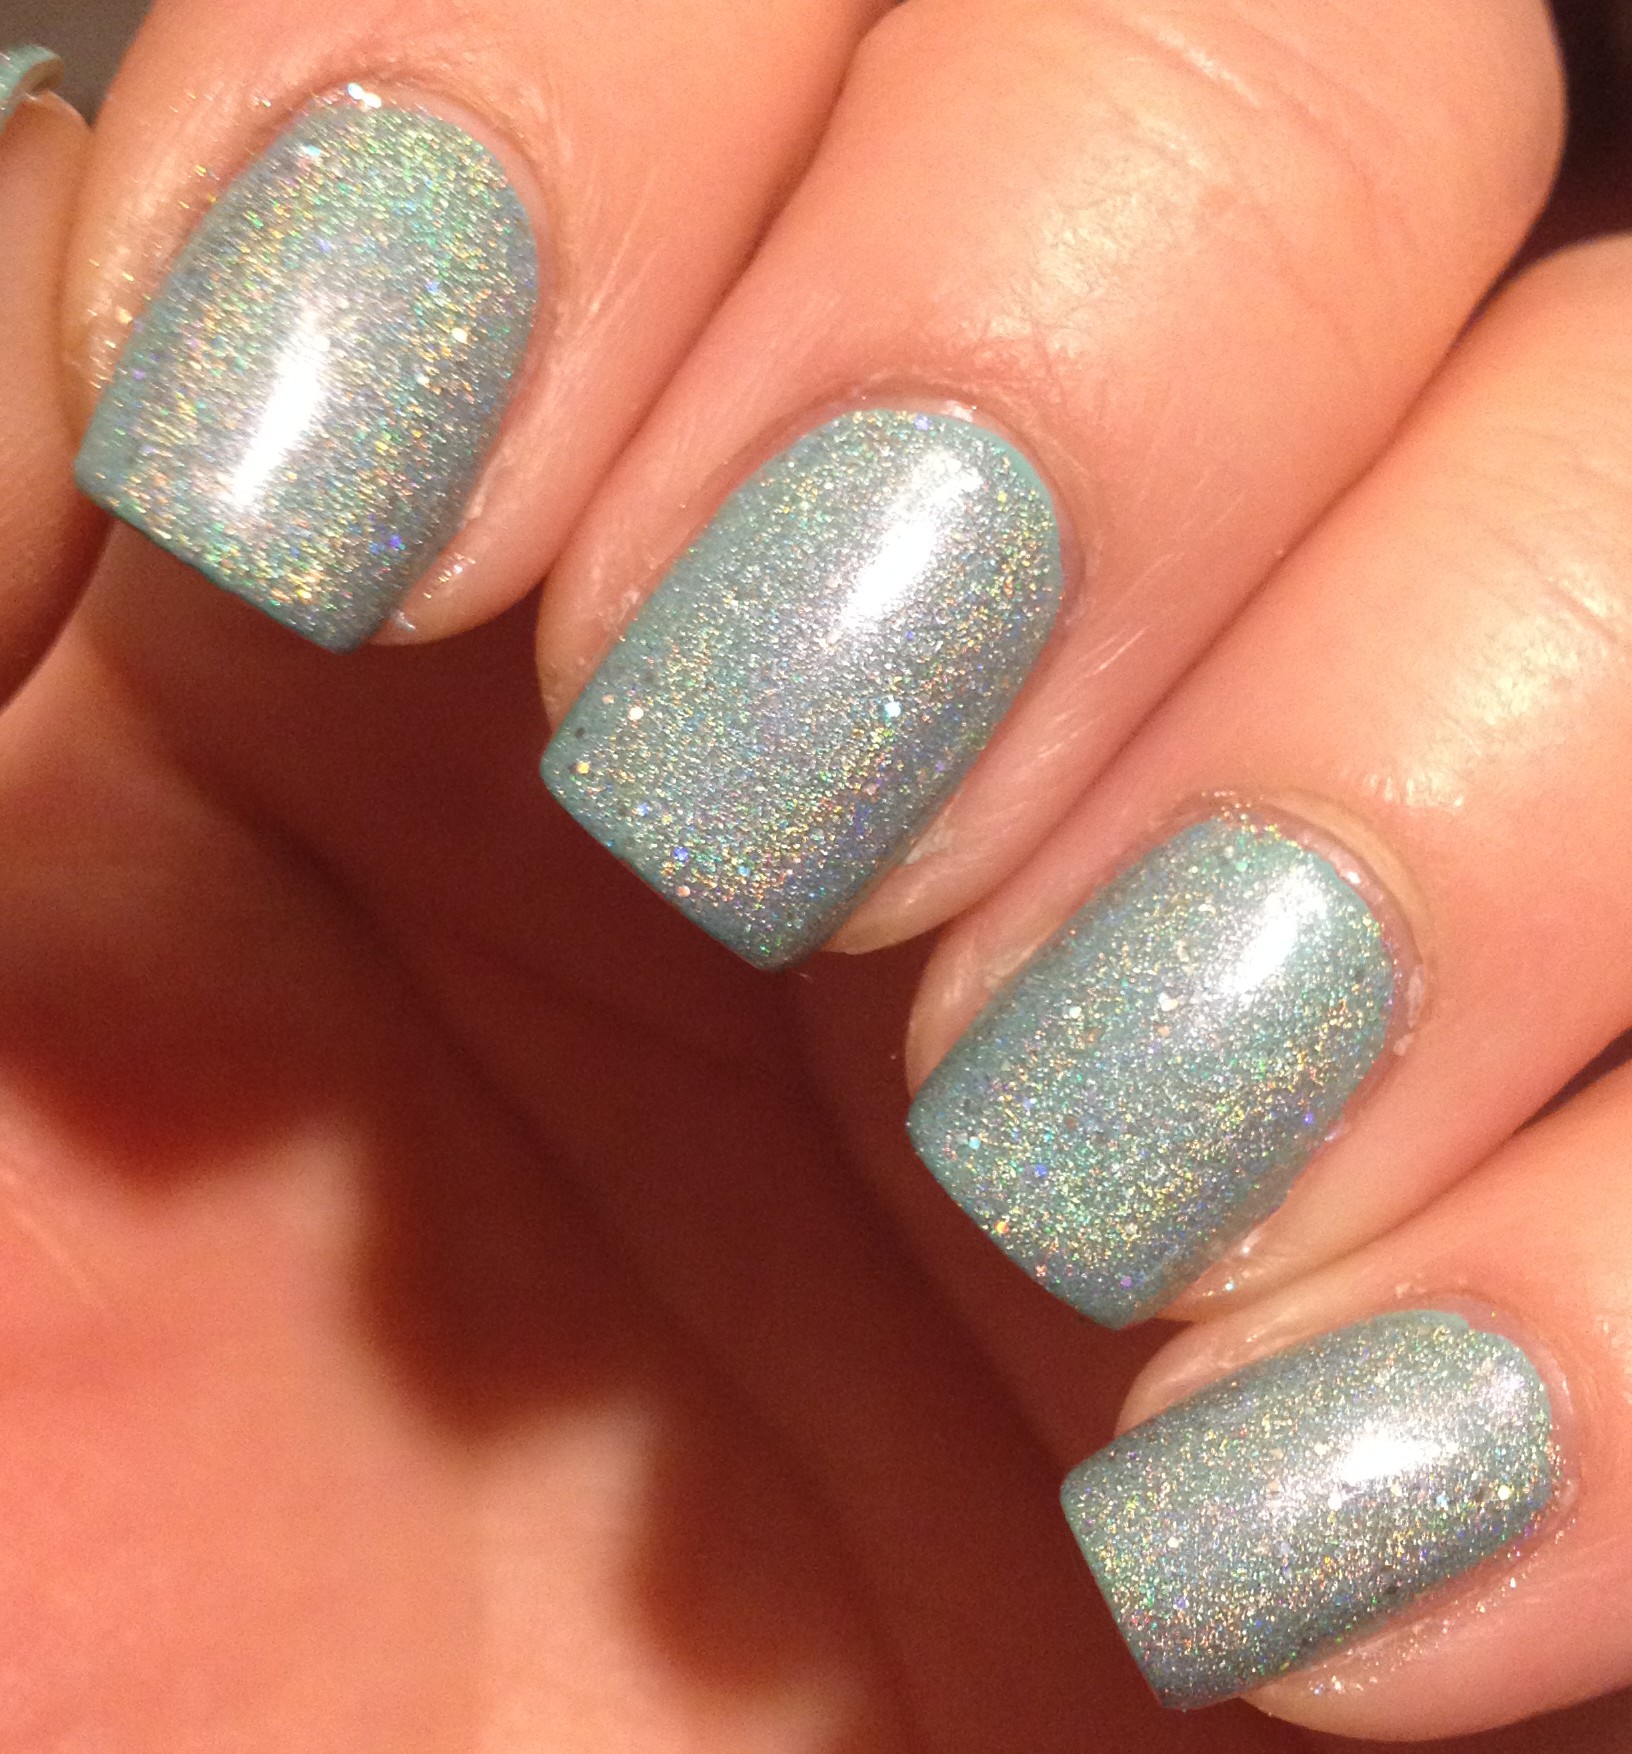
 Next we have Orly – Mirrorball. Here’s the story with this polish. Back before Christmas, when this polish came out, I stared at it in the store. I held it. I caressed the bottle. Then I practiced some self control and put it back on the shelf. I had been regretting that decision ever since. Then one day last month, I was down in York, PA and I stopped in the Sally’s there. Lo and behold, they had two bottles of Mirrorball in their clearance bin! I couldn’t believe my good fortune! My only regret is that I only bought one bottle.
 Mirrorball has a fairly sheer formula, so it actually works really well as a topper to other polishes. Here it is layered over Wet n Wild -I Need a Refresh-Mint. (By the way, the current version of I Need a Refresh-Mint is a much brighter blue than the version I own. The older version is pretty much a dead on dupe for China Glaze – For Audrey.) I can’t wait to layer Mirrorball over all sorts of neon colors this summer.
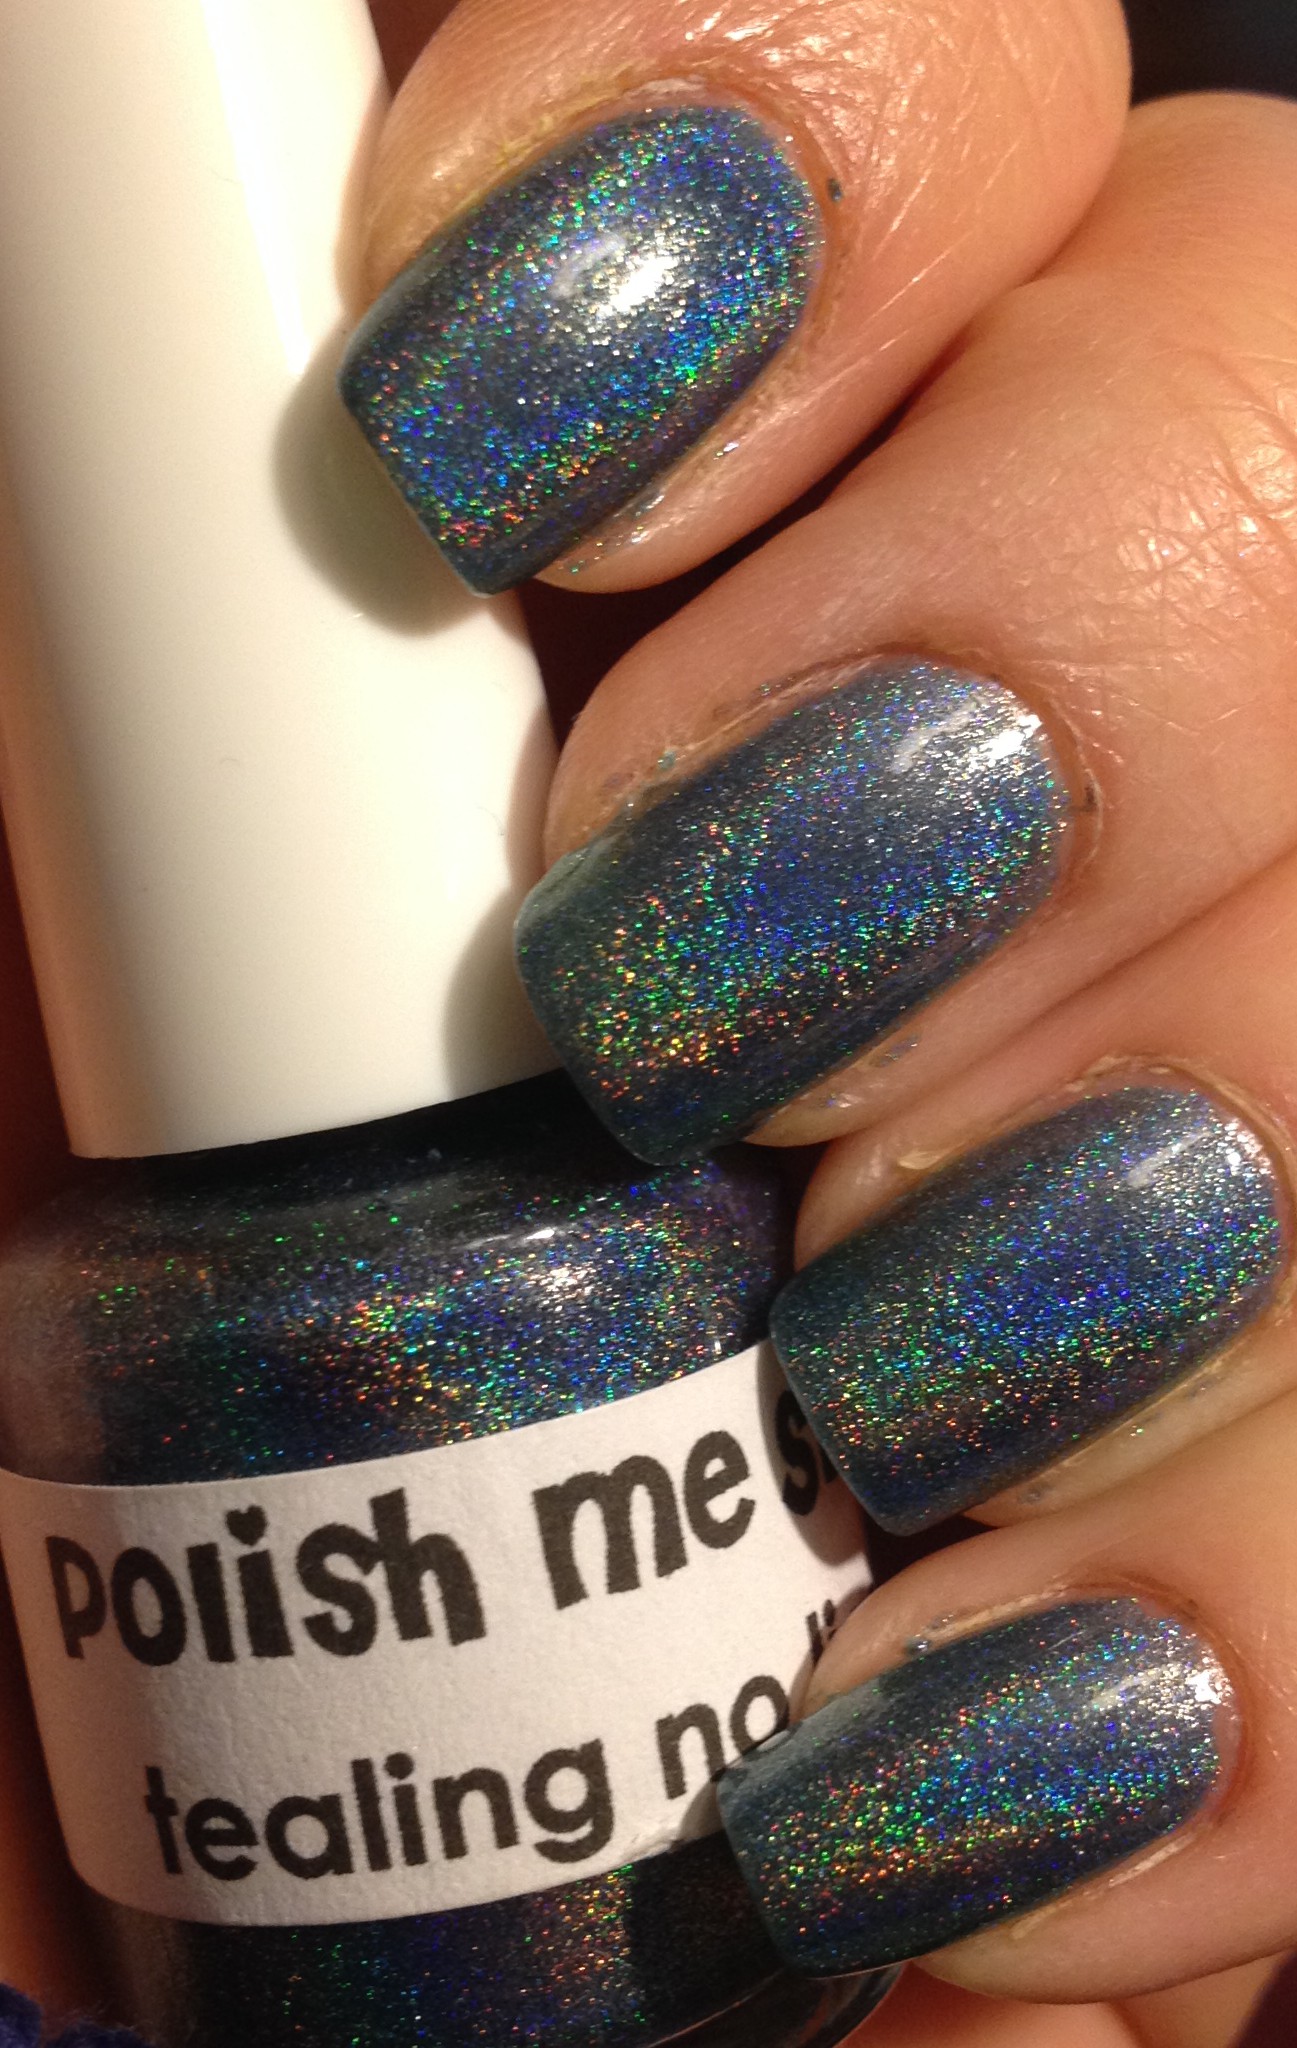
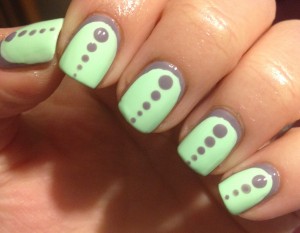
 The next polish is just like camping… It’s in tents. (In tents… Intense. Get it?) Polish Me Silly – Tealing No Lies is the most holo of the holo polishes that I own. The linear rainbow is just so strong. Someday I’ve got to order me some more Polish Me Silly polishes.
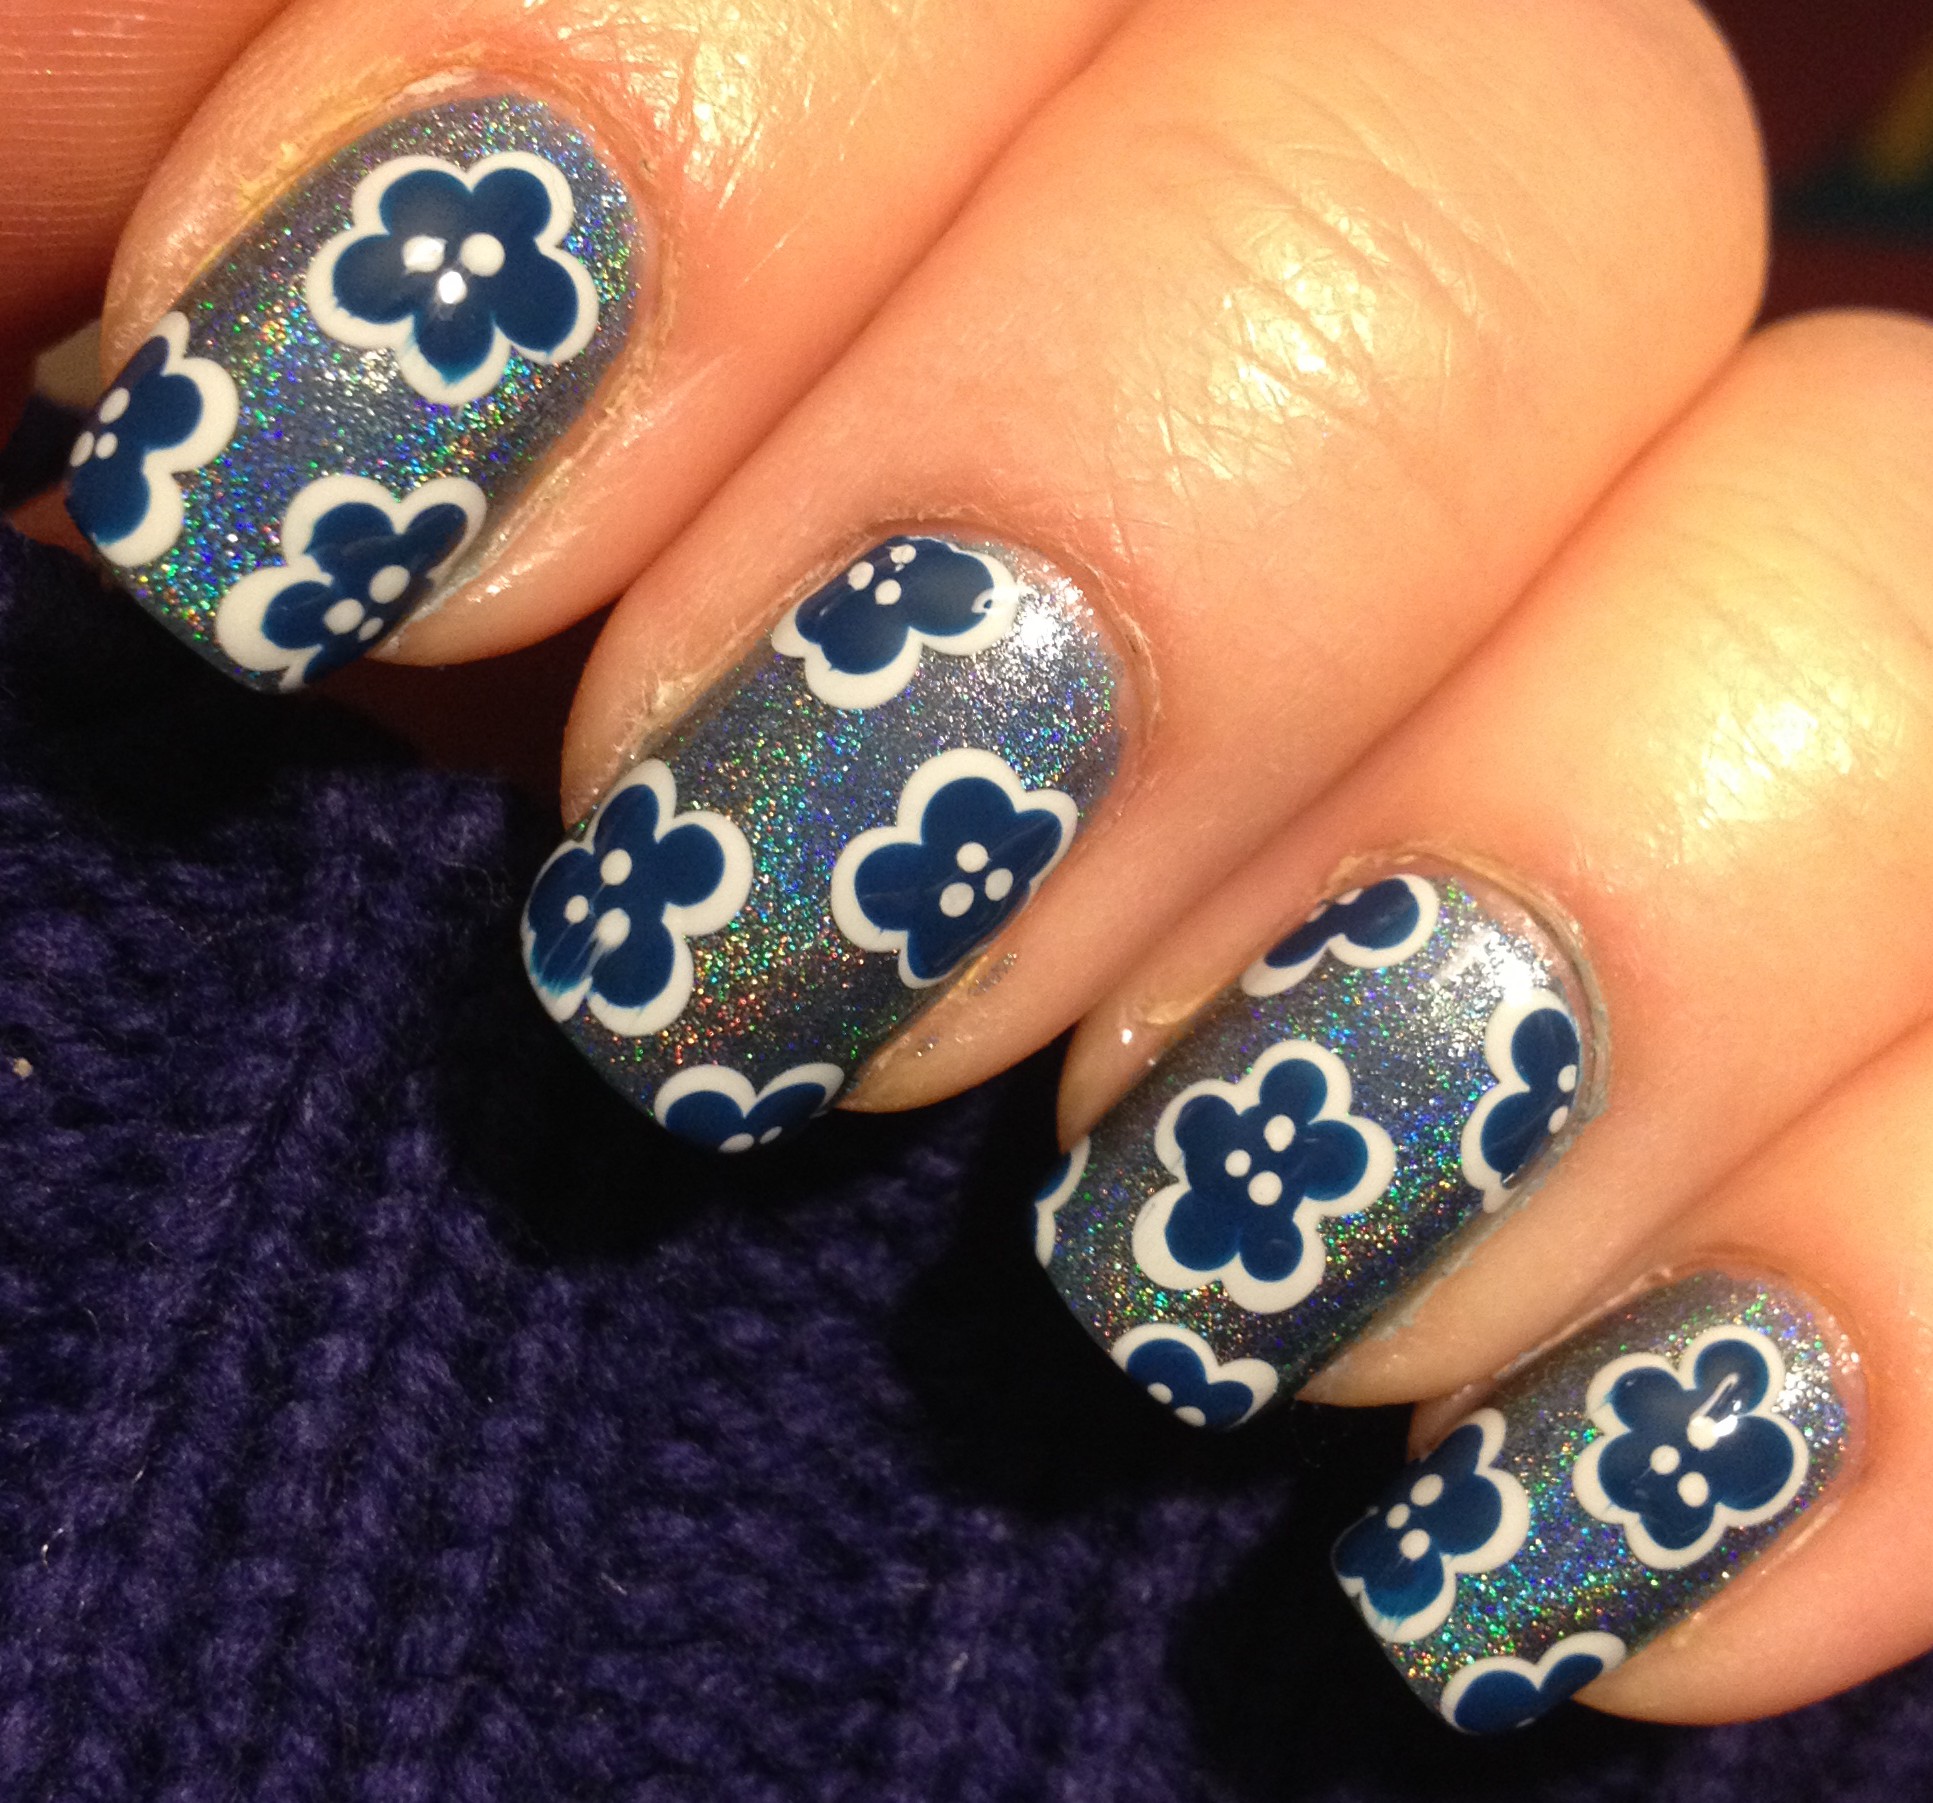
  Here’s some really simple flower nail art I did using Tealing No Lies as a base. (I just used my biggest dotting tool to make 5 petaled flowers with a really light blue polish, and then I made slightly smaller petals with a deep blue polish over the light petals. Then I used a little dotting tool to add some dots to the centers. Super easy and no artsy skills required!)
 The last polish that was monthly favorite was Fresh Paint – Honeydew. I used this in several Easter manis, and I’ll show you those pictures in a separate post. I’m pretty sure this polish qualifies as pastel neon. It’s light and bright at the same time. It water marbles well, and you can get away with almost one coat. I think it will look great in the summer when I’ve got a bit of a tan. (I’m foundation shade “fair” in the winter, but with a tan I’m can wear “light” colored foundation.)
So, that’s all I have for you today. Thanks for reading! I do post realy regularly on instagram, so follow me there if you want to see my nails as I do them and not a month after the fact. Happy Spring to you all!

 While I was getting ready to start painting, I saw a roll of painter’s tape laying there, and it hit me that painter’s tape should work really well to make my own nail vinyls. And it did! Here’s how I got this look…
 I picked out five polishes that I liked together and painted each finger a different color. Then, while my nails were drying, I took a piece of wax paper and stuck about a 10 inch piece of painter’s tape to it.
 Then I took my zig-zaggy crafty scissors and snipped the tape into a bunch of little strips. When my nails were really dry, I stuck a strip of my zig-zag cut tape down the center of each nail.