Fun Times with Glossy on Matte

This past week I’ve done two different manis that have featured the same technique: glossy designs over a matte finish.    This technique is IMG_4465so simple, but the end result is pretty impressive looking!  I found that this works bet with dark colors that have a cream formula.  I tried this with some lighter colors and polishes with some shimmer in them, and it’s much harder to see the matte/glossy contrast.  So, here’s all you have to do:

1. Pick a nice, dark, cream polish and paint your nails.

2. Apply a matte top coat.  I use one from NYC that works just fine.  No need to purchase something fancy.

3. After your matte top coat is dry, add your dots or stripes or whatever to your nails with a clear polish.  Please note: you don’t want to use a fast drying topcoat as your clear polish.  It will dry up before you can complete your design and you’ll end up with a clumpy mess.  Just plain, clear Wet n Wild polish or NYC polish (the $.99 kind) works perfectly.

IMG_4478For the first look, I used Wet n Wild Megalast – Careful, It’s Vine-tage as my base.  This polish was from their limited edition matte collection that came out last fall.  Even though the polish was supposed to have a matte finish, it only looked semi-matte to me, so I put a matte top coat on it anyway. Then I took some various sized dotting tools and my $.99 clear polish and made some dots.  That’s it!

For my second look, I used Wet n Wild Megalast – Echo Dark, a navy polish from the same matte collection.  This polish bums me out a little because it looks navy blue in the bottle, but on the nail it really looks black most of the time.  Anyway, I applied a matte top coat, and then took my striping brush dipped in clear polish and made diagonal stripes on my nails.

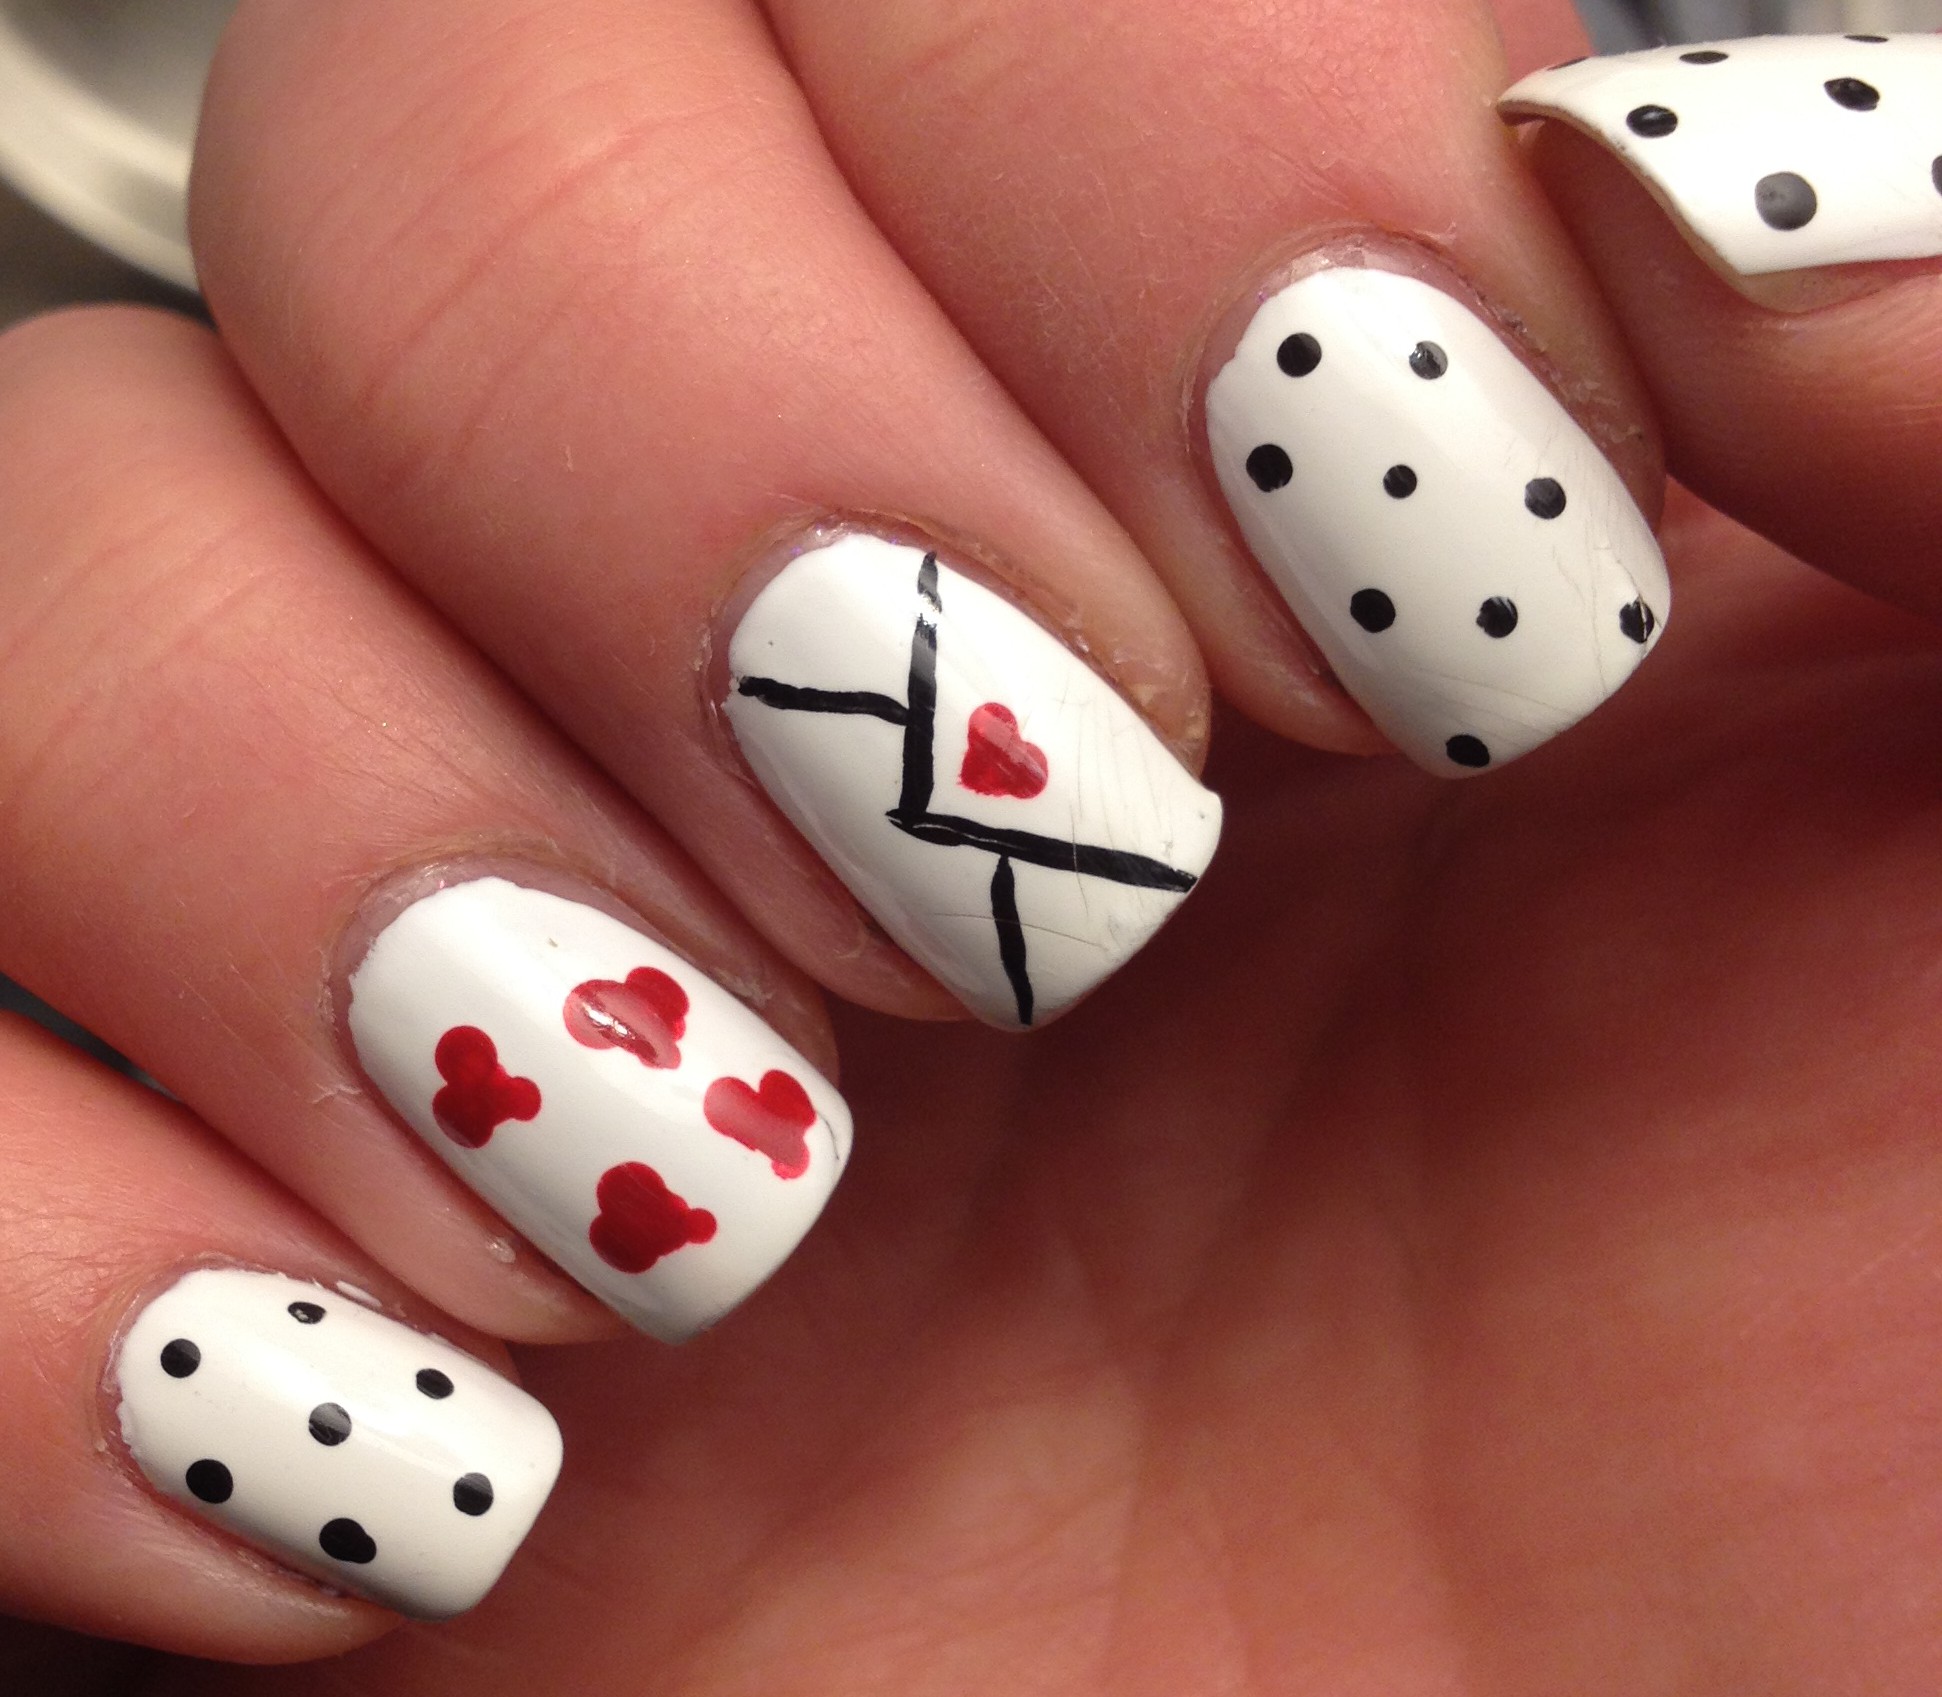
The first time I ever tried this technique was back  in September and you can read about that here, if you so desire. I got way fancier with that design.

For some reason, I always do glossy designs on a matte base, but you could always switch it around and do matte designs on a glossy base.  Really, the possibilities are endless with this technique.  Any animal prints would look really cool like this, or you could even do something as simple as a matte nails with just a glossy french tip!  And since it works so well with dark colors, it’s perfect to do now before everything turns pastel and neon for the warmer months.

Anyway, I hope you feel inspired to make yourself some beautiful nails!  Thanks for reading!

Love Note Nails

Here are the actual nails that I am wearing on Valentine’s Day.

IMG_4418It’s been a long time since I did a mani with a white base, and I forgot how bright and crisp it looks!  White looks great in the summer when my skin is a little darker, but it also works well with my pale winter skin.  I also forgot how great a simple doticure can be.  (Side note: My hubby asked me what dots have to do with Valentine’s Day.  He takes things very literally.)

I’ve seen lots of manis online with this cute little love note design.  I can’t take credit for it!  I think that Hannah, an Aussie nail blogger first came up with the design.  This design is so simple, but so cute!  Check her out: http://thenailtrail.com.au/  I’m a little jealous of her beautiful nail art, and I’m really jealous that she’s enjoying summer weather right now.  Here in PA, we are getting wind chills of 20 below 0 Fahrenheit this weekend.  Darn arctic blast.

I did this design for the Weekly Nail Art Challenge on Instagram.  This challenge is great for a couple reasons.  I like that it is only once a week, so that’s very doable.  I also like that there is a monthly theme (February’s is Contrast) and then weekly prompts.  This week’s prompt is Valentine’s Day.  I didn’t really have any great inspiration when it came to the contrast element of my mani, so I just opted to use contrasting colors.

I started by painting all of my nails white…. Obviously.  The black and red are just craft paint.  So much easier to clean up than nail polish!  I used a small dotting tool for the dots on all but my middle and ring fingers.  Then, using my tiniest brush, I painted the envelope design.  I started with the “V” that makes the outer flap of the envelope, and then added the other lines.  Then using my tiniest brush dipped in red, I wrote the word “love” on my ring finger.  Since I’m pretty terrible at writing with my left hand, I ended up just doing a few hearts on my ring finger on my right hand.IMG_4422

I find that the easiest way to make hearts is to use a dotting tool to make two barely touching dots.  Then I use either a small brush or a dotting tool to drag the dots down into a point.

I debated a bit whether I should make these matte or glossy… I was feeling in a glossy mood.

Well, that’s it!  Thanks for reading, following, and liking!  Have a great weekend filled with love!

XOXO Nails

I’d better quick get around to posting a few more Valentine’s Day nails before they become completely irrelevant!  Here’s a simple little look I did:

IMG_4355The base polish is LA Colors – Candy Sprinkles.  LA Colors polishes are generally about $1.50.  I know they sell them at Dollar General and cheap places like that.  My experience is that LA Colors polishes are kind of hit-or-miss, but since the price is right, I’m usually willing to take a gamble.  This is definitely my favorite polish in the line, so far.  I’m definitely going to be wearing this one again in the spring.

The designs on my middle and ring finger are all done with craft paint.  For both nails, I started by painting my design in white, and then when in with the colored paint, leaving a border of white showing.  If I had just used a solid color of polish, I probably wouldn’t have done the white background/border thing, but since the base color was heavy on the glitter, I figured it would be a good idea.  I think it helps the designs pop.

I have one more nail art design that I need to get posted here before tomorrow, so be on the lookout for that!  I know Valentine’s Day can be a depressing day for some, but just know that God loves.  You are loved more than you can know!  Thanks for reading and have a great weekend!

Conversation Heart Nails

Valentine’s Day.  Some folks love it, others hate it.  I rolled my eyes a lot at Valentine’s Day stuff when I was single, but since I’ve got a good hubby now, I find the day to be perfectly pleasant.  The lamest Valentine’s Day that I can remember was in 2003.  I liked a guy who totally had me in the friends zone.  The guy I liked had a roommate who was totally not my type, but he liked me.  Somehow on Valentine’s day, I ended up going to Wendy’s for dinner with both of them and then we went and saw Shanghai Knights (stupid movie).  I sat between the two of them in the theater… The guy I was pining for on one side, and the guy who was pursuing me one the other.  I was like Emma between Frank Churchill and Mr Elton…. I so glad I found Mr Knightly… And my hubby is older than me so this whole analogy really works well!  Anyway…

IMG_4249Regardless of your feelings on Valentine’s Day, it is the perfect opportunity to sport some cute nails.  Today I bring to you a simple conversation heart inspired mani.  This is so simple that it’s really not worthy of a tutorial.  I just painted each finger a different pastel color and then took my littlest brush in some craft paint and added the “conversations”.  I used red paint, but I added a little white to it so that it would be that sort of washed out color that you have on real conversation hearts.  I topped it off with a matte top coat.

While looking through my polishes for pastel colors, I realized that I had very few.  I actually ended up making the light orange and light purple polishes by mixing some of my polishes in with white polish.  The light green was a polish that I frankenpolished last summer.

To keep things real, here is my seldom seen Cinderella hand:

IMG_4247That is, the had that does all the work but receives none of the glory.  My right had never gets to go to the proverbial ball.  Never gets any of the praise on instagram.  If my hand had feelings, I’m sure it would feel a little put out.  Overworked and neglected.

Really though, painting tiny letters is not the easiest thing, and painting tiny letters with your non-dominant hand?  Extra hard.  That’s why you don’t usually see my right hand.  It’s usually just a sloppy version of my left hand.

Once in a while someone will ask me if I always do both hands, and the answer is yes, 95% of the time.  The only time that I haven’t always done both hands was back in September when I did the 31 Day Nail Challenge when I did my nails every day for 31 days straight.  A lot of those designs were really time-consuming and intricate, and I just didn’t have the time or the skills to always do my right hand.  Even when I wouldn’t make my right hand completely match my left hand, I would still do my nails on my right hand so that they complement my left hand.

Okay, I’ve rambled on far too much here, so I’ll wrap this up.  Thanks for reading, commenting, liking, and following!

January Favorites

Yes, I’m finally getting around to posting my January Favorites.  What had been a part-time desk job is now an almost full-time manual labor job.  (I had been working customer service for an online store, but we are in the middle of moving our warehouse, so I’m spending a ton of hours schlepping heaving boxes around.)  This has left me with less free time for blogging, and the free time I do have is now spent soaking in the bathtub attempting to recover.  Anyway, onto my January favorites…

IMG_4356

In the dead of winter, I find that I tend to get stuck in a blue/aqua/turquoise/teal rut with my nails…. Confession time:  I don’t really know the difference between aqua, teal, and turquoise.  Does anyone really?  I tend to think of turquoise as leaning more green, but the actual turquoise stone really isn’t green at all.  I would actually describe a turquoise stone as being aqua in color.  There’s proof that I don’t know the difference.

Anyway, one of the polishes in this color family that I’ve been loving is China Glaze – Capacity to See Beyond from the Giver collection.

IMG_4357IMG_4213

I found the entire Giver collections on clearance at Sally Beauty supply!  I didn’t actually buy the whole collection – just 3 – but I found the whole collection.  Anyway, this polish is just the prettiest cool blue color!  If Elsa painted her nails, it would be with this color.

Another beautiful polish from the Giver collection is Community.

IMG_4365

This is a lovely milk chocolate brown. Just for comparison, here it is next to NYC – Royal Chic.  Royal Chic (left) reminds me of Hershey’s syrup.  Community (right) is milk chocolate.  I think about chocolate too much.

IMG_4366

I paired Community here with another January favorite: Sinful Colors – Love Sprinkles, a pale pink glitter with white hearts.

IMG_4362IMG_4285

I was going for a chocolate candy look here.  Love Sprinkles is a limited edition polish for Valentine’s day.  I’ve seen it around at quite a few stores, so you should be able to track this one down pretty easily, if you want.

I also loved using Broadway Nails – Space Flight in January.

IMG_4361IMG_4259

I know, I can’t list this polish as my favorite every month, but it’s just such a pretty blue jelly! This look took a little bit of “frankenjelly-ing”.

Another favorite from January is Funky Fingers – Olaf.

IMG_4363IMG_4264IMG_4279

This is white glitter polish is perfect for jelly sandwiches!  There are some snowflake shaped glitters in there, but they are easy to avoid, so I think I will get year-round use out of this.

Also from Funky Fingers is Bezerk Turq.

IMG_4358IMG_4327

Based on the name, someone somewhere considers this turquoise.  I’d call it aqua.  Anyway, this polish is so bright that I almost want to say it’s neon.  I love that it’s super bright, but still appropriate for winter.  Just to show you how bright it is, here is my turquoise/aqua/teal nail wheel.  Bezerk Turq is at 12:00.  It’s definitely the brightest on the wheel.

IMG_4367

My final favorite of the month is….(drum roll, please)….  The much sought after and highly coveted L’Oreal – Masked Affair.  In the bottle it just doesn’t look like much, but when it’s on your nails… Be still my heart.

IMG_4364IMG_4305IMG_4305

This is a barely purple holographic polish.  Next to purple polish, it looks silver.  Next to silver polish, it looks lavender.  I found this polish at a Rite Aid, but I really felt like I couldn’t justify purchasing it.  Lucky for me, my birthday is in January.  I made the following deal with my hubby:  I buy the polish and then give it to him. Then on my birthday, he gives it back to me as a birthday gift.  So that’s what we did.

So, those are my January Favorites!  I’ve got some Valentine’s Day manis that I will definitely be posting this week, I promise!  Thanks for reading, and find me on instagram for even more nail polish fun!