August Favorites and the 31 Day Challenge

So, I only have 3 new polishes that I’ve particularly loved in August.  I guess  there’s nothing wrong with that.  

IMG_3025

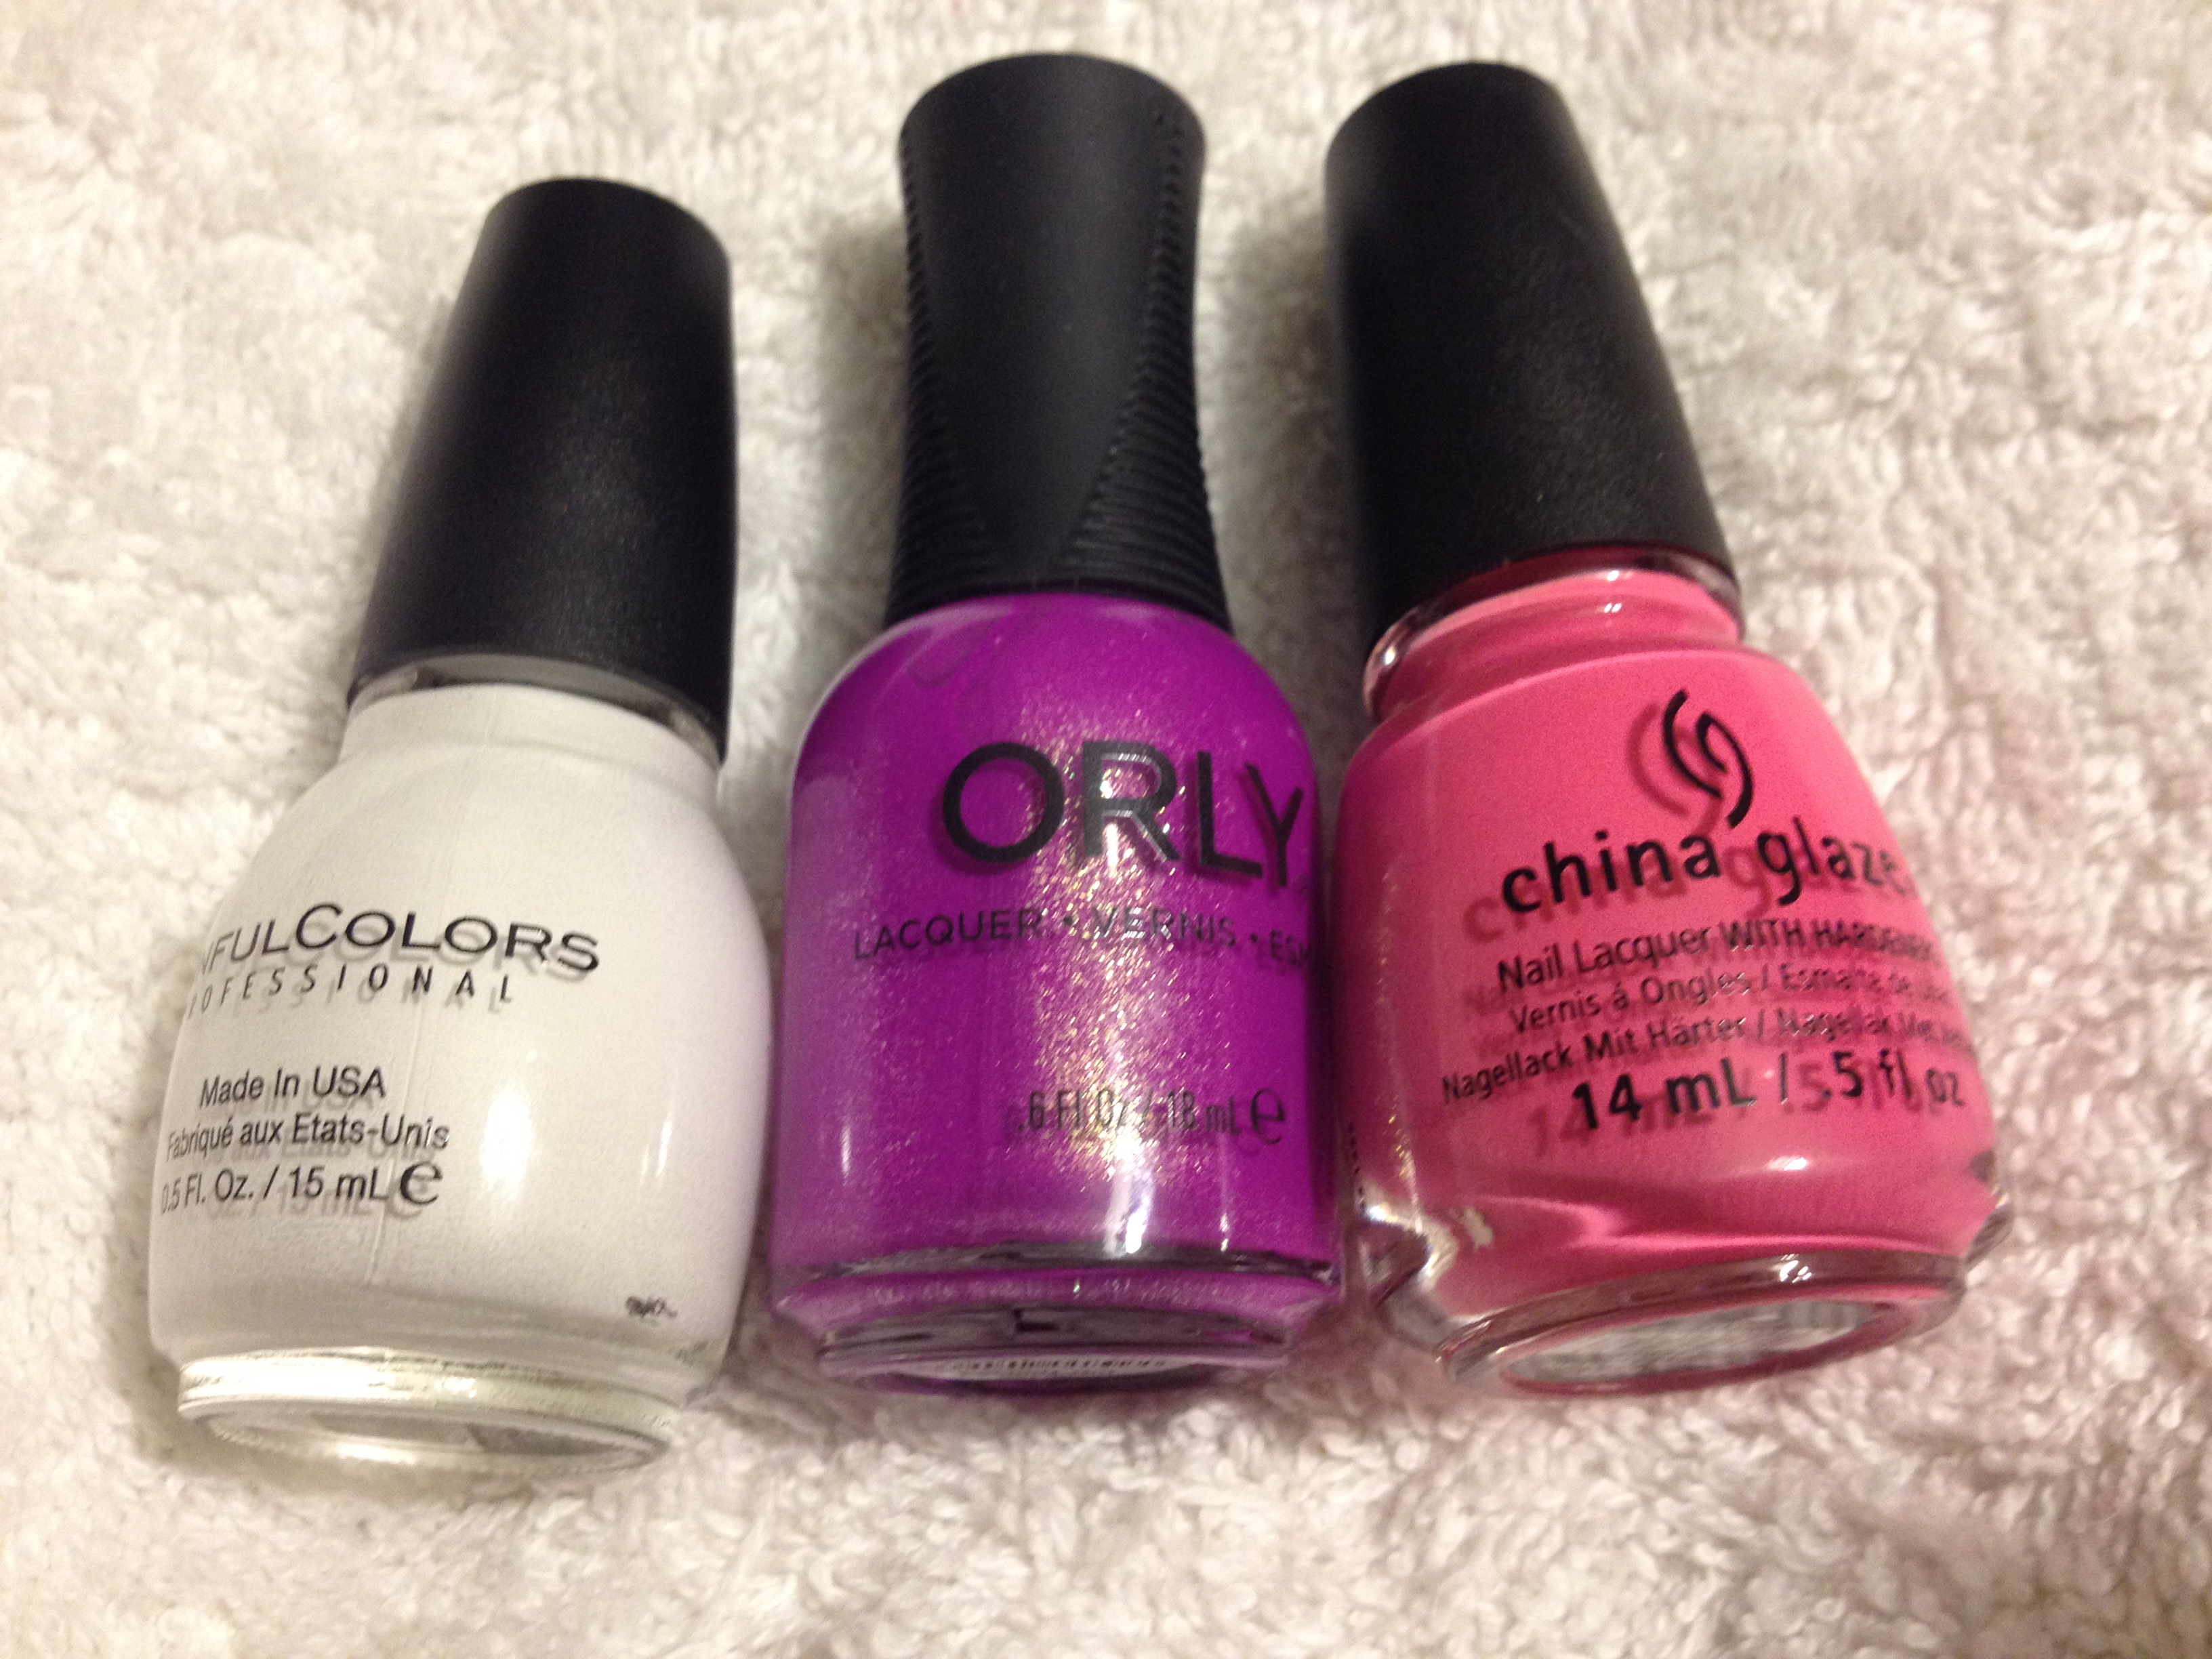
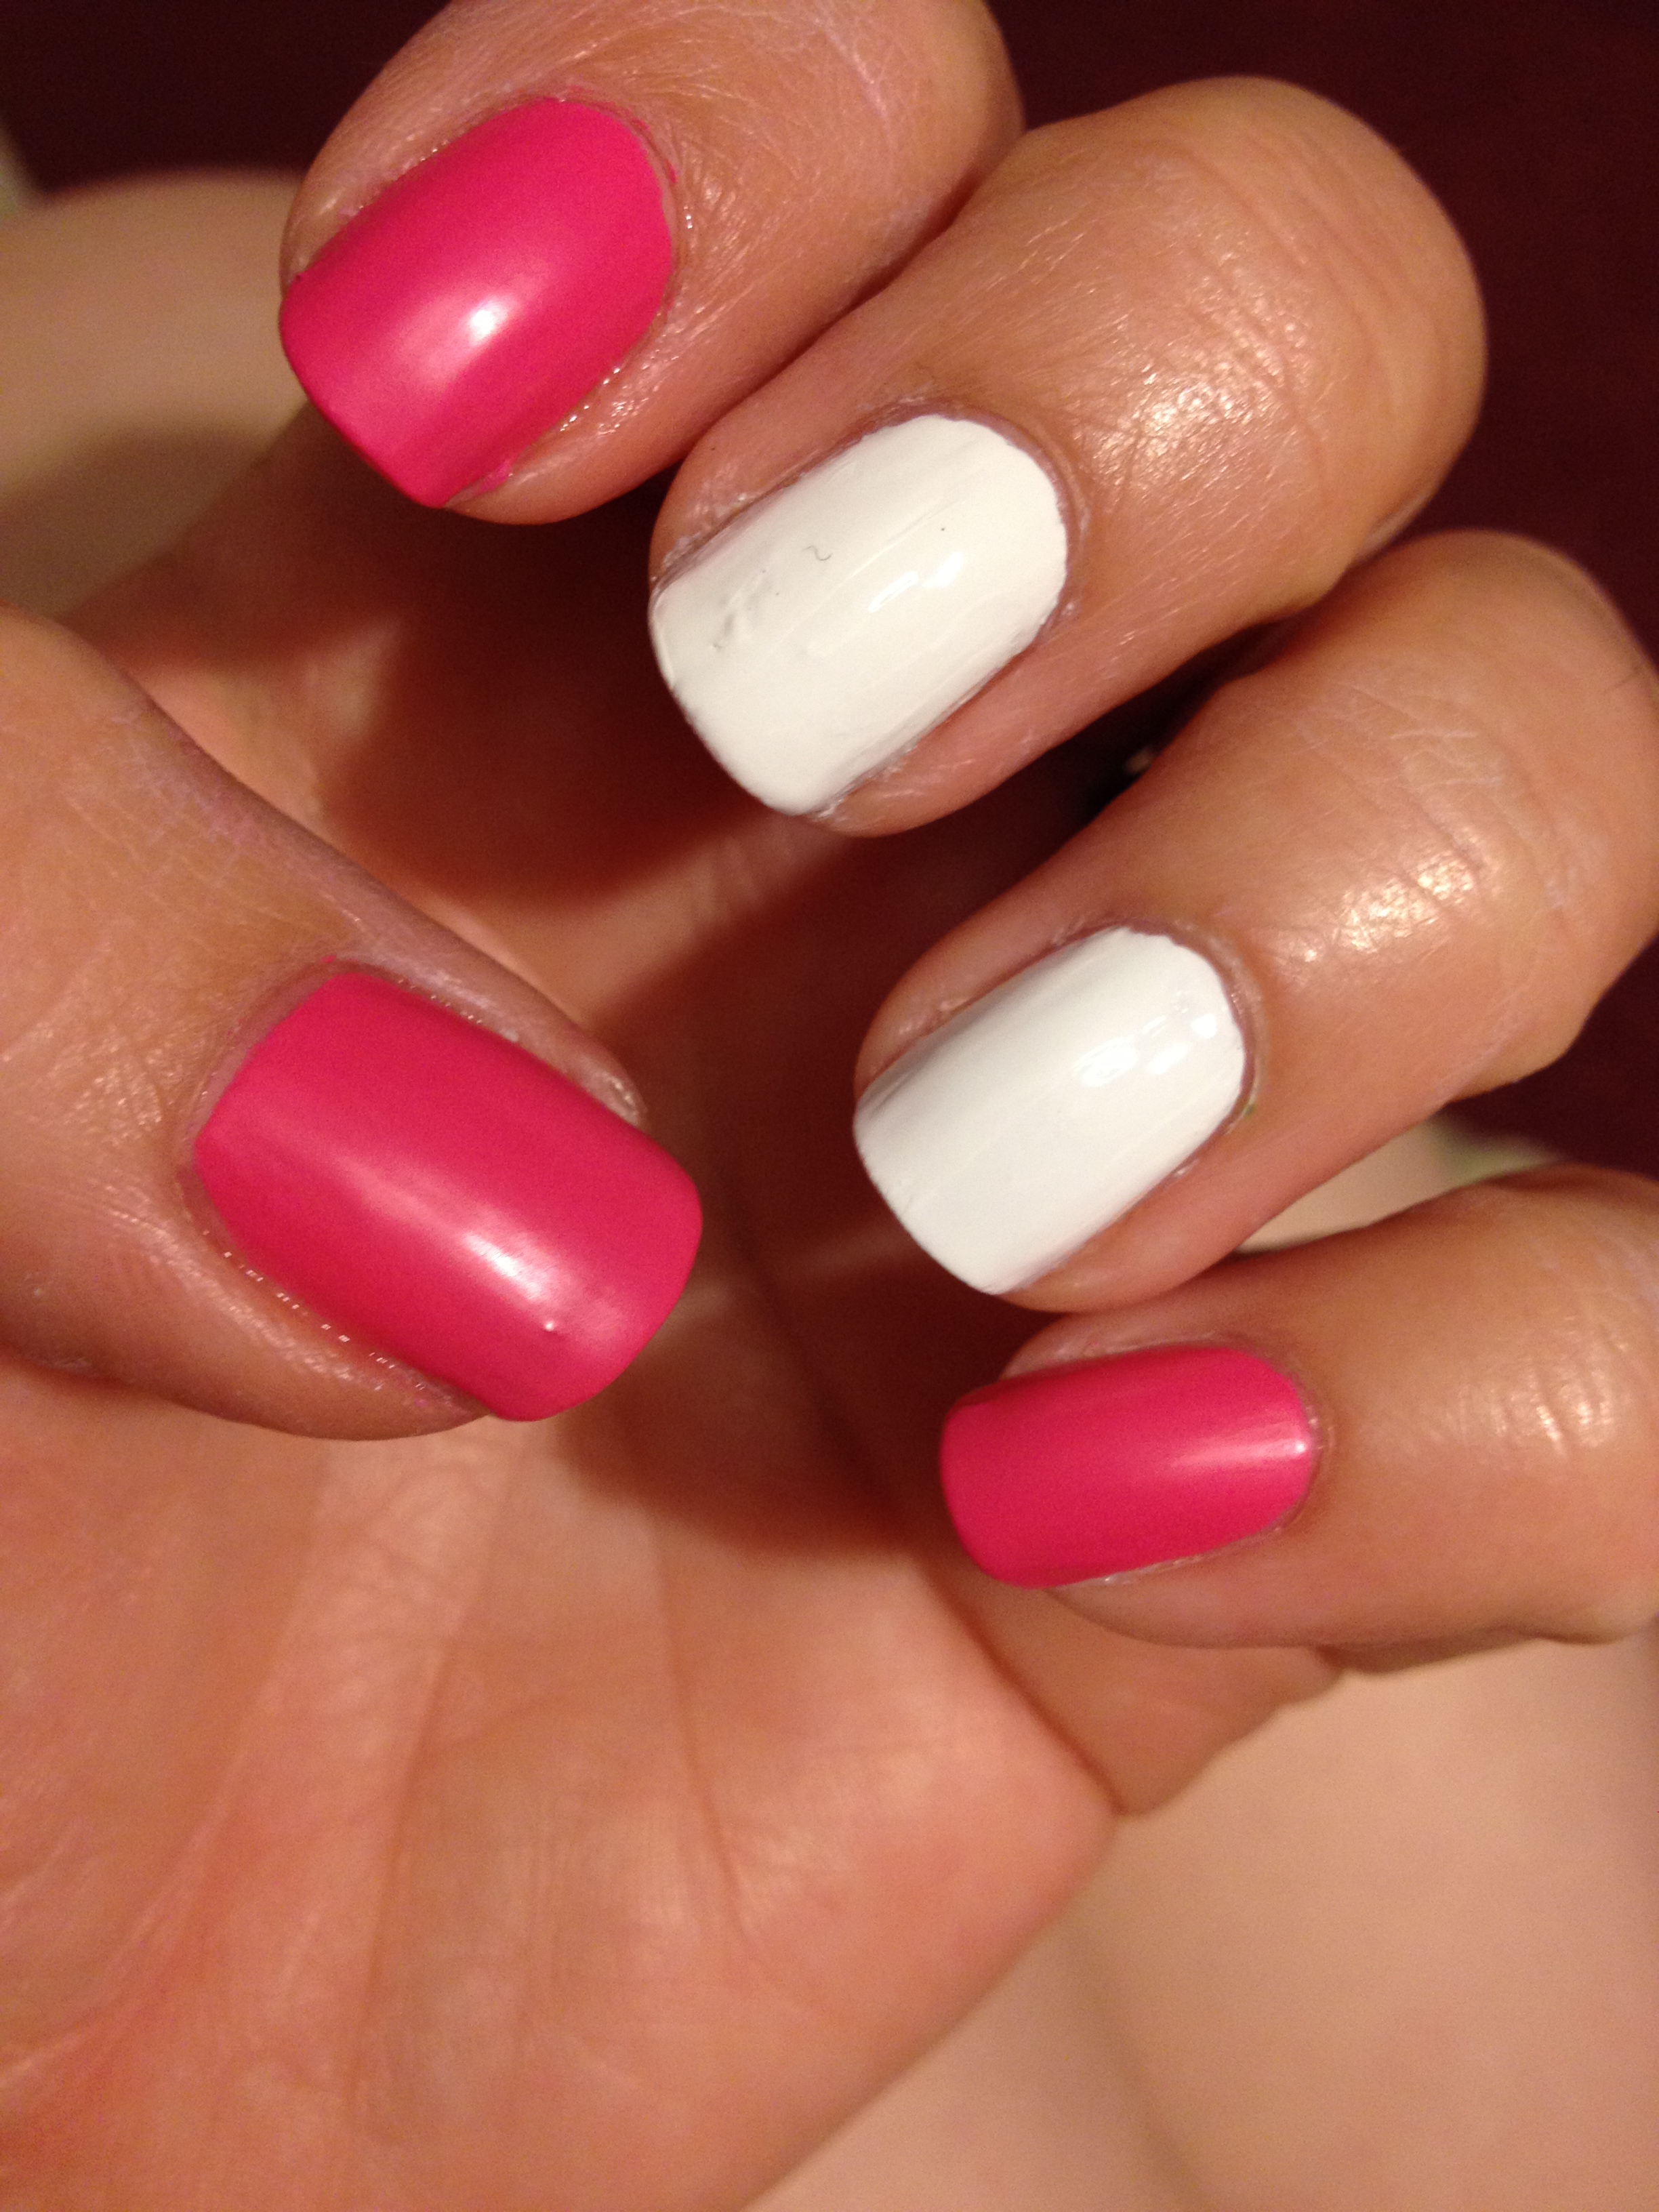
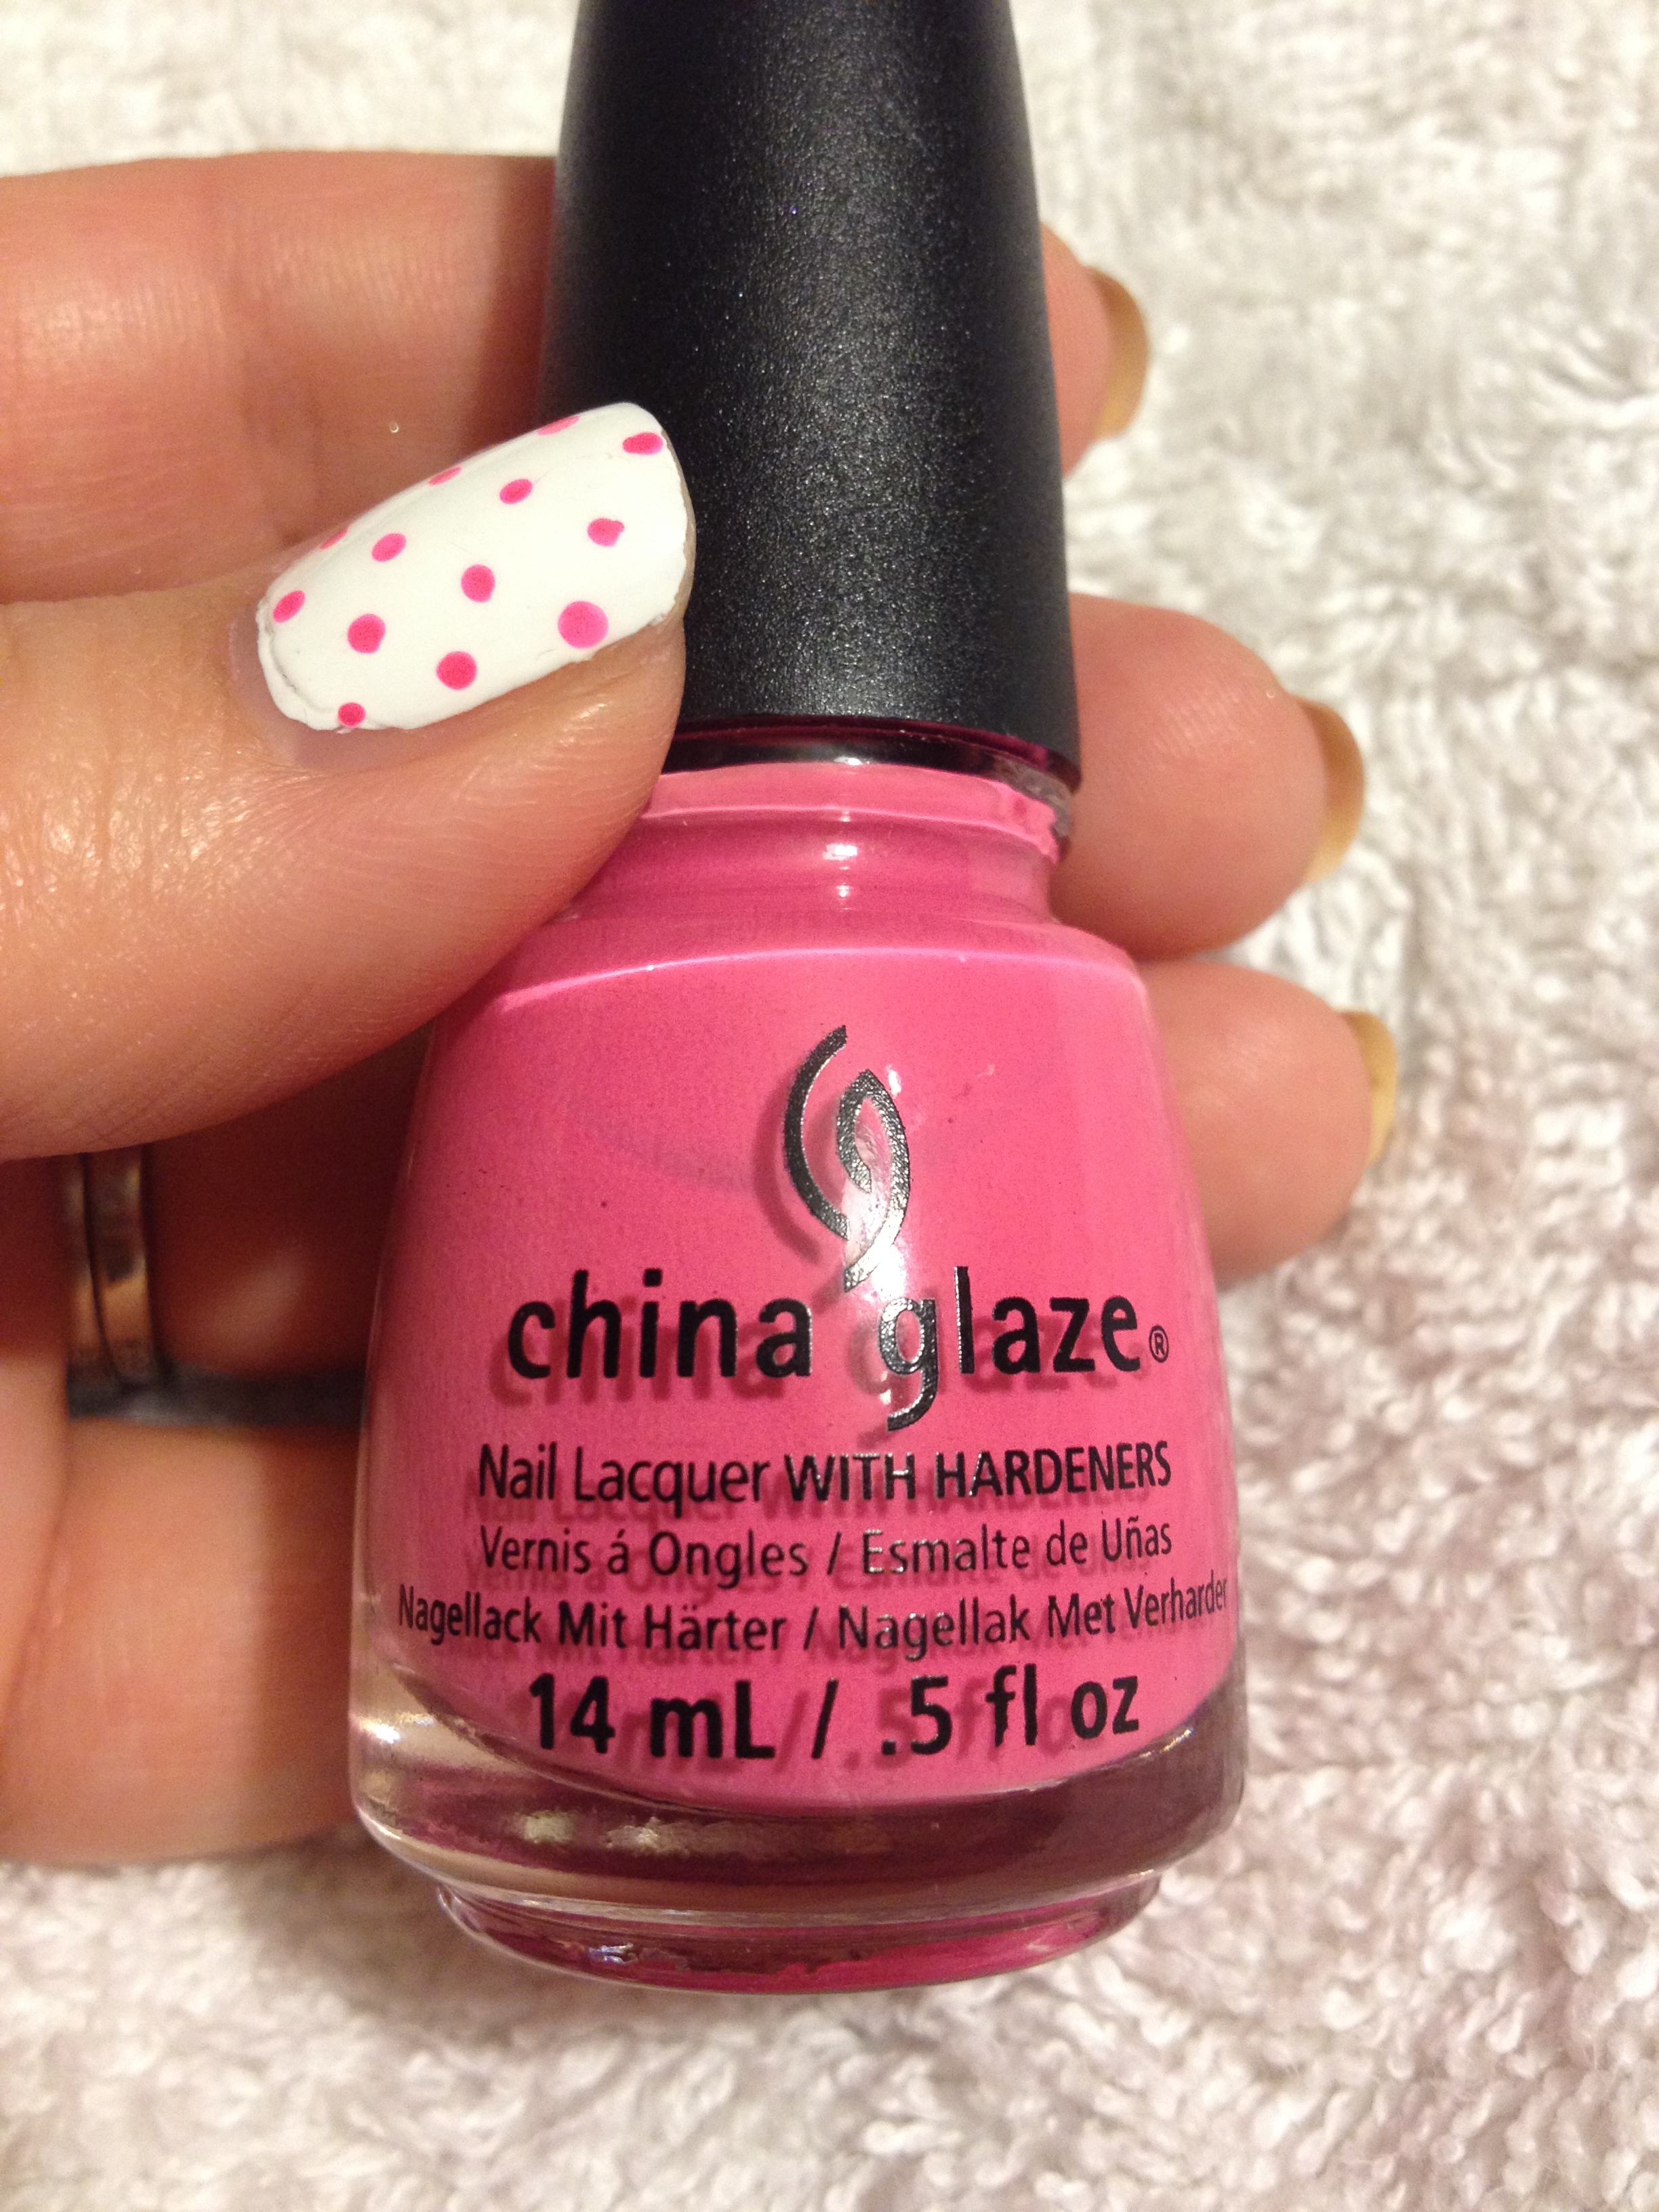
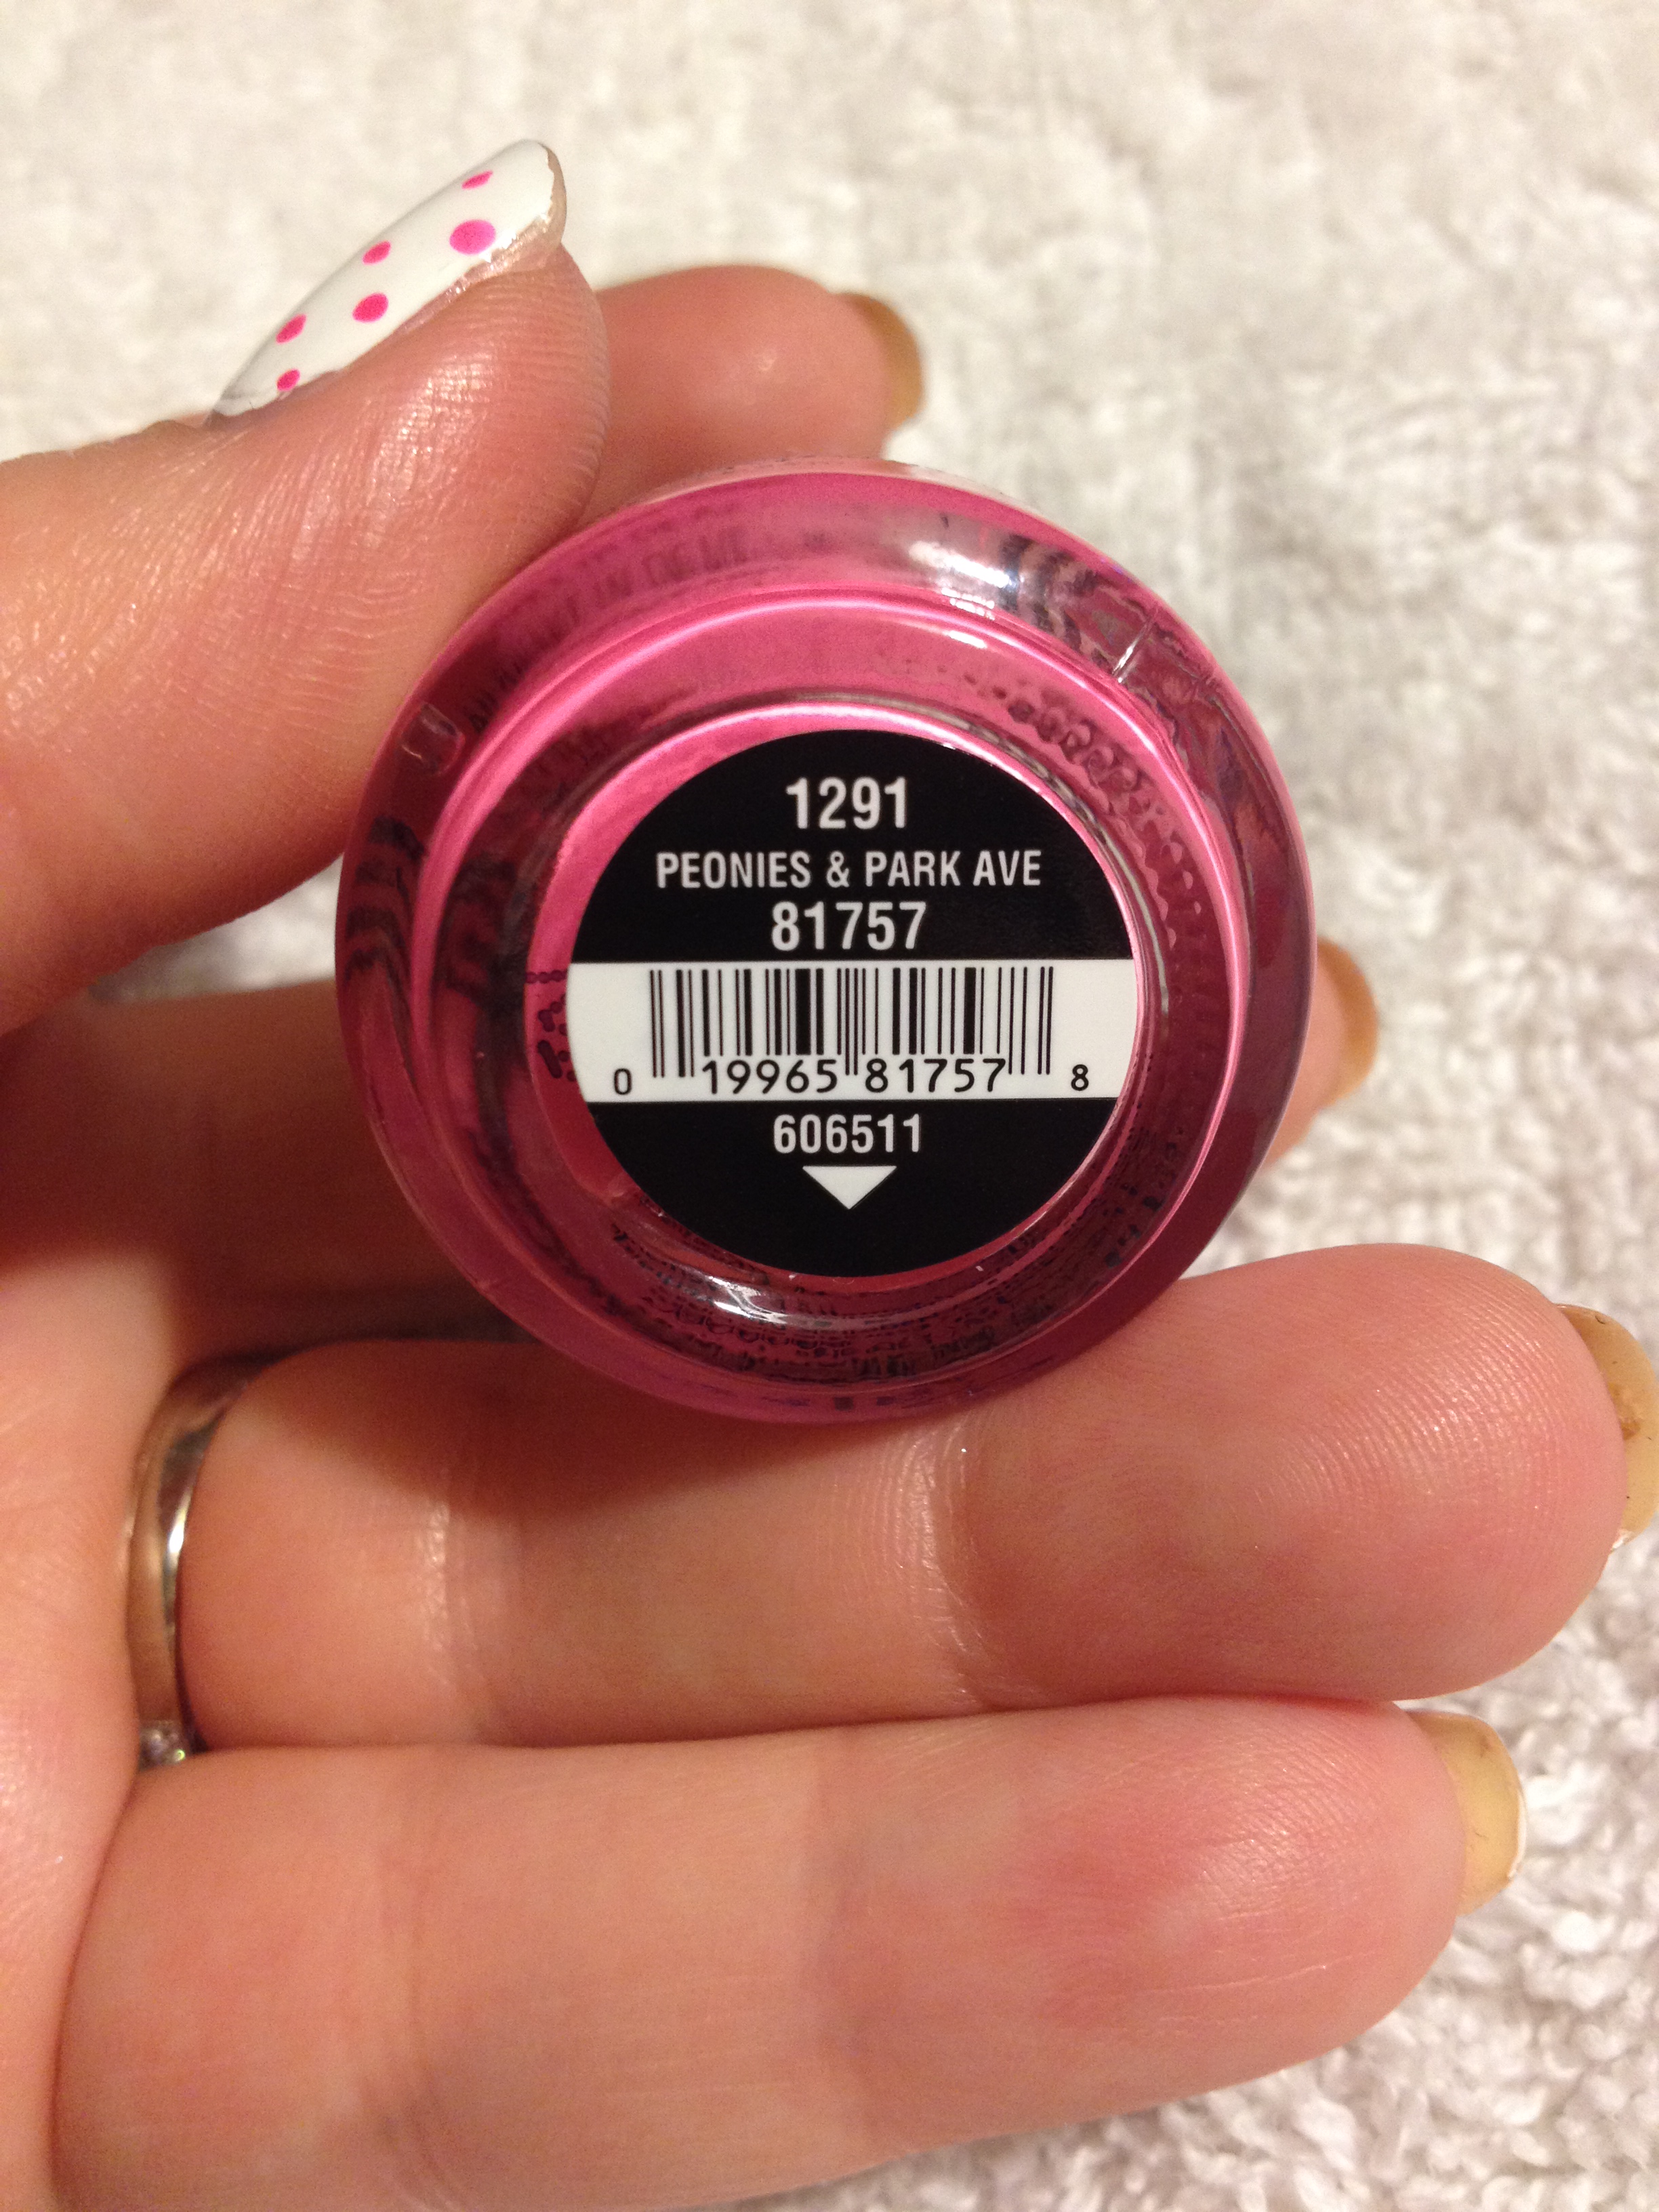
The first is China Glaze Peonies & Park Ave from the City Flourish Collection.  I’m not really sure when this collection came out, but I think I got this polish on clearance last summer.  I’m pretty sure you won’t be able to find this in stores, but you can still buy it online.  It’s just a really pretty almost-neon pink.  I used it as the base for my scrapbook nails, and it was while I was wearing those nails that I realized how much I love this color.

IMG_3019IMG_3018

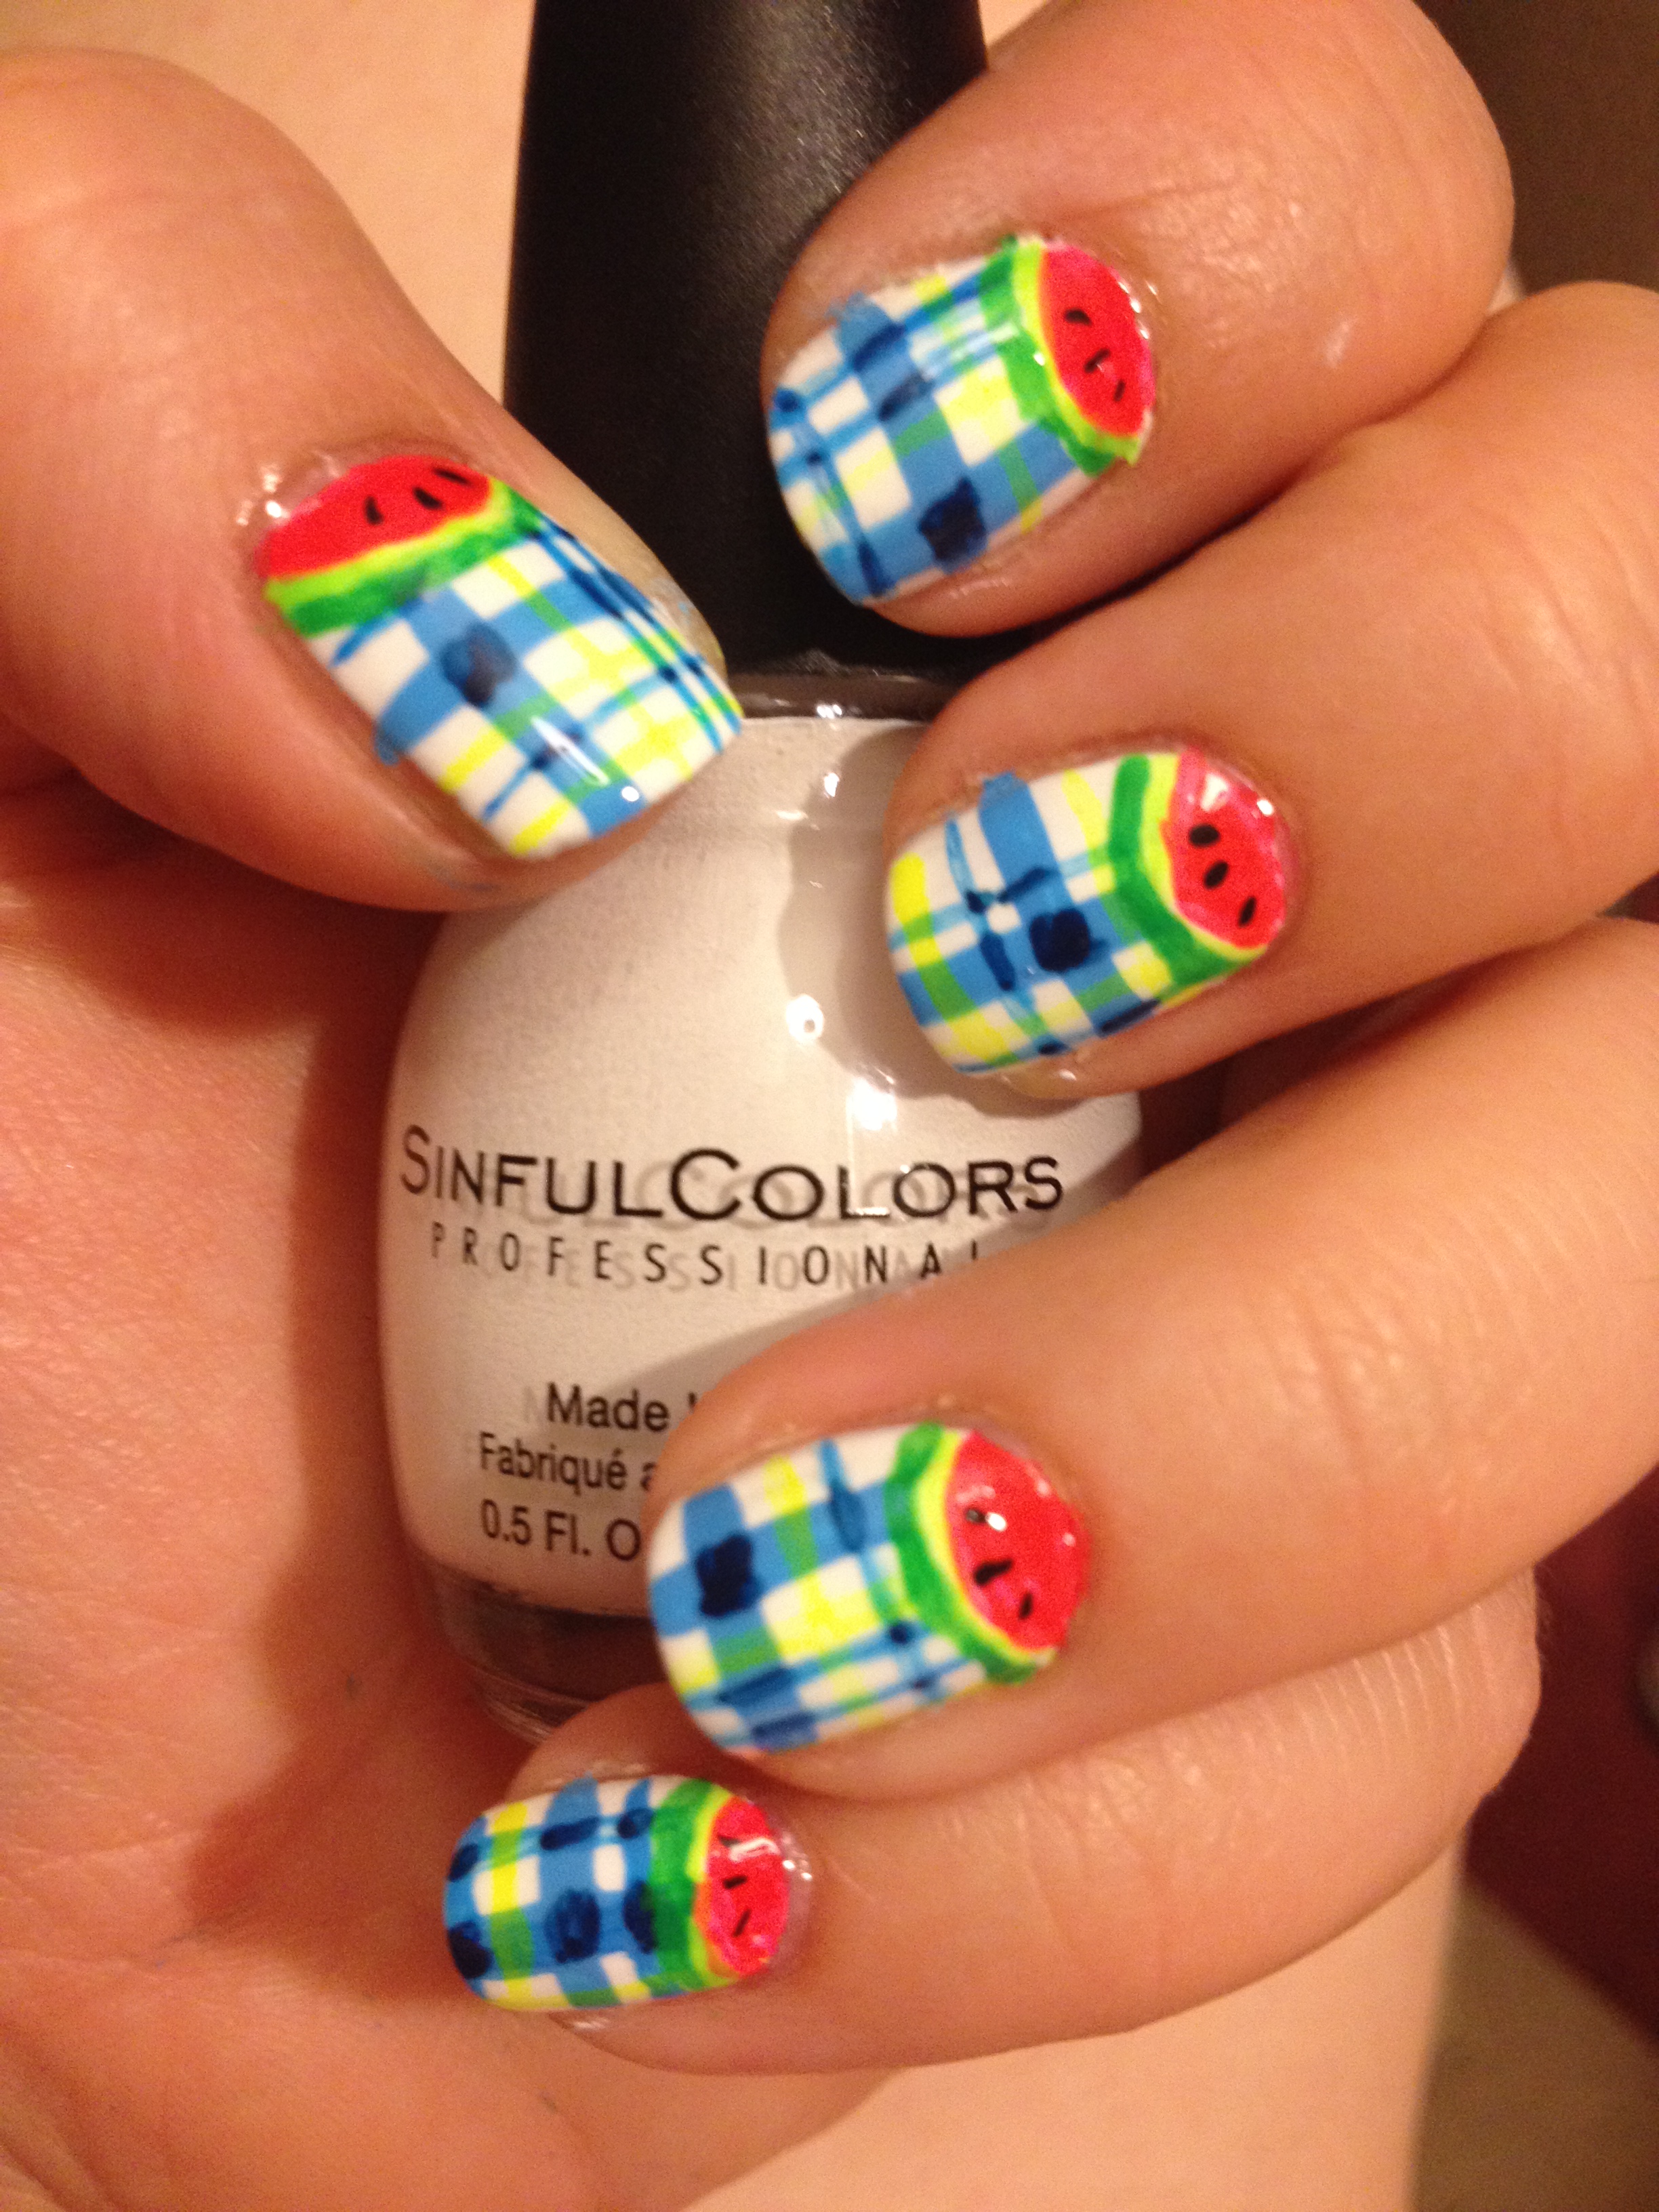
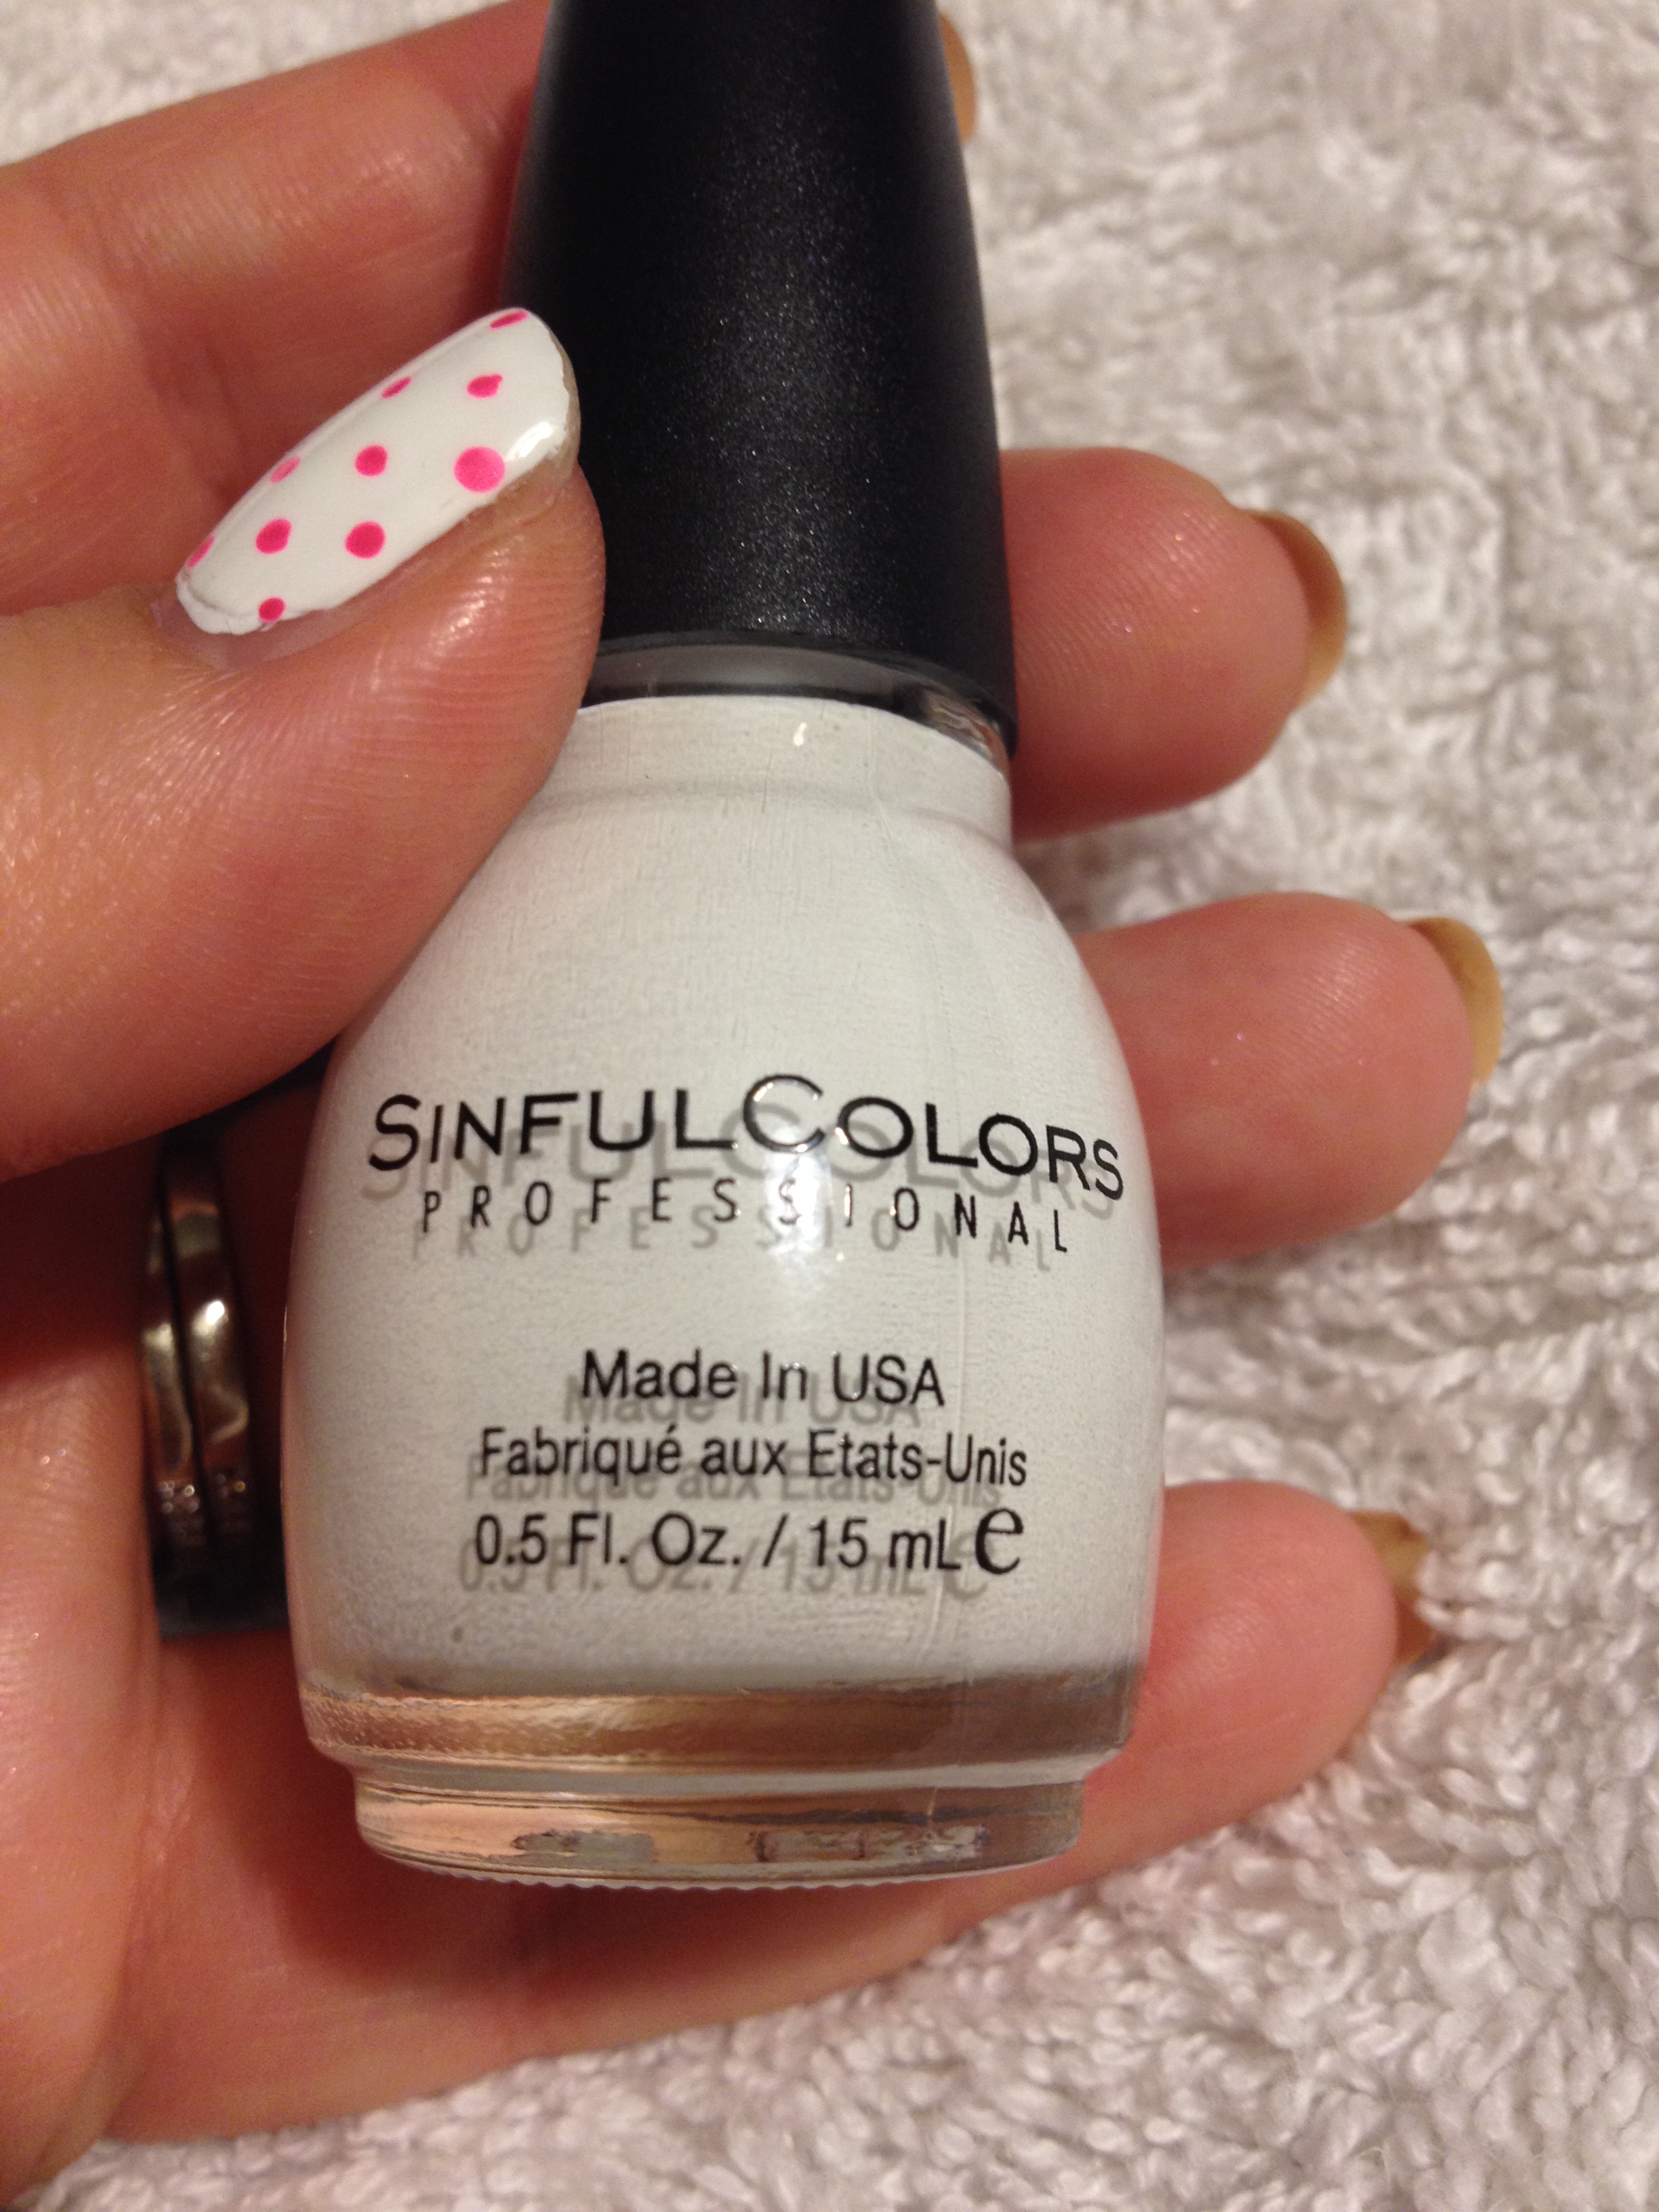
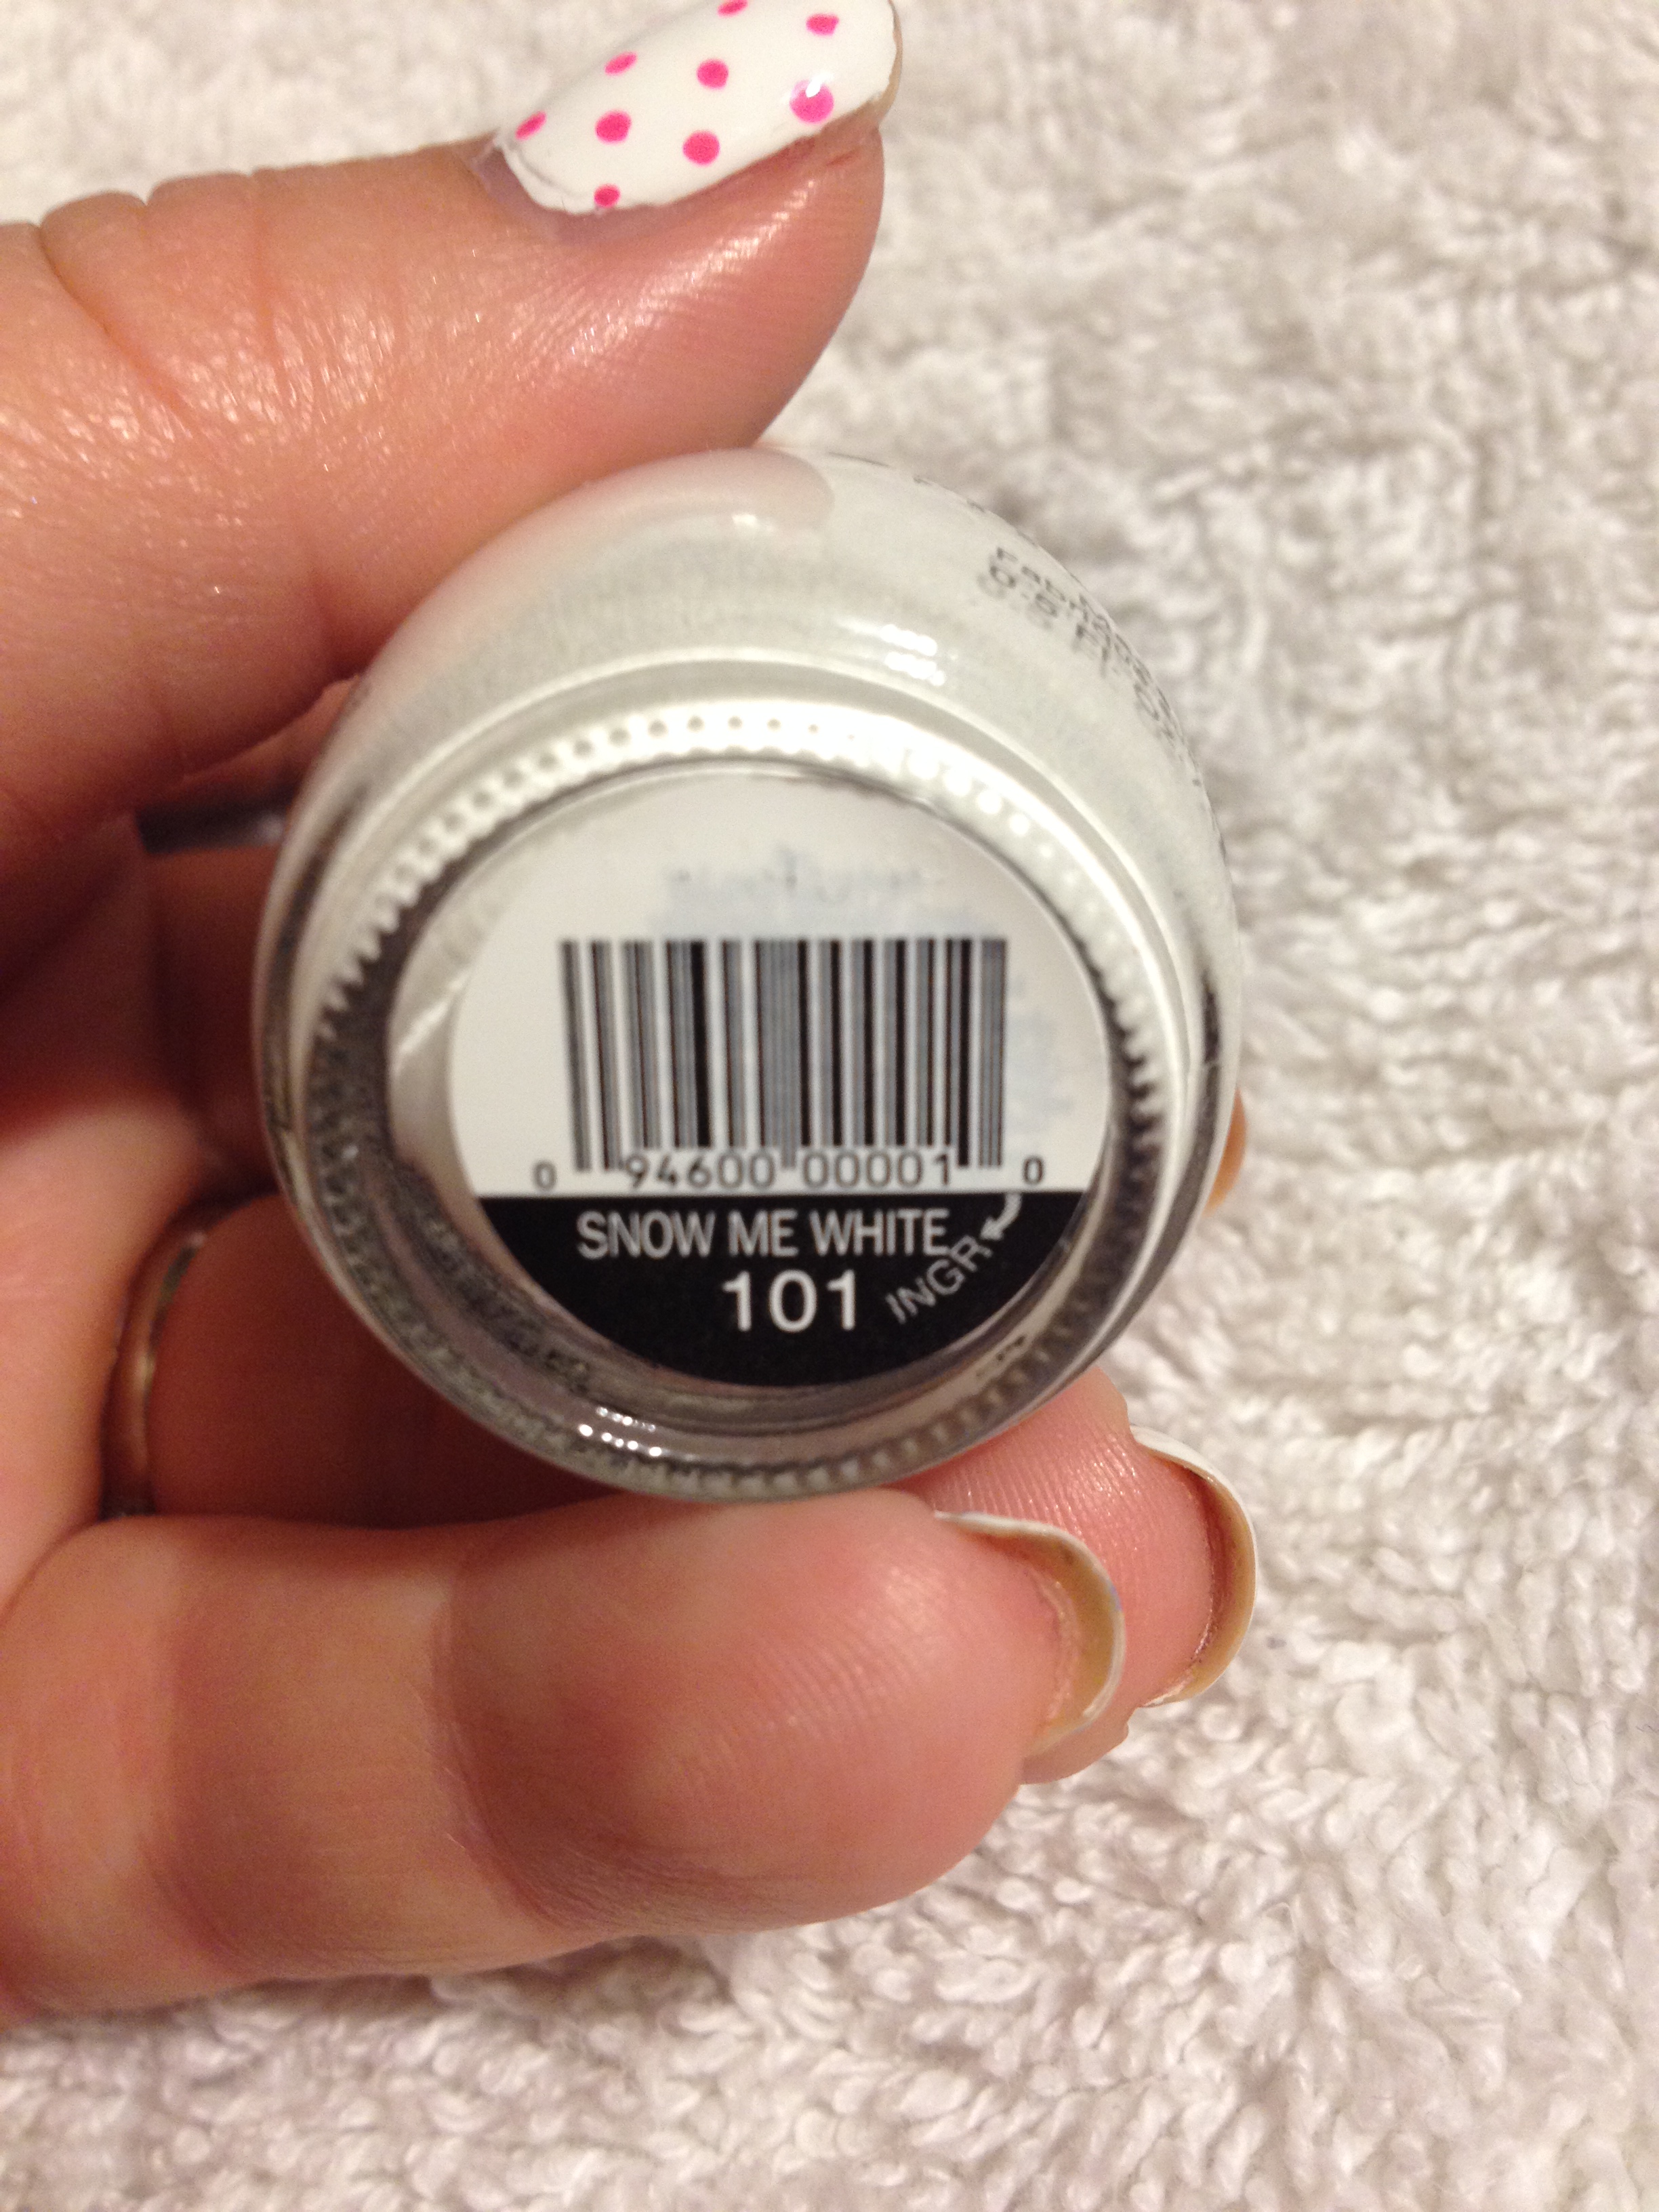
The next one is Sinful Colors – Snow Me White.  I keep not putting this polish away, so it’s been sitting on my coffee table for pretty much the whole month.  Because of that, I keep using it.  I think it’s the only white I’ve used all month.  I’ve used it at least 4 times, and it’s just great and easy each time.

IMG_3024IMG_3023

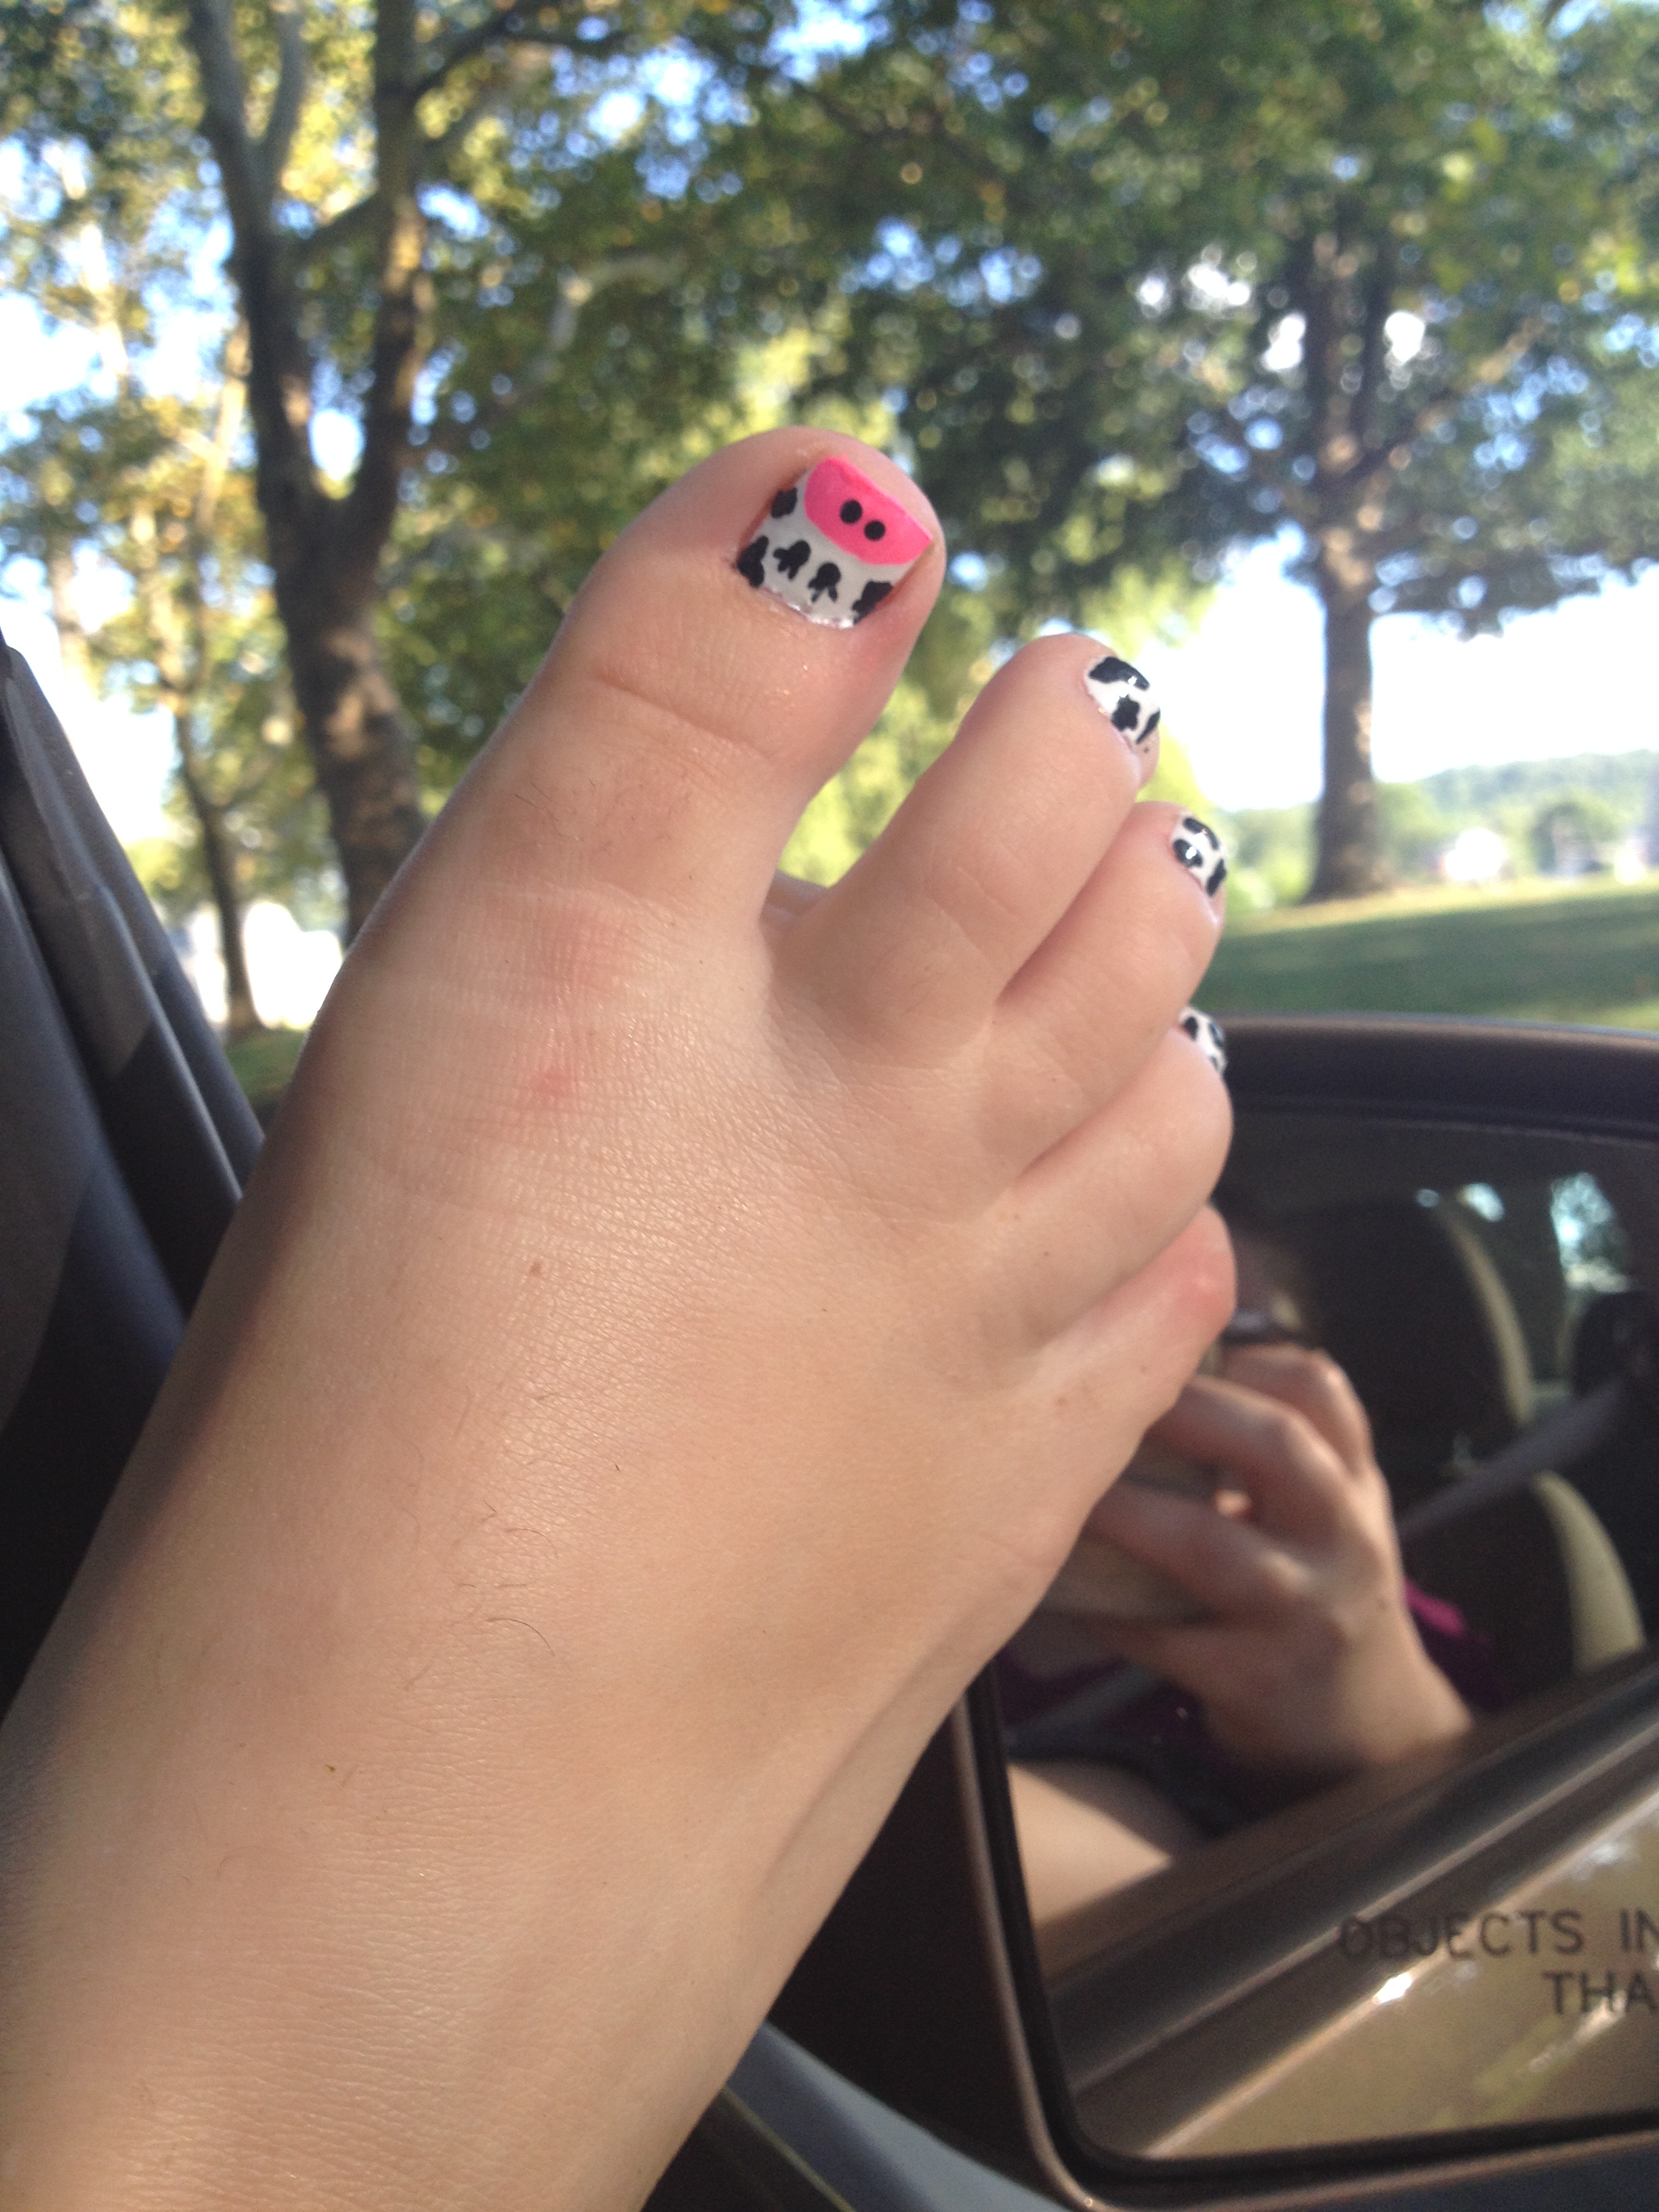
My last favorite polish this month is Orly – Hot Tropics from the Summer 2014 Baked collection.  I was able to get mine on clearance, and I’ve seen this color still in stores recently.  It’s the most beautiful bright purple.  The thing that makes it special though, is the gold shimmer in it.  SO pretty in the sun. I haven’t put it on my toes yet, but I think this would be a great toe color.

IMG_3022IMG_3020IMG_2901

That’s it for my August favorites, but I want to fill you in on what I’m doing from September 1 to October 1.  I’m doing the 31 Day Challenge!  If you’re not familiar with this, it’s something that a lot of nail artists and bloggers undertake just to stretch themselves and improve their nail art skills.  Here’s the list of each day’s challenge.  Really, you can do it anytime, but most people do it starting September 1.

IMG_2952

I thought about doing this for a half of a second last year, but it just seemed too overwhelming.  I’ve been contemplating this for a few weeks now, so I think I’m ready to go for it!  My plan is to post a picture of my nails with a little description each day, but no real tutorials.  If one of the looks seems worthy of a tutorial, I’ll tackle that after the whole challenge is over. 

By the way, this is not any sort of exclusive thing.  Anyone who feels like it, can go for this challenge.  A huge part of the fun of this is checking out everybody’s nails each day on Instagram/facebook/nails blogs.  Feel free to join the fun!  Chalkboard Nails has been a great promoter of this challenge.  Check out her blog for inspiration, if you need it. 

Anyway, I look forward to sharing this big undertaking with you!  I’ll be back on Sept 1 with some red nails!


Tip Top Nails Competition

I learned from Wonderful Wolf, a fellow nail blogger that Tip Top Nails, a South African nail polish company is hosting a nail art competition on their facebook page.  Here are the rules:

1.  You can only use 3 colors and they need to be chosen by a male in your life.

2. Your focus needs to be on an accent nail.

3.  No acrylic paint or stamping.  This is supposed to show off your freehand skills.

4.  It’s also a photo contest, so your picture needs to somehow reflect your inspiration for your nail art.

This just sounded fun to me.  When I told my hubby Mike about it, he did some sort of evil laugh and said something about how he had all the power.  He chose a hot pink, bright blue and white.

Then I hunted around the house for some inspiration and I found some cute cupcake scrapbook paper that seemed to have potential.  Here’s the look I ended up with:

IMG_3011

IMG_3014IMG_3005 IMG_3009

I haven’t officially submitted my entry yet.  I think I might submit the picture with the close-up of 3 fingers since that shows the detail on the accent nail the best, but I’m not sure yet.

Anyway, you have until the end of August to enter this contest if you’re interested!   Check out Tip Top Nails South Africa’s facebook page for all of the details.   Let me know what you think and if you are going to enter!


Scrapbook Nails

You know how you can transfer newspaper print onto polished nails using rubbing alcohol?  (If you don’t know what I’m talking about, google “newspaper nails.”)  Well, I started to wonder if you could just transfer ink from any paper onto nails with alcohol.  Specifically, I started thinking about how cool it would be to transfer the print from scrapbook paper onto nails.  I mean, you can get a whole huge sheet of scrapbook paper for like, $0.59 at the craft store, which is way cheaper than any sort of nails stickers.

When I first started thinking about this, I did a little searching online to see if I could find any info anyone who had attempted something like this.  I did find some people who had printed out digital scrapbook paper and successfully transferred it to their nails.  I’m a little stingy with my printer ink, though, and so I didn’t really want to pay for downloadable scrapbook paper and then use a million dollars worth of ink to print it out.  Plus, I wanted an excuse to go to the craft store.  So that’s what I did.

I figured it would be best to use the thinner scrapbook paper instead of the really heavy-duty kind.  I also looked for a pattern that was had some cool small detail, and here’s what I picked out:

IMG_2982

Then I cut out some little nails-size pieces.

IMG_2984

I painted my nails like this:

IMG_2981

The pink is China Glaze – Peonies & Park Ave.  It’s an almost-neon pink, and the more I wear it, the more it grows on me!  I let my nails dry for about a half an hour before I moved onto the next step.

I poured a little rubbing alcohol into the lid.

IMG_2986IMG_2987

After a little trial and error, I found that it worked best to dip the paper into the alcohol and then press it print side down onto my nail and hold it for about 30 seconds.

IMG_2988

Really press it down well, especially around the edges of the nail.  If it looked like it wasn’t transferring very well, I used a brush dipped in alcohol to re-wet the paper while it was on m nail and then I pressed it down a little longer.

Here was my first nail!

IMG_2989

After removing the paper, there was often still some paper residue stuck on my nail.

IMG_2990

To remove that, I just made a finger on my opposite hand wet and gently rubbed the nail.  The paper residue would sort of pill up while I was rubbing it, and I could easily brush it off.  I was really careful while I was doing this so that I didn’t rub too hard and remove the ink.  Once all of the paper was rubbed off, I applied  Seche Vite top  coat.

Here are the finished nails on my right hand. Oh, I added some stars to my pink nails..

IMG_2996

And here’s my l left hand:

IMG_3004

While the ink didn’t transfer 100% perfectly, I am pretty happy with this first attempt!  If you give this a try and figure out any tips along the way, please let me know.  Make sure you post a picture on facebook or instagram and use the hashtag #polishmesnazzy so that I don’t miss it.  Happy polishing !

Jelly Sandwich Time!

Jelly sandwiches are not really a new thing in the nail polish world, but I run into enough people who give me a blank stare when I use the term that I thought it warranted a post.  A jelly sandwich is a layer of glitter that is sandwiched between a few layer of a jelly polish. 

What is a jelly polish, you ask?  Thank you for asking.  A jelly polish is a sheer, colored polish that generally looks like a Jolly Rancher when it dries on your nail – colored, but still see-through and really shiny.  The appearance of wet jelly polish always reminds me of the paint you used to paint those plastic faux stained glass sun-catcher things as a kid.  Do you know what I’m talking about? 

Sometimes polish brands will release a collection of jellies, but I think most lines of polish have a few jellies in the mix already.  Sometimes you can tell a polish is a jelly just by looking at it in the bottle, but the best way to tell is to open up the bottle and look at the polish on the brush and around the neck of the bottle.  If you can see through it easily, you’ve got a jelly.  If you can just sort of see through it, you may have a “crelly” on your hands.

A crelly is somewhere between a cream polish and a jelly.  (I feel like it’s a dumb word, and I avoid using it if possible, but really, there’s no other word to describe polishes like this.)  Have you seen those glitter polishes that are in a light colored, milky sort of base?  That’s  a crelly base.  Crellies work well for jelly sandwiches too. 

Here is the first jelly sandwich I ever attempted:

001


Eh, it turned out okay.  I didn’t love it.  This was with a sheer nude polish from Avon called Barely There that I’ve had forever.  I would call this one a crelly.  The glitter polish I used is Fantasm from Valley Girl Lacquer.   (Valley Girl Lacquer is an indie polish company.  Check out their etsy shop.  They have some awesome glitter polishes!)

Just for reference, here’s what Fantasm looks like over black:

2014-02-03 21.23.44

you can definitely see how when you sandwich the glitter between the layers of “jelly” how it mutes the glitter effect. 

Here’s another jelly sandwich that I did using Fantasm and a purple limited edition polish called Deception from Wet n Wild.  I love this purple, and I’m sorry you can’t get it anymore. 

IMG_2155

I LOVED this manicure! Deception is so sheer that I think I used 2-3 coats of polish under the layer of glitter and then another 2-3 coats over the glitter, but gosh it was beautiful!  The way the glitter reflected light through the polish made my heart so happy. 

Here’s one final jelly sandwich:

IMG_2542

This is using Wet n Wild Megalast Bubblegum Pop and China Glaze Glitter Up.  (This Wet n Wild color is exclusive to Dollar General / Family Dollar as far as I know.)  This one I medium liked.  This pink is really fun but really… pink.

What are your thoughts about jelly sandwiches?  What are your favorite jelly polishes? 

Cow Toes!

I’ve been painting “cow toes” forever.  Not painting the toes on actual cows, (Do they even have toes?) painting cow print on my own toenails.  By “forever” I mean close to 20 years.  Back in olden times – the ’90s – I was a camp counselor during the summers. I definitely remember sporting cow-print toes a lot back then and also painting cow-print on my fellow female counselors’ toes. 

IMG_2954

This pattern is so easy that it doesn’t even really warrant a full tutorial.  You just paint your nails white, and then using either a dotting tool, tooth pick or just the brush that comes in the polish, make irregular black splotches on the nails.  Really, it’s that easy. 

If you want to paint a little cow face on your big toes like I did here, just start with a white nail then add a pink semicircle for the nose.  Add two black dots for nostrils and two black dots for eyes.  If you have a little brush and you want your cow to look a little more feminine, add eyelashes.  Then fill the space around the face with a few black splotches.  Here’s a fuzzy closeup of one of my big toes.  I know, toes are gross.

IMG_2955

And finally, here are my cow toes hanging out the window while going for a ride in the country.  It seemed appropriate.

IMG_2960

Seriously, this design is super easy and always get tons of positive comments from people.  Give ’em a try while we can still wear sandals!


Plaid Watermelon Nails

I’m not gotta lie; these took a long time.  While I did these nails plus my toes (which you’ll see on Wednesday), I watched almost the entire Blackfish documentary plus two episodes of Seinfeld.  (I needed to watch something a little lighter after Blackfish.) But aren’t they seriously cute?

IMG_2950

The first think I need to do is give Jaunty Juli credit for the design.  Her original version of this design is on her YouTube channel.  You should check her out.  She’s really good!

For this look, the only polish I used besides my base and top coat was a white. The rest of the color is actually acrylic craft paint.  Craft paint is easier to work with than polish, it washes off with water, and it’s really cheap, like $.65 per bottle.  Since they are water soluble, I just us a plate from my kitchen as a little pallet.  Works like a charm.  Just make sure you apply a top coat so you don’t wash your design off when you wash your hands.  That would be tragic.

Here’s how I did them….

First I started with 2 coats of white polish:

IMG_2933

Then I added thick crosses on each nail using light blue paint.  (I actually took some blue I had on hand and mixed it with a little white paint to get the color that I wanted.)  As you can see, I changed the placement of the lines on each nail just to sort of mix it up.  You don’t nee to paint them the whole way to your cuticle since we are going to be adding the watermelons later.

IMG_2934

I added some thin blue lines going vertically and horizontally wherever I had room.

IMG_2935

I then took a darker blue paint and my littlest brush and darkened the spots where the lines intersect.  This is what really makes the plaid look like plaid.

IMG_2936

I added a few neon yellow stripes with paint where I could fit them in.  In retrospect, I should have left a little more room for the yellow lines, but it’s all good. The yellow paint was pretty sheer, so it interacted nicely where it overlapped the blue to make a greenish shade.

IMG_2937

Next I started to add the red paint over my half moon area on my thumb, but I quickly realized the my neon red paint was not going to cover the blue polish near my cuticles.  I decided I needed to take white paint and cover up the blue paint where I wanted to paint the watermelons.  (I’m not showing  you my thumb, because it looked pretty messed up at this point.)

IMG_2938

Then I took my red paint and filled in most of the half moon area, leaving a little room for the rind.

IMG_2939

then I added a thin neon green stripe next to the red.

IMG_2940

Then I added a little black and green together to make a darker green and added a final thin stripe to make the rind.

IMG_2941

Can you tell I was using my palm to wipe my brush some at this point?  Anyway, with my littlest brush, I added in some black seeds and then applied a top coat.

Here’s what they looked like the next day in natural light where you can see the neon-ness a little better:

IMG_2951

Please let me know if you try these!  I’d love to see your recreations on facebook or instagram!  Oh, and check out Jaunty Juli on YouTube or instagram, too!


Mannequin Hands… And Then I Added Stuff.

I while back, I went on a quest to find my perfect “mannequin hands” polish.  By that I mean a polish that was as close to a perfect match to my skin as I could find.  I had heard that Deborah Lippmann had a polish called Naked that was a good match for a lot of people who are fair like me, so I checked it out at Sephora.  Yep, it’s a great nude shade that was a really close match to my skin, but you know what?  Deborah Lippmann polishes cost $20 and I absolutely refuse to spend $20 on a single polish.  Nope, I’m never going to do it.  I can’t imagine any possible scenario in which I would spend $20 on a single polish.  If I’m spending $20 on polish, you’d better believe that I’m going to be getting like, 10 bottles for that price.  Okay, let me get back on track…

So, this one time I was at Kmart and I spotted a color that I had never noticed before from NCY from the In A New York Minute line called Fashion Safari.  I did that thing that you’re not supposed to do (even though everyone does it) and opened up the bottle in the store.  I had polish on my nails already, so I just brushed a tiny bit of the polish onto the back of my hand and it blended right in!  best of all, it cost under $2!  I feel bad for the suckers who buy Deborah Lippmann Naked when there’s NYC Fashion Safari in the world.  Anyway, here it is with a matte top coat:

IMG_2919IMG_2918

Fun, right?  My hand really almost looks like a mannequin’s, right?  By the way, this is the color I used for the sand colored nails in my Beach Inspired Nail Art. In that tutorial, I actually painted my sister’s nails and her skin is definitely a shade or two darker than mine.  It’s a little hard to tell in the picture, but in person, you could definitely see that Fashion Safari was lighter than my sister’s skin.  I also used it in my Real Seashell Nails with a pearly color shifting polish over top.

Well, my mannequin hands fascinated me for about 24 hours, and then I decided that I needed to add something to them.  I opted for some of the chunky glitter that is Funky Fingers Pep Rally and I ended up with this look:

IMG_2923IMG_2922

I didn’t actually just brush the glitter onto my nails.  I used a little dotting tool to pick the individual pieces of glitter off the brush and placed them where I wanted them.  It’s a little time consuming, but not very hard.  I also opted to top them with Sech Vite, since it’s thick enough to smooth out this really chunky glitter. 

That’s it for today!  As always, thank you for liking, following, and sharing!  Come find me on instagram and facebook!

Frankenpolish Strikes Again!

Lately I’ve been seeing a lot of cute nail art around that starts with a base that is sort of a light nude color.  You know, not as dark as a “mannequin hands” nude, but definitely not white.  I didn’t have a color like this, but I’m trying (although my hubby may not believe it) to not buy unnecessary nail polish.  

Then I remembered that I bought a bunch of white polish so that I could compare them, and really, who needs 5 bottles of white?  You know what that means?  Frankenpolish time! 

My initial plan was to add some of NYC – Fashion Safari to NYC – French White Tip.

IMG_2876

I realized pretty quickly that I was going to have to add a ton of Fashion Safari to get my desired shade, so I raided my nail polish rack and found these two:

IMG_2921

Wet n Wild Megalast – Haze of Love is a beautiful brownish-reddish-raisinish color that I love to wear in the fall.  Spoiled – Permission to Proceed is just a true green.  I knew if I just added Haze of Love to the white, it would end up being too pink, so added some Permission to Proceed just to mellow out the pinkness. I didn’t really keep track of how much of each I added to the white.  I would just add some and then shake-shake-shake the bottle, assess the color and then add some more of the colored polish as needed. 

In the end, I wound up with the color on my middle finger:

IMG_2913

(Sinful Colors – Snow Me White is on my first finger, and Fashion Safari is on my ring finger.)

So, I think I’m pretty happy with how it turned out!  Sometimes when I look at it, I think it might still be a little too pink.  Maybe I’ll add a few more drops of green polish to it.  Not sure yet.

Do any of you have any Frankenpolish stories?   I’d seriously love to hear them!

It’s Not Exactly Polish, But You Might Need It Anyway

My usually part-time job is going to be closer to full-time this week, but I still plan to post things on my promised Monday-Wednesday-Friday schedule.  I apologize in advance if my posts end up being a little skimpy, though. 

Today I thought I’d highlight a few of my favorite nail products that are not nail polish.  Let’s start with these little guys:

IMG_2910

These are nail wheels that I got at Sally Beauty Supply.  I think they were around $7 for a pack of 10 wheels.   These are great for several things.

I love to use these to practice nail art.  They are a great way to organize your nail art ideas or recreations.  I find that when I do other people’s nails, they come in really handy in helping people determine what they actually want done on their nails. 

These wheels are also a great place to just simply try out your new polishes.  Often when I get a new polish, I will wonder how it will look with a specific topper (glitter, iridescent top coat,…) over it, and this is a great way to test it out.  

I also like this stuff:

IMG_2907

This is a really nice cuticle oil that will last me a really long time and it was under $3 (I think).  I like to use this after doing my nails, when the polish is dry or on days between polish jobs.  It will really keep your cuticles from looking ragged and crusty.    Truth be told, though, almost any oil that you have around the house will work just as well – olive, vegetable, …  Lately, I’ve been using coconut oil on my hands and cuticles right before bed, so I haven’t been using my actual cuticle oil as much.

I use these little guys ALL the time:

IMG_2909

The thing on the left is a cuticle pusher that I got at Sally Beauty Supply for like, $.69 or something really cheap.  The red end is a softer plastic that is great for gently pushing back your cuticles.  The other end is a tapered harder plastic which I end up using for all sorts of stuff, like scraping stubborn glitter off my nails during the polish removal process. 

The little brush on the right is a $1 concealer brush from e.l.f. cosmetics.  I dip it in acetone and use this to clean up any polish that accidentally gets on my skin after I do my nails.  It works like a charm!  Any brush with really stiff short bristles should work well as a clean-up brush.  I know a lot of people use a Q-tip dipped in acetone to do their clean-up, but a little brush allows you to be so much more precise.

Make-up sponges!

IMG_2911   

I guess they are technically called “cosmetic wedges”, but there’s really make-up sponges.  These are great for certain glitter application techniques (like the gold glitter here) as well as gradient or “ombre” looks (like I did on the blue fingers here).  And they’re cheap.  This bag of 32 sponges was under $3.

OK, I confess that I’m mostly including this last item because I just got it and I think it’s super cute:

IMG_2908

It’s the Revlon Crazy Shine Nail Buffer!  Isn’t that the cutest buffer you ever saw?  And PA folks, it’s on sale at Giant this week for $1.09, regularly $3.09!  Buffers are great for shining up your polish if it starts to dull after a few days.  (Truthfully, I just usually slap on another layer of top coat, but if you don’t want to mess with that, a buffer is a great option.)  Buffers are also a great way to shine up natural nails without any polish or chemicals, perfect for people in the medical field or any other job in which you can’t wear polish. 

By husband (begrudgingly) let me buff his thumbnail:

IMG_2906

It’s so shiny that it looks like it’s got a coat of clear polish on it! 

OK, that’s it for today.  As always, I love hearing your comments and ideas!  Thanks for reading!

Real Seashell Nails

By now you’ve probably seen those little kits that you can use to create a seashell manicure that include the little bottles of dyed and crushed seashells.  They are pretty cute, but I don’t like paying for stuff if I don’t have to. 

A few weeks ago, we did a day trip to the beach and I took it upon myself to collect a bunch of these really thin shells. 

IMG_2853

I’m sure they have a name, but I don’t know what it is.  They are the kind of shells that you can just easily break with your fingers, and they are really plentiful along the mid-Atlantic coast.

I broke them up into little pieces that were about 1/4 inch or smaller  (That’s about 1/2 cm for those of you in the rest of the world.)

IMG_2855

Then I painted all of my nails with a few coats of NYC – Fashion Safari.  I topped my index finger, pinky and thumb with a coat of Orly – Sky Blue-Pink to mimic the iridescence of a seashell.

IMG_2860

Then, I applied one more layer of Fashion Safari to my middle and ring fingers, and while they were still wet, I sprinkled my crushed up shells onto them.  I tapped off the excess and then patted down the shells that were stuck to the nail.   I then topped it with several layers of top coat in order to make it (sort of) smooth.  Here are my results:

IMG_2861

I didn’t LOVE-love them, but they were okay.  The nails with the shells were pretty thick, and after 4 or 4 days, they started to pull away from the nail.  I do want to try it again, but I think next time I will use a dotting tool dipped into clear polish to pick up the pieces of shell and place them on my nail like a mosaic.  Obviously, this will be a little more difficult, but I think the results will be better. 

Please let me know if you attempt anything similar and how it turns out for you!  As usual, tag me on instagram or facebook  or use the hashtag #polishmesnazzy so I can see your recreations!