
I’m not gotta lie; these took a long time. While I did these nails plus my toes (which you’ll see on Wednesday), I watched almost the entire Blackfish documentary plus two episodes of Seinfeld. (I needed to watch something a little lighter after Blackfish.) But aren’t they seriously cute?
The first think I need to do is give Jaunty Juli credit for the design. Her original version of this design is on her YouTube channel. You should check her out. She’s really good!
For this look, the only polish I used besides my base and top coat was a white. The rest of the color is actually acrylic craft paint. Craft paint is easier to work with than polish, it washes off with water, and it’s really cheap, like $.65 per bottle. Since they are water soluble, I just us a plate from my kitchen as a little pallet. Works like a charm. Just make sure you apply a top coat so you don’t wash your design off when you wash your hands. That would be tragic.
Here’s how I did them….
First I started with 2 coats of white polish:

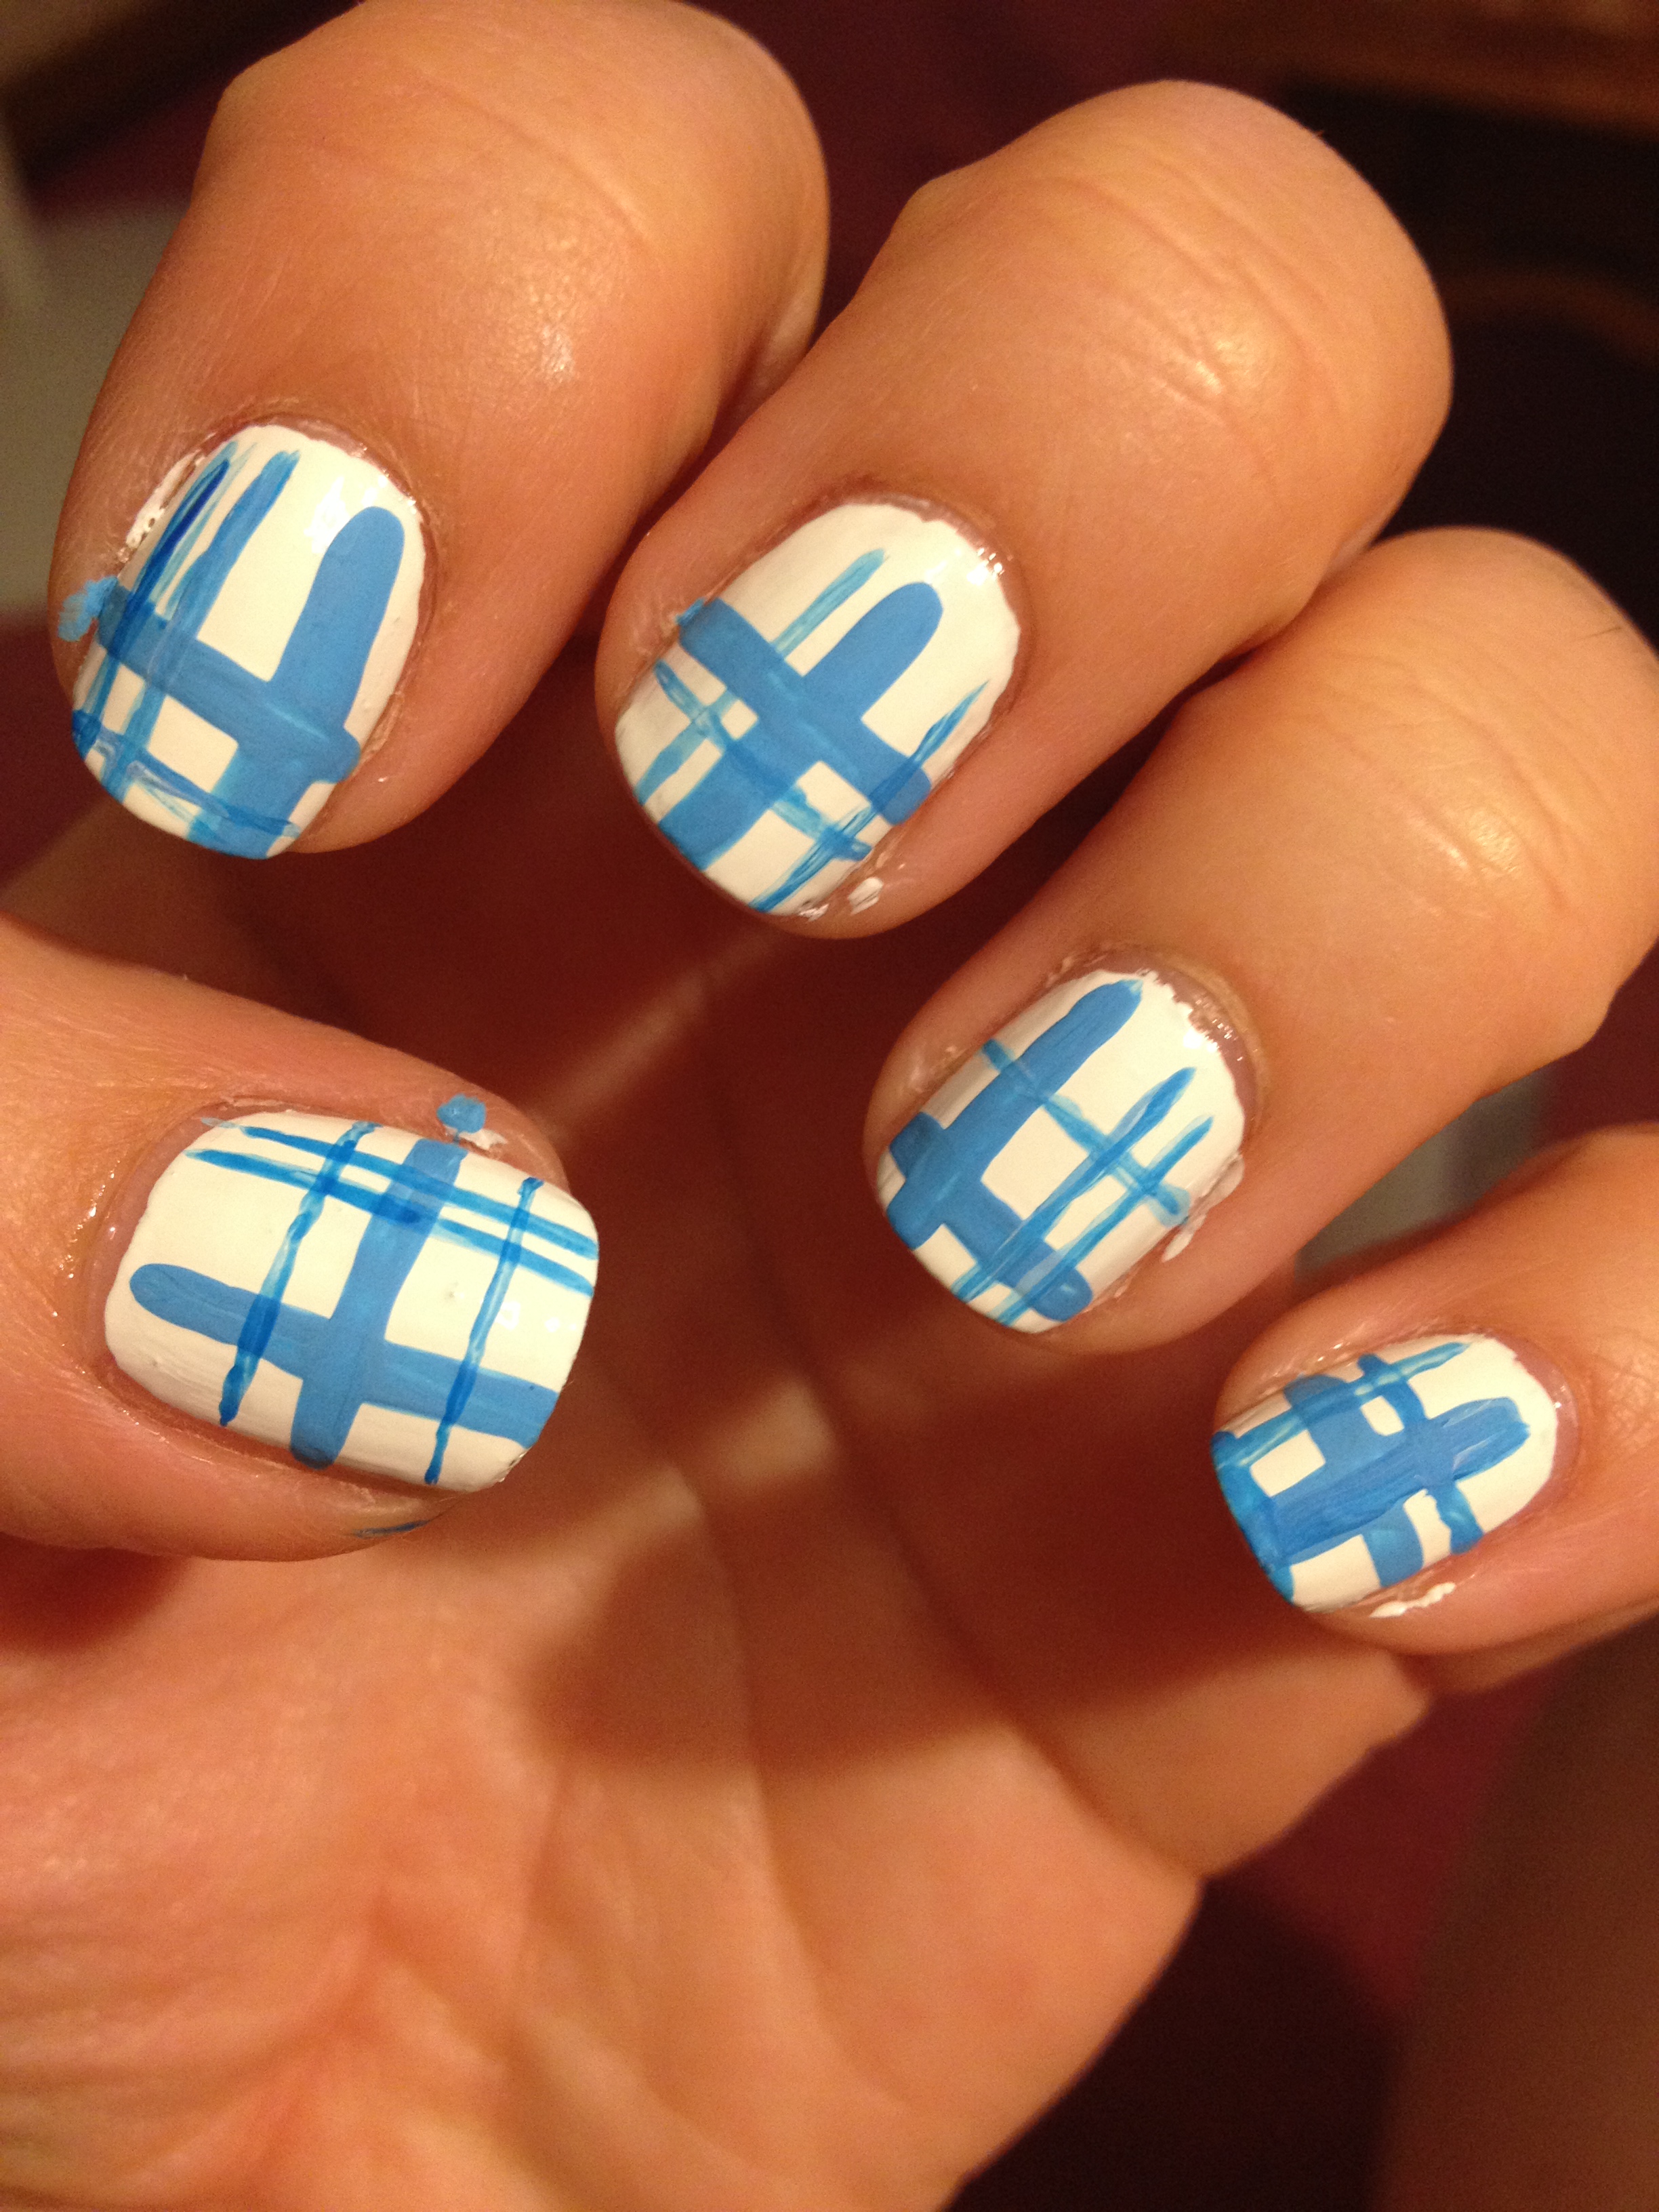
Then I added thick crosses on each nail using light blue paint. (I actually took some blue I had on hand and mixed it with a little white paint to get the color that I wanted.) As you can see, I changed the placement of the lines on each nail just to sort of mix it up. You don’t nee to paint them the whole way to your cuticle since we are going to be adding the watermelons later.

I added some thin blue lines going vertically and horizontally wherever I had room.
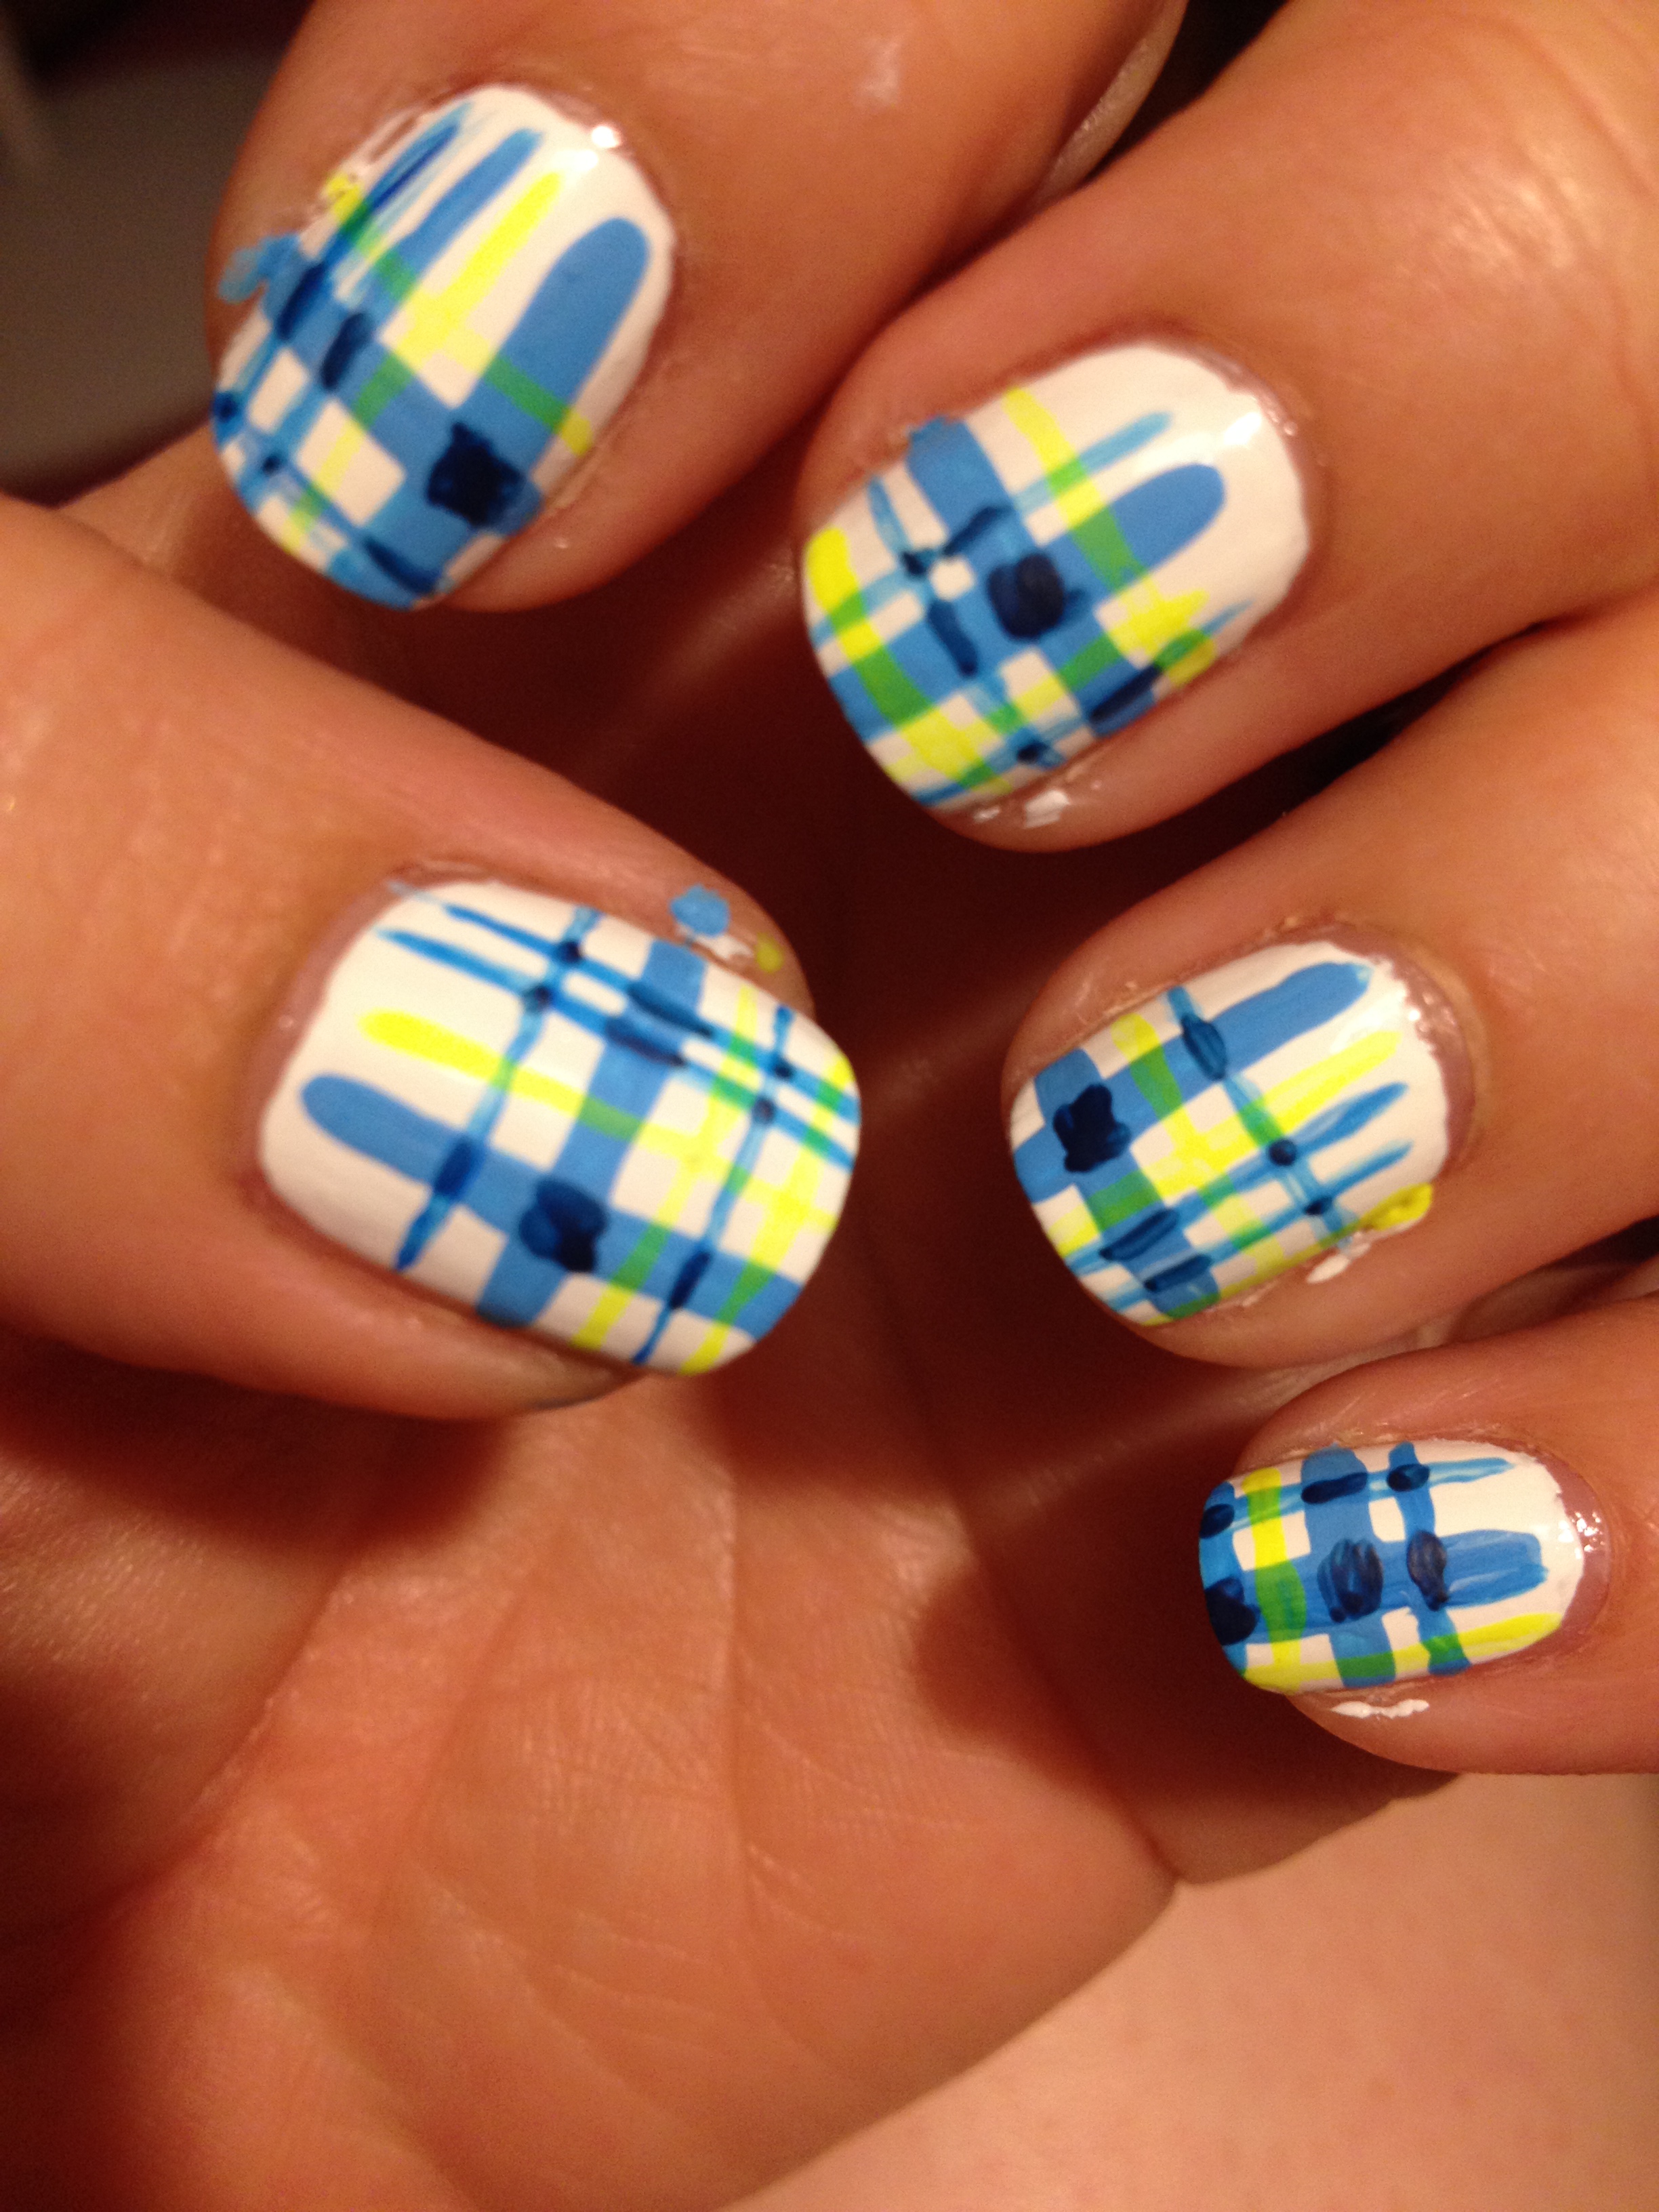
I then took a darker blue paint and my littlest brush and darkened the spots where the lines intersect. This is what really makes the plaid look like plaid.

I added a few neon yellow stripes with paint where I could fit them in. In retrospect, I should have left a little more room for the yellow lines, but it’s all good. The yellow paint was pretty sheer, so it interacted nicely where it overlapped the blue to make a greenish shade.
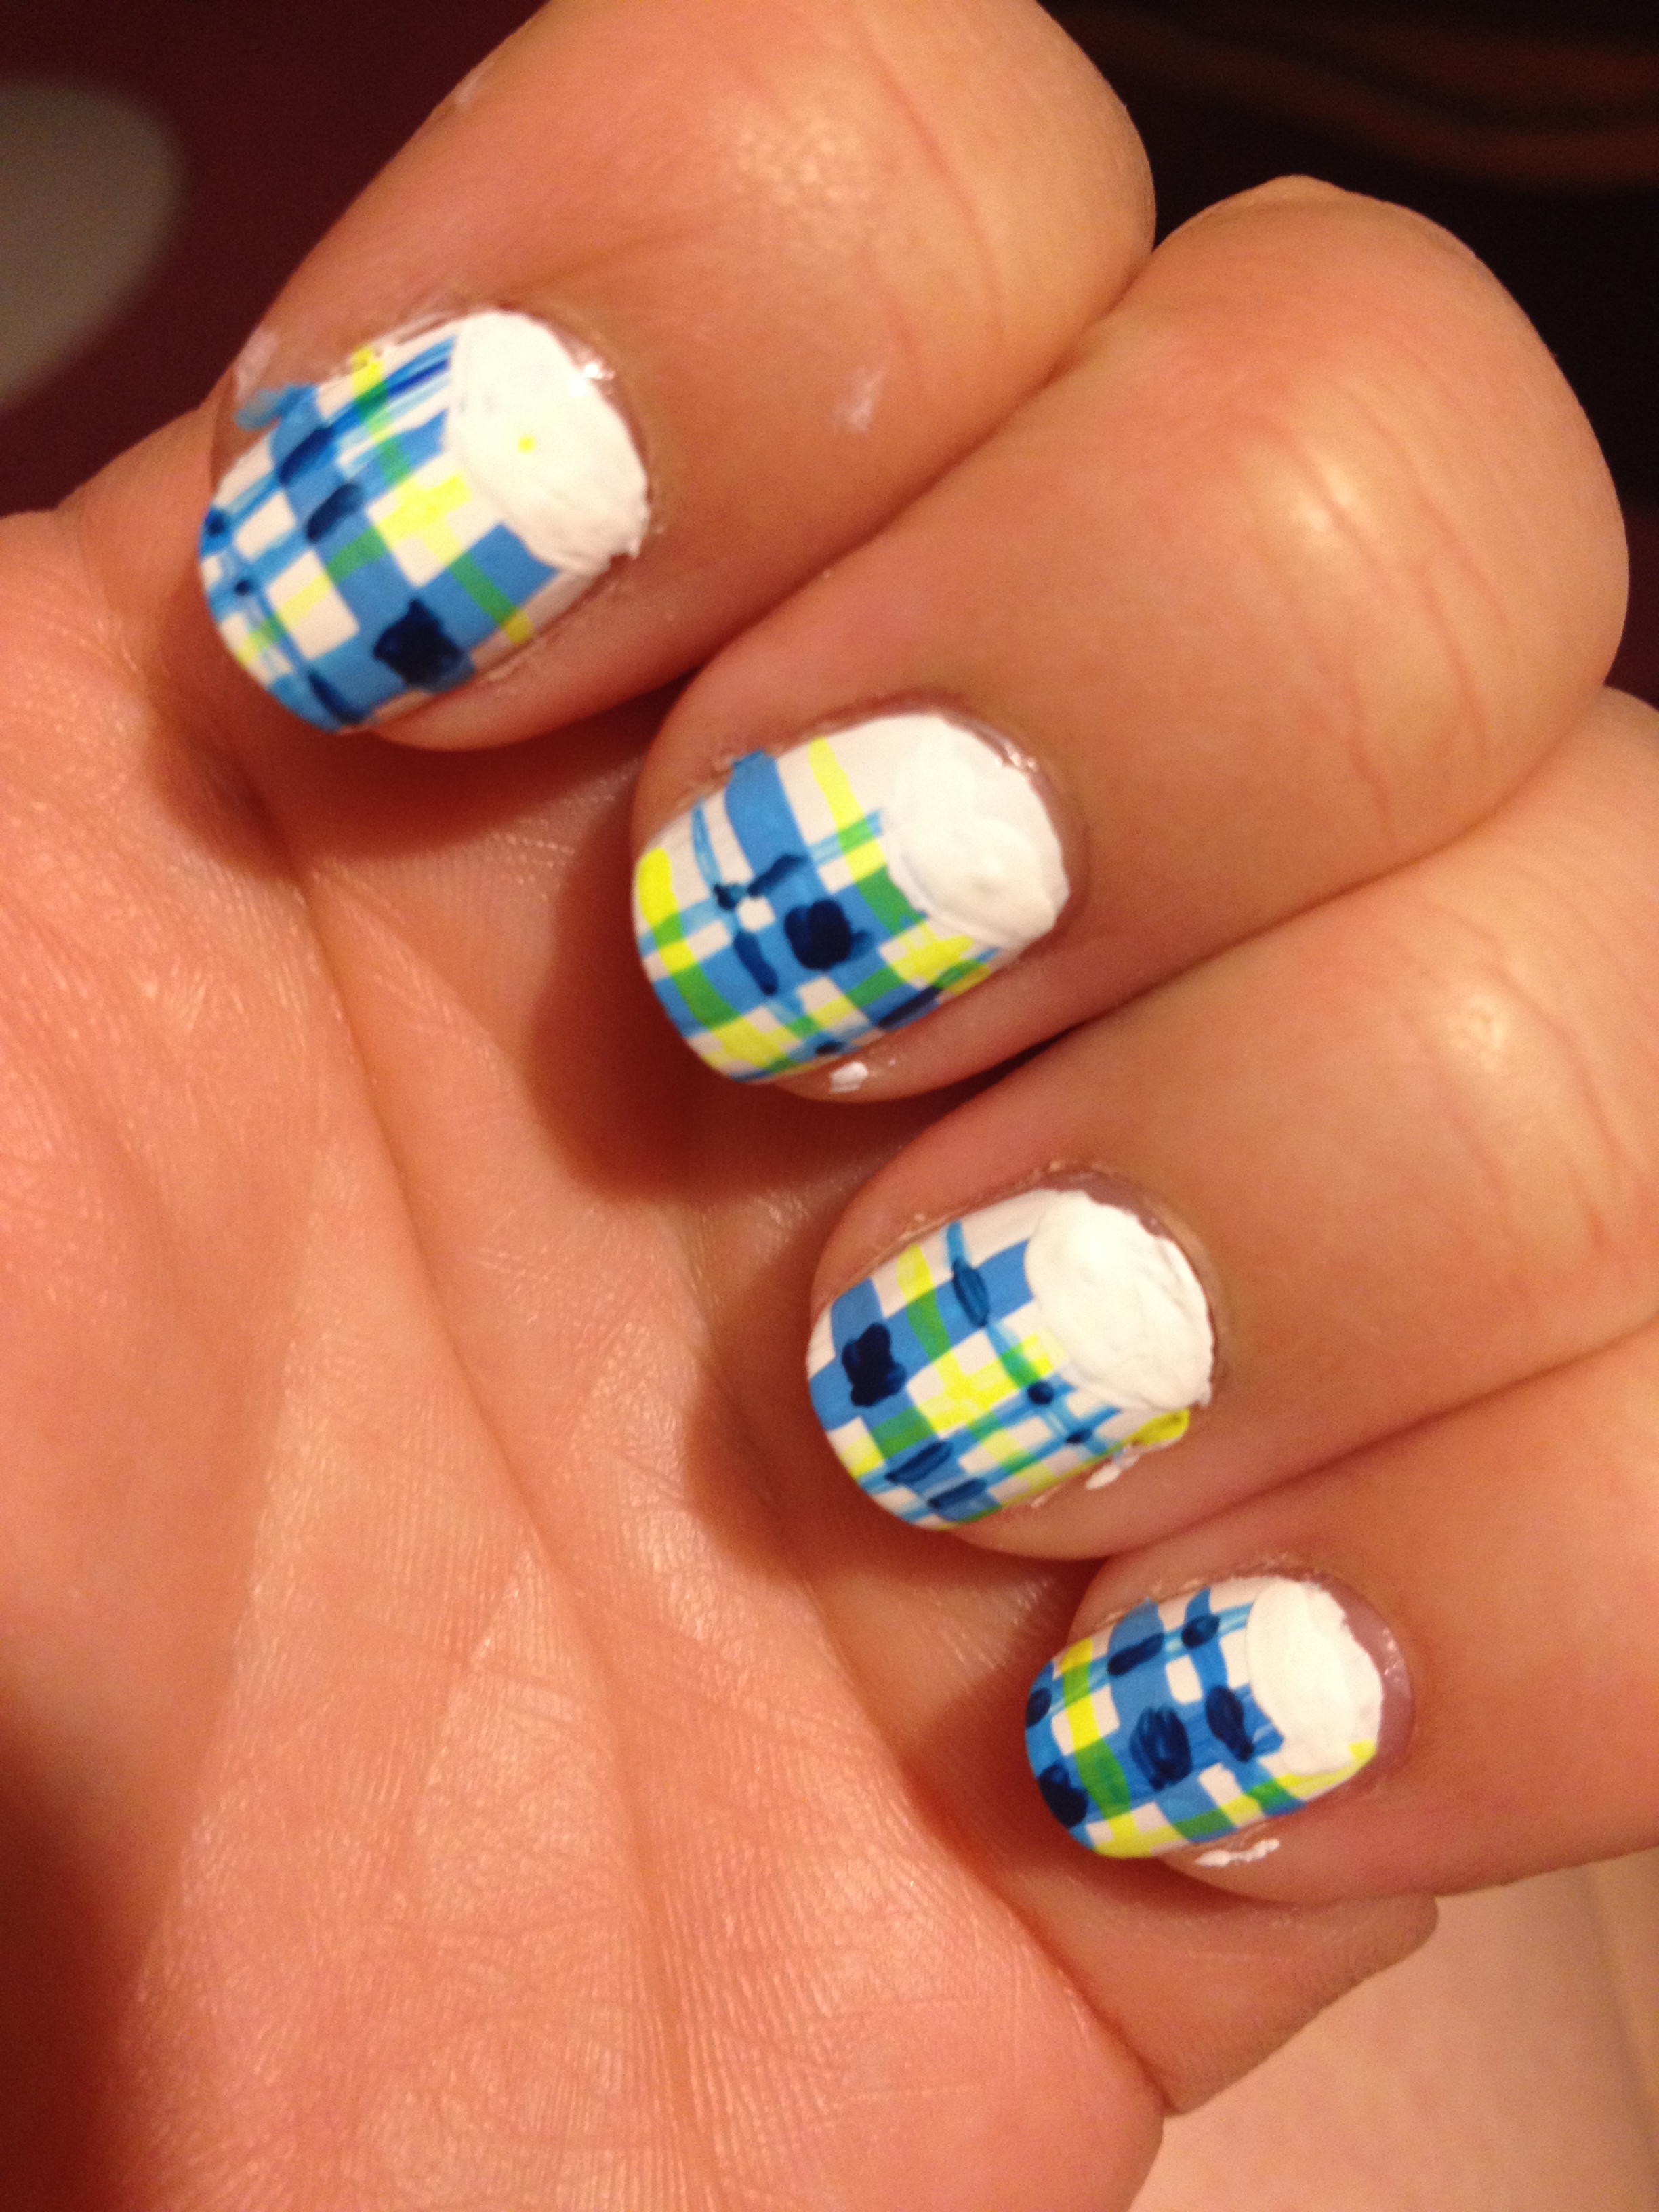
Next I started to add the red paint over my half moon area on my thumb, but I quickly realized the my neon red paint was not going to cover the blue polish near my cuticles. I decided I needed to take white paint and cover up the blue paint where I wanted to paint the watermelons. (I’m not showing you my thumb, because it looked pretty messed up at this point.)
Then I took my red paint and filled in most of the half moon area, leaving a little room for the rind.

then I added a thin neon green stripe next to the red.

Then I added a little black and green together to make a darker green and added a final thin stripe to make the rind.
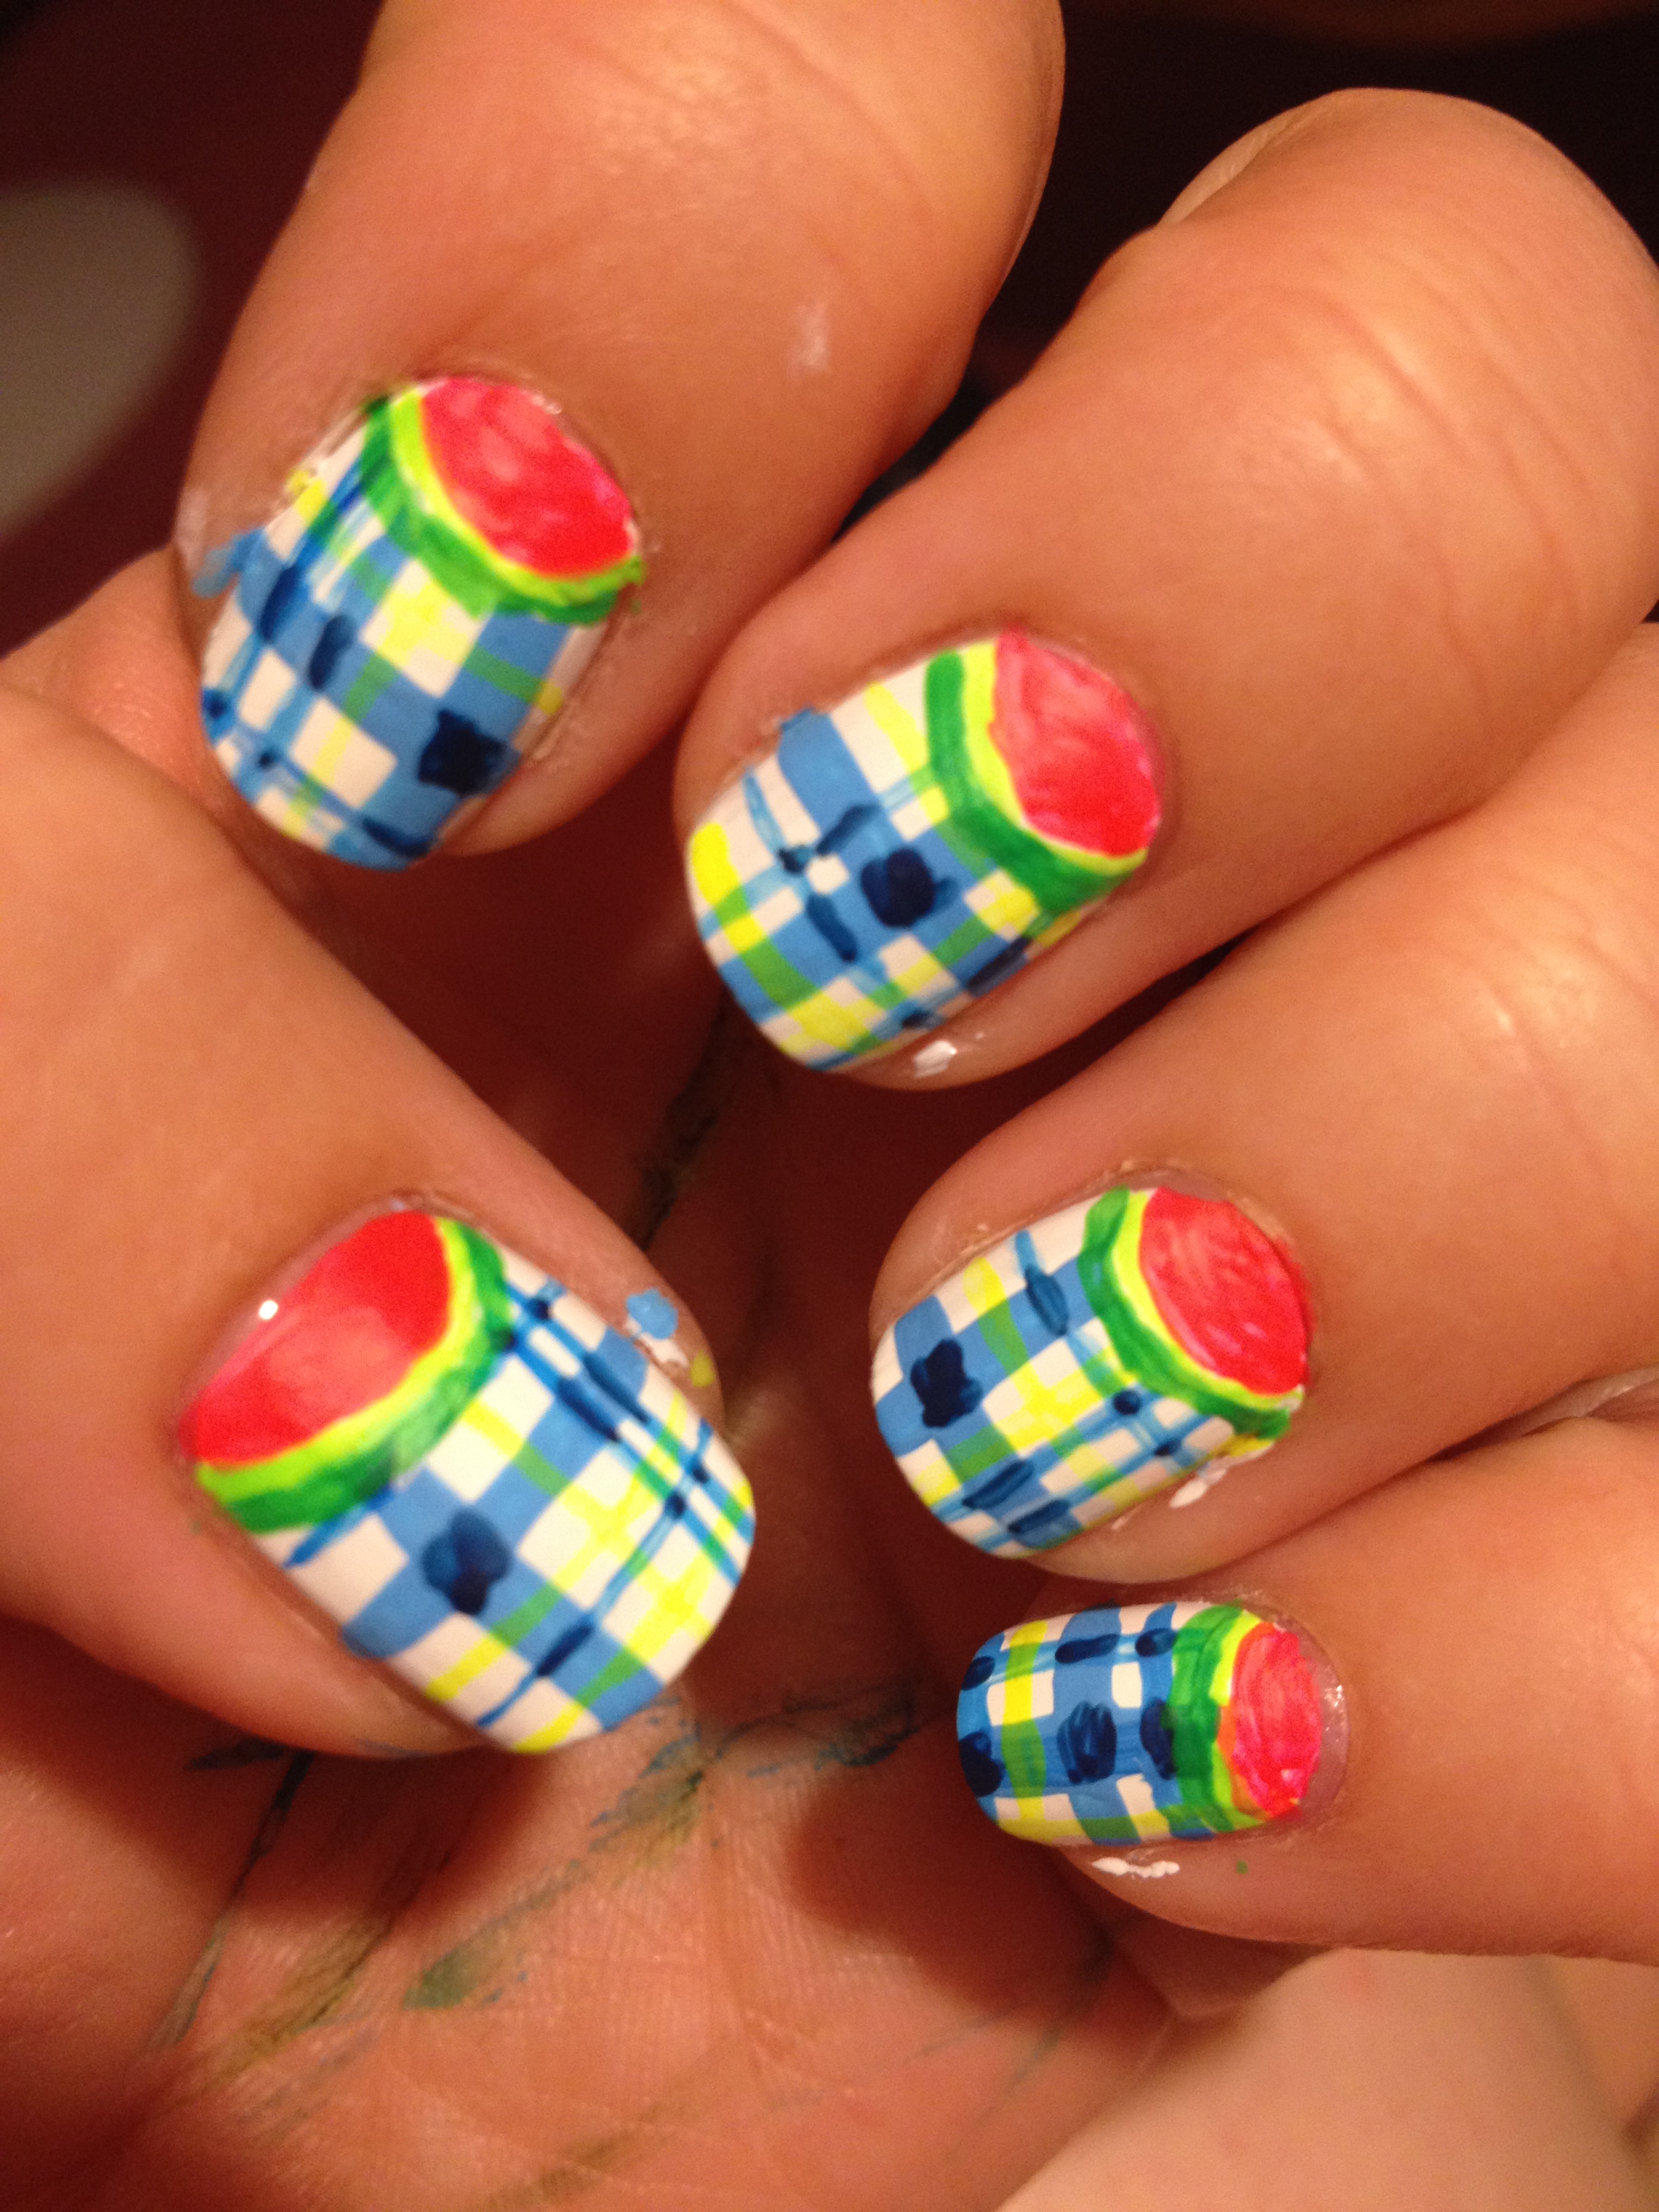
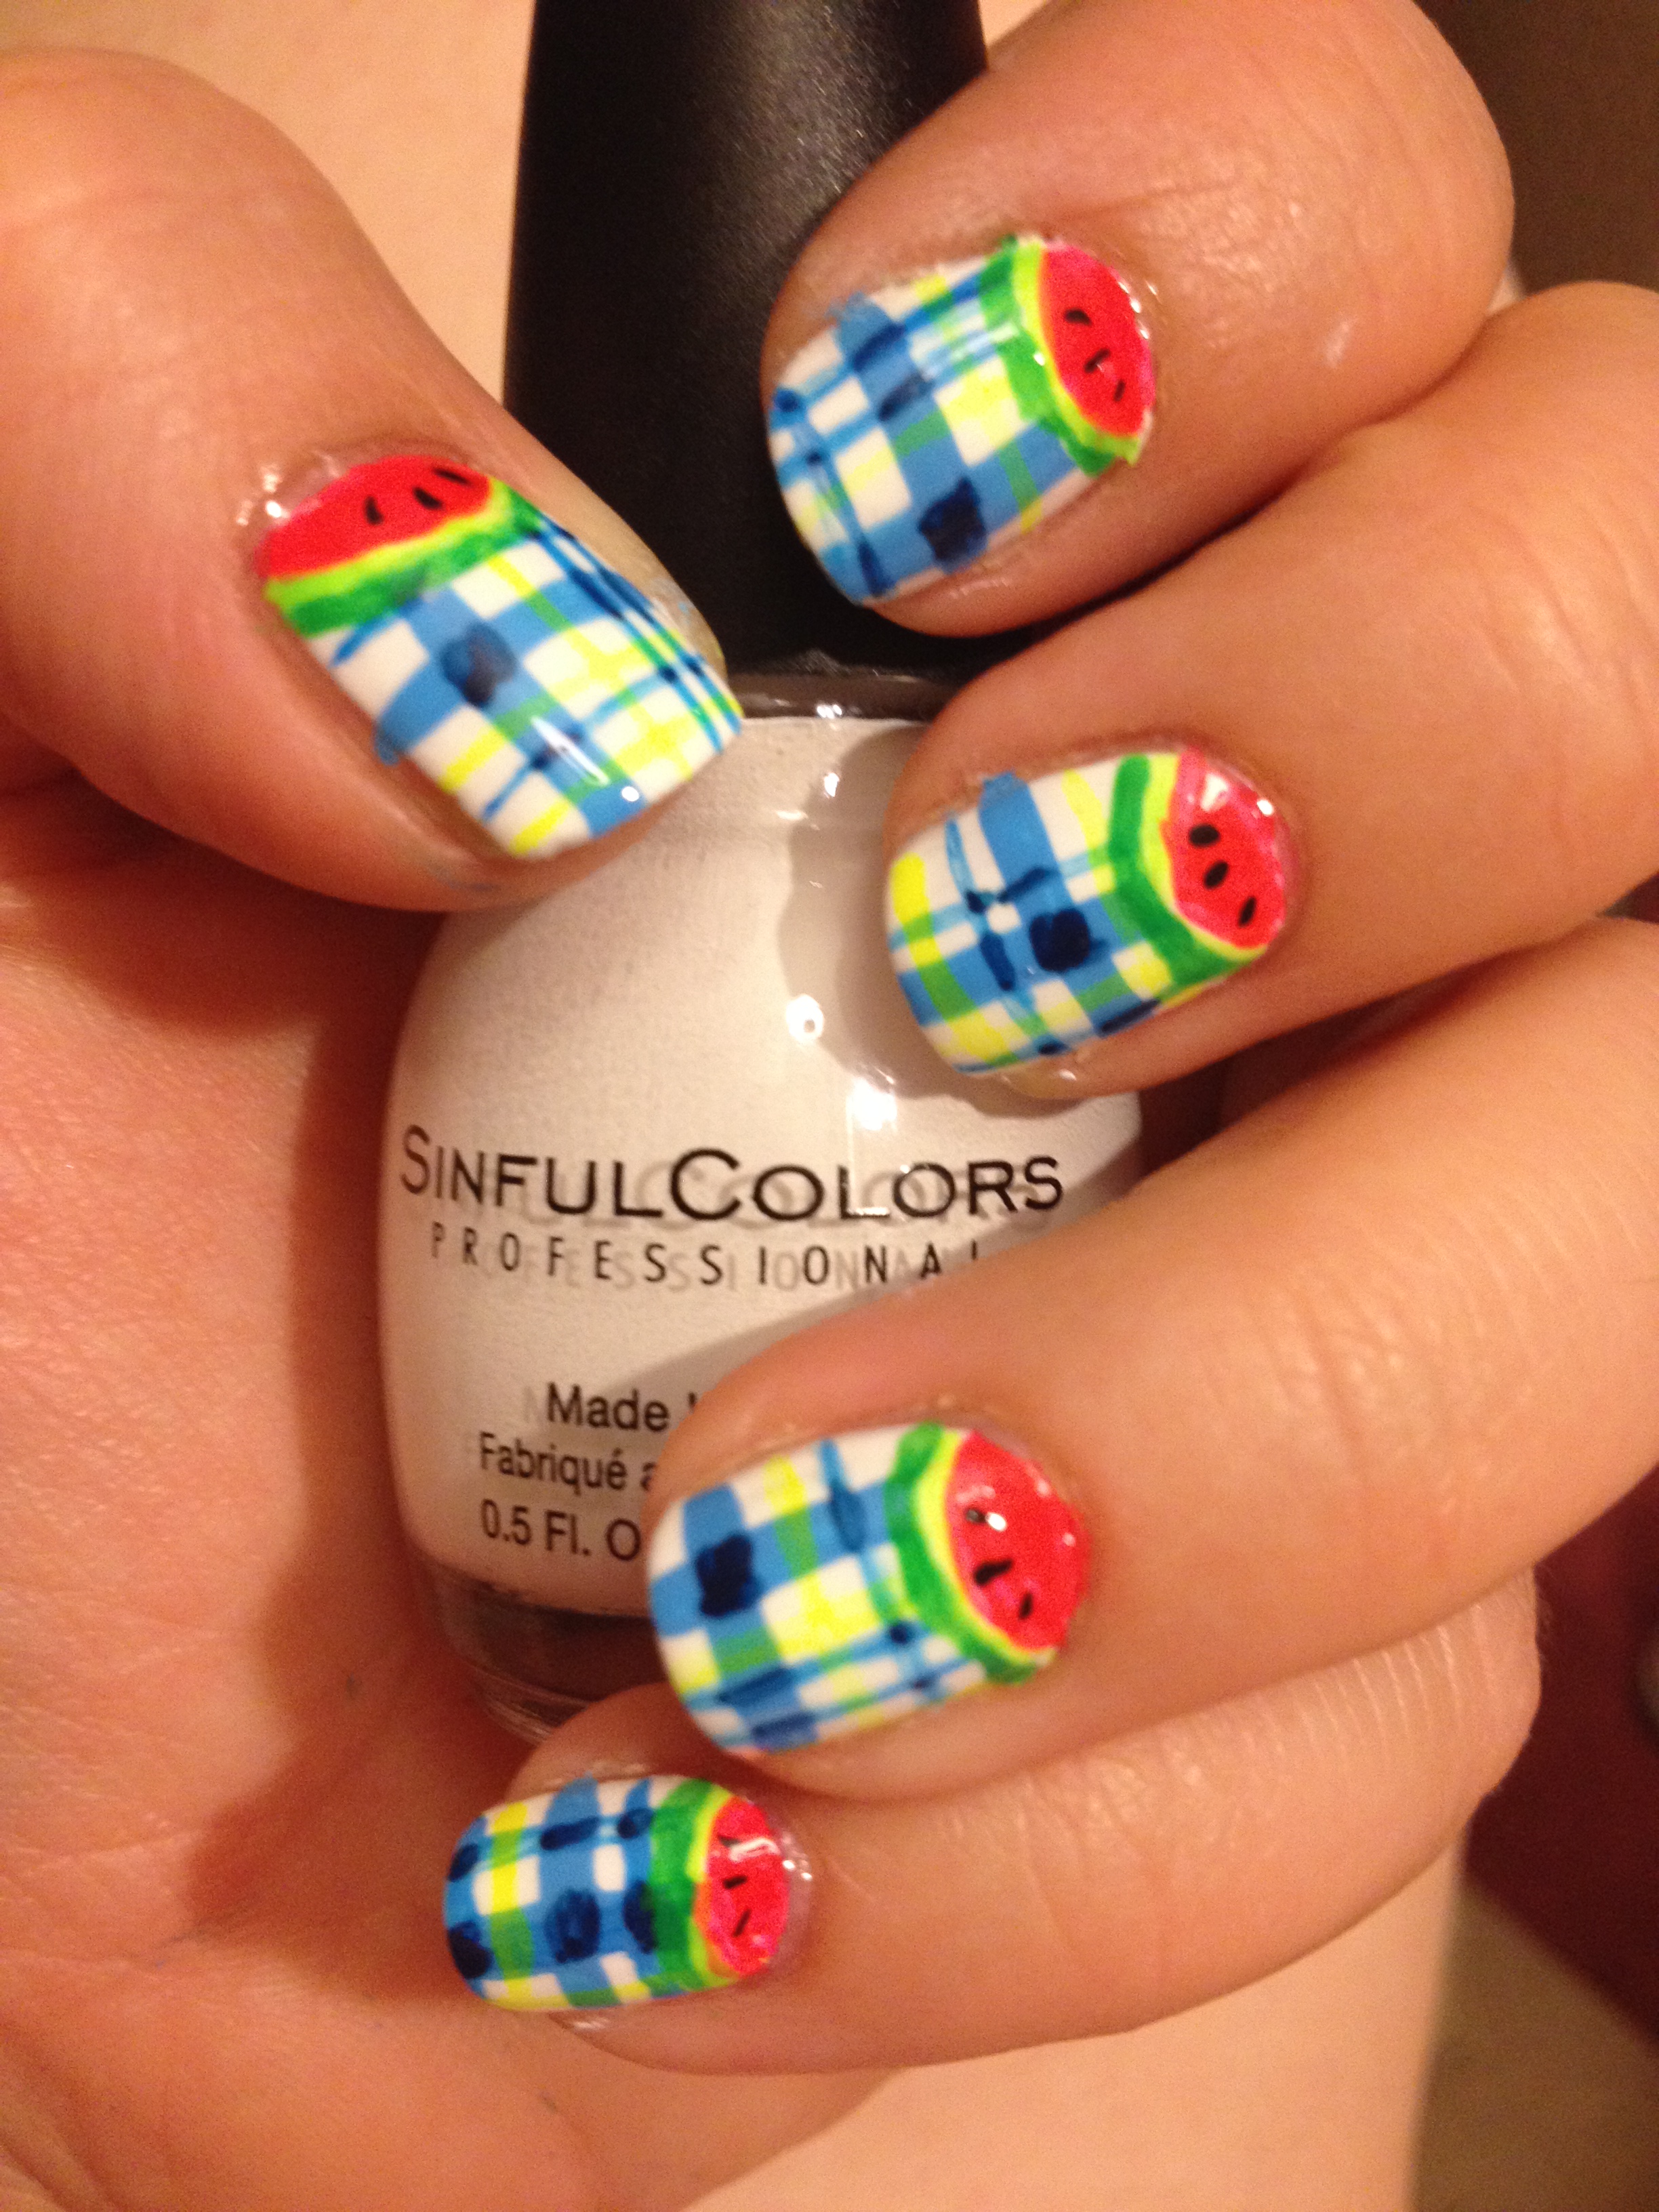
Can you tell I was using my palm to wipe my brush some at this point? Anyway, with my littlest brush, I added in some black seeds and then applied a top coat.
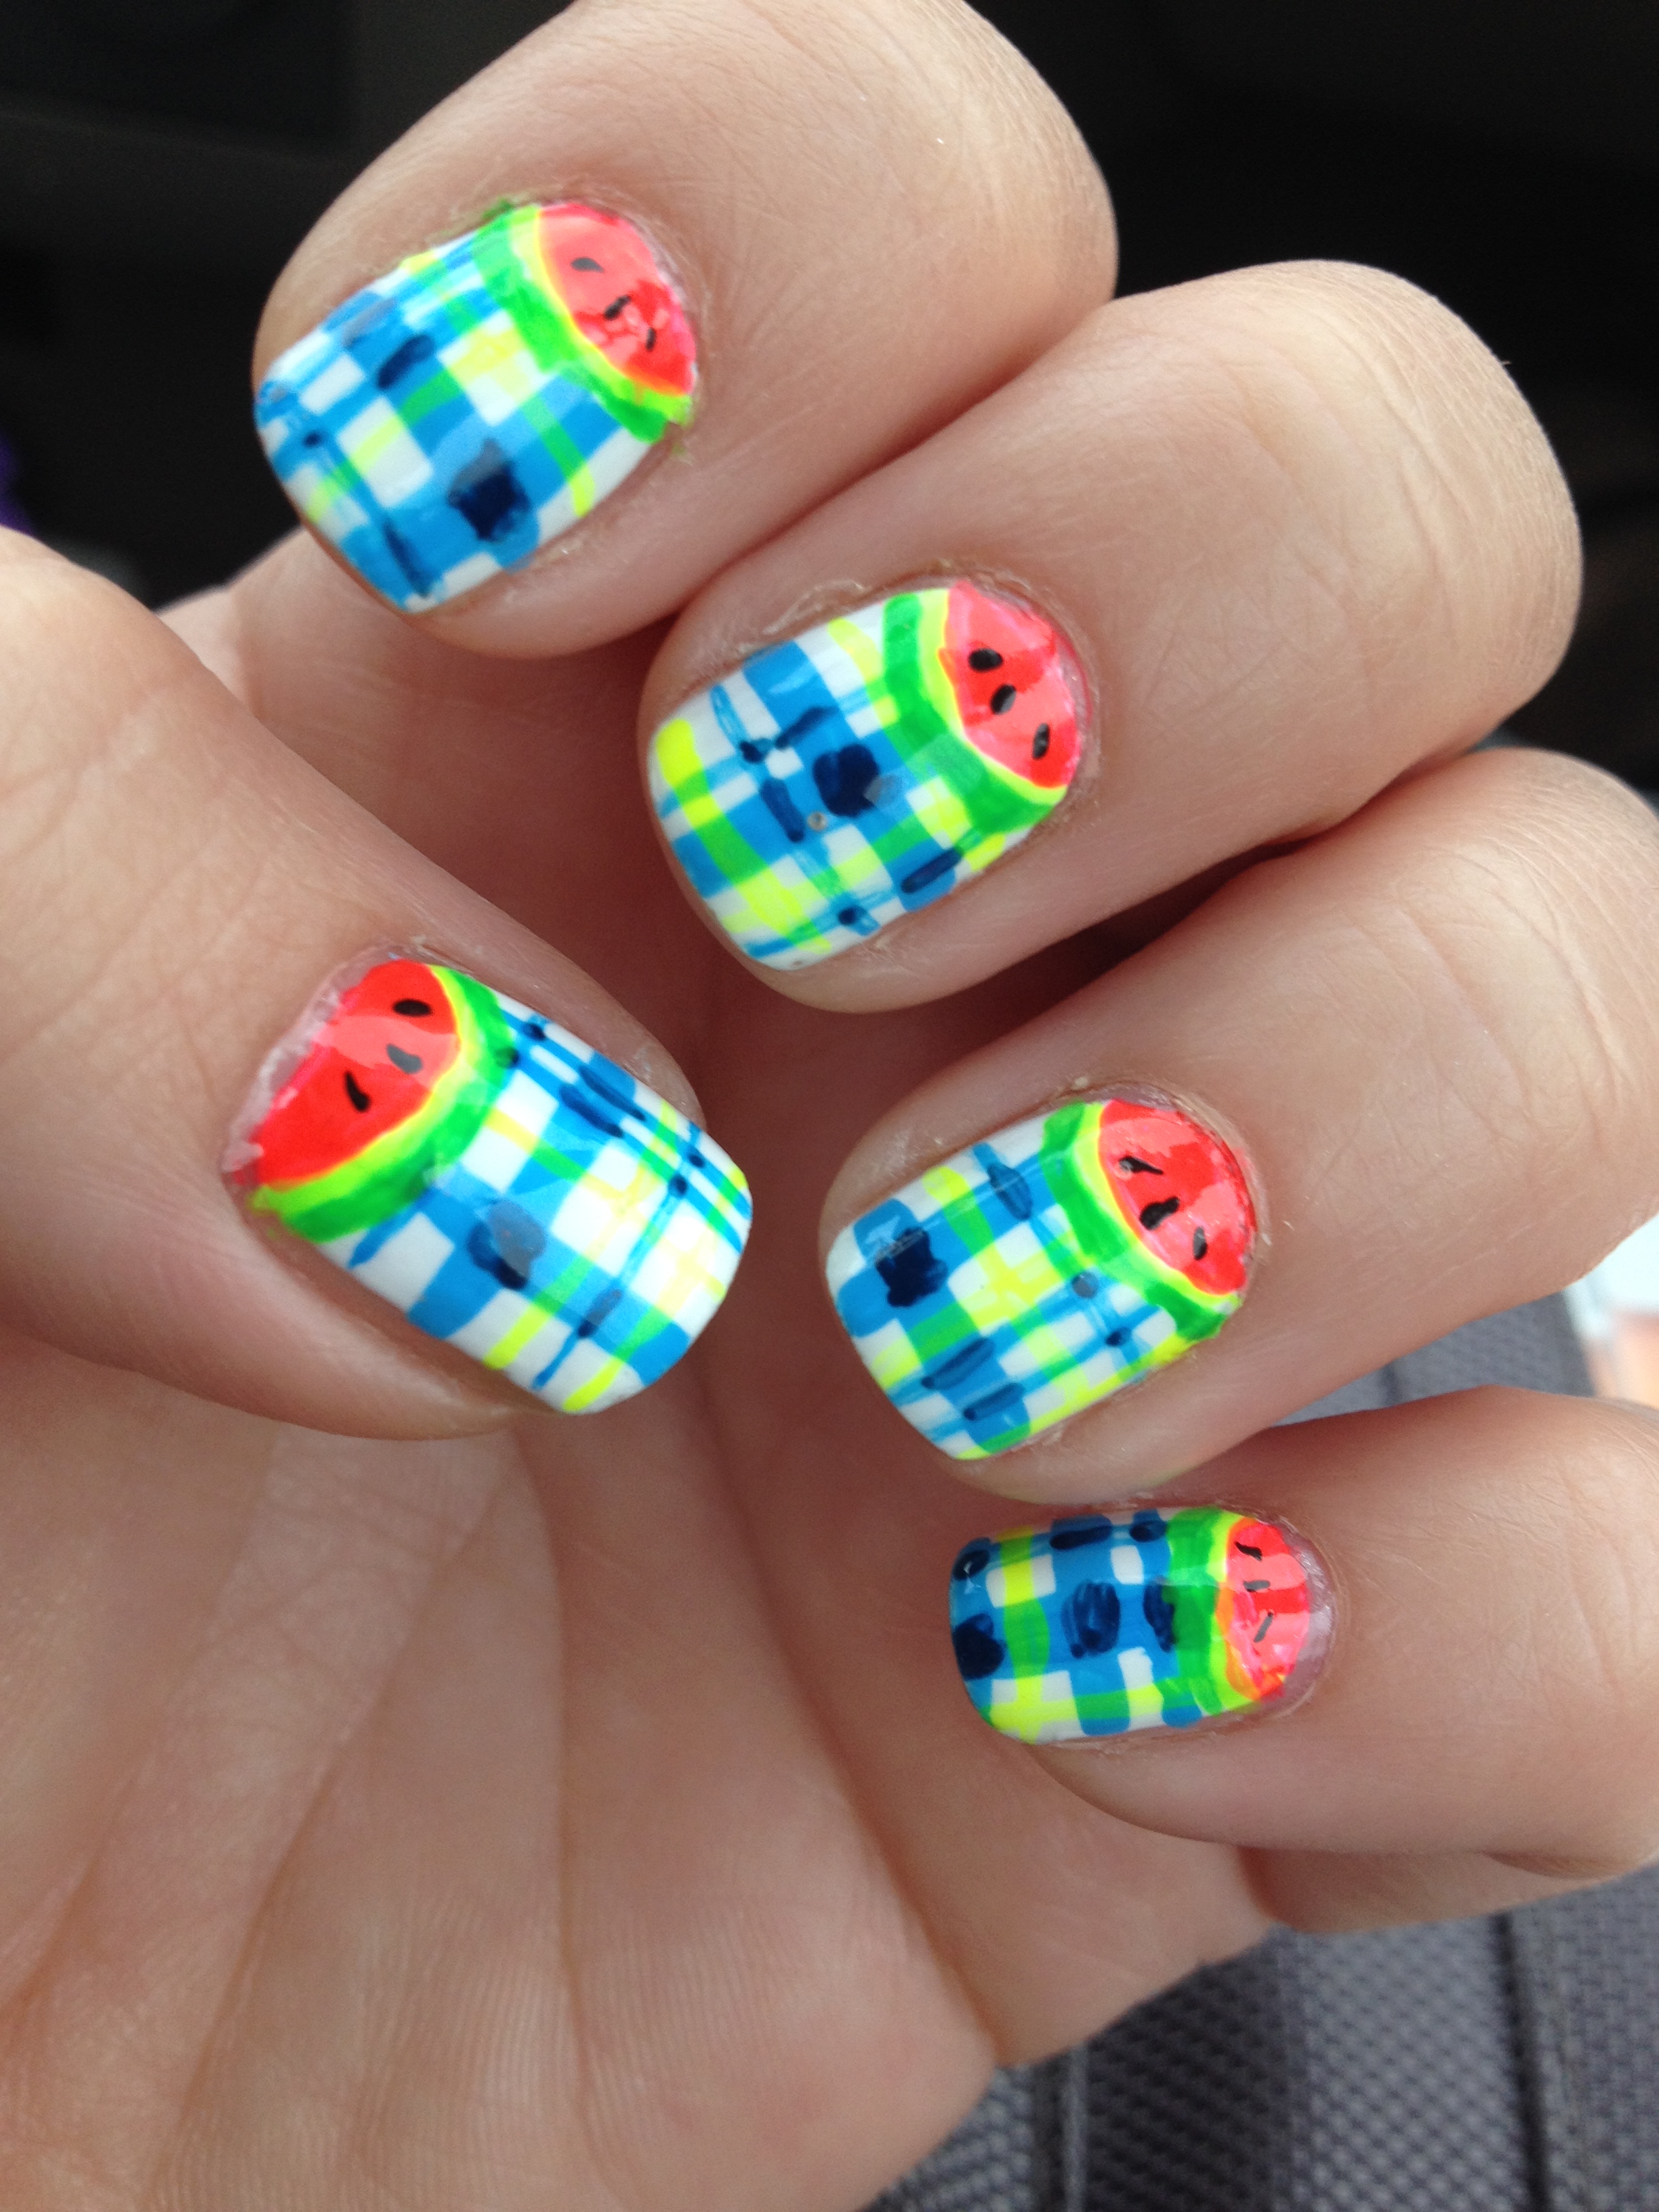
Here’s what they looked like the next day in natural light where you can see the neon-ness a little better:
Please let me know if you try these! I’d love to see your recreations on facebook or instagram! Oh, and check out Jaunty Juli on YouTube or instagram, too!

These are so adorable – great job!
LikeLike
Thanks so much, Sandra!
LikeLike
Pingback: One Lovely Blog | Finger Candy