In August I was a bit of a slacker in the nail art department. I ended up wearing a lot of neon polish,. I was feeling that summer-is-coming-to-and-end crunch, and I felt like I needed to squeeze in as much obnoxiously bright polish as possible.
 I found a little bottle of China Glaze – Celtic Sun for $2.49 at Sally Beauty Supply, so I finally added this one to my collection. Although I have a few neon yellows, this is truly the brightest of the bunch. This polish will definitely get you noticed, if that’s your goal.
 I enjoyed adding some shimmery toppers to my neon polish, too. Here is an unnamed Sally Girl light neon pink that is really similar to China Glaze – Shocking Pink topped with Valley Girl Lacquer – Profundity. I opted for a matte top coat, too.
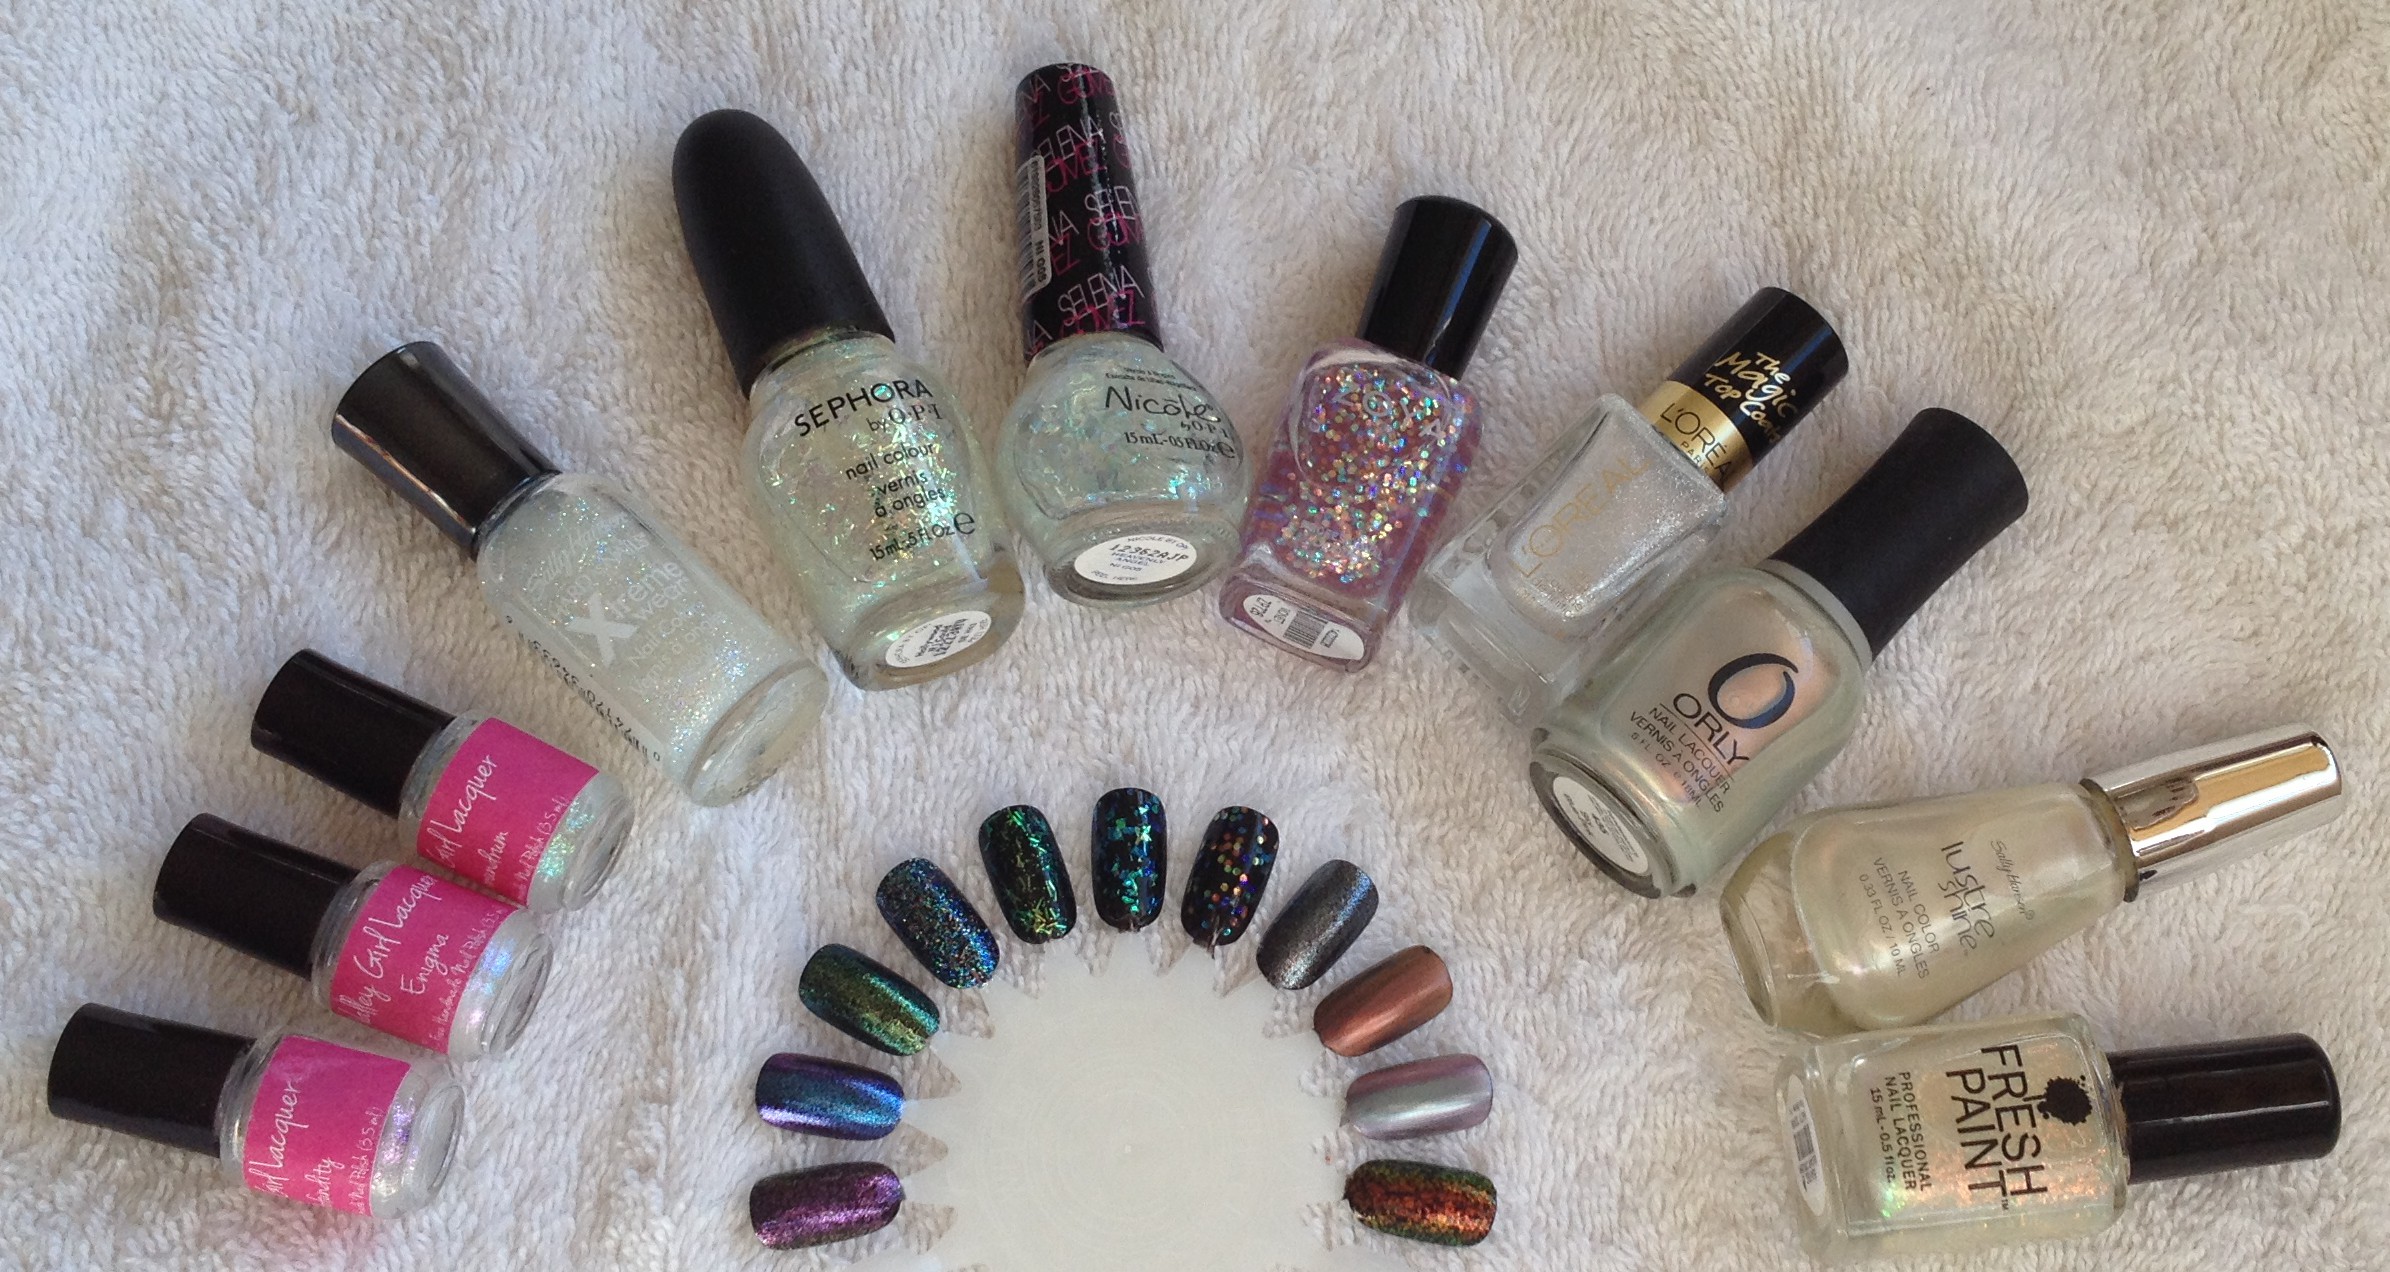
Valley Girl Lacquer is an indie polish shop on Etsy. She’s got some really cute polishes. Check out her shop! (By the way, I don’t have any relationship with Valley Girl Lacquer; I was just given some of her polishes as a Christmas gift by my sis.)
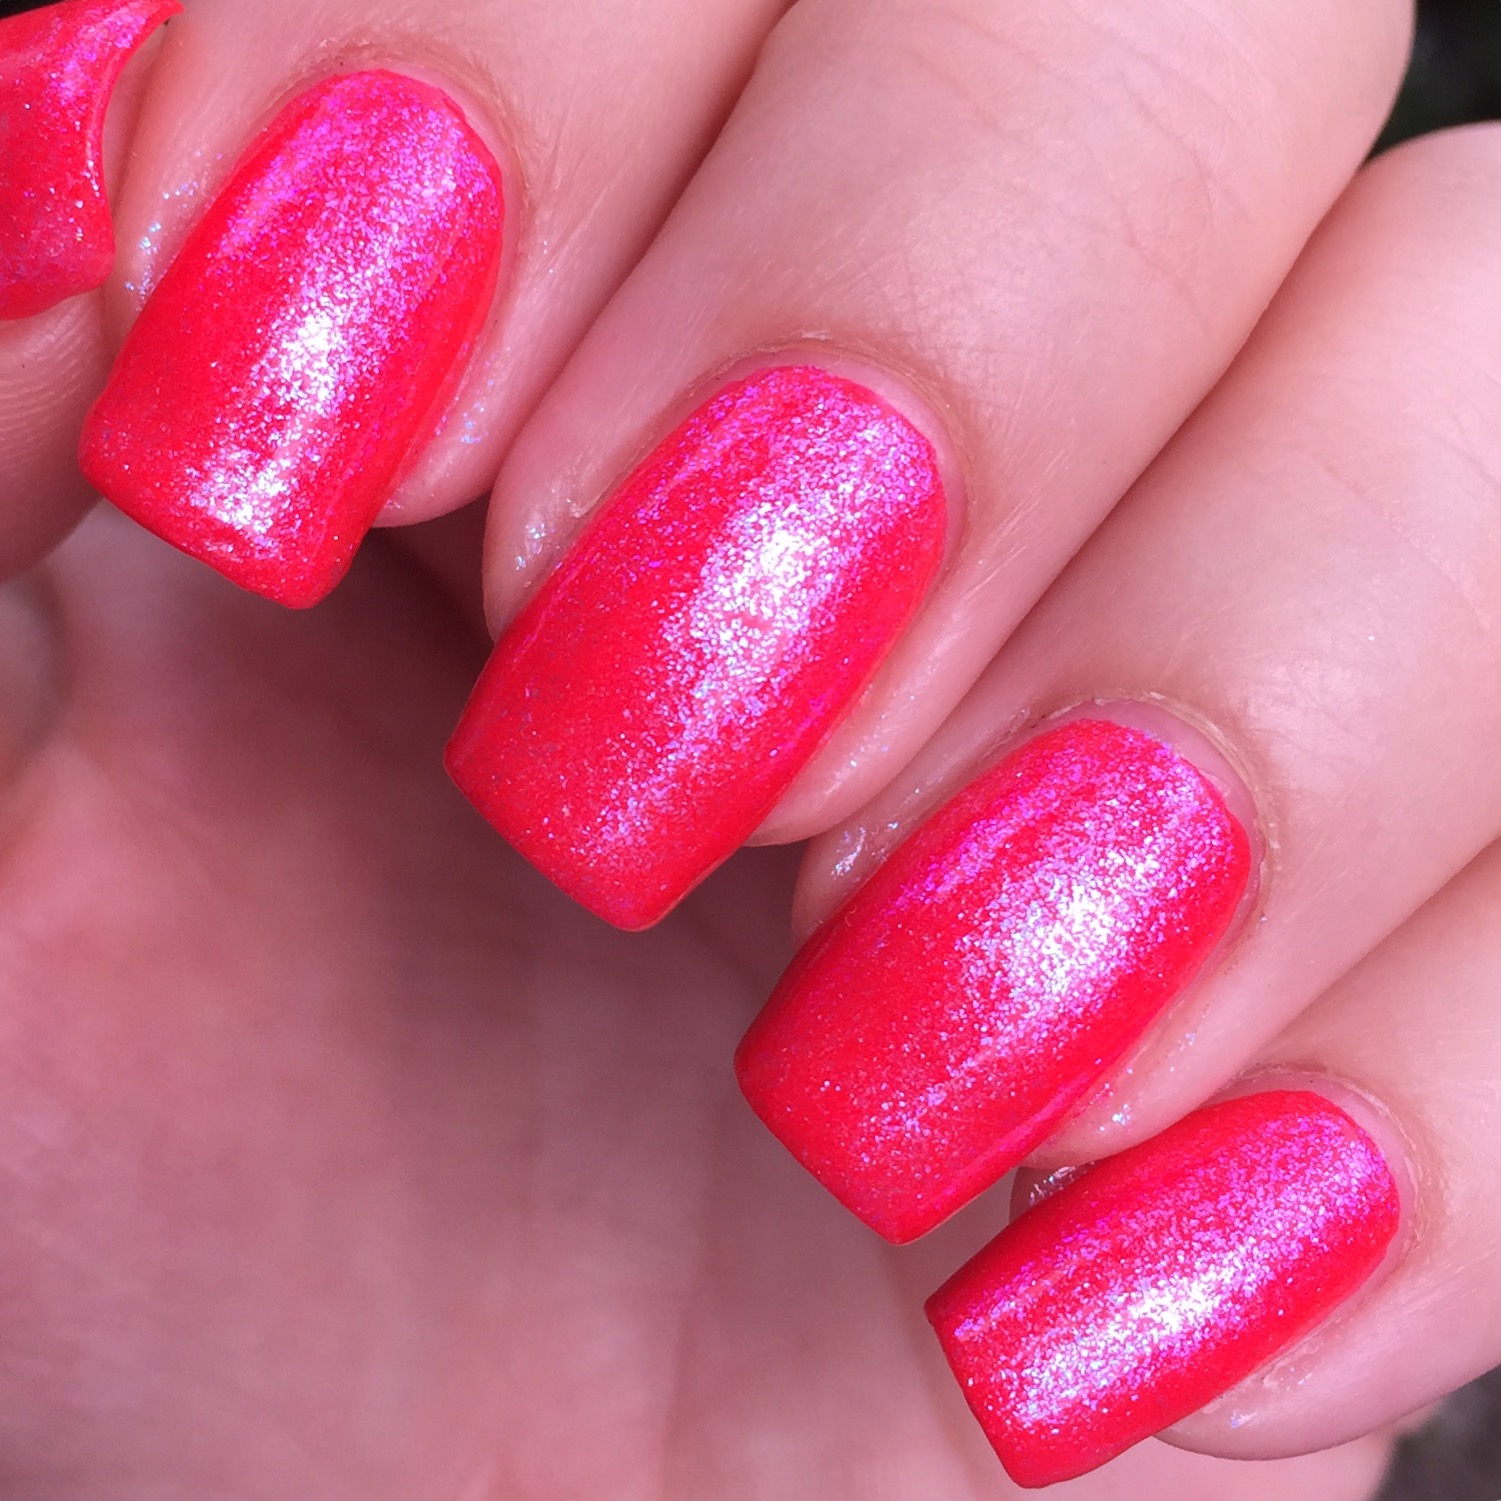
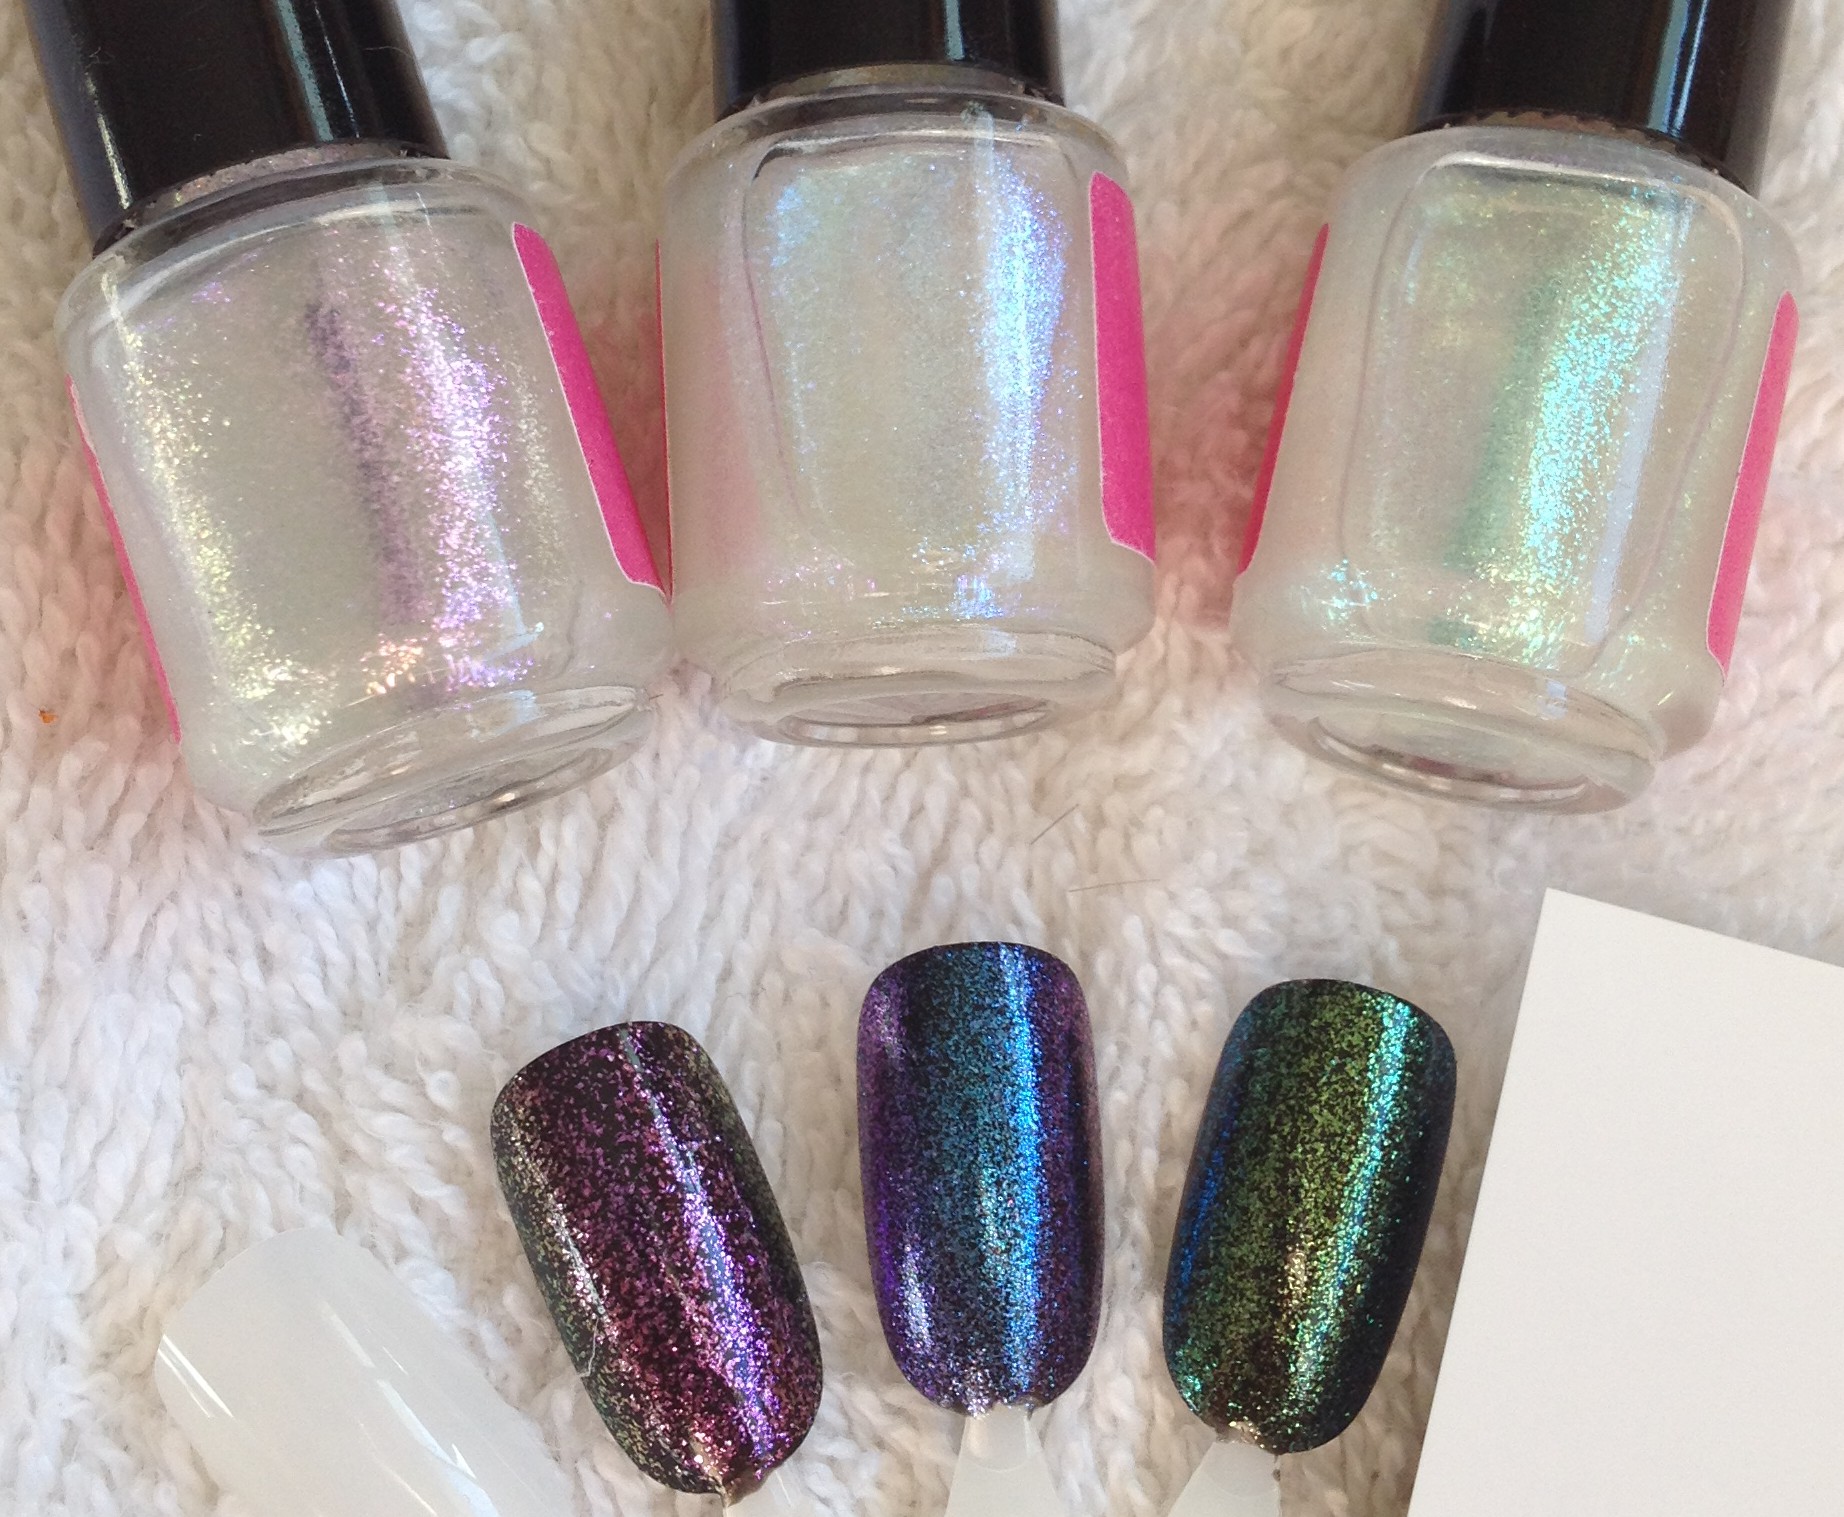
Here is Orly – Fireball topped with Valley Girl Lacquer – Enigma. Fireball is a beautiful neon red with a blue shimmer in it. Unfortunately, the blue shimmer didn’t really show up on the nail as well as it did in the bottle. Fortunately, I had Enigma on hand, so I added my own shimmer!
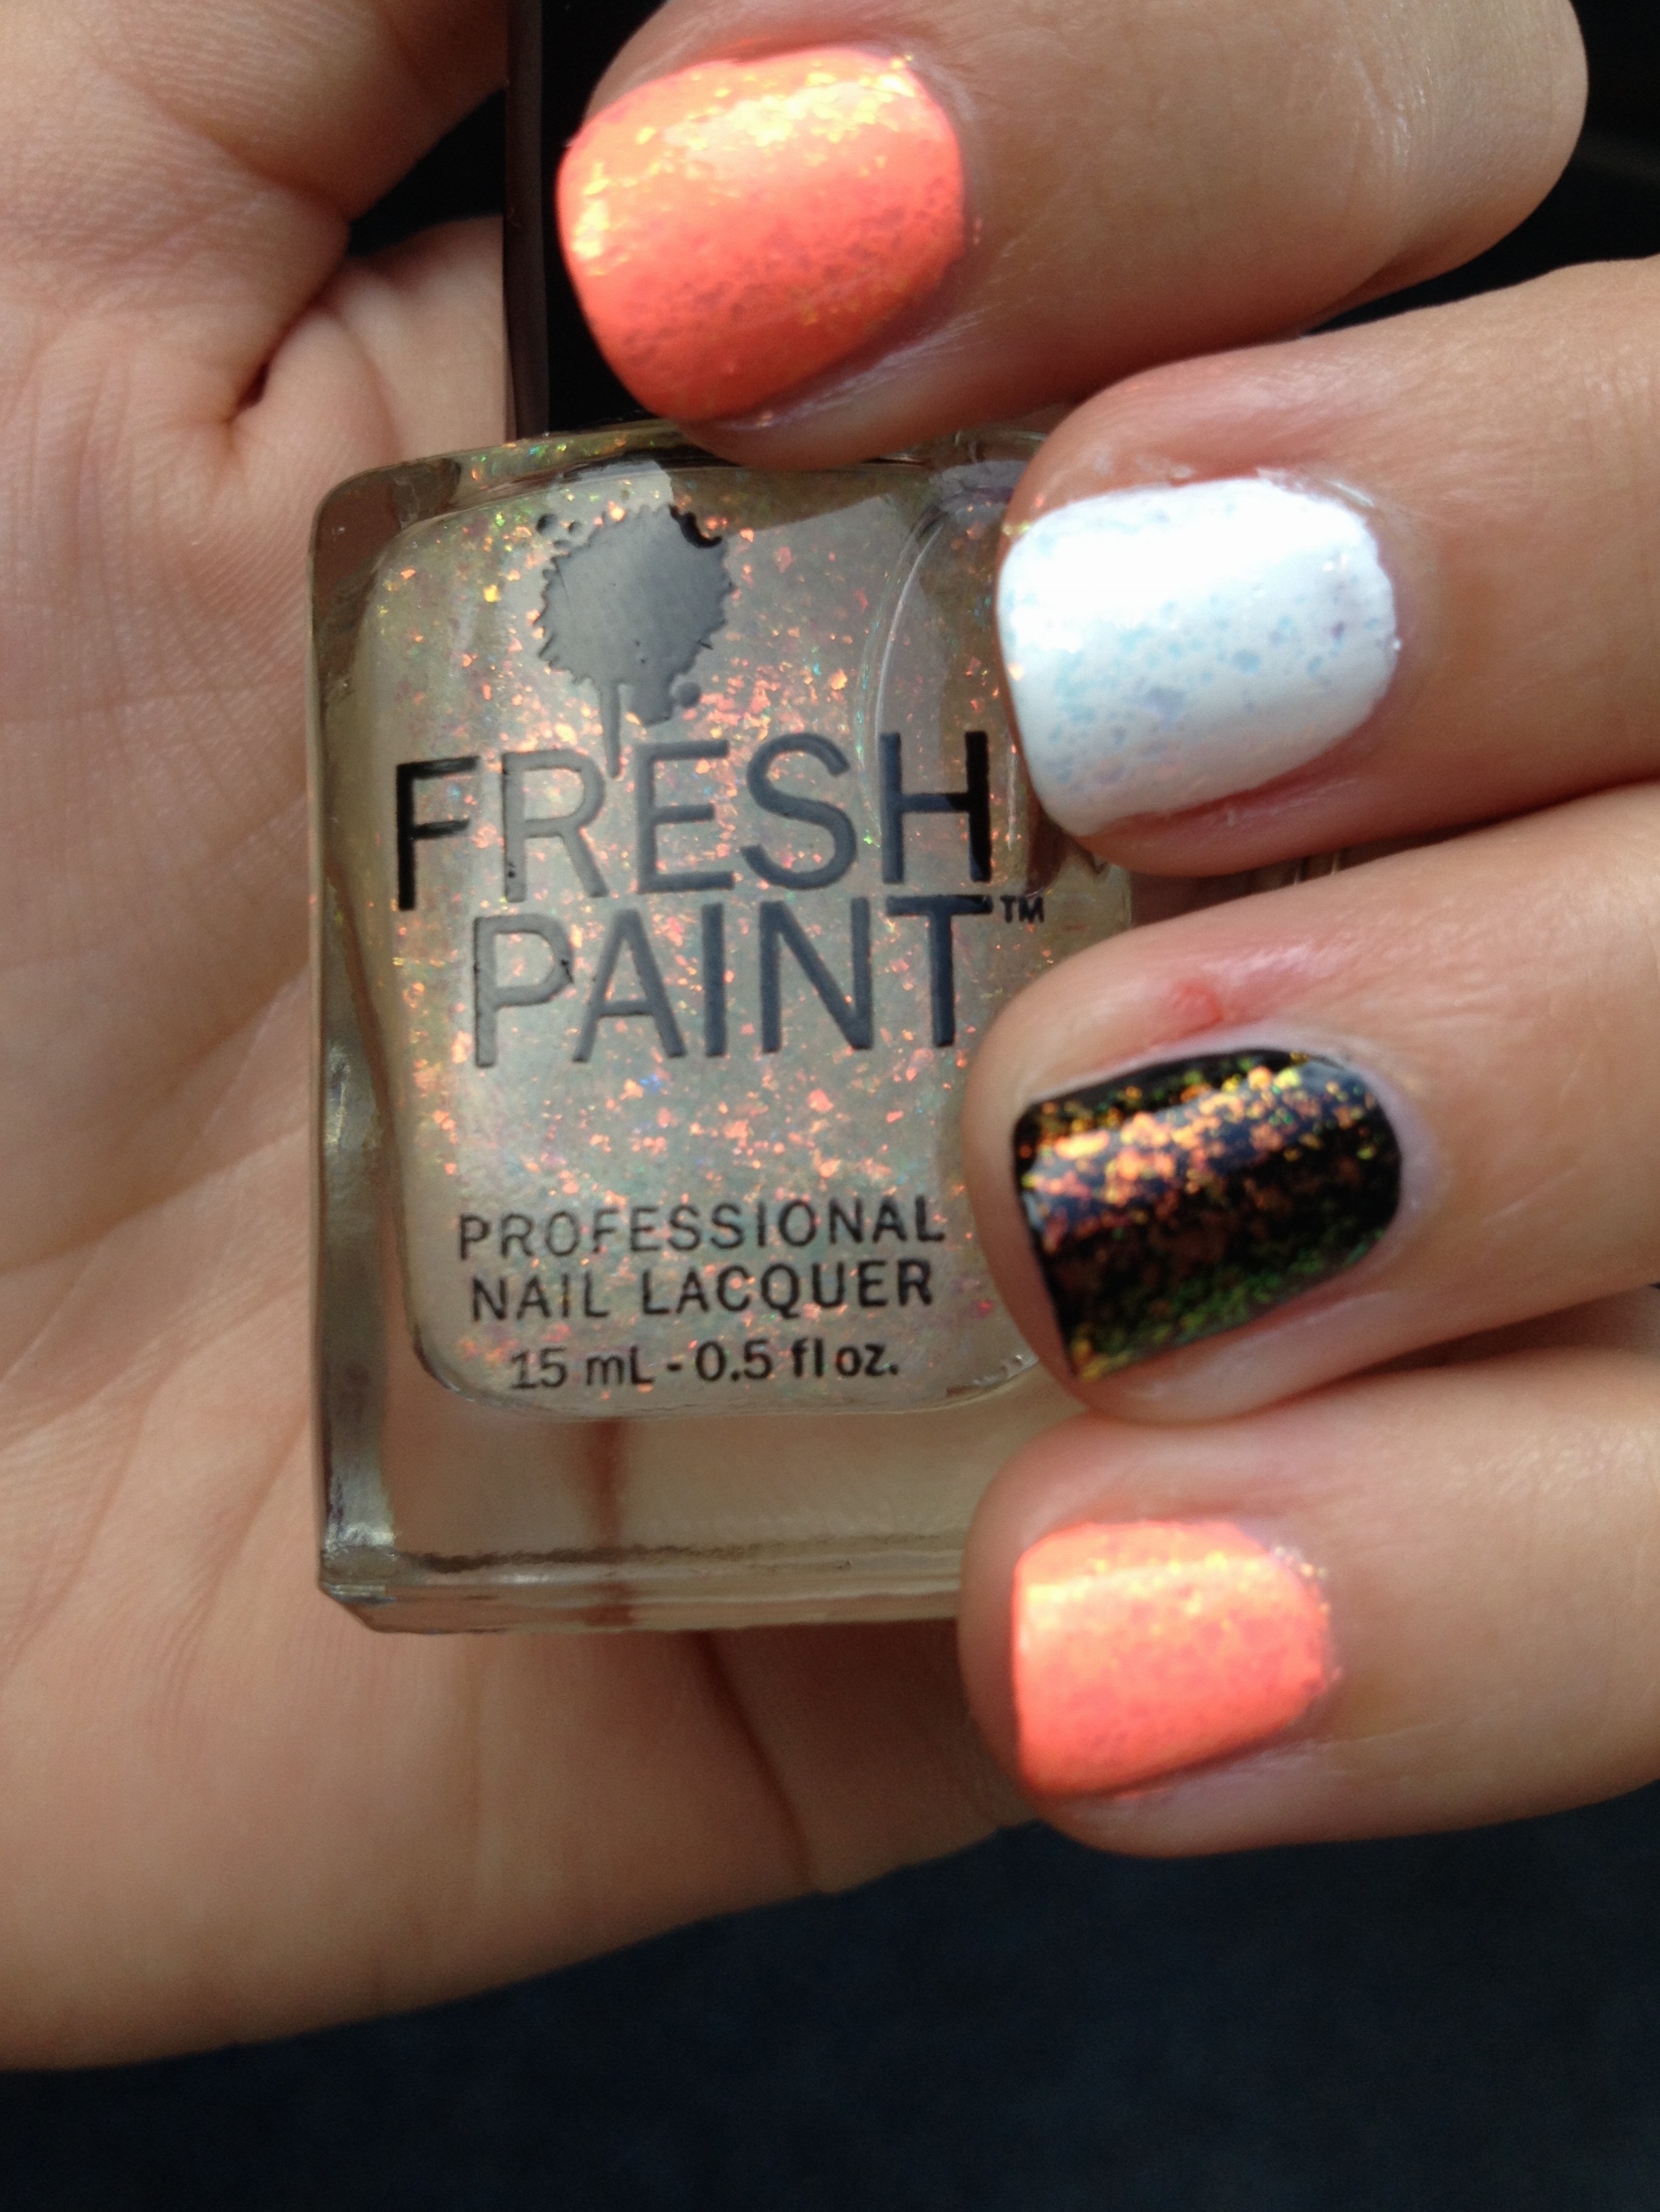
 I also had some fun with glitter in August. Here’s a gradient I did using LA Girl Color Pop – Rebel over my natural nail. I’ve only ever seen the LA Girl Color Pop polishes at Rite Aid, and they are pretty inexpensive. They are often on sale for two for $4.
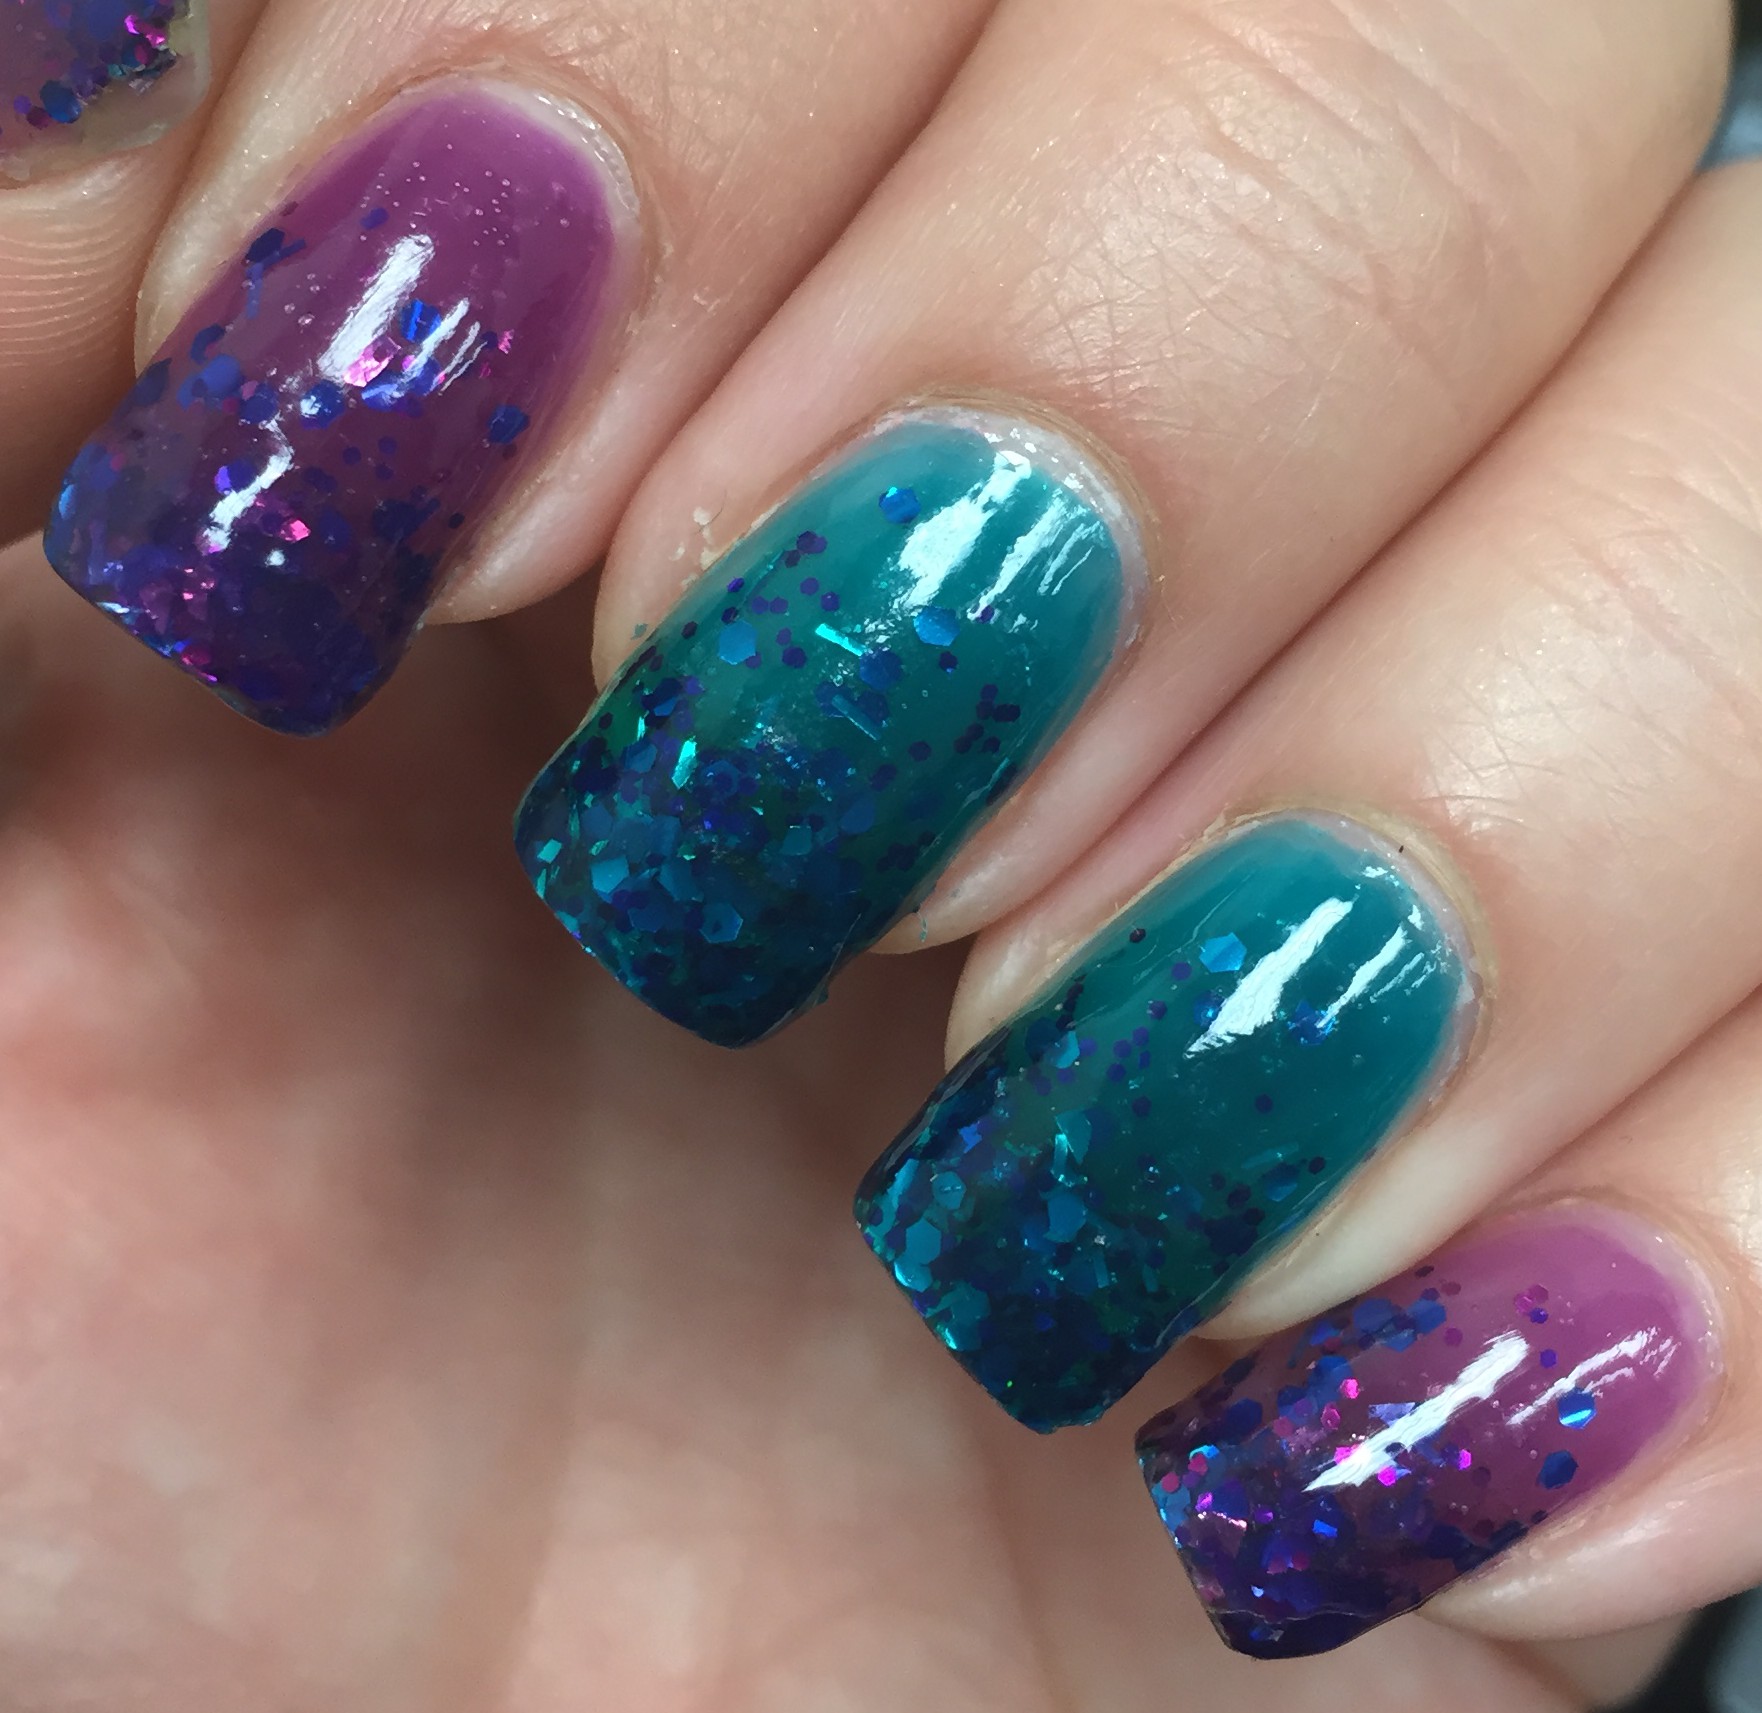 While I was wearing this glitter gradient, I was given two of the Essie Silk Watercolor polishes. Since I was pretty much dreading removing this glitter, I opted to make it last a little longer by topping it with the Essie polishes. The purple color is No Shrinking Violet and the teal is Pen and Inky. So fun and shiny and squishy!
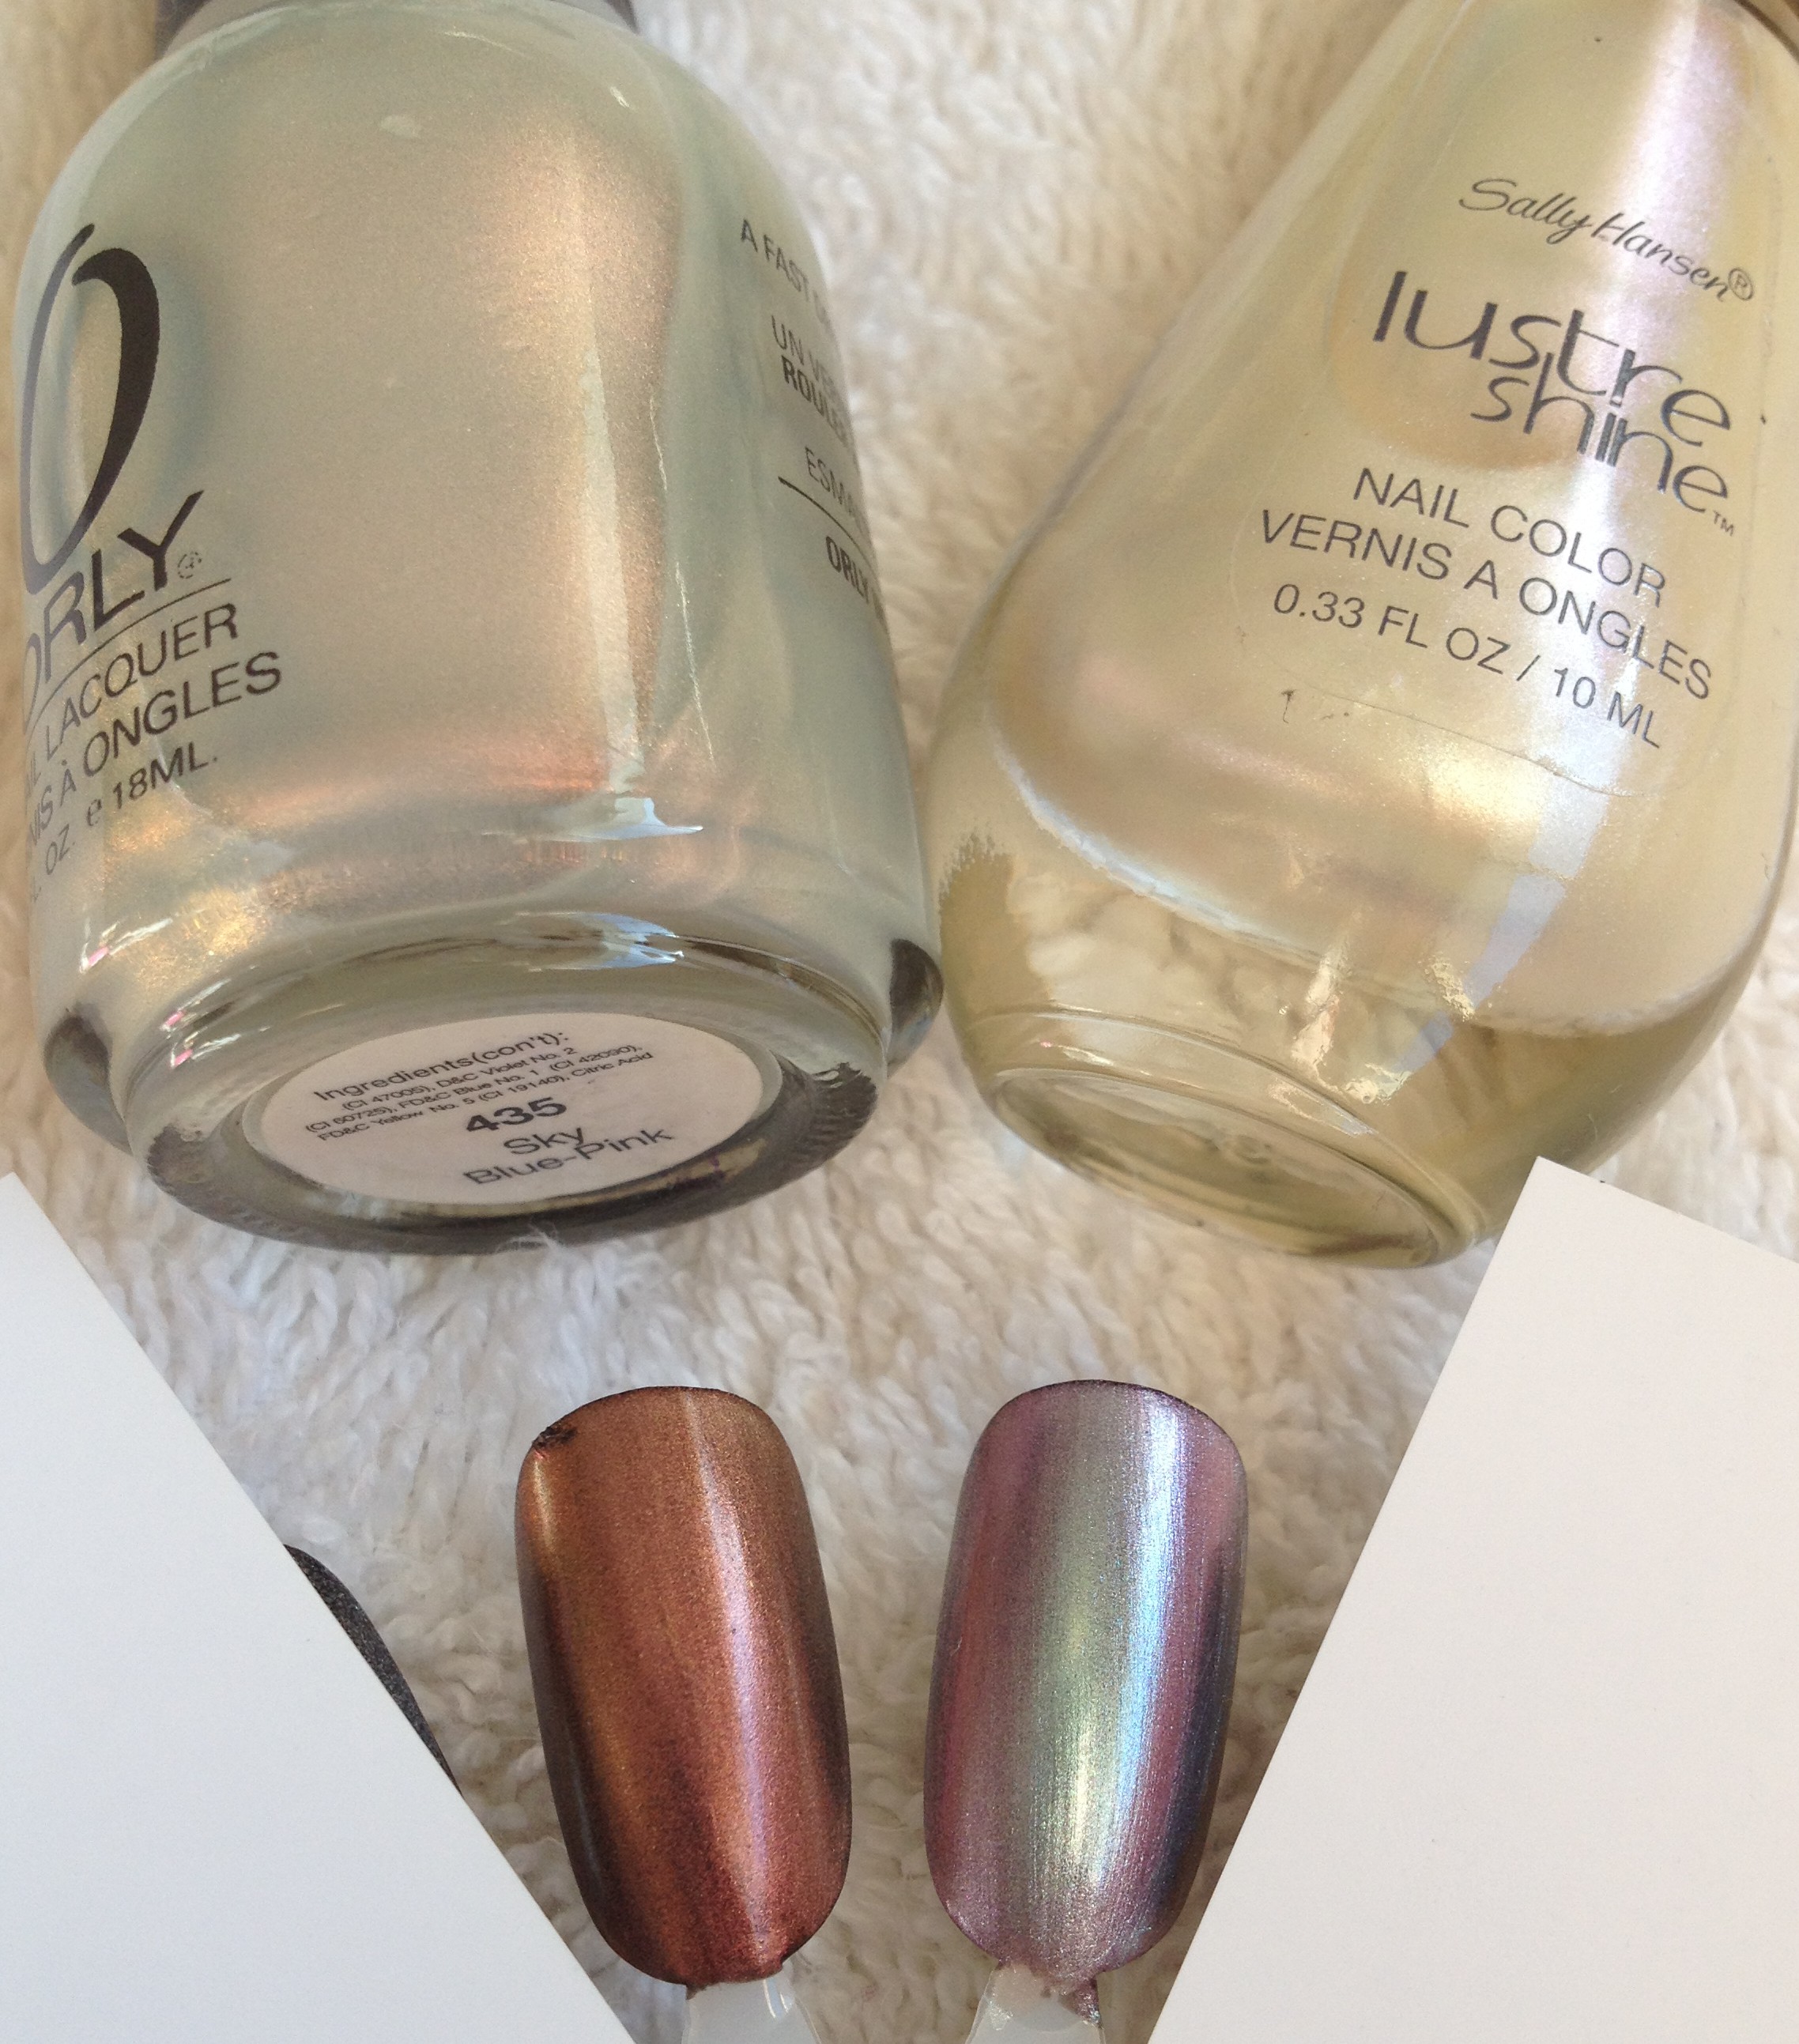
 I did actually do one bit of legitimate nail art in August. After all of the bright colors, I felt I needed something a little more subdued, and it had been ages since I had done some simple, classic leopard print nails. Leopard print is really so easy and takes very little skill. After applying my base color, I just used the brush of the metalic-y bronze-y brown polish to make my spots. Then I used a little dotting tool to quasi outline the spots in black. (A toothpick would work just fine for this step.) Then I filled in any extra spaces with black dots or “C” shapes. It looks way more complicated than it actually is.
Just a little aside: This pattern is sometimes referred to as cheetah print, but if you look at actual cheetahs, you’ll notice that they just have regular black spots. Leopards are the ones who have this circular type pattern.
So, that’s what happened on my nails in August! My next post is going to be non-nail stuff. Through influenster.com, I was sent some products to review, so I’ll be covering those items next.
Oh, and just in case you were wondering… I’m not tackling the 31 Day Challenge this September. I just knew that with some of the other things in life that I have coming up this month, I wouldn’t be able to do it justice. I love checking out what other nail art lovers are doing for #31dc2015, and I’m a little sad not to be joining in. Maybe next year.
Thanks for reading!