My Disney Nails

I’m a Disney fan.  I don’t consider myself to be an over-the-top crazy Disney lover, but I do have an affinity for the Mouse and I enjoy a trip to one of his parks every 5 years or so.

Earlier this year, my hubby and I enjoyed a week of magic down in Walt Disney World.  Leading up to, and during that trip, I made sure that I was always sporting nails that would be Mouse approved.  I thought I’d share those looks with you!

*I do want to put out a little disclaimer that I didn’t come up with these designs 100% on my own, but a number of months have passed, so I’m not exactly sure where I got some of these ideas. There are are some really creative nail artists out there, and I don’t want to get into a beef with anyone for stealing a design.  If one of these designs was originally yours, feel free to contact me so that I can give you proper credit.

Anyway, here are some of my Disney nail recreations:

2013-07-09 13.34.34

The base was a light neon pink.  I loved these nails!  Please forgive the sloppiness around the cuticles in this pic.  My technique has improved since then!

2013-12-25 12.38.41

These aren’t actually my nails, but nails I did on a friend.

2014-01-17 21.22.13

These were pretty tricky to do, but I loved them!  These  were my nails for the first half of our trip.

2014-01-16 14.01.13

These were the toes I sported for our trip.  Yes, those little faces took forever to get right!

2014-01-23 09.45.10

This is the look I sported for the second half of our trip.   These were super simple, and I got tons of compliments on them while we were in the parks!  Note the refillable Disney mug in the background.

Just looking at these pictures reminds me of our trip and gives me the warm Disney fuzzies.  Sporting special nails for a particular event (or vacation in this instance) really does add a little something extra.  Don’t be afraid to nails that are bold and bright, if the occasion is right!


In Pursuit of the Perfect Green

Lately, I’ve been into light green nail polish.   More than once, I’ve purchased what I thought would be a perfect light green and it either turned out to be too blue or too dark or just not quite what I thought it would be.  Meanwhile, I have this half-a-bottle of Essie in the color Blanc, that I really wasn’t loving anymore:

IMG_2619

Truth be told, I never really loved it in the first place.  The formula was never as opaque as I felt it should be for an $8 white polish.  (There are much better whites out there for much cheaper.)  Plus, it was starting to get a little old an gunky.

The first thing I did was restore the polish out with this awesome product:

IMG_2620

This stuff is great!  It was only around $3 at Sally Beauty Supply, and I’ve revived so many old polishes with it already!  A little side note here: Don’t thin your polish out with acetone or polish remover.  It may work temporarily, but ultimately, it will ruin the polish you are trying to fix.

Anyway, after I thinned out my Blanc, I added about 20 drops of this green and one or two drops of this blue:

IMG_2621

I did a lot of shaking and ended up with this:

IMG_2626

It’s exactly the color I was hoping for!  I haven’t actually used it yet, but I totally will before too long!  I totally feel like a winner, winner, chicken dinner because I now have a new color that I can’t wait to use, and I didn’t spend any money!  My hubby will be so proud!

UPDATE:  I finally did use this polish for this pink, green, and glitter mani and I love it!

Have you ever mixed your old polishes to create a new one?  Did you like your results?

All About The Neon

So we’re smack in the middle of summer.  Summer is great for many reasons, not the least of which is wearing neon nail polish!  Actually, summer is pretty much the only season in which you can wear neon polish without looking…  What’s a nice way to say “trashy”?  (You are entitled to disagree with me, but that’s how I feel.)  Anyway, since we are in the season of neon, I figured it was a good time to talk about how we can all sport the most eye-searingly neon nails as possible.

Have you ever purchased a beautifully bright bottle of neon polish that you just couldn’t wait to put on your fingers?  You didn’t want much, just for your nails to be as bright as the bottle of polish.  Then once you got it on your nails, it was disappointingly drab.  It was streaky and see-through, and matte and just didn’t look like anything in the bottle.  It was a sad day.

Well, I’m here to tell you that you CAN have nails that are just as brilliantly bright as the polish appears in the bottle, and for the most-part, there’s just one really important step that you need to take before you slather on the neon polish…(Drum roll, please.)… You need to paint your nails white first.  A lot of neon polish has a pretty shear formula.  Those “highlighter yellow” polishes almost always have a really transparent jelly formula.  Because of that, the only way to get the true color to show up is to make sure it’s on a white background.

And you need to take your time and paint your nails really nicely with the white polish.  Since the neon polish is tends to be shear, any streaks or missed spots in the white polish are going to show through the neon layer, too.  Generally, two good coats of white will make a great base for your neon polish.

There are other bloggers out there (many of whom I like a lot) that claim that painting your nails white first should not have to be a requirement, and the nail polish companies need to step up their game and make true neon polish that doesn’t require a white base.  I say that those sentiments are all well and good, but the truth is, your neon nails will generally be a heck of a lot brighter if you just take the extra 5 minutes to put down a nice white base.

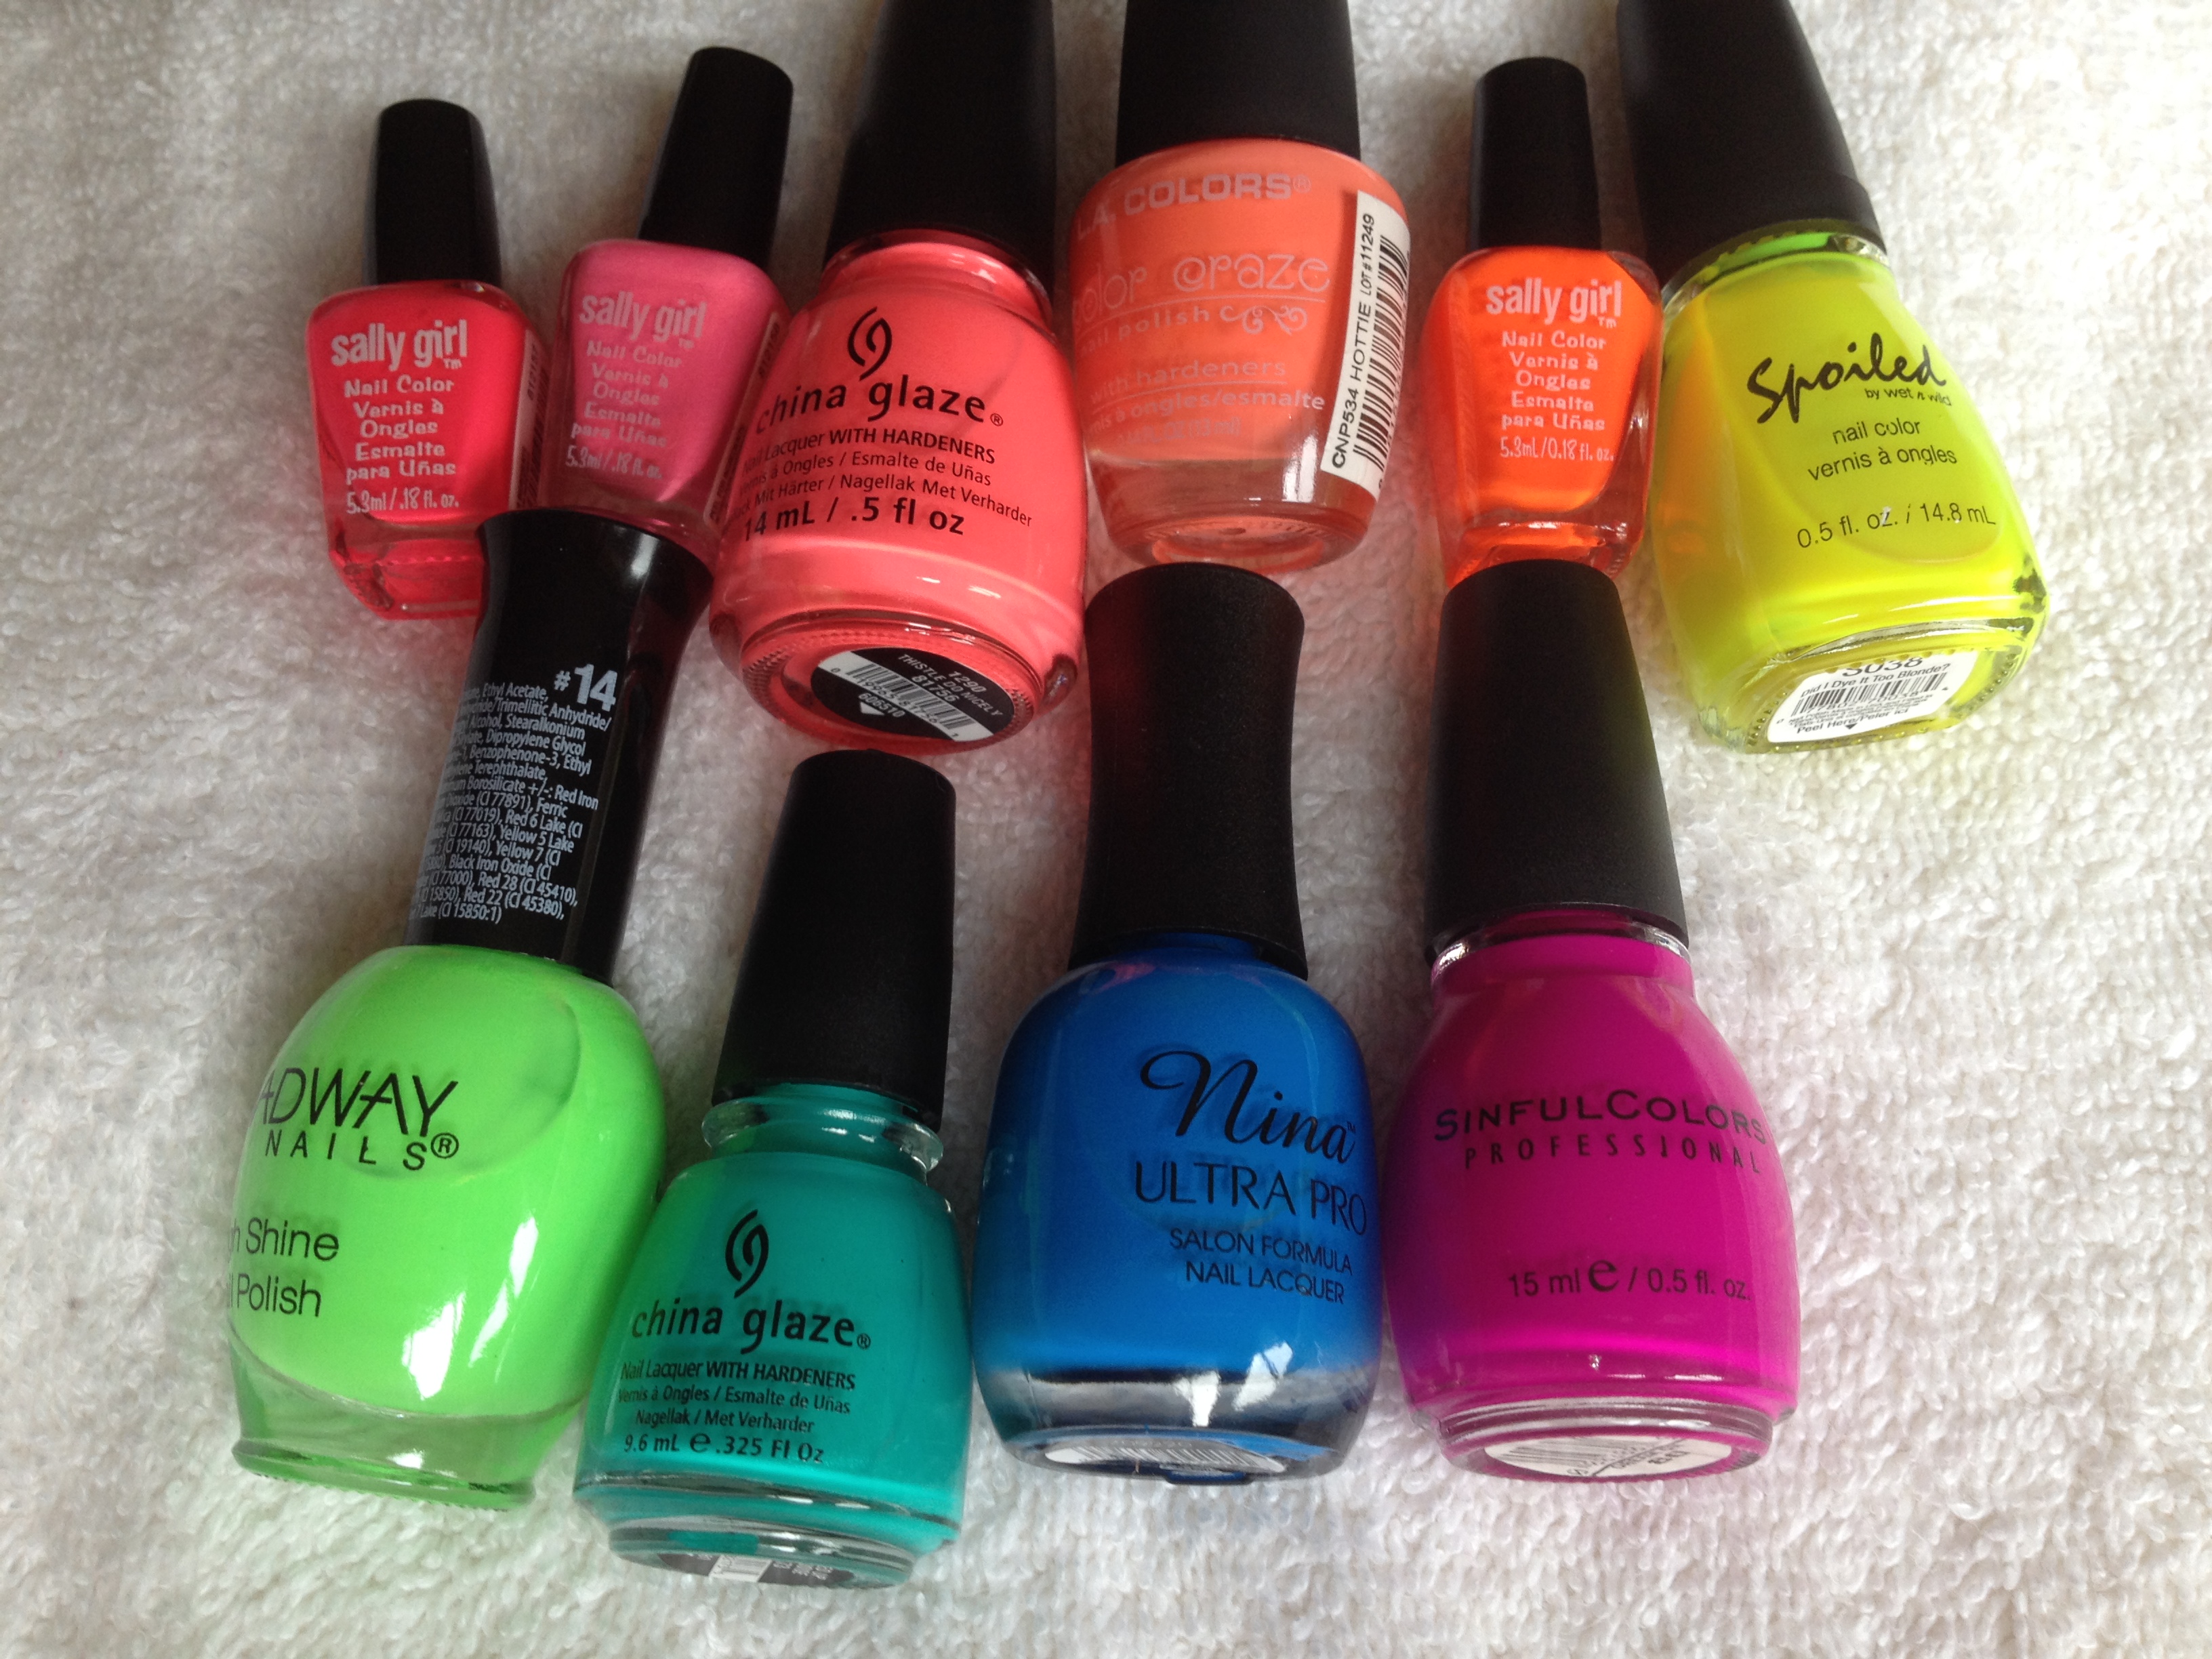
So, let’s get to some examples.  Here are the polishes that I tested:

IMG_2602

I arranged them nicely in rainbow order and took this picture in natural light to try to show the colors as accurately as possible. Starting with the upper left, the colors are:

  • Sally Girl #812157
  • Sally Girl #812158
  • China Glaze – Thistle Do Nicely
  • LA Colors – Hottie
  • Sally Girl – Crazy
  • Spoiled – Did I Dye It Too Blonde?
  • Broadway – Sour Apple
  • China Glaze – Turned Up Turquoise
  • Nina – Blue Blaze
  • Sinful Colors – Dream On

One each hand I painted my:

  • First finger: 2 coats of neon polish on bare nail
  • Middle finger: 3 coats of neon polish on bare nail
  • Ring finger: 4 coats of neon polish on bare nail
  • Pinky: 1 coat of white polish followed by 2 coats of neon polish
  • Thumb: 2 coats of white polish followed by 2 coats of neon polish

I did all of these swatches while watching The Bachelorette.  In retrospect, I should have done them during the day so that I could have photographed them in natural light.   It’s really hard to capture neon colors on camera as it is, and I think artificial light makes it even worse.   I should also point out that I am fully aware that my paint job on some of my fingers is pretty crappy.  I was mostly concerned with getting them all done before Andi gave out her final rose.

Here we go…

Sally Girl #812157:

IMG_2580

This picture is really deceptive.  The color is a crazy bright pink, and with this particular color, it is SO much more vibrant over white.

Sally Girl #812158:

IMG_2583

This is a neon bubblegum pink.  This one is actually just fine without a white base, as long as you do at least 3 coats.

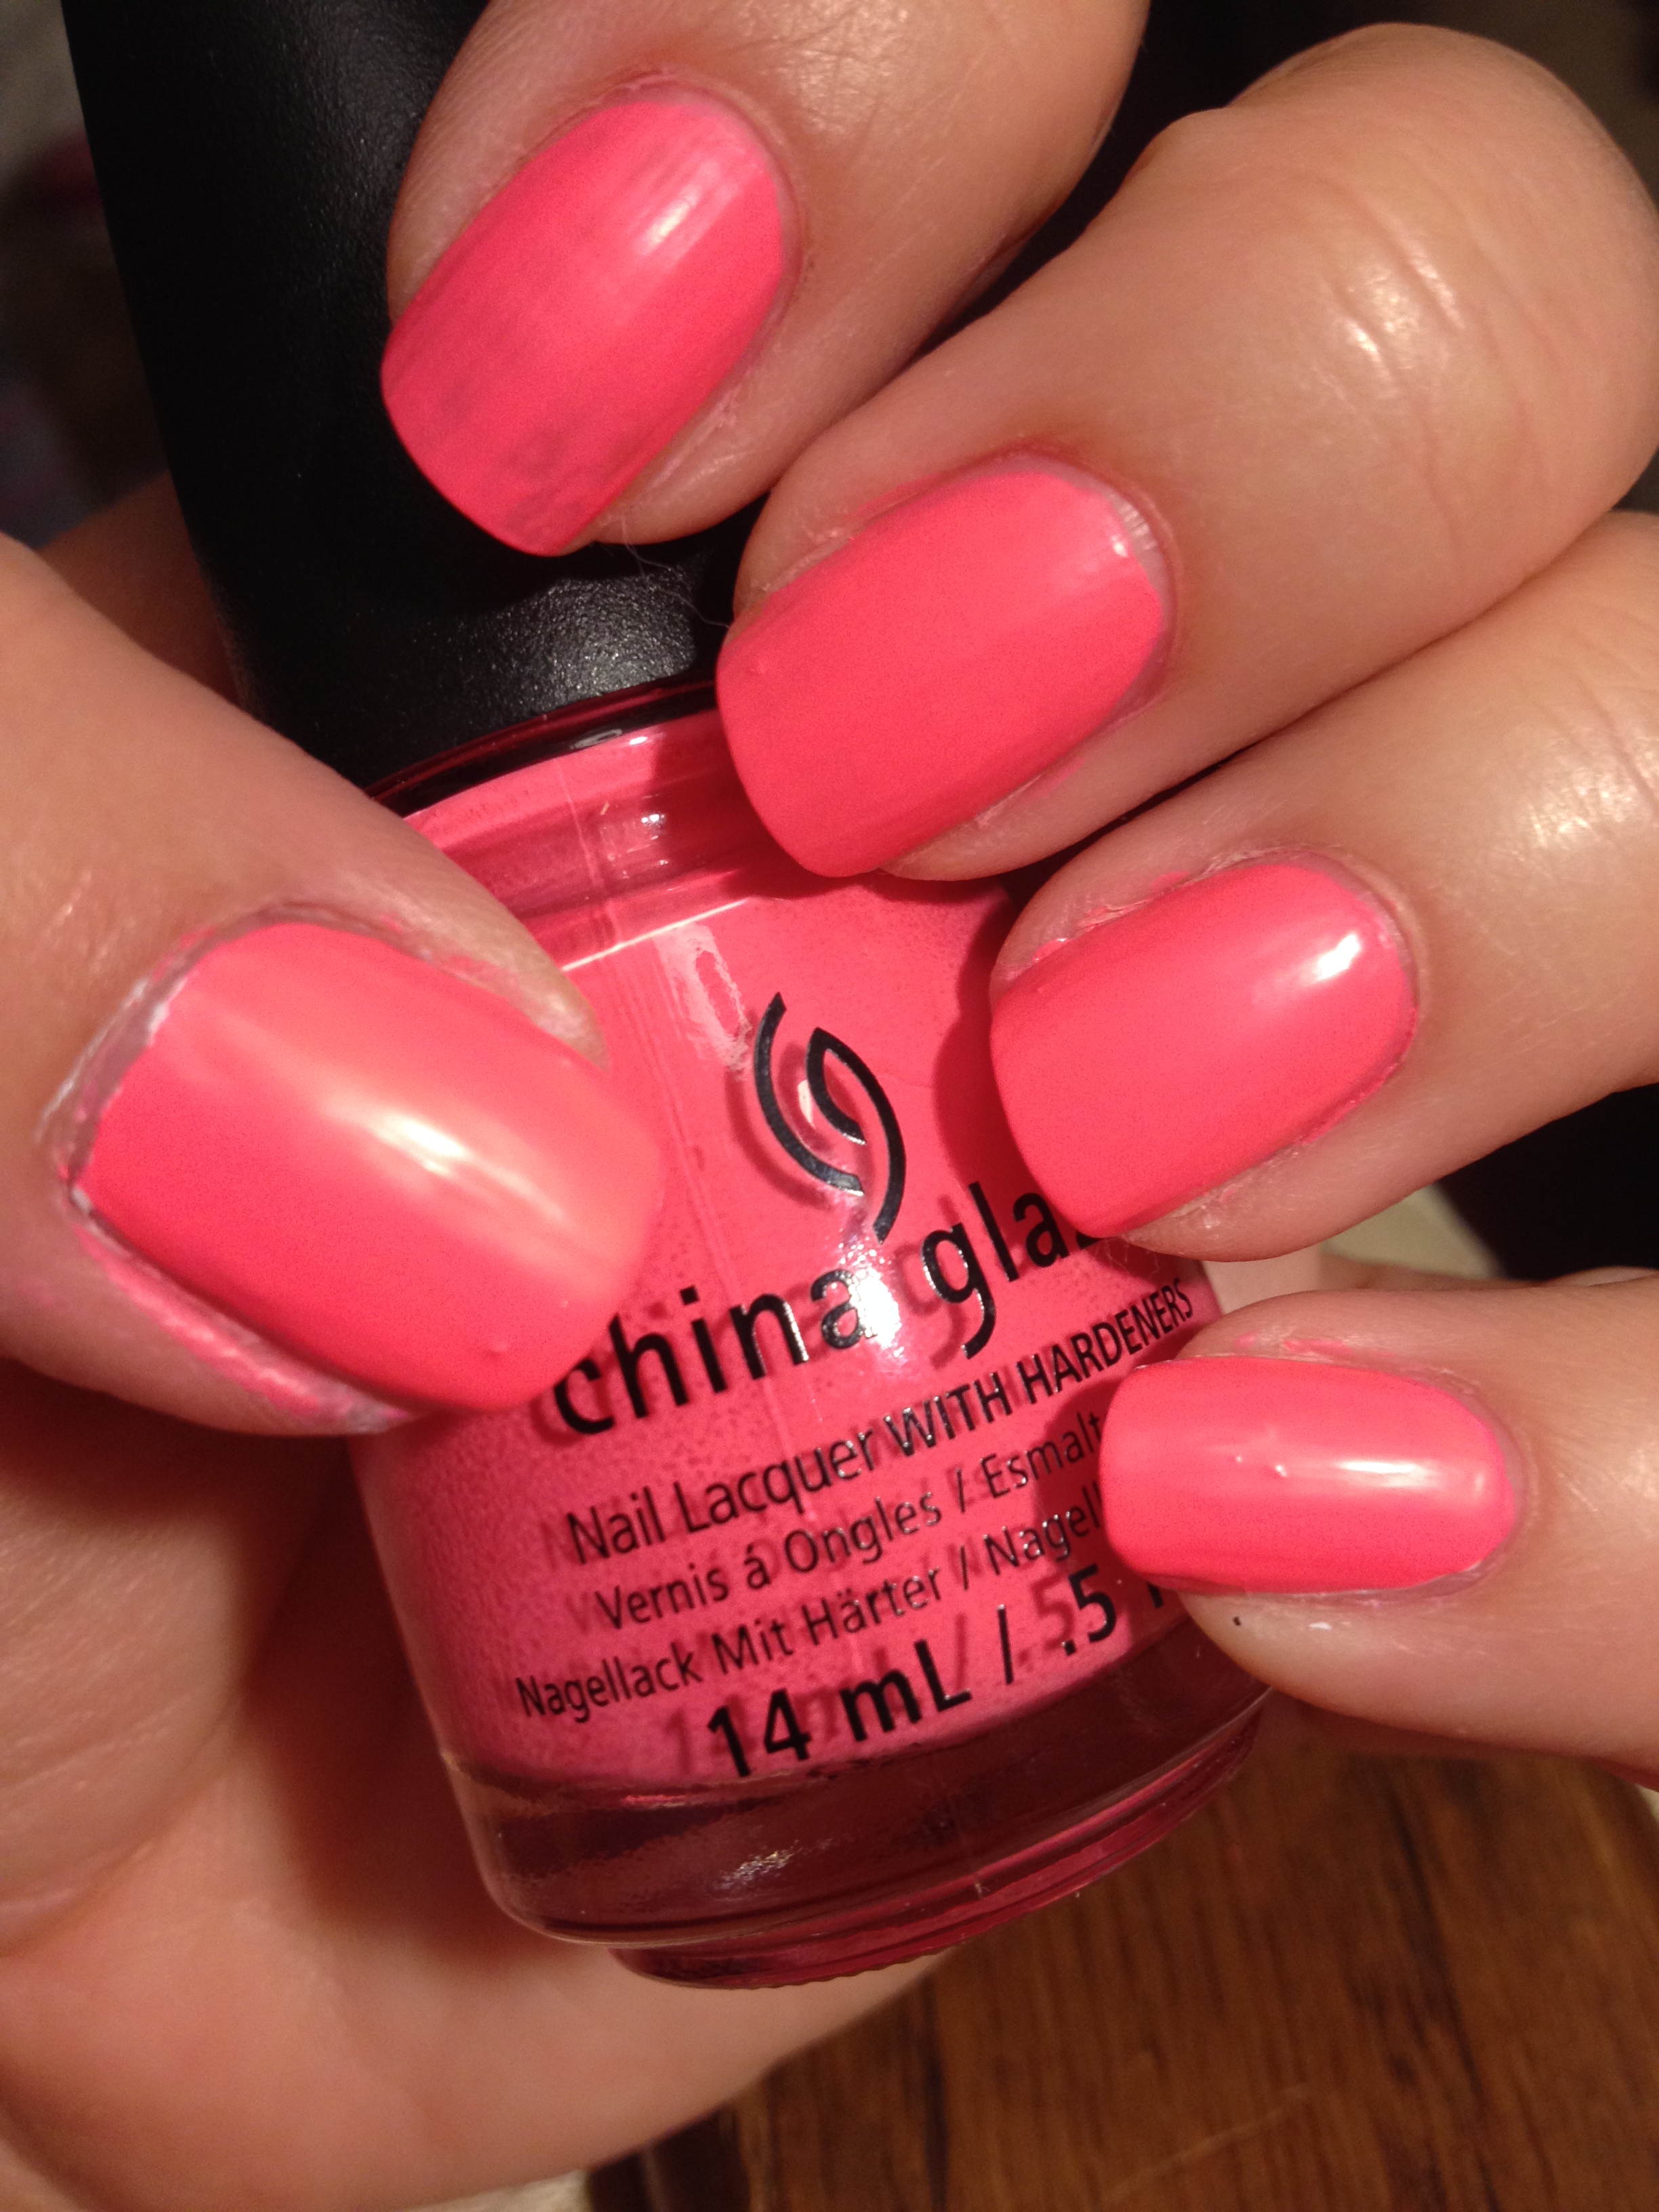
China Glaze – Thistle Do Nicely:

IMG_2584

A hot pinky-coral.  China Glaze makes some really great neon formulas, and this is one of them.  Three coats without a white base looks great.

LA Colors – Hottie:

IMG_2595

This  is actually a bright coral.  This may not be a true neon, because the formula dries glossy instead of matte.  Three coats of this looks good without white underneath.
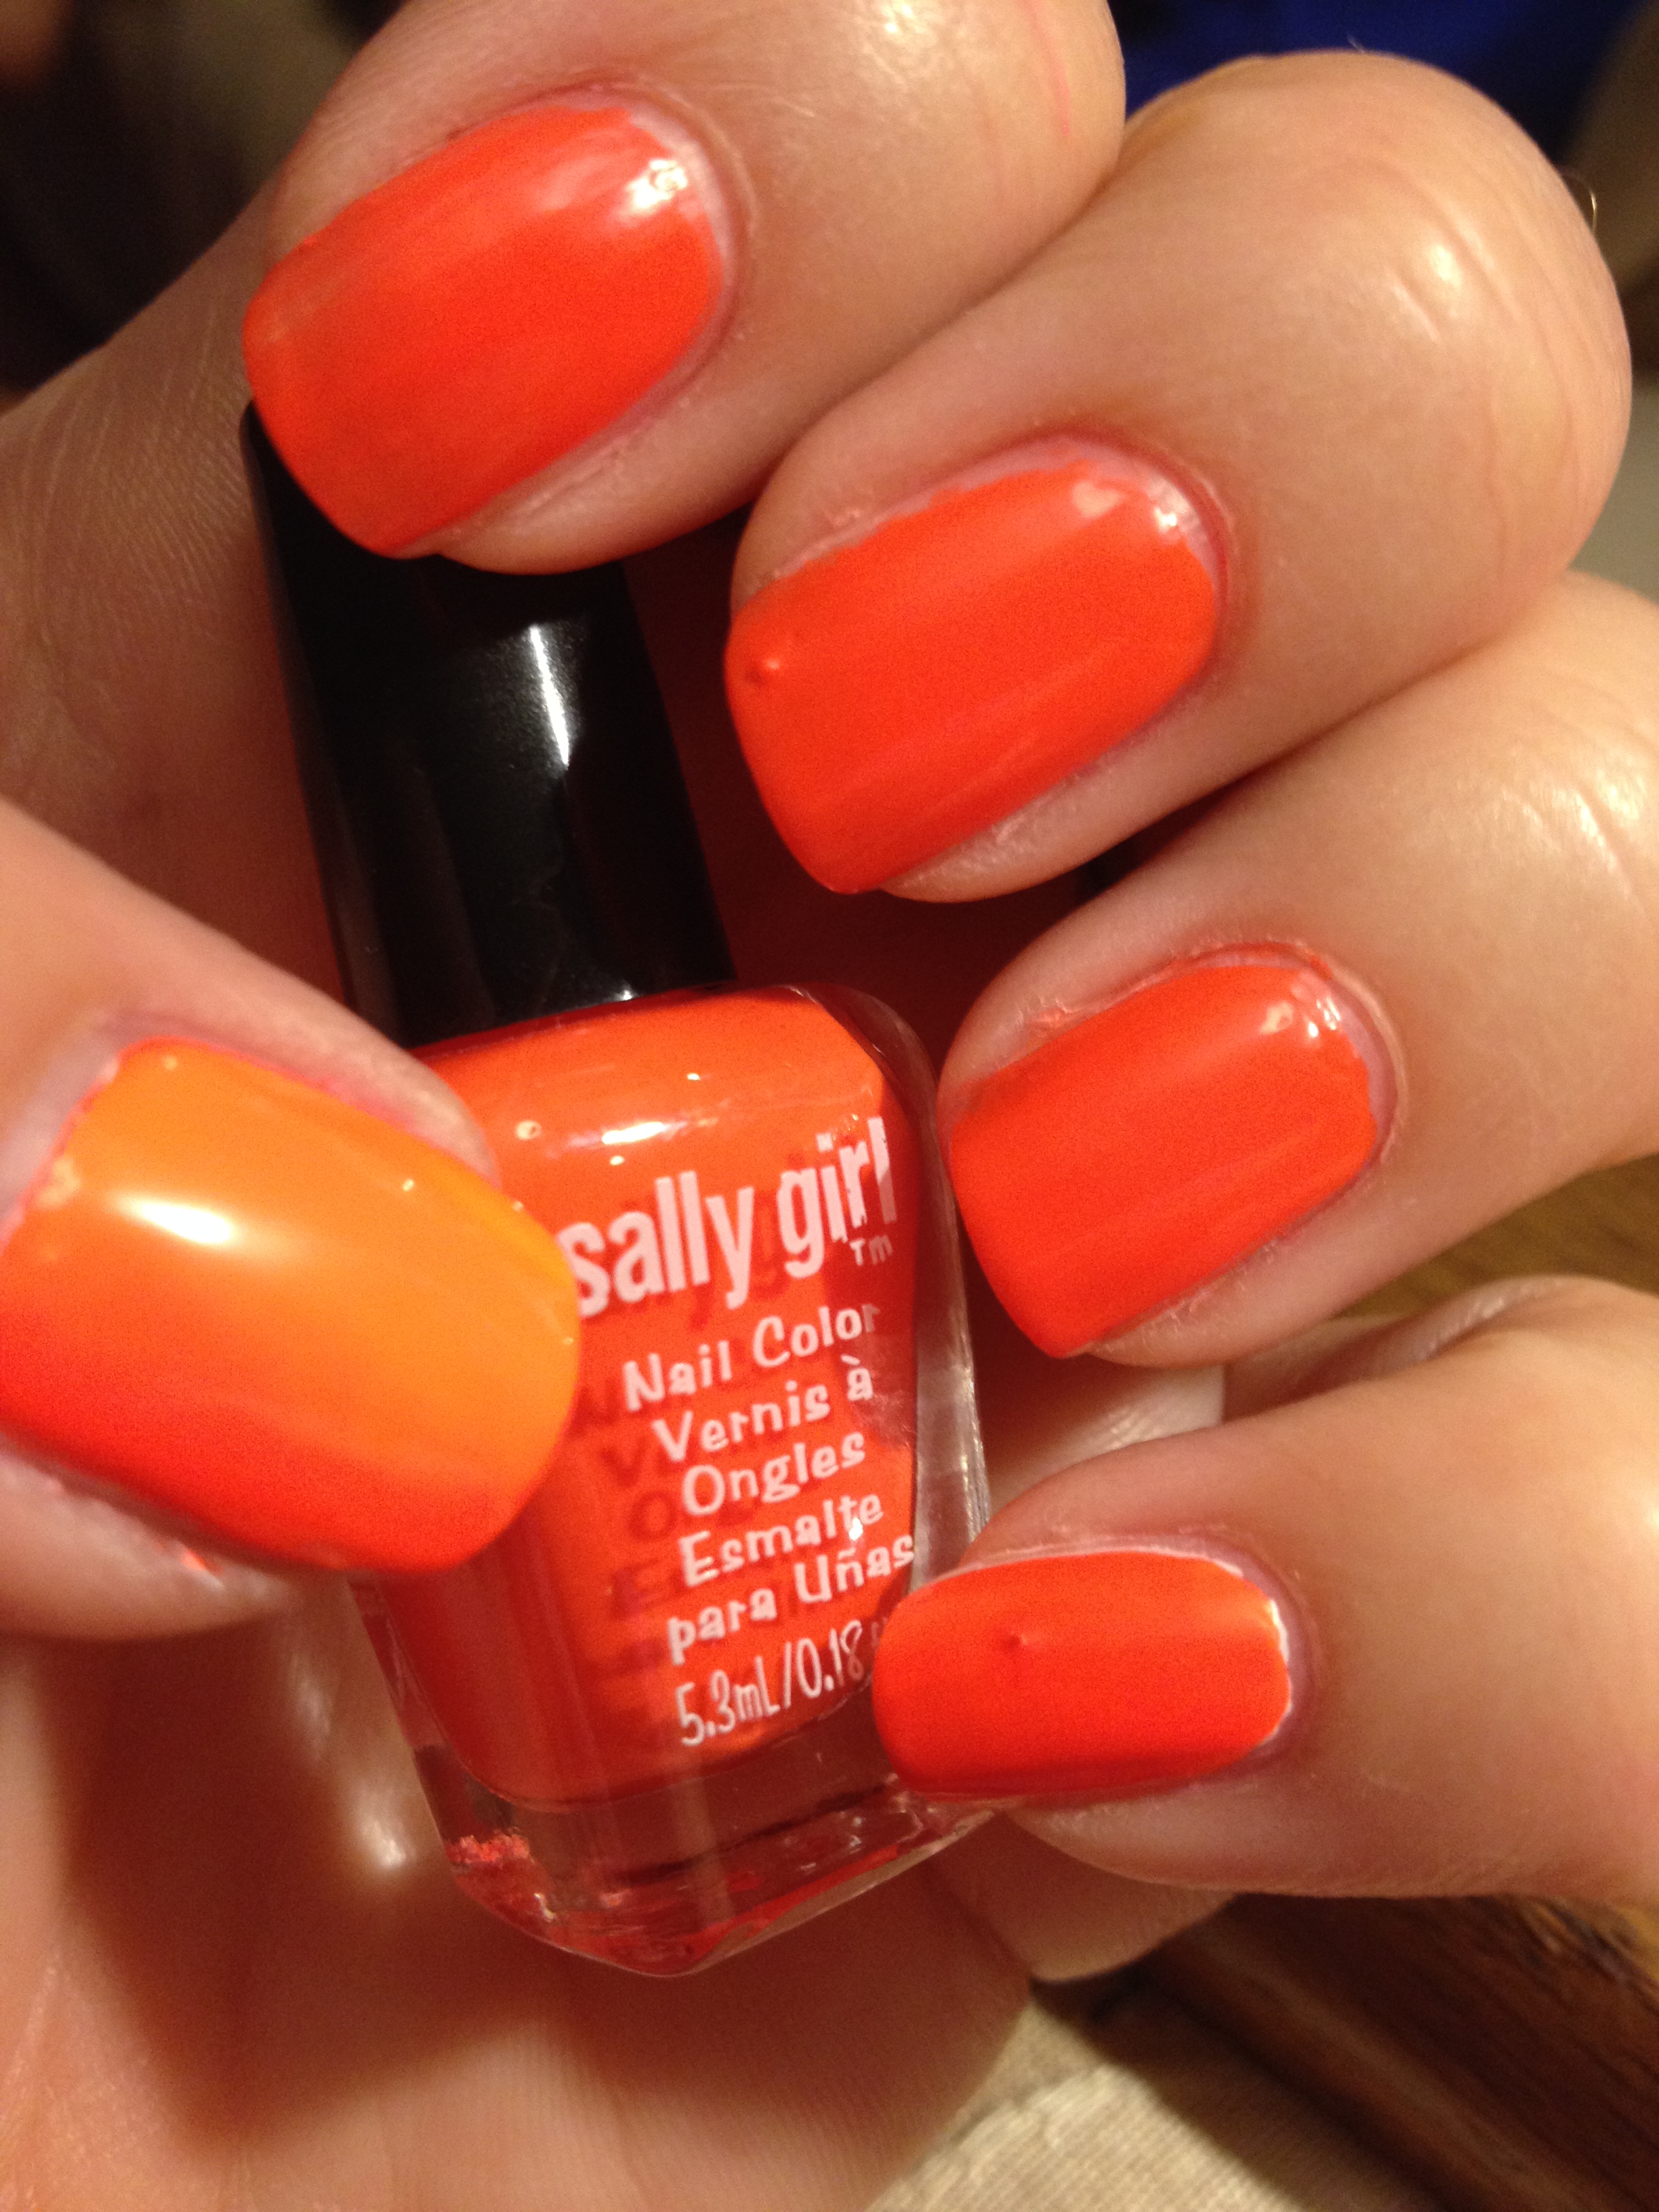
Sally Girl – Crazy:

IMG_2585

Traffic cone orange.  This picture is a little deceptive.  Without white underneath, it remains a dingy orange.  A white base makes the color blinding!

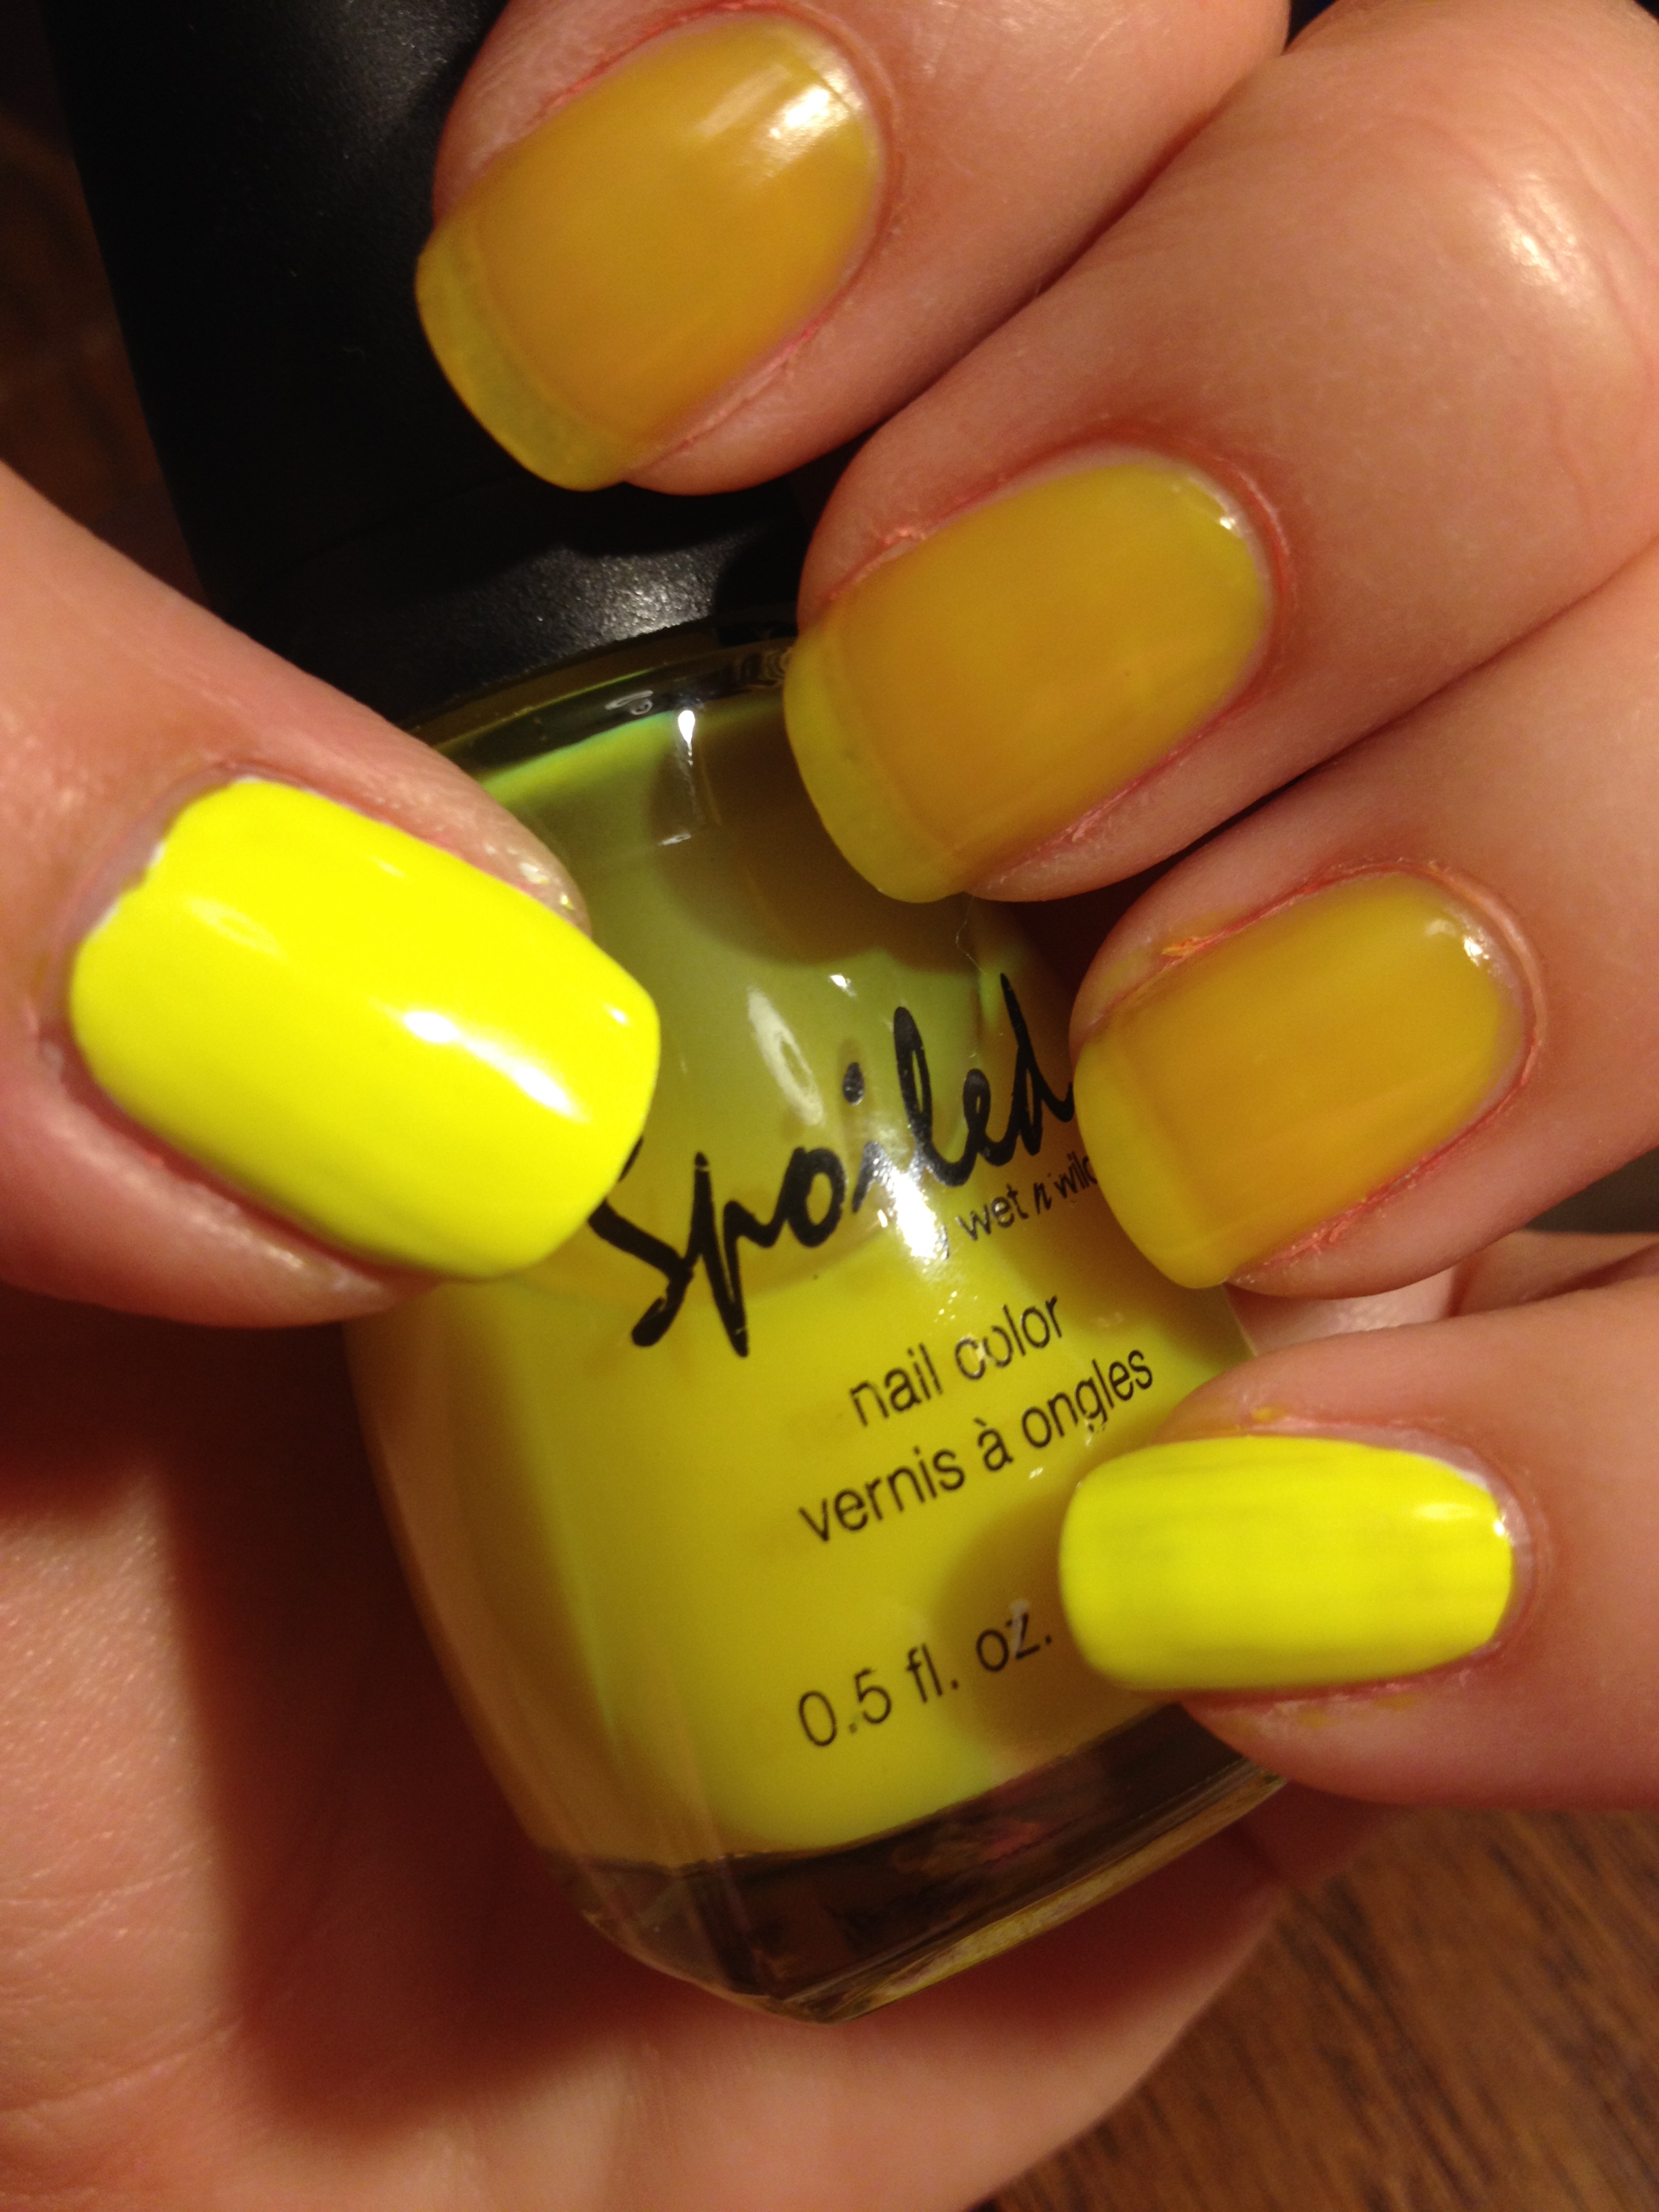
Spoiled – Did I Dye It Too Blonde?:

IMG_2588

This highlighter yellow is the color that most obviously benefits from a white base underneath.  On the pinky, you can see that the streaks from the thin coat of white show through.  I love how this looks on the thumb!  You definitely need two coats of white under this and then 2 coats of yellow, but the trouble is SO worth it!  You can stop traffic with these nails!

Broadway – Sour Apple:

IMG_2591

This color sure looks neon to me, so I was surprised that it dried glossy.  An amazing formula for a polish that costs $1!  Three coats without white and you are good to go.

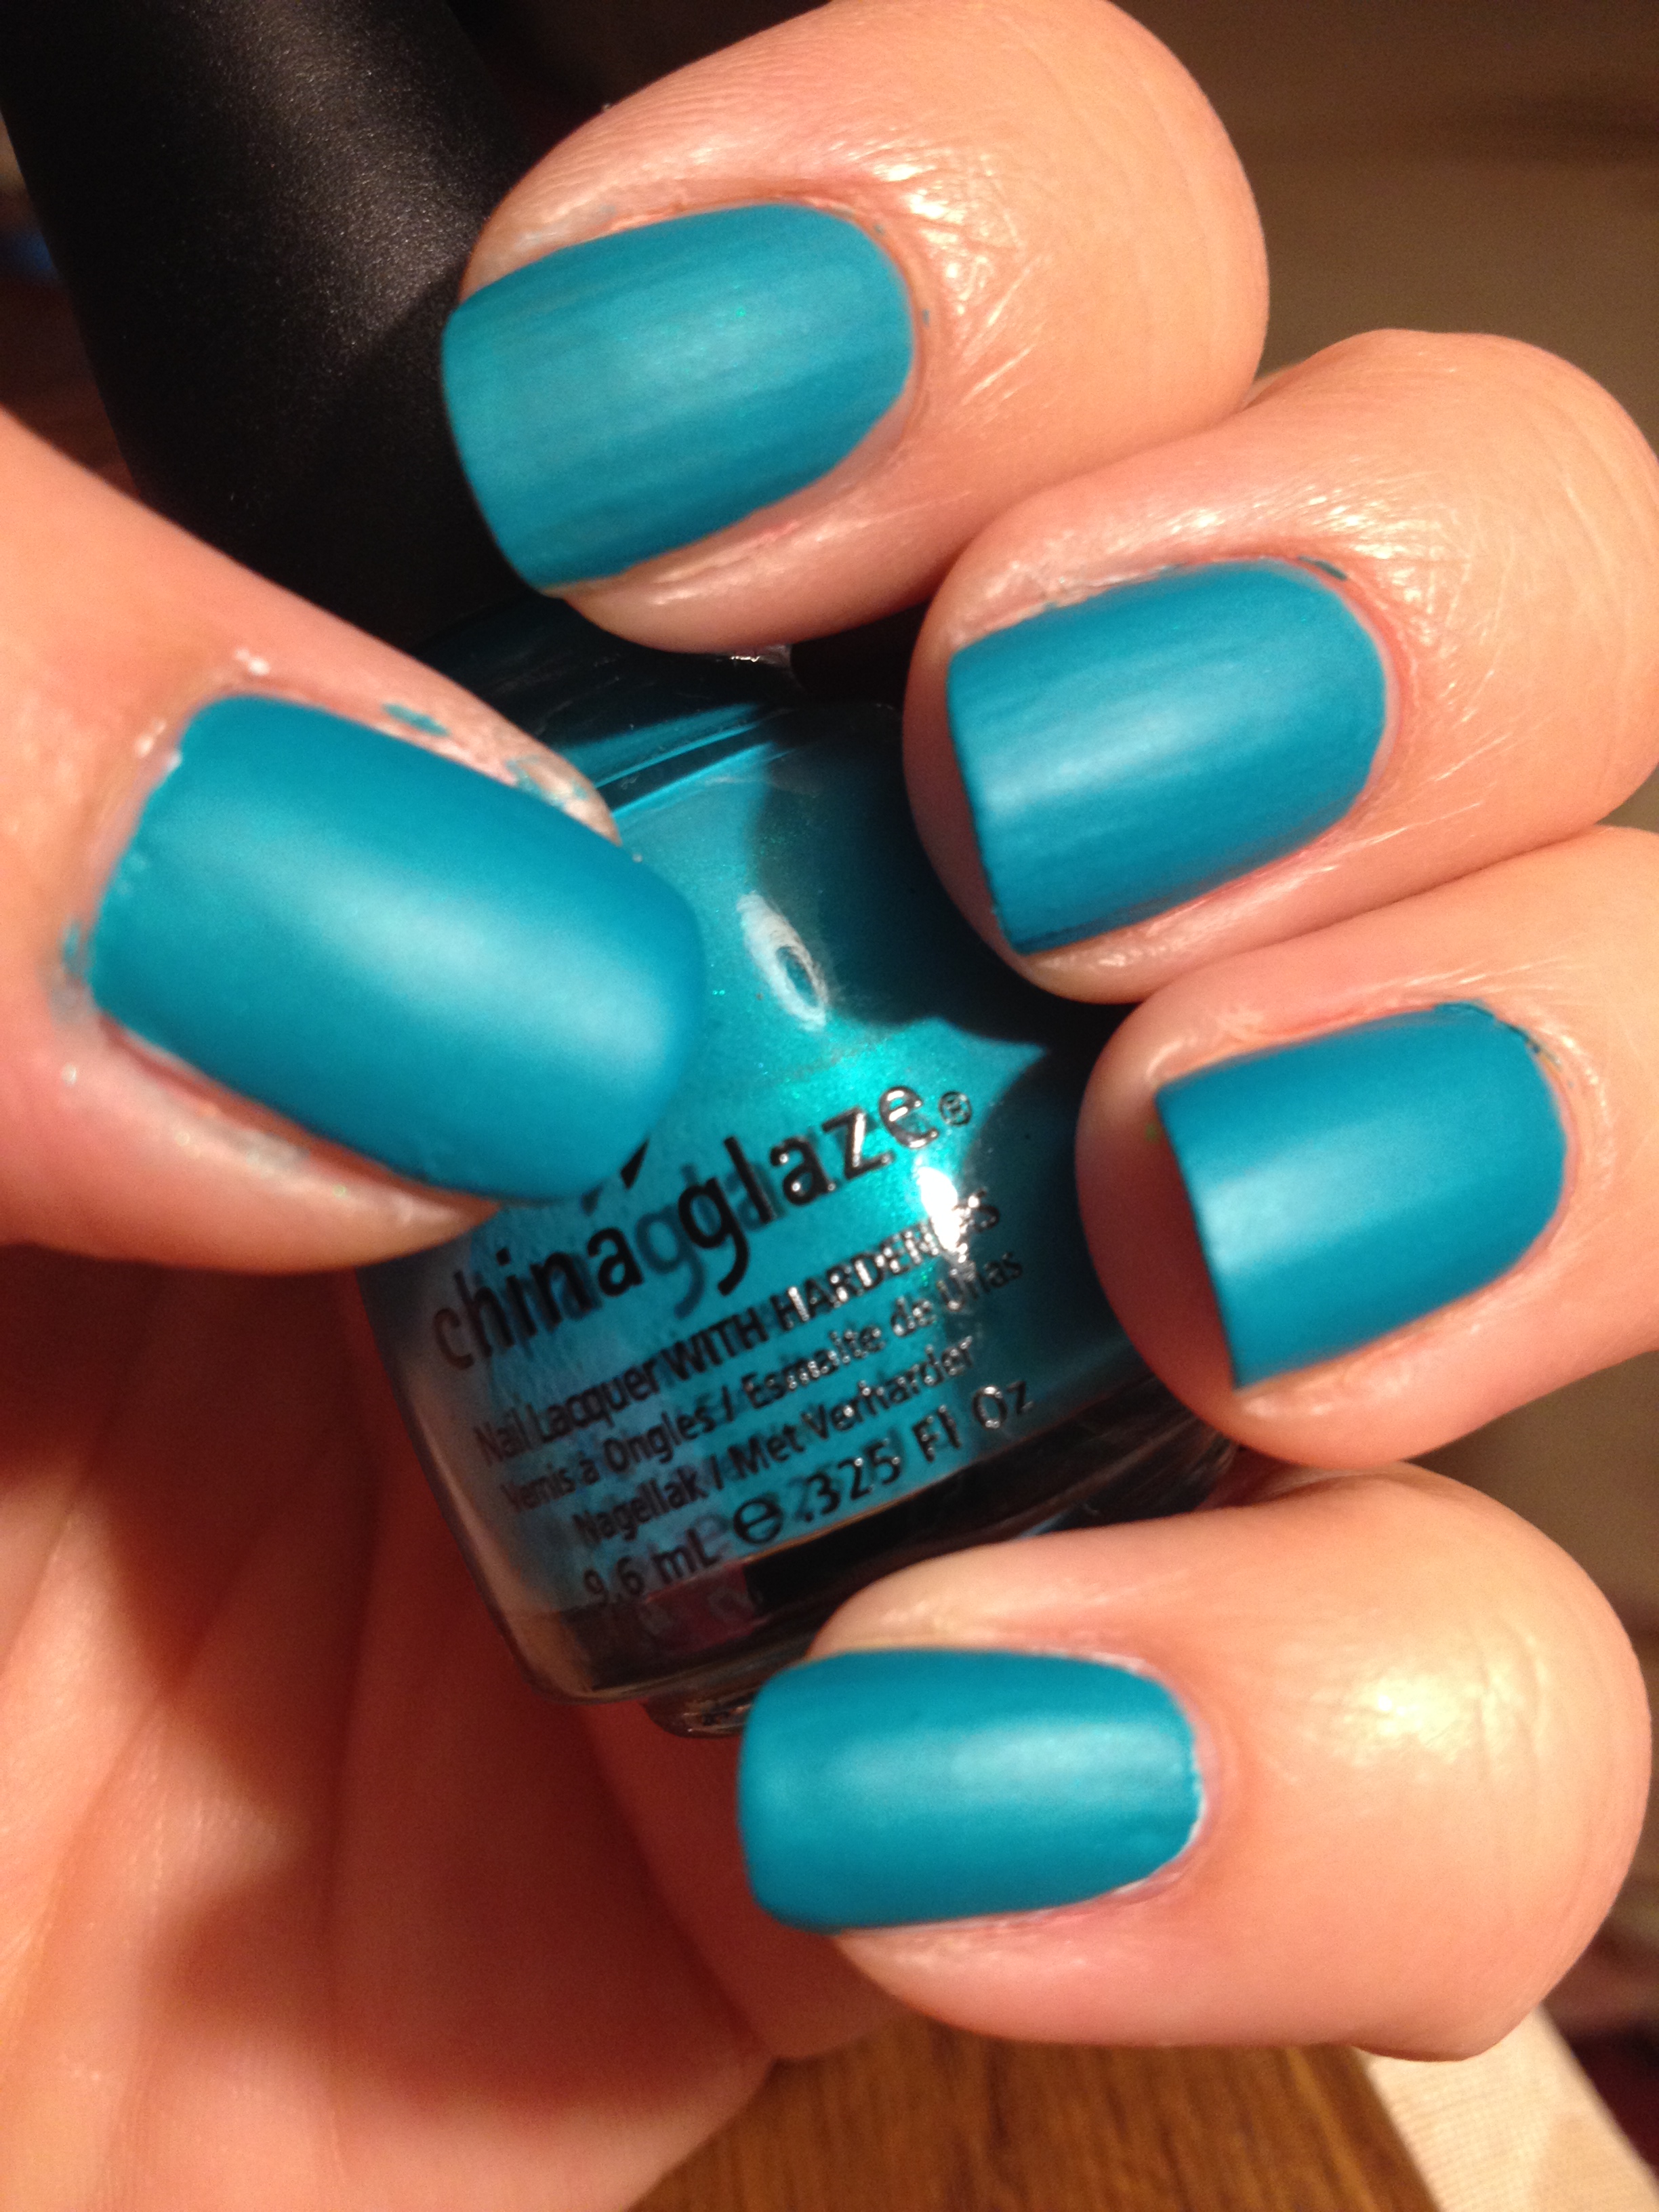
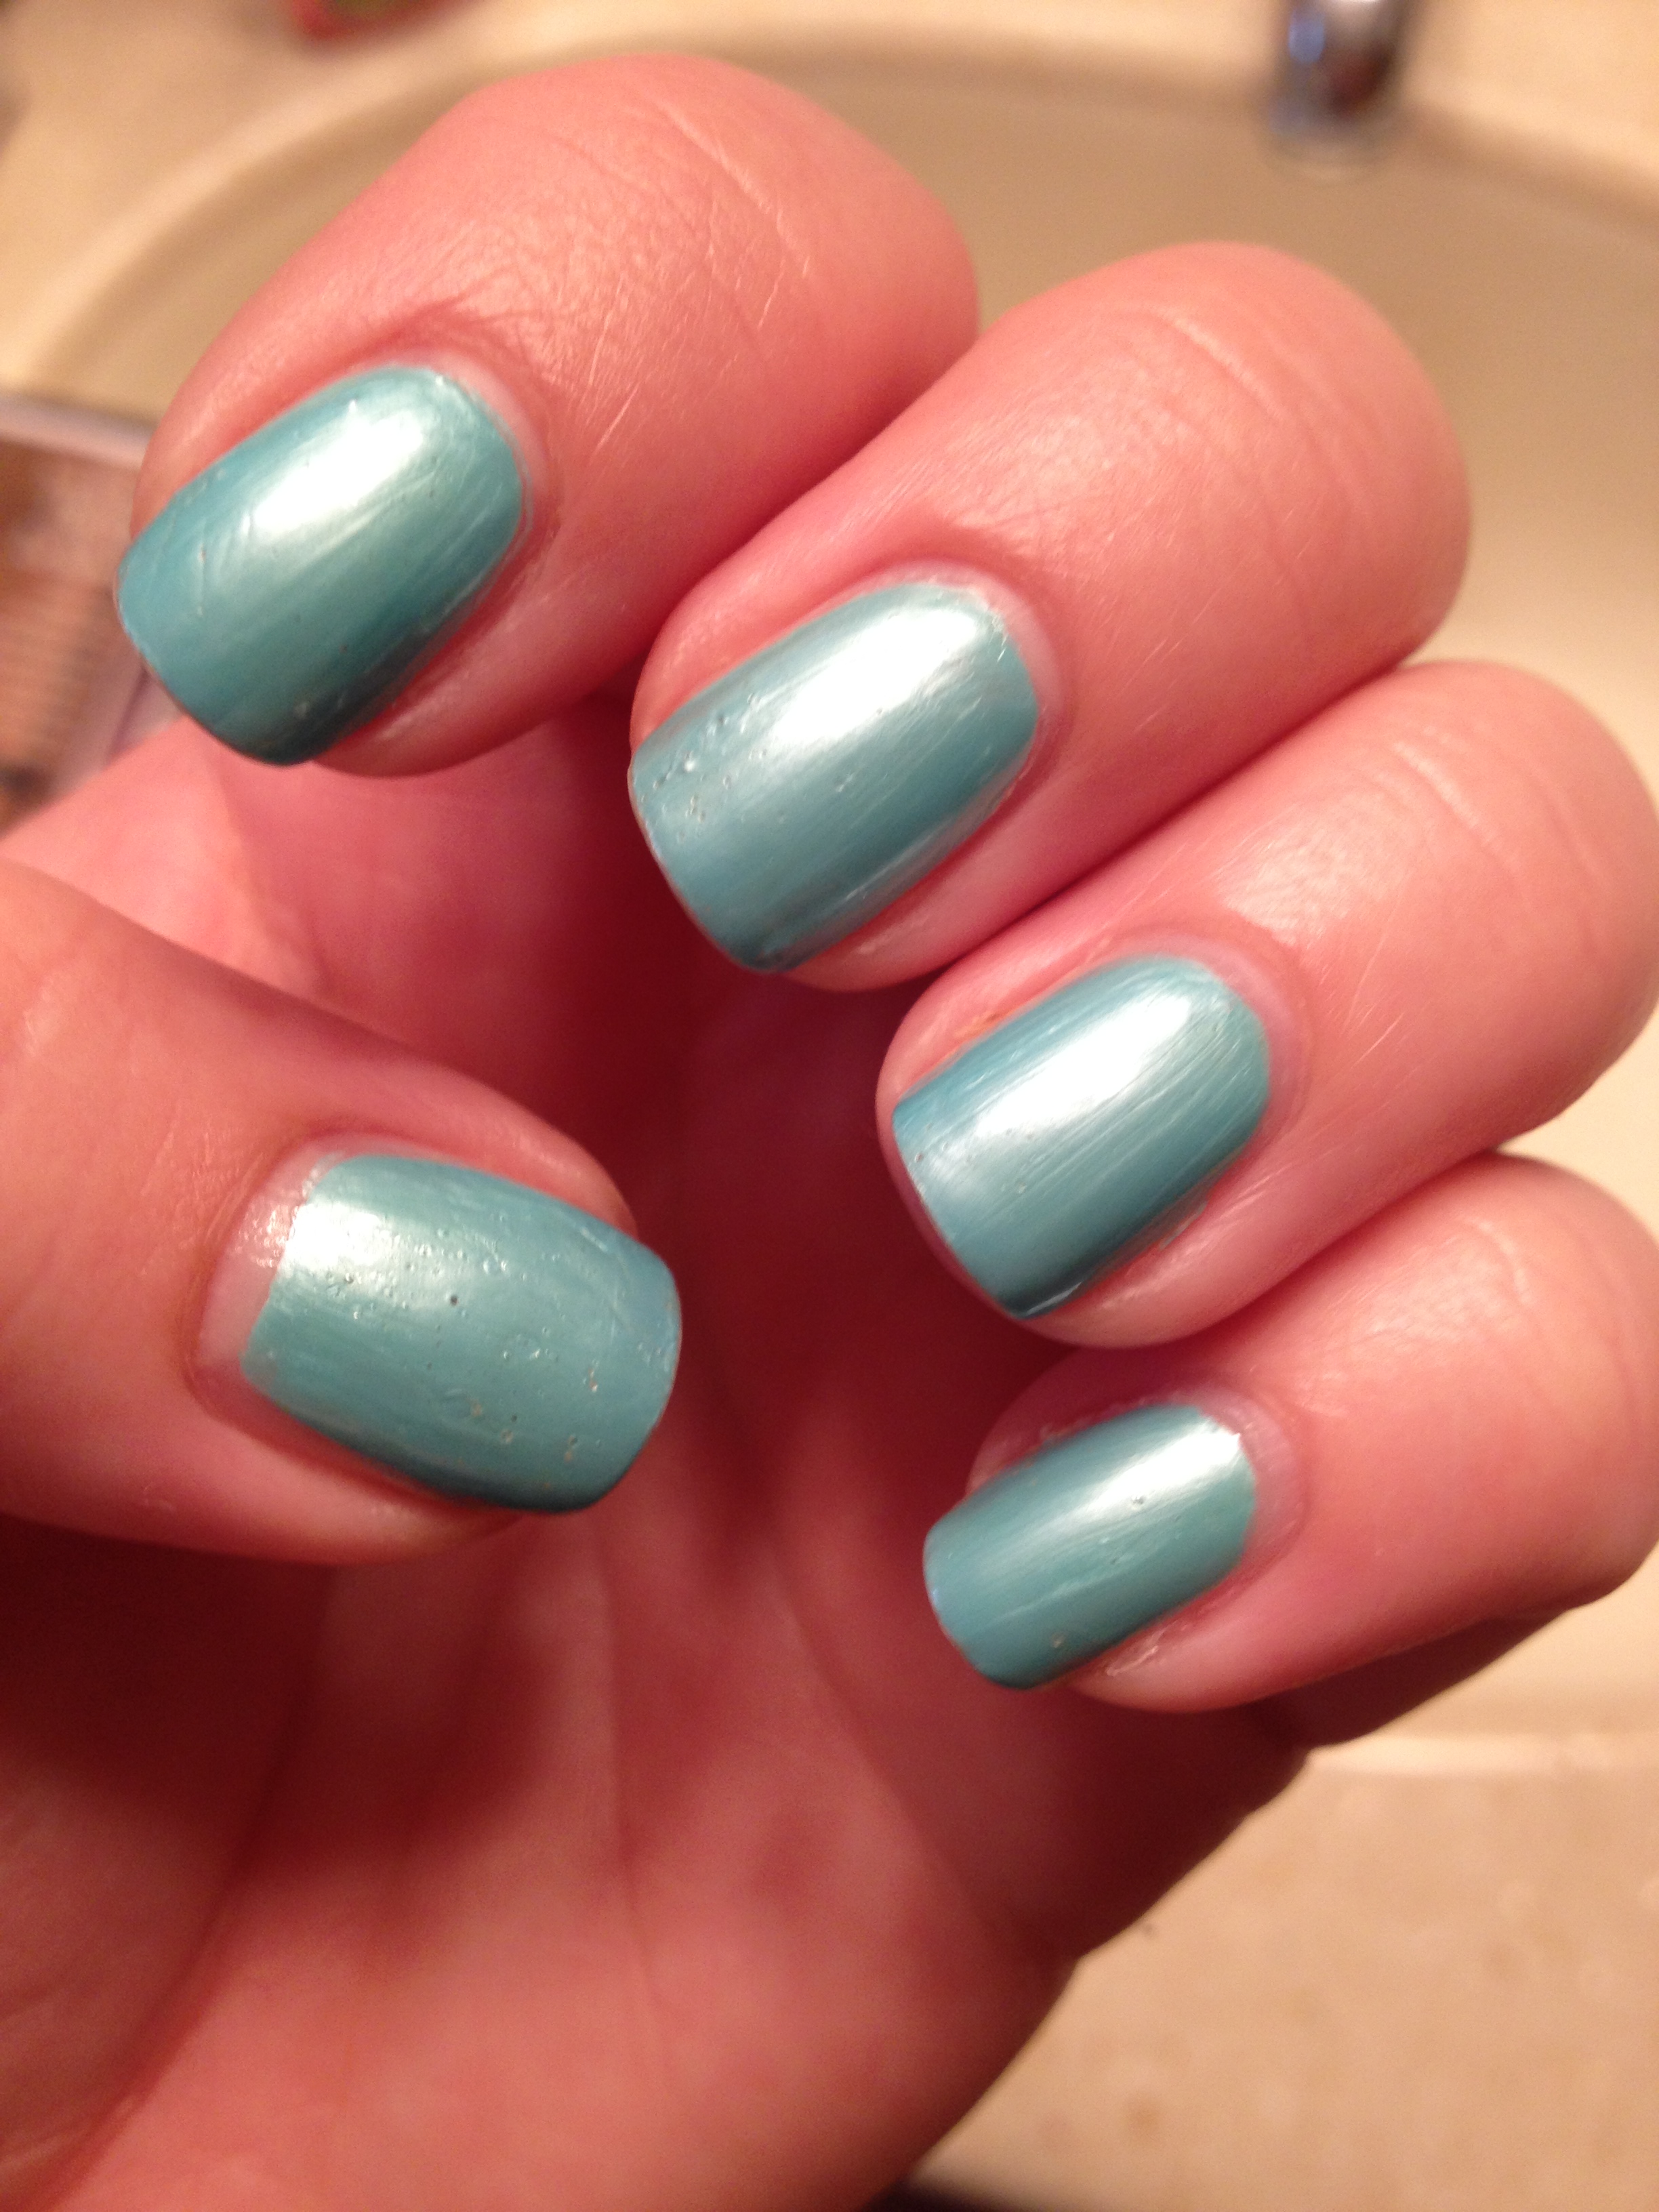
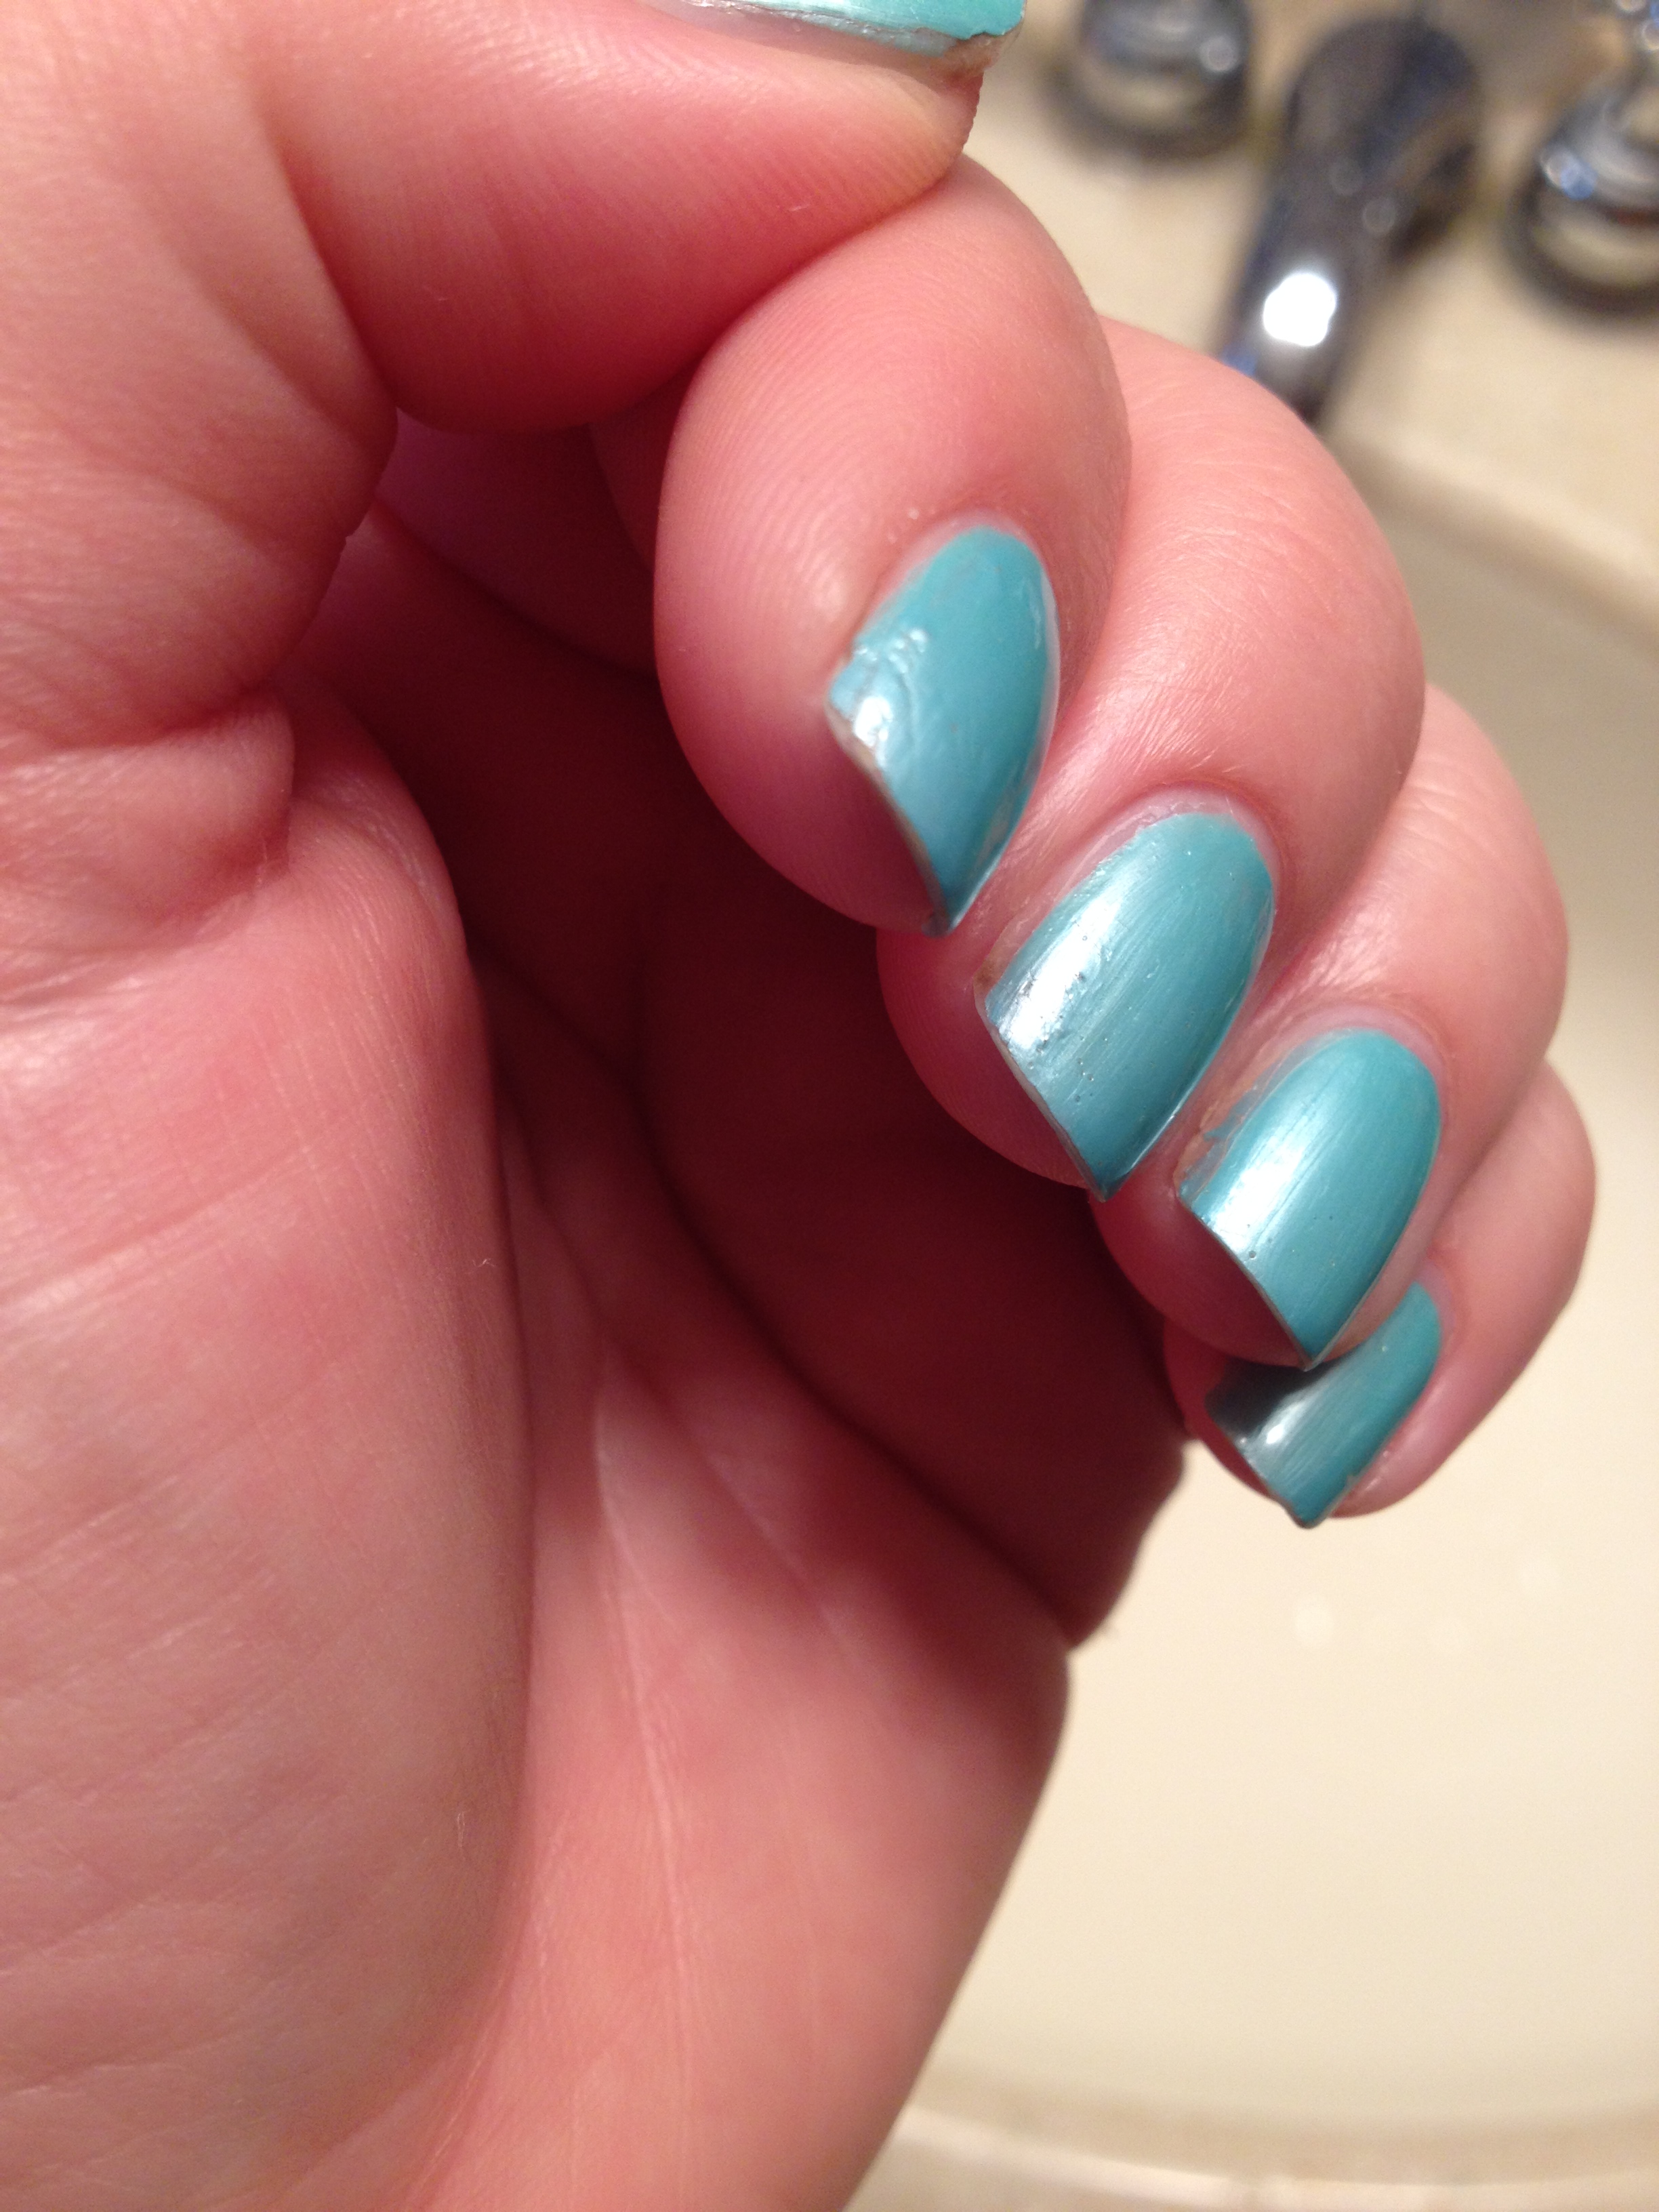
China Glaze – Turned Up Turquoise:

IMG_2594

I LOVE this color!  This formula is great, so you don’t need a white base.  This is not a typical neon color, but it is part of China Glaze’s neon collection.  This looks really cool with it’s matte finish, but there is a greenish shimmer in this polish that really shows up when you put a shiny top coat over it.  This color, along with the last two, are actually colors that you can get away with wearing year-round.  Did I mention that I love this color?

Nina – Blue Blaze:

IMG_2598

Again the color in this picture is really deceptive.  I decided to include this color, because like most neons, it dries matte and it really is a bright electric blue in person!  It’s sort of irritating, but this color applies much more smoothly when it is not over white, but the color is much brighter when it is over white.  I think I’ll have to play with this one a little more to get it just right.

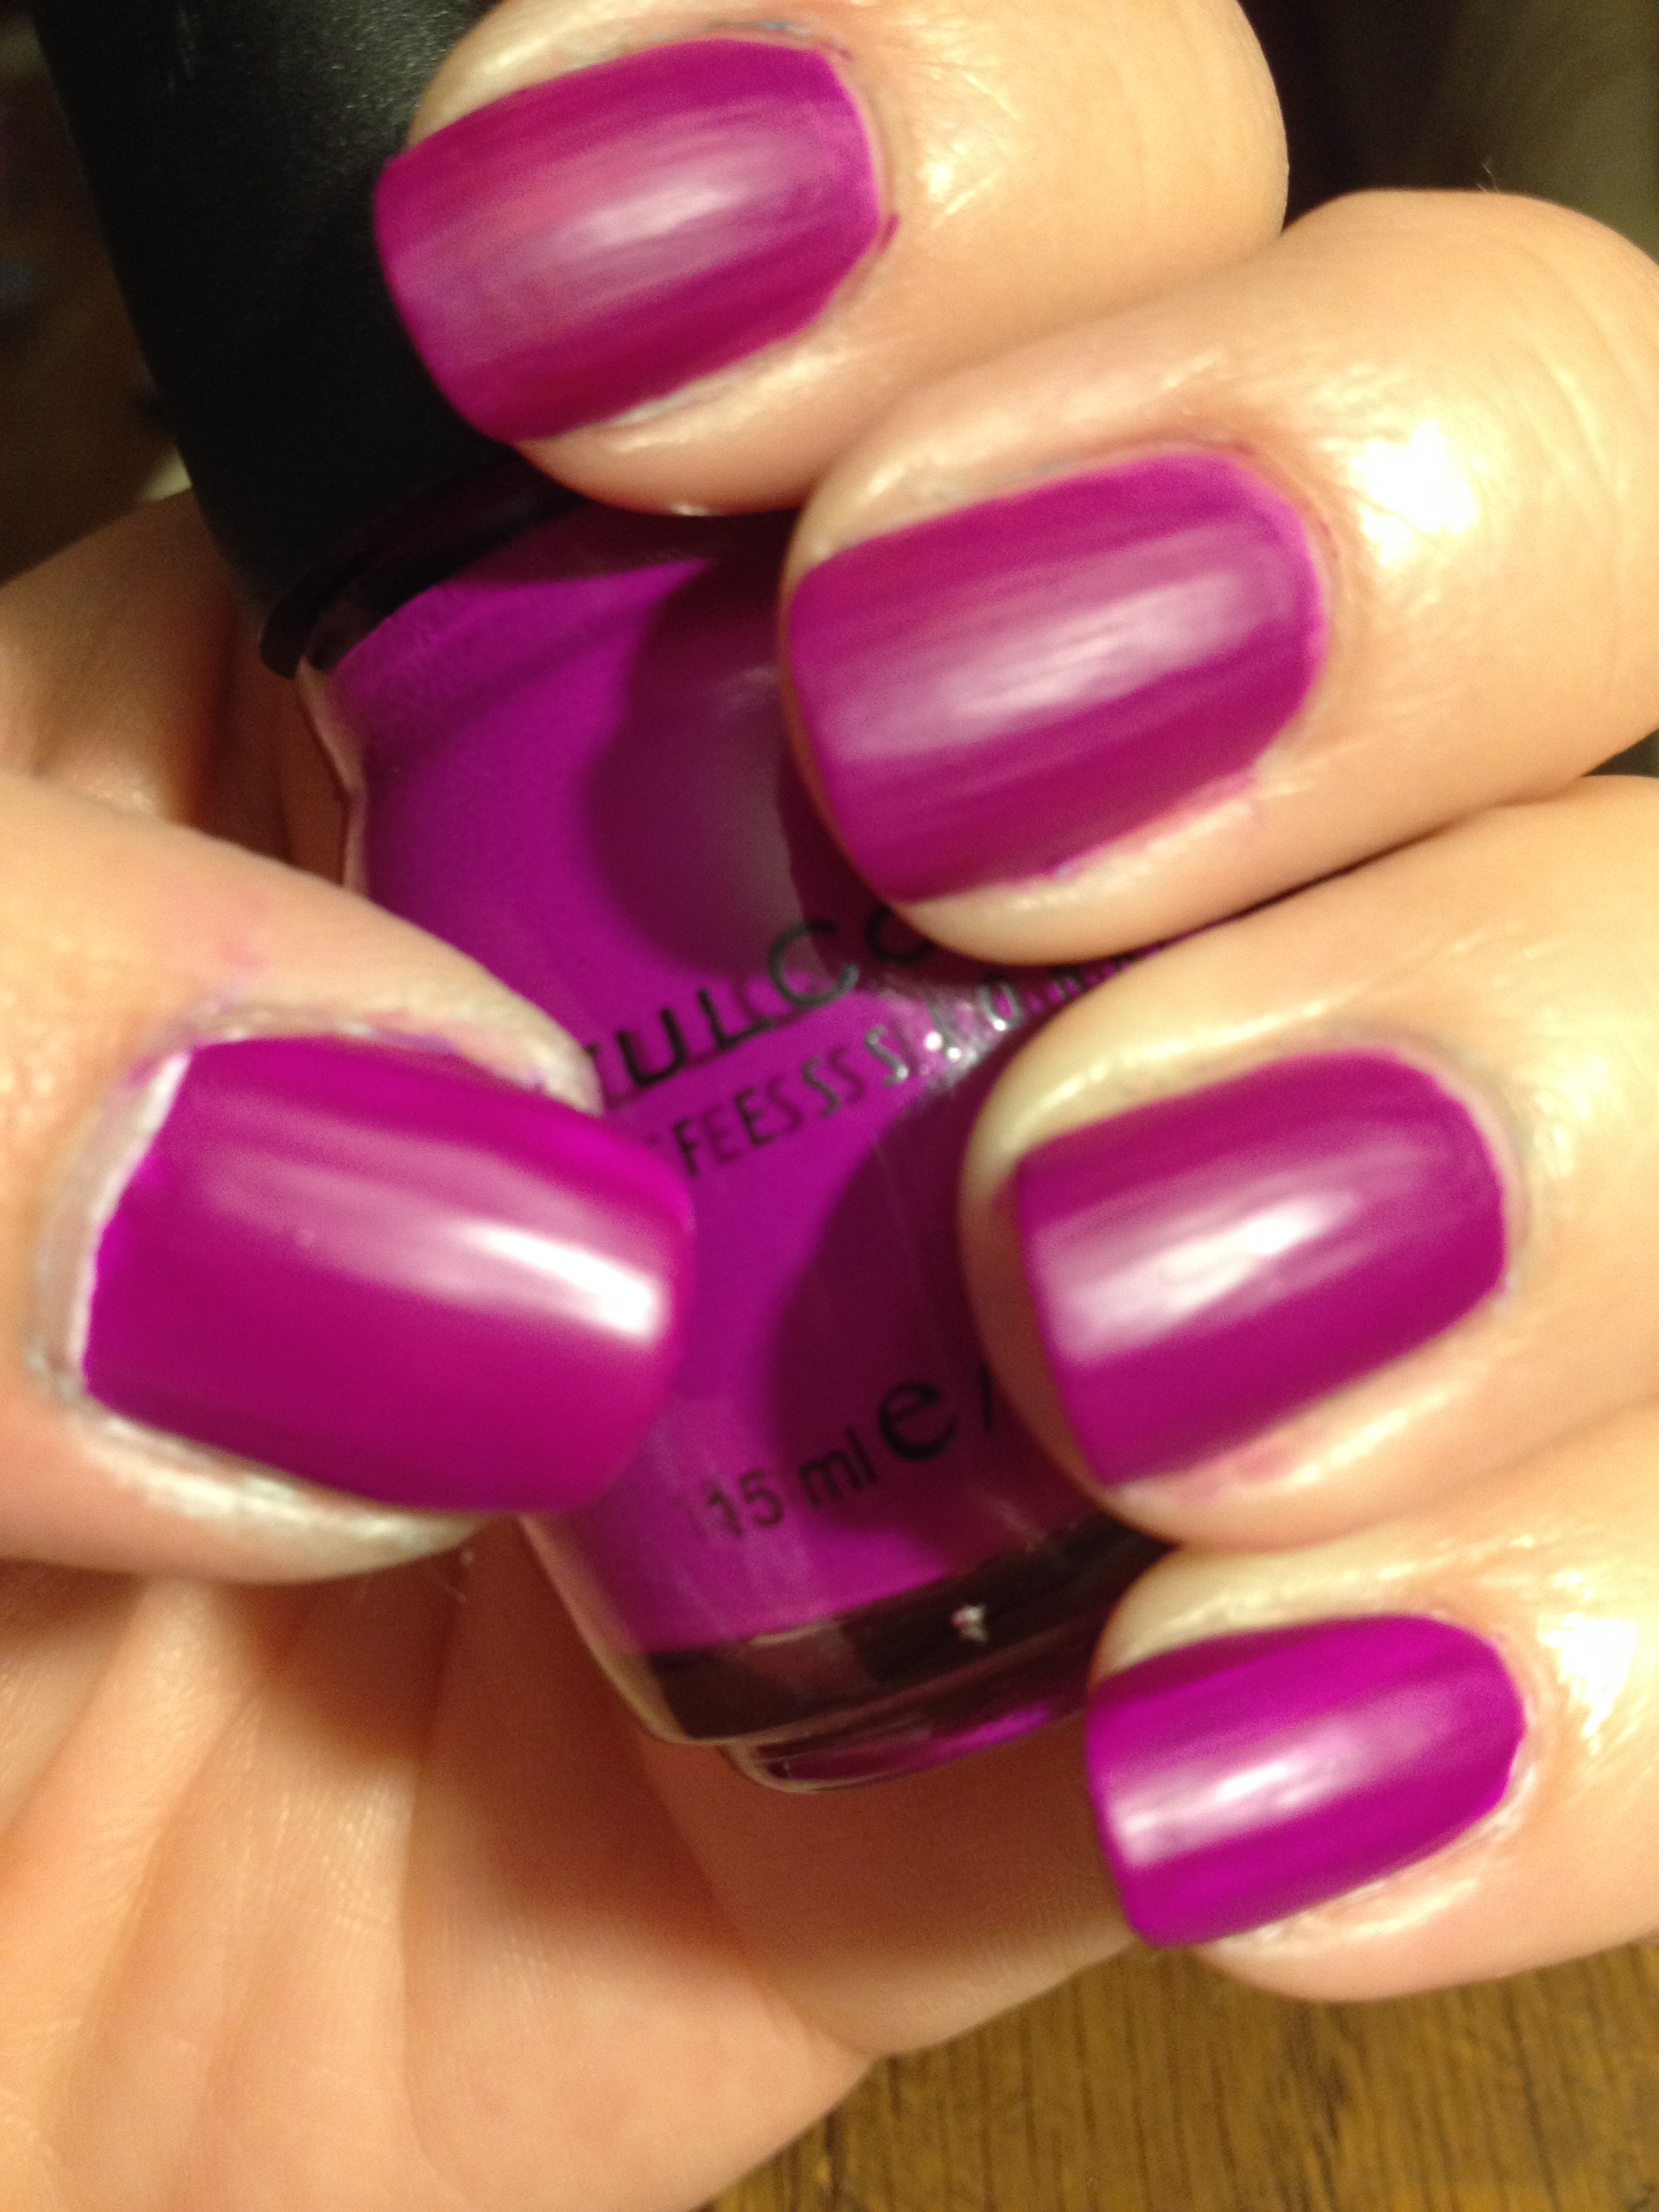
Sinful Colors – Dream On:

IMG_2599

This neon purple looks okay if you do 4 coats on it’s own, but a white coat underneath just makes it pop.

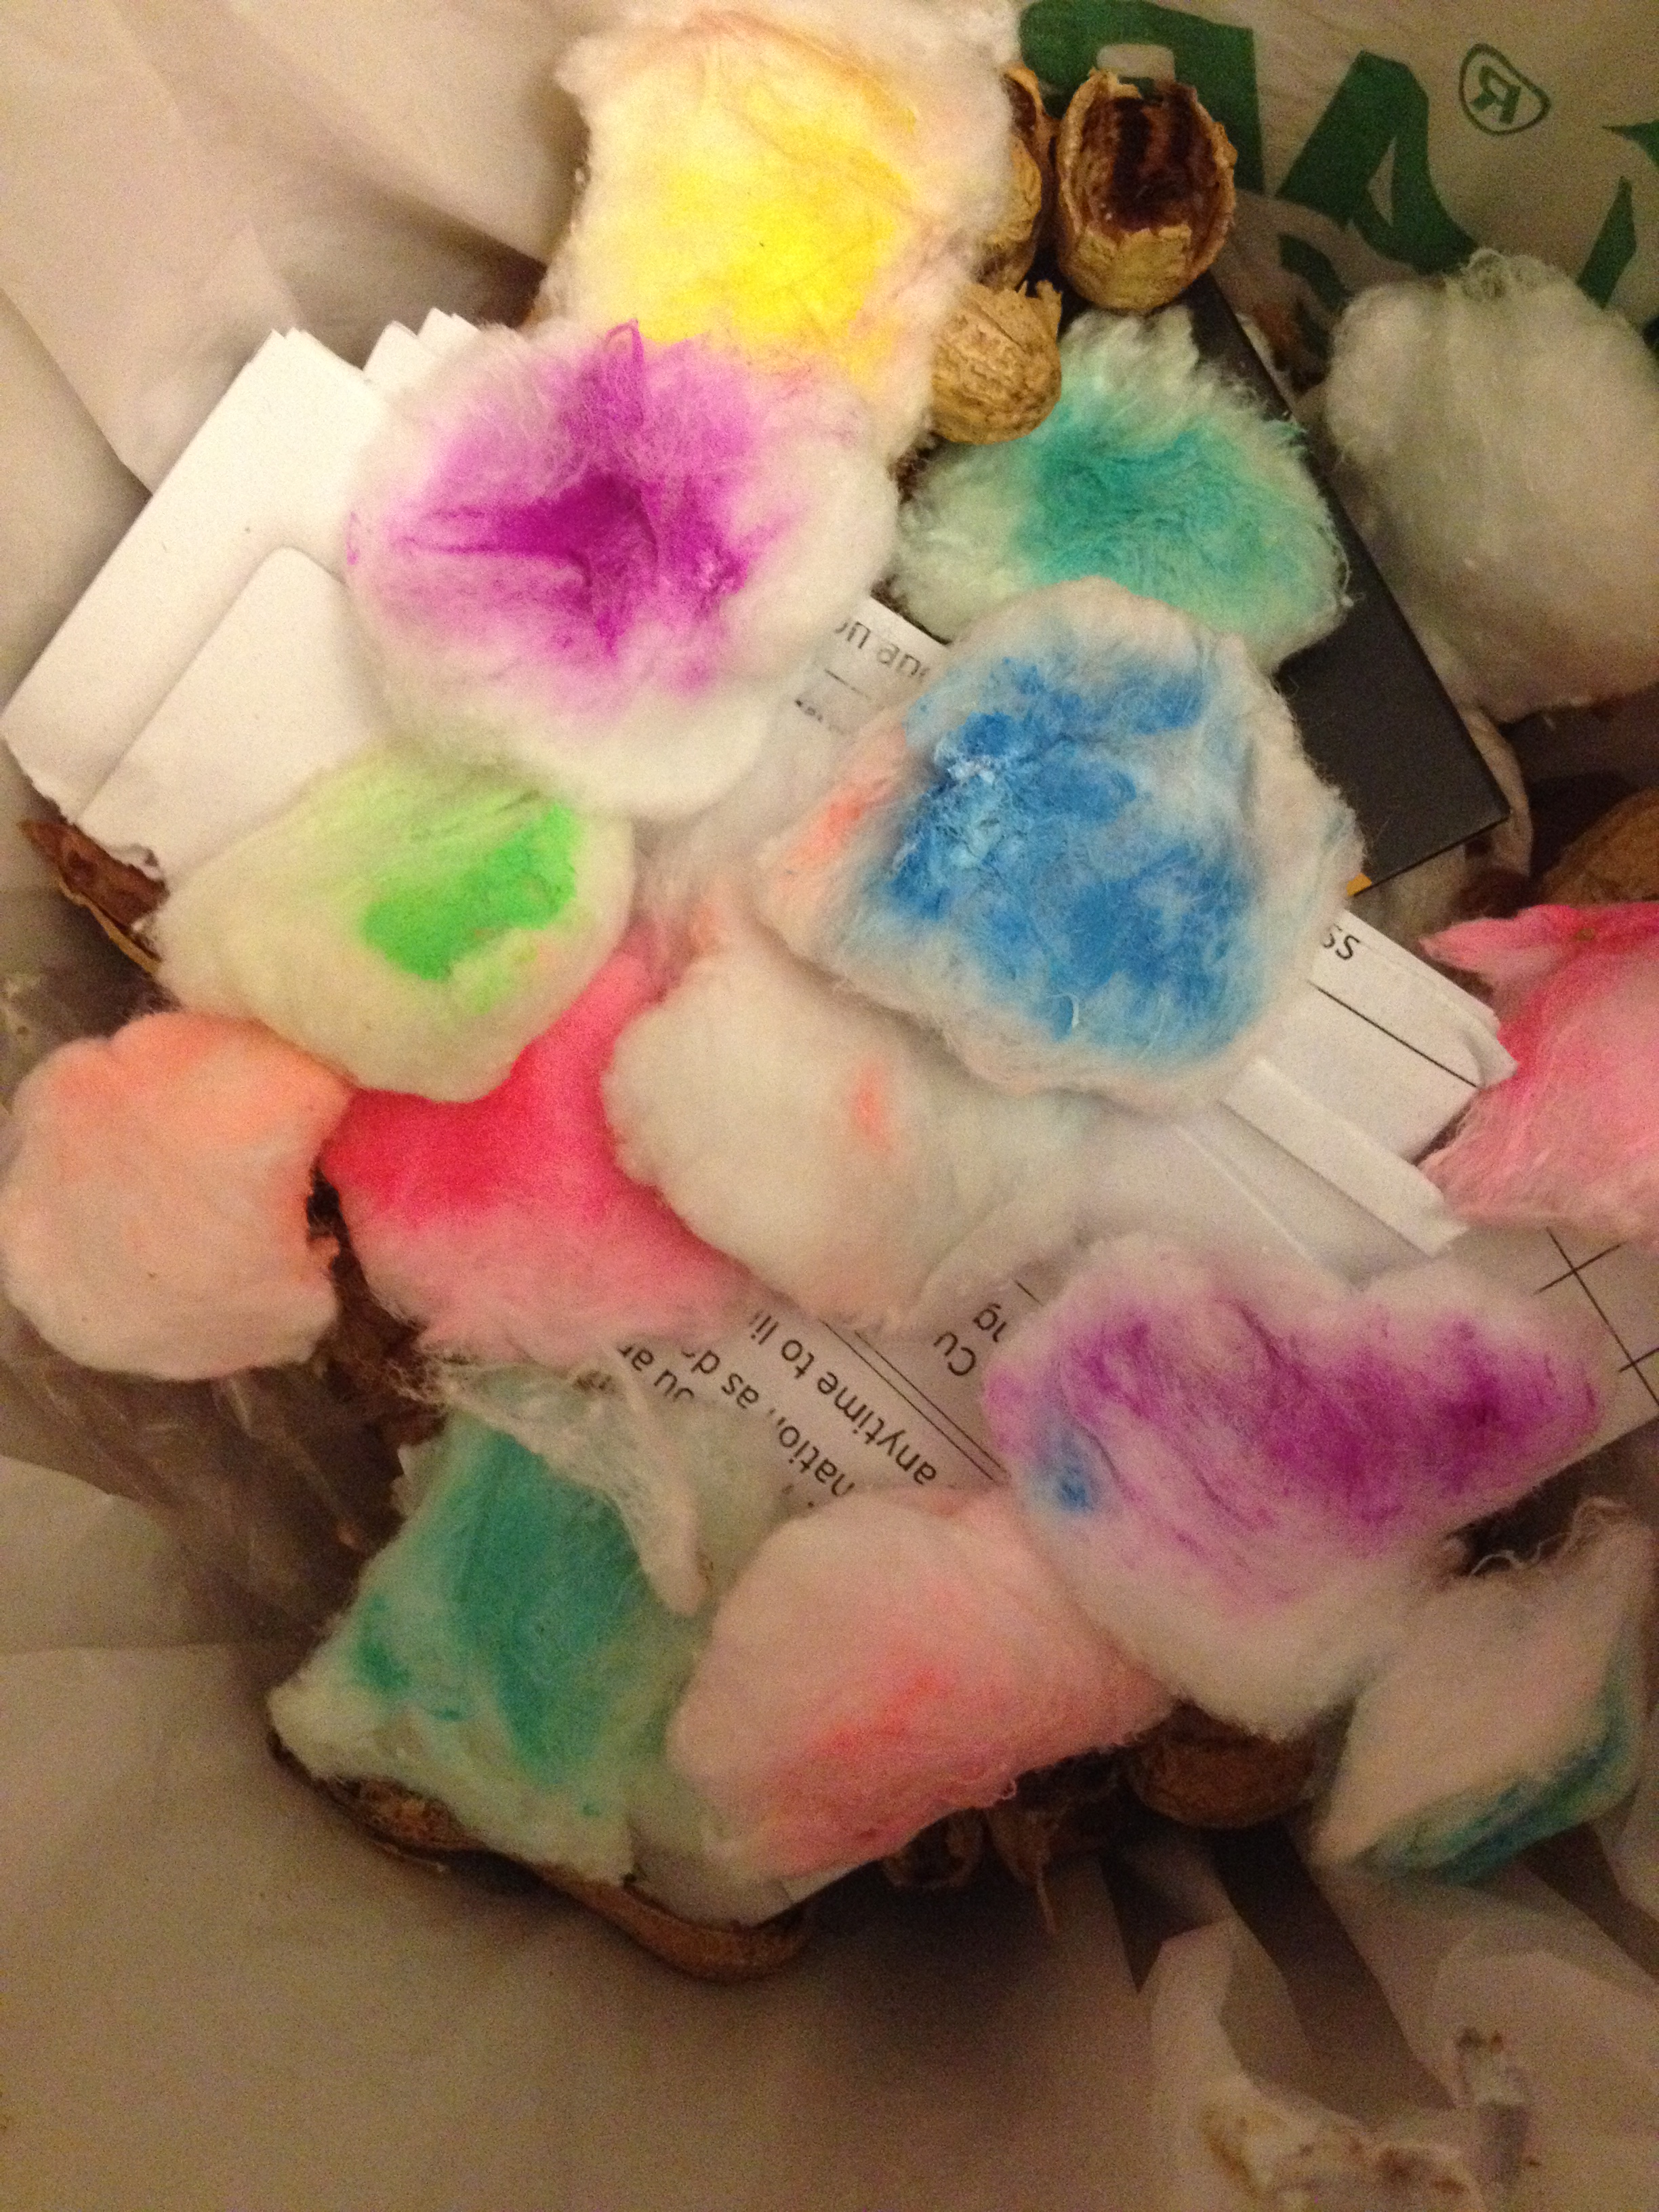
And here’s my little trash can by the end of The Bachelorette:

IMG_2600

You can see some of my husband’s peanut shells underneath.  He feels that it is important to shell and eat peanuts while he watches baseball on TV.   So, as long has he doesn’t complain about the nail polish bottles that are strewn all over our house, I won’t complain about the peanut skins that land on the carpet.  The things you do for love.

What are your thoughts on applying a white base under neons?  And what are your favorite neon polishes?


Sally Hansen Electric Summer Collection

Today in Kmart, I spotted the new limited edition summer collection from Sally Hansen: Electric Summer.  Apparently, this collection has been around for several weeks, but I somehow have managed not to see it until today.  Anyway, here’s what the display looks like:

IMG_2577

Sorry for the quick, crappy picture.  While I was in Kmart, a massive thunderstorm was moving toward my house and I had wash on the line, so I was sort of hustling to get out of there.

My first thought (besides how wet my clothes on the line were going to get) was that they are very pretty colors, and it’s a nice change from the neon collections that pretty much every other brand puts out in the summer.  My second thought was that some of the colors looked really similar to the colors in the regular Xtreme Wear line.  So, I marched my self over to the regular line of polish and did a little comparison.

IMG_2570

That’s Kelp Yourself from Electric Summer on the left, and Mint Sorbet on the Right.  Mint Sorbet might be a little more yellow, than Kelp Yourself, but I say these are REALLY close.

IMG_2574

That’s Wet Suit from Electric summer on the left and Breezy Blue on the right.  Wet suit is a little bit darker, but again, these are really close.

IMG_2572

That’s Water Orchid from Electric summer on the left and Lacey Lilac on the right.  These two aren’t as close of a match as the other two, but they’re not so different either.   I just notices something:  the Xtream Wear logo is a little different on the Lacey Lilac label than on the other bottles.  Must be an old bottle.

Really, Sally Hansen.  I think you can be a little more creative next time.  If your limited edition collections are going to feature colors that are so similar to colors in your regular line, at least put some shimmer in them, or make them a jelly formula or something.

Ultimately, I didn’t buy any of the Electric summer collection, because I didn’t feel like any of the colors was really new or exciting or unique.  If I would have bought any of them, it would have totally been Floaties, the pretty peach color that is second from the right in the display… But I didn’t buy it, so I guess I didn’t love it that much.

Anyway, what do you think of this collection?  Have you tried any of the colors?


Four Days of Wear

I’m getting ready to take my current polish off to do some swatches for you, but I thought I should show you something first. Here are my nails after 4 days of wear, one of which involved 2+ hours of yard work:

IMG_2568IMG_2569

You can see a little bit of nail growth at the cuticle, and the tiniest bit of wear on the tip of my first finger, but that’s it.  (In retrospect, I probably should have taken a picture of my right hand, since that’s my dominant hand, but really, the wear is about the same.)

Anyway, my point is that this is why you should use a base and a top coat.  My polish would chip in a day if I didn’t.  For this particular manicure, I used Revlon Quick Dry Base Coat, 2 coats of NYC In a New York Minute Amazon green, and Seche Vite Dry Fast Top Coat.  In the near future, I am planing to put a few base coats and top coats up against each other in an attempt to find out which ones really are the best, but so far I’ve never been disappointed by the Revlon base coat/Seche Vite top coat combination.

I’m off to write a much more substantial post now on how to make your neon polish look as awesome as possible.  Until next time, happy polishing!


And So It Begins…

Hi Friends! Welcome to my blog!

I paint my nails a lot.  I’ve always enjoyed nail art and nail polish.  I think I bought my first nail art book when I was in high school.  (Yes, the internet was only a baby back then, so people would by books made out of paper when they wanted to learn stuff.)  I actually used to use pieces of uncooked spaghetti as dotting tools back then.

Since then, I’ve come a long way, and that’s what I hope to share with those of you who are interested!  I’ve had some great opportunities to talk about nails with a lot of you on a one-on-one basis, but I think this will be a much better format to share some of the stuff that I’ve figured out over the years.

I guess it would be sort of a crime to end my first post without at least giving some sort of nail-related tip…  Don’t shake your polish right before you are going to use it.  Roll it around in your hands like they do in the salon.  If you shake it, you’ll make little air bubbles in the polish like this:

IMG_2554

Do you see that?  I was in a hurry last night and I just shook the heck out of that bottle.  I knew it was wrong, but I did it anyway, and now I’m paying for it.

Well, I think that’s about all I’ve got to say for now, but I’ll be back!