Five Below Haul

I went into a Five Below store.  That’s a rarity, because well, I’m a solid 20 years older than their target demographic.   I had been in a Five Below a year or so ago, and I had a vague recollection of seeing nail polish there, so when my path crossed a Five Below a few weeks ago, I figured that it might be worth checking out. Was it ever!

Five Below is a chain of stores that specialize in trendy gadgets and accessories and whatnot  that appeal to the teen and tween crowd, so not surprisingly, the nail polish they carry is all very young and trendy.  They carry two lines of nail polish: Funky Fingers and Fresh Paint.  They were all $2 each or 3 for $5, which you could mix and match between the two lines.  I ended up with 6 polishes.  My little sis was kind enough to let me use her nails for swatching.  Here they are:

Fresh Paint: Guava

IMG_2681

This is a beautiful neon peach.  Although the middle and pinky fingers have a white base underneath, you don’t need it for it to be amazingly bright.  The formula is really great and it’s also a dupe for China Glaze Flip Flop Fantasy!  I had been itching for Flip Flop Fantasy for a few months, but I didn’t want to spend $7.  I actually went into a Sally Beauty Supply right after I picked this up and did a little comparison, and yep, they’re identical.

Fresh Paint: Sugar Crush

IMG_2686

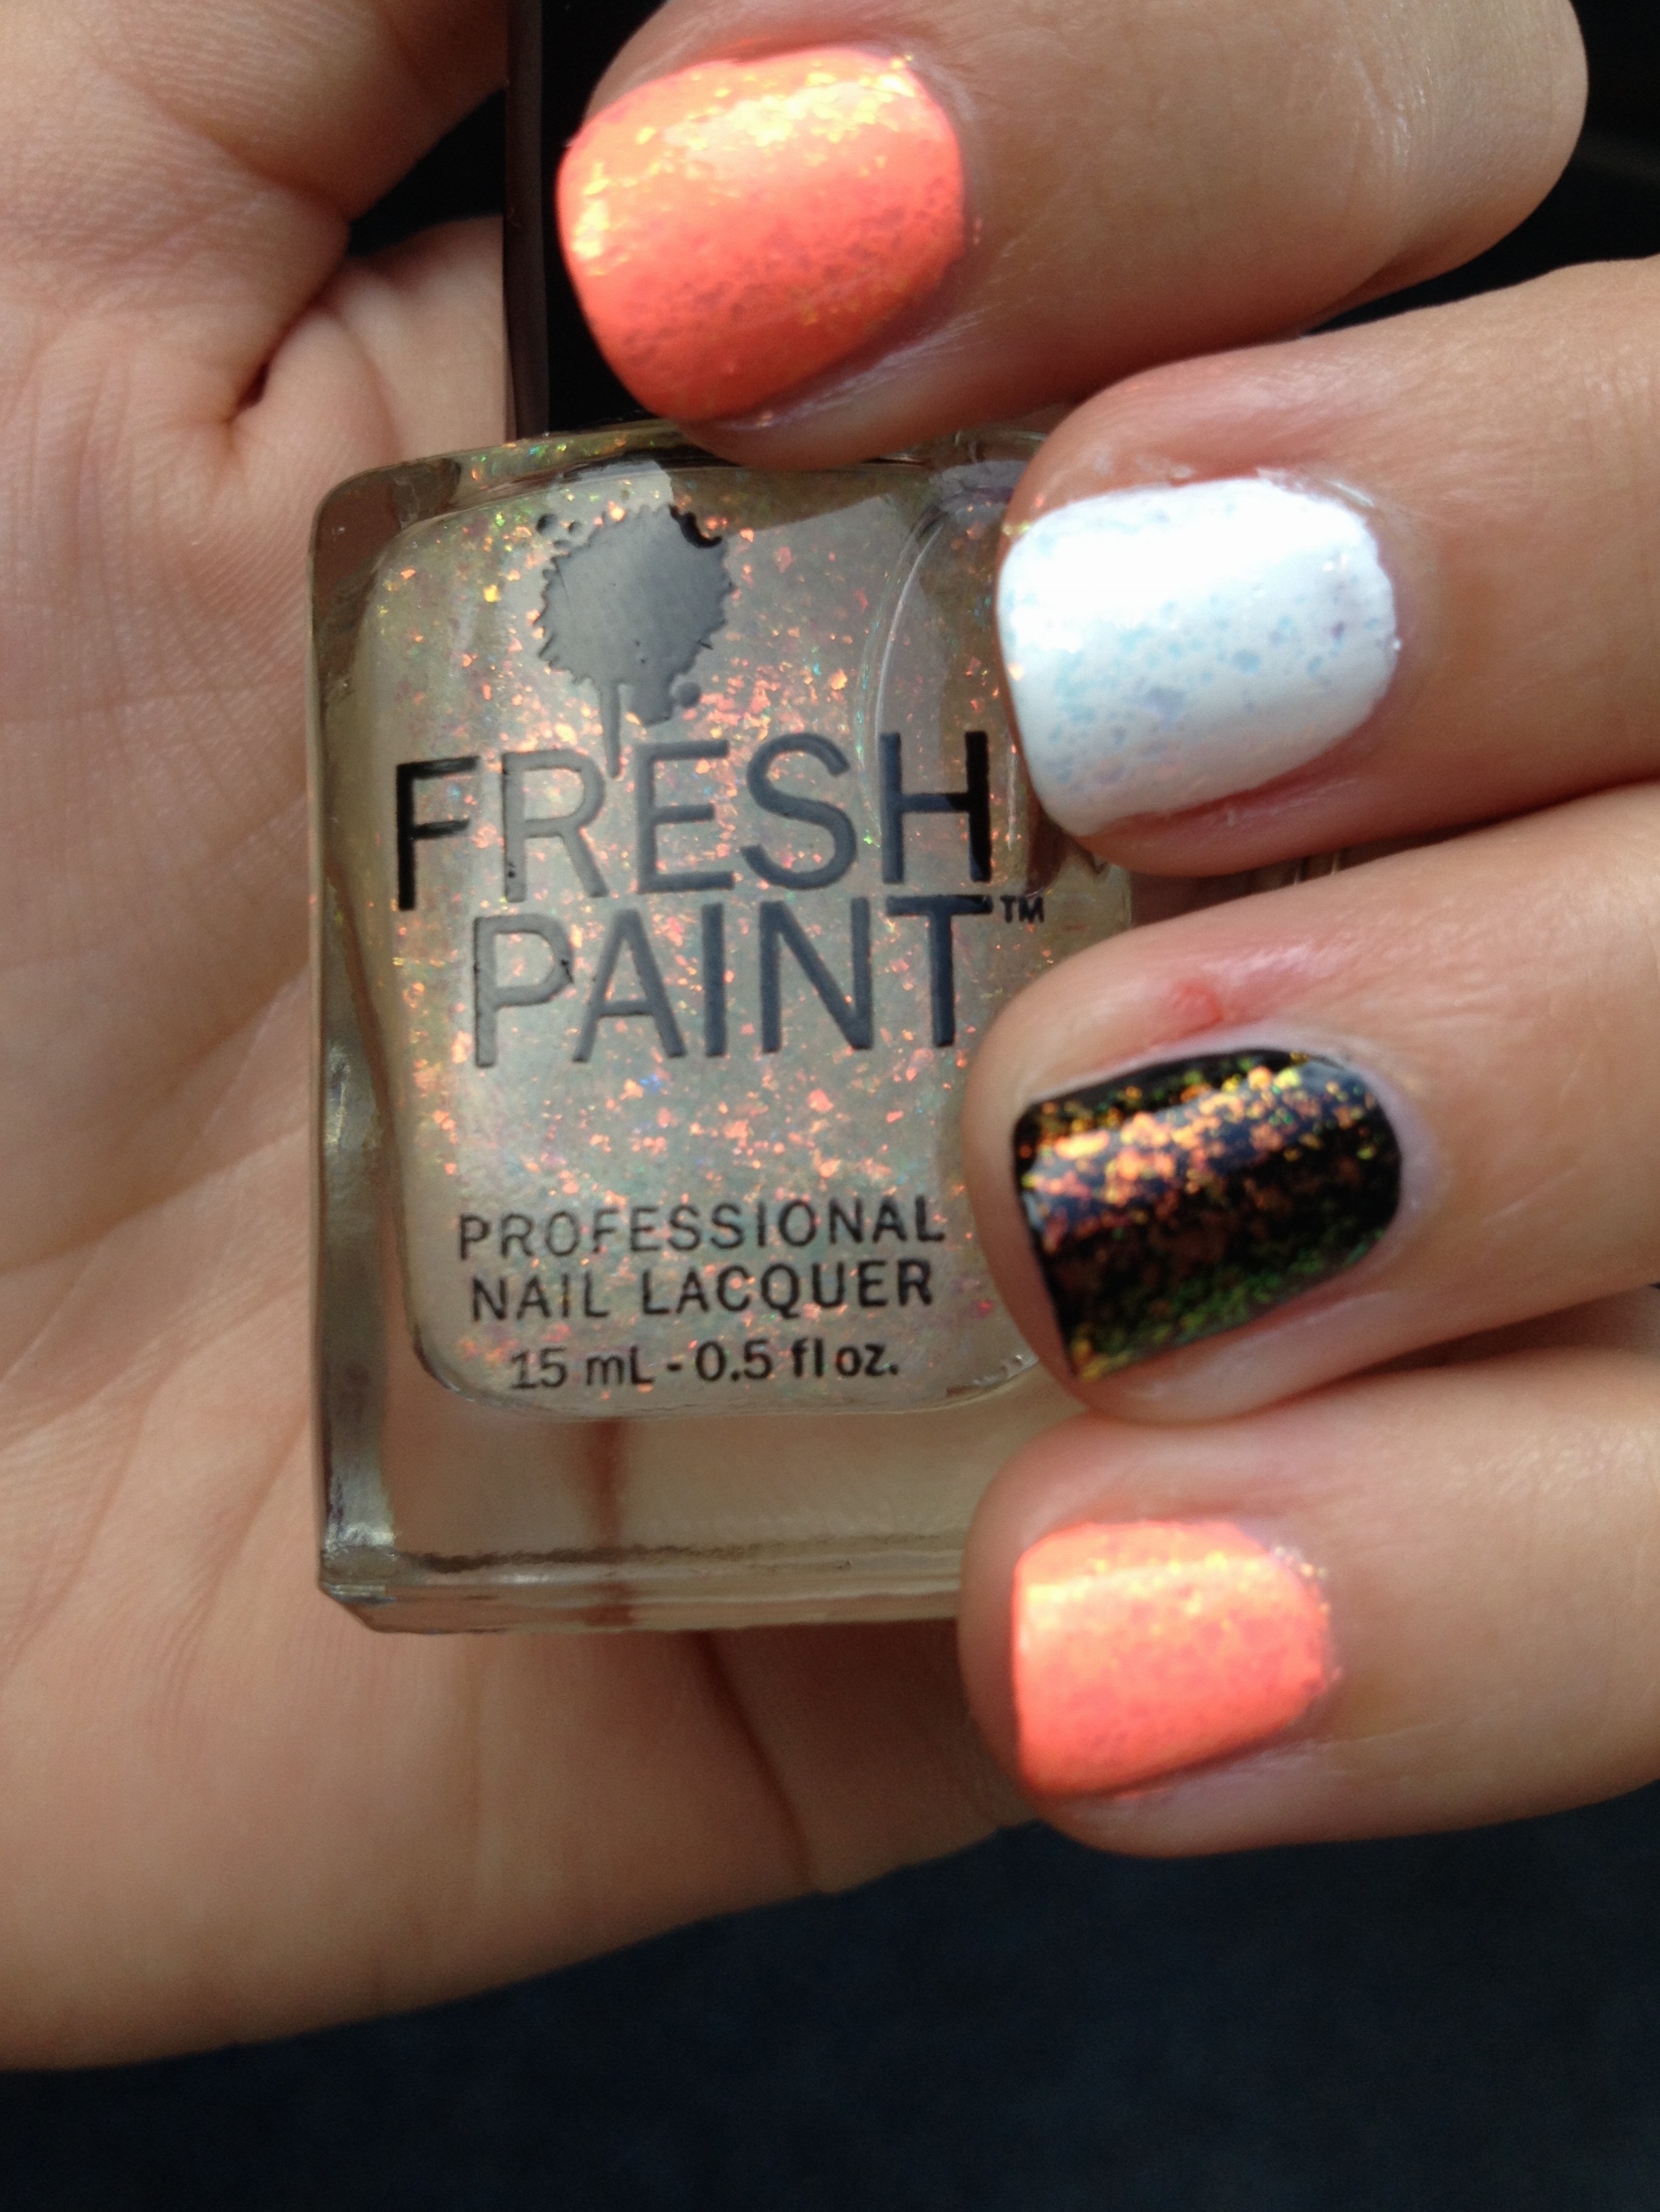
This is an iridescent topper that pulls primarily orange, but also green, blue and yellow. It’s not really a glitter, but little flakes.  We tried it over Guava, white and black.  It looked great over Guava!  It sort of took Guava from just neon to classy neon.  It was not that amazing over white, but it was really fun over black!  I’m definitely going to be wearing it over black in the cooler months.

Funky Fingers: Glowstick

IMG_2690

This is a neon yellow that leans a little toward the green side of things with a subtle iridescent sheen.  Again, the middle and pinky fingers have a white base, which did make this polish a little brighter.

Funky Fingers: Pep Rally

IMG_2691

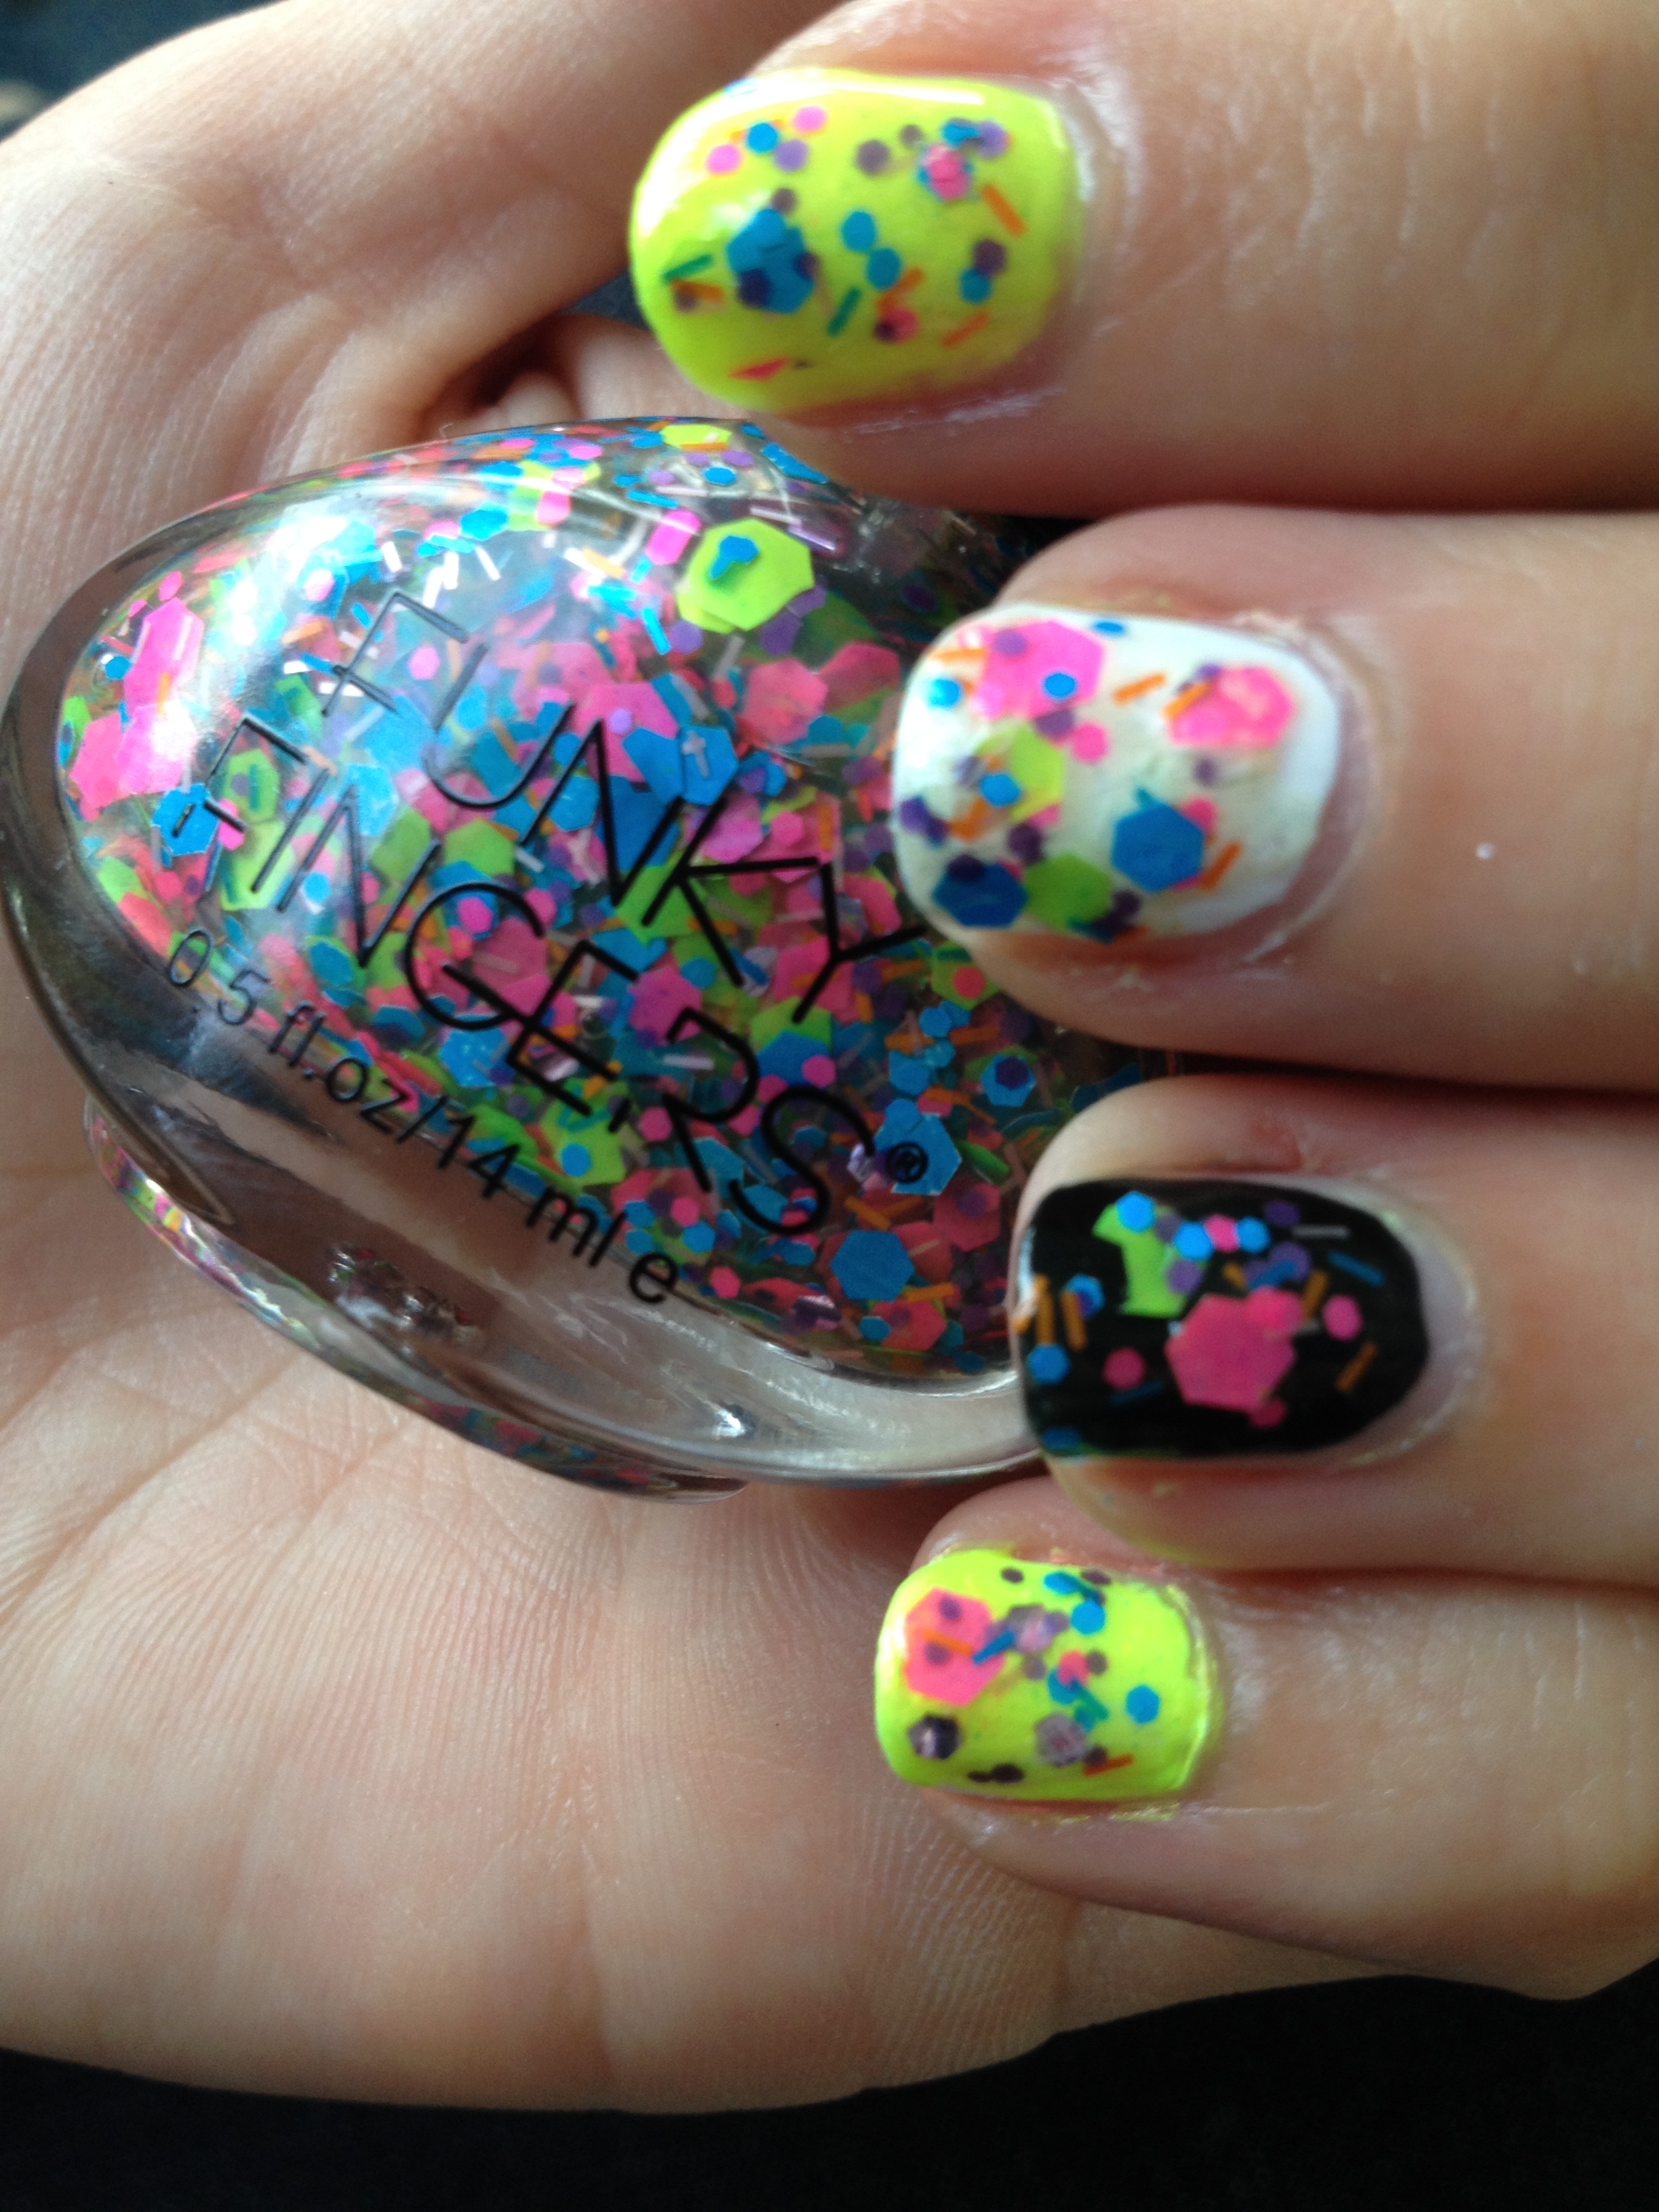
This is a really fun neon glitter with matte blue and pink hexes in different sizes, big green iridescent hexes, small metallic purple hexes, and small orange and purple bar glitter.  We swatched this glitter over Glowstick, white and black.  It really looked cool over all of those colors!  There are a few drawbacks with this polish.  The clear base is really thick and a little hard to work with.  I think I will end up using the makeup sponge method to apply this glitter.  Also, the glitters themselves were pretty thick, so it may take 2 or three layers of a thick top coat like Seche Vite to make the nails smooth.

Funky Fingers: Unicorn Farts

IMG_2694

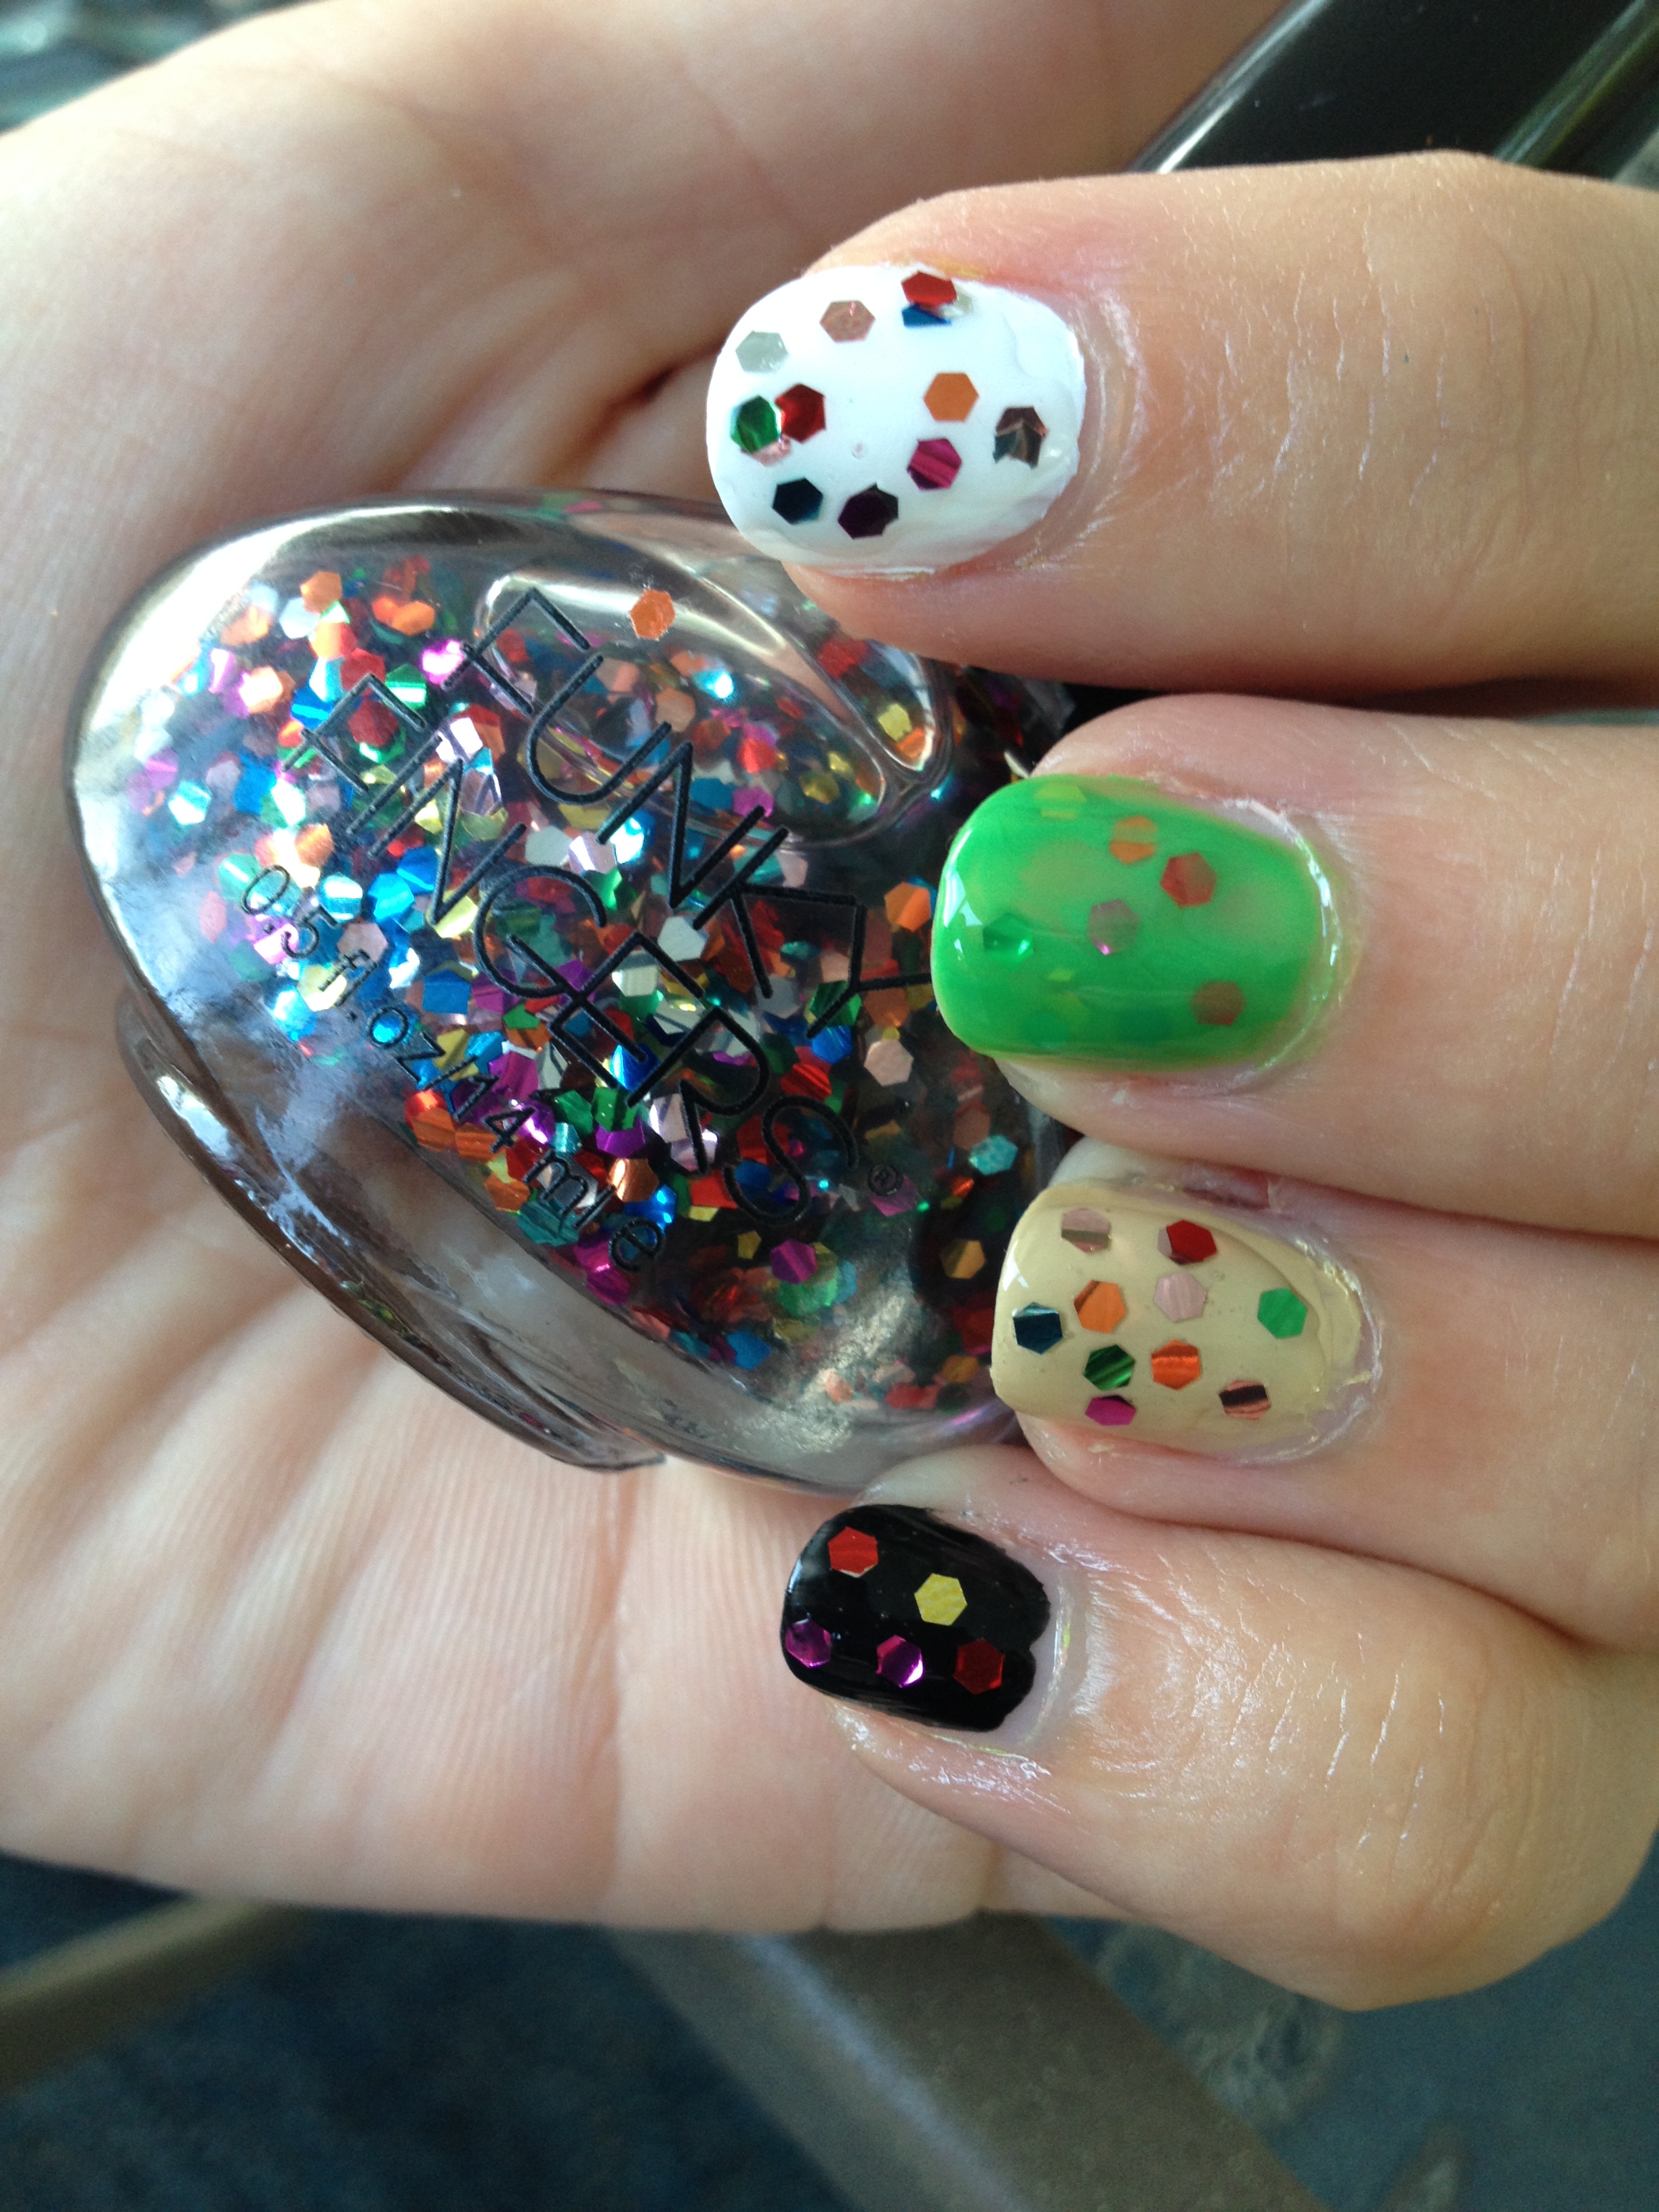
This polish is all medium size metallic hex glitters in pretty much every color.  The glitter gives off light is a linear sort of way that gives the glitter the appearance of being curved, but it actually does lay flat on the nail.  The clear base is similar to that of Pep Rally, so I think I’m going to end up using the makeup sponge method with this one as well.  We tested it over white, black, nude, and green.  Actually, with the green I attempted a jelly sandwich, but it got a little thick and goopy   because of the thick clear base. This polish is just really fun and shiny and versatile, so I know I’ll get a lot of use out of it.

Funky Fingers: Sand & Stilettos

IMG_2695 IMG_2698

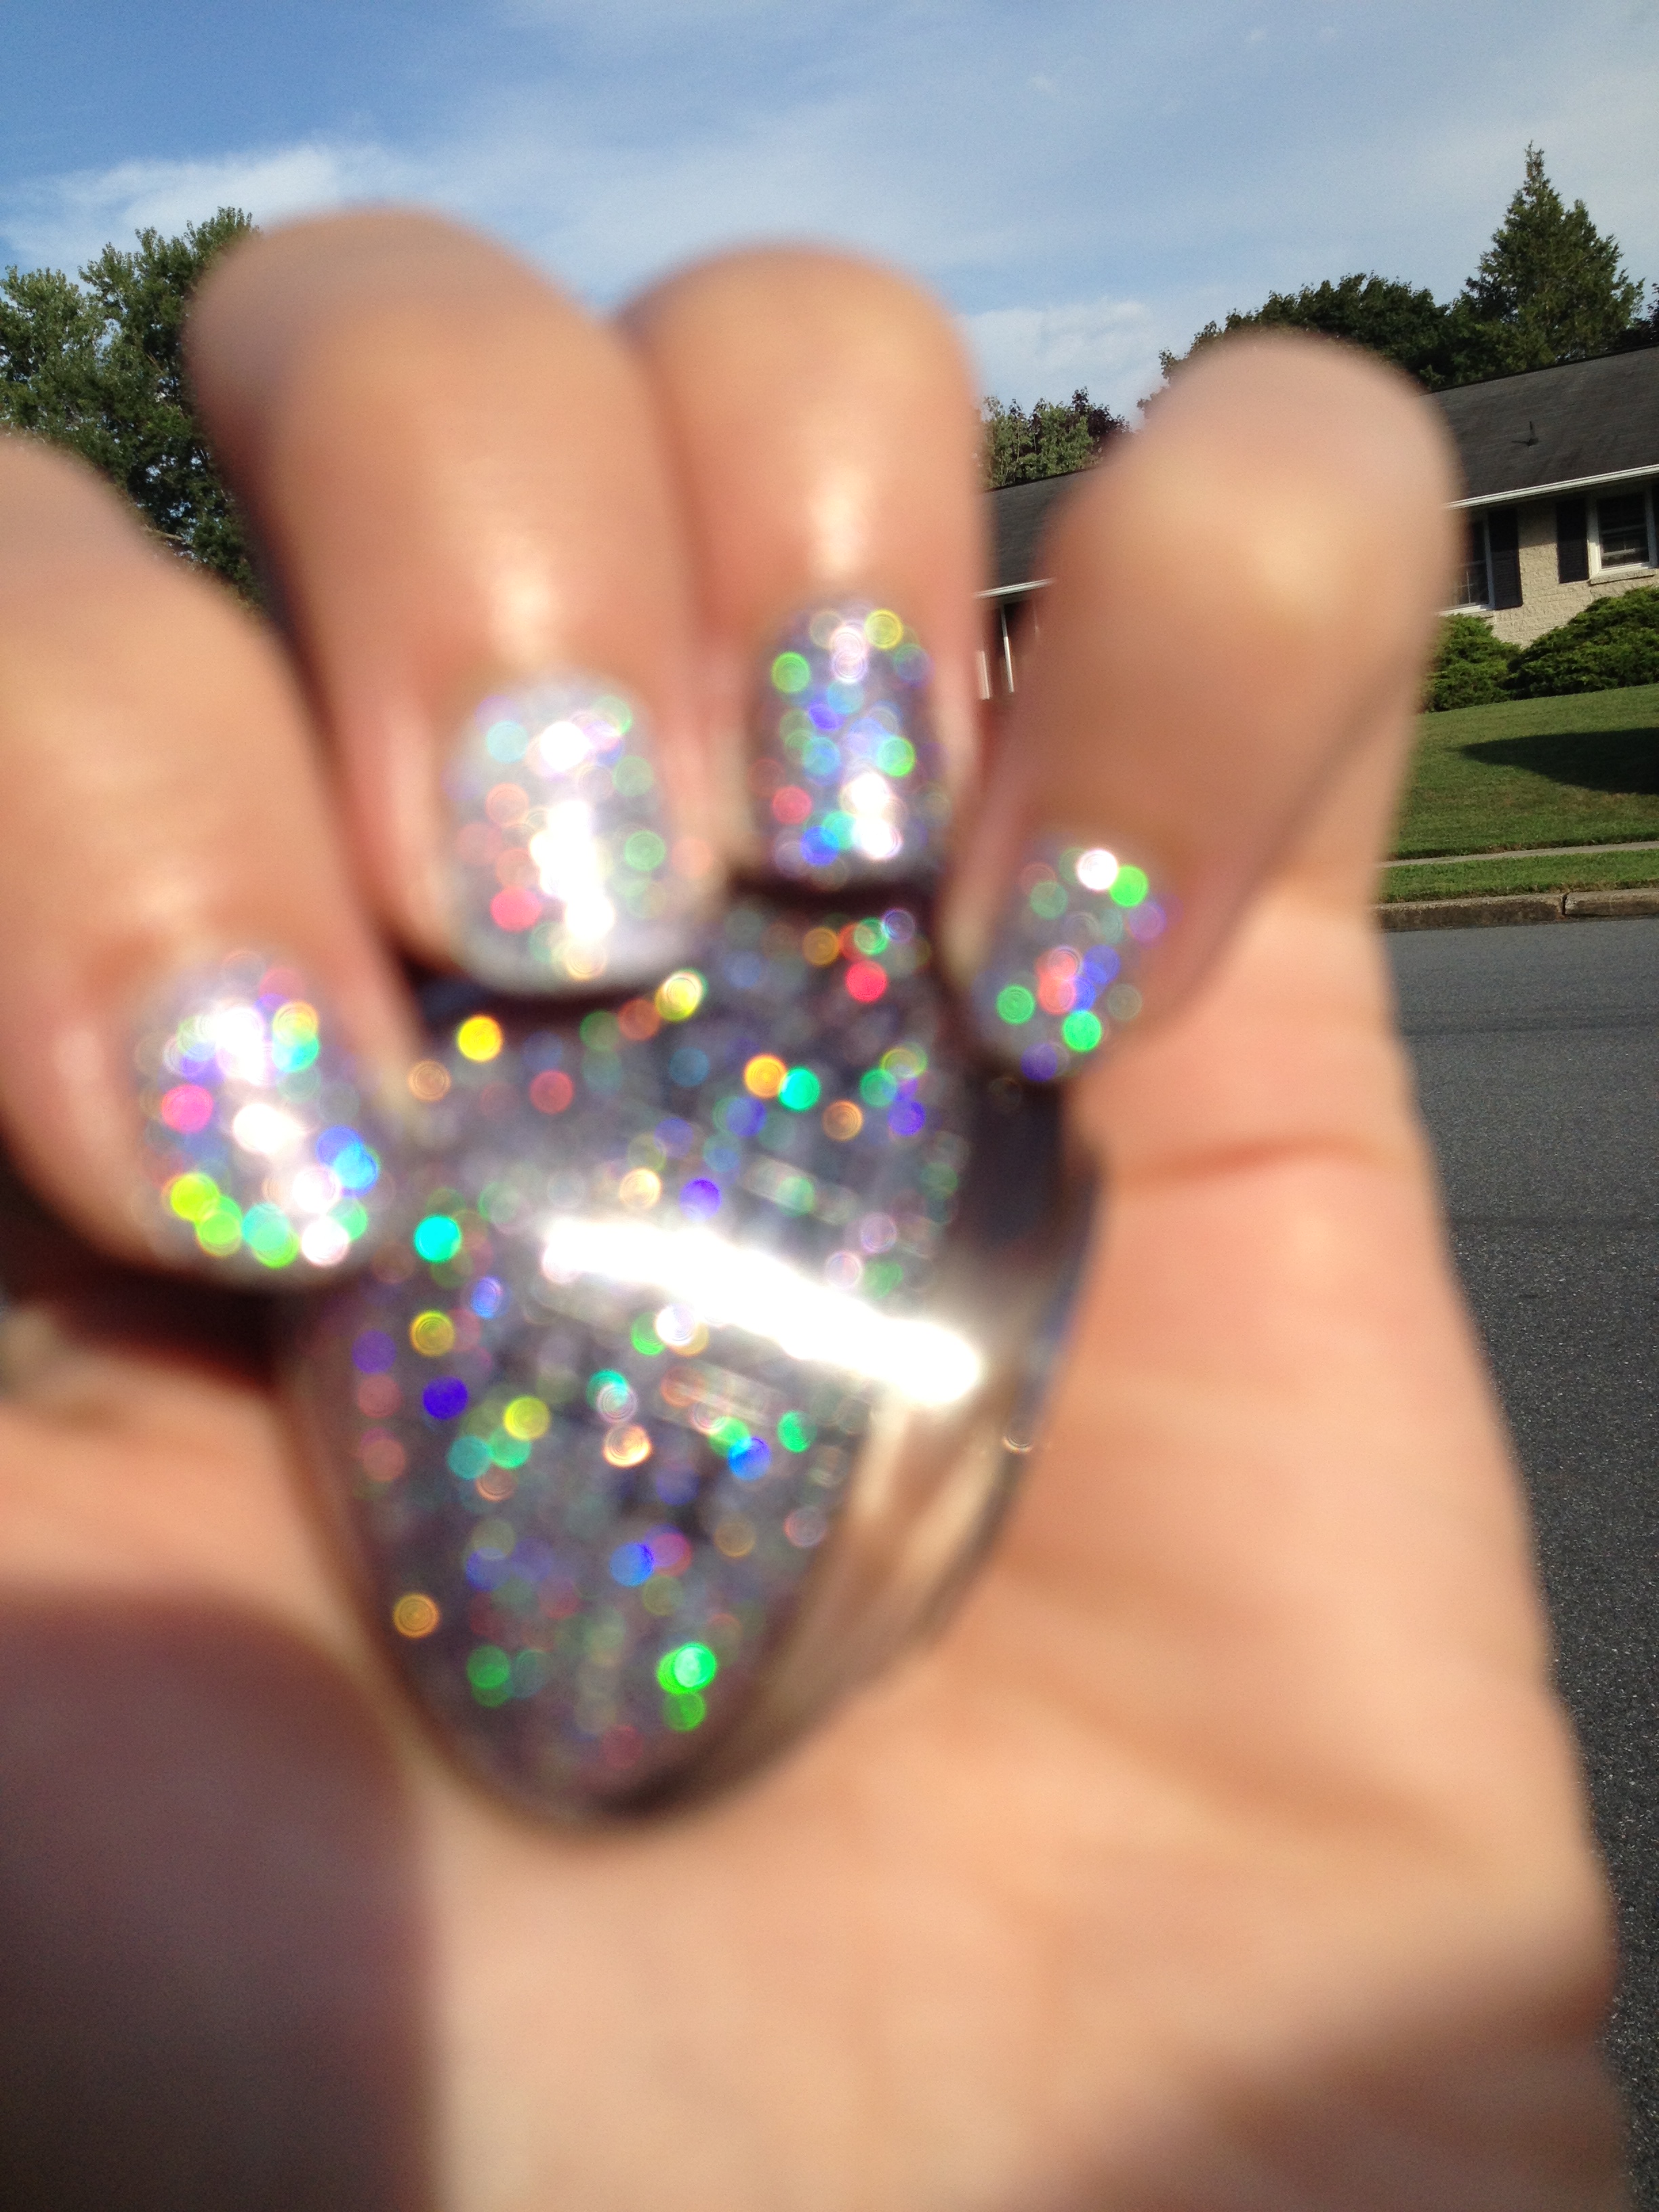
This polish should be called The Most Sparkly Polish In The World.  these pictures just aren’t doing it justice.  This is a light purple -almost gray- holographic micro glitter.  In the picture, I believe we have 3 coats on bare nail on the first, two coats over white on the middle finger, and two coats over black on the ring finger.  The glitter is so dense, that it’s opaque in 3 coats, which is pretty amazing.  There are two kinds of holographic glitters: scattered and linear.  Scattered reflect all different colors all over the place.  Linear reflects a more defined rainbow so that you can actually see bands of color.  I really feel this polish is both scattered and linear.  You definitely get different colored sparkles all over the nail, but when sunlight hits the bottle of polish, I can see a rainbow, too.  I have this color on my toes now and I just feel like my toenails are covered in tiny diamonds.   Seriously, it’s the kind of polish that you just can’t stop staring at.

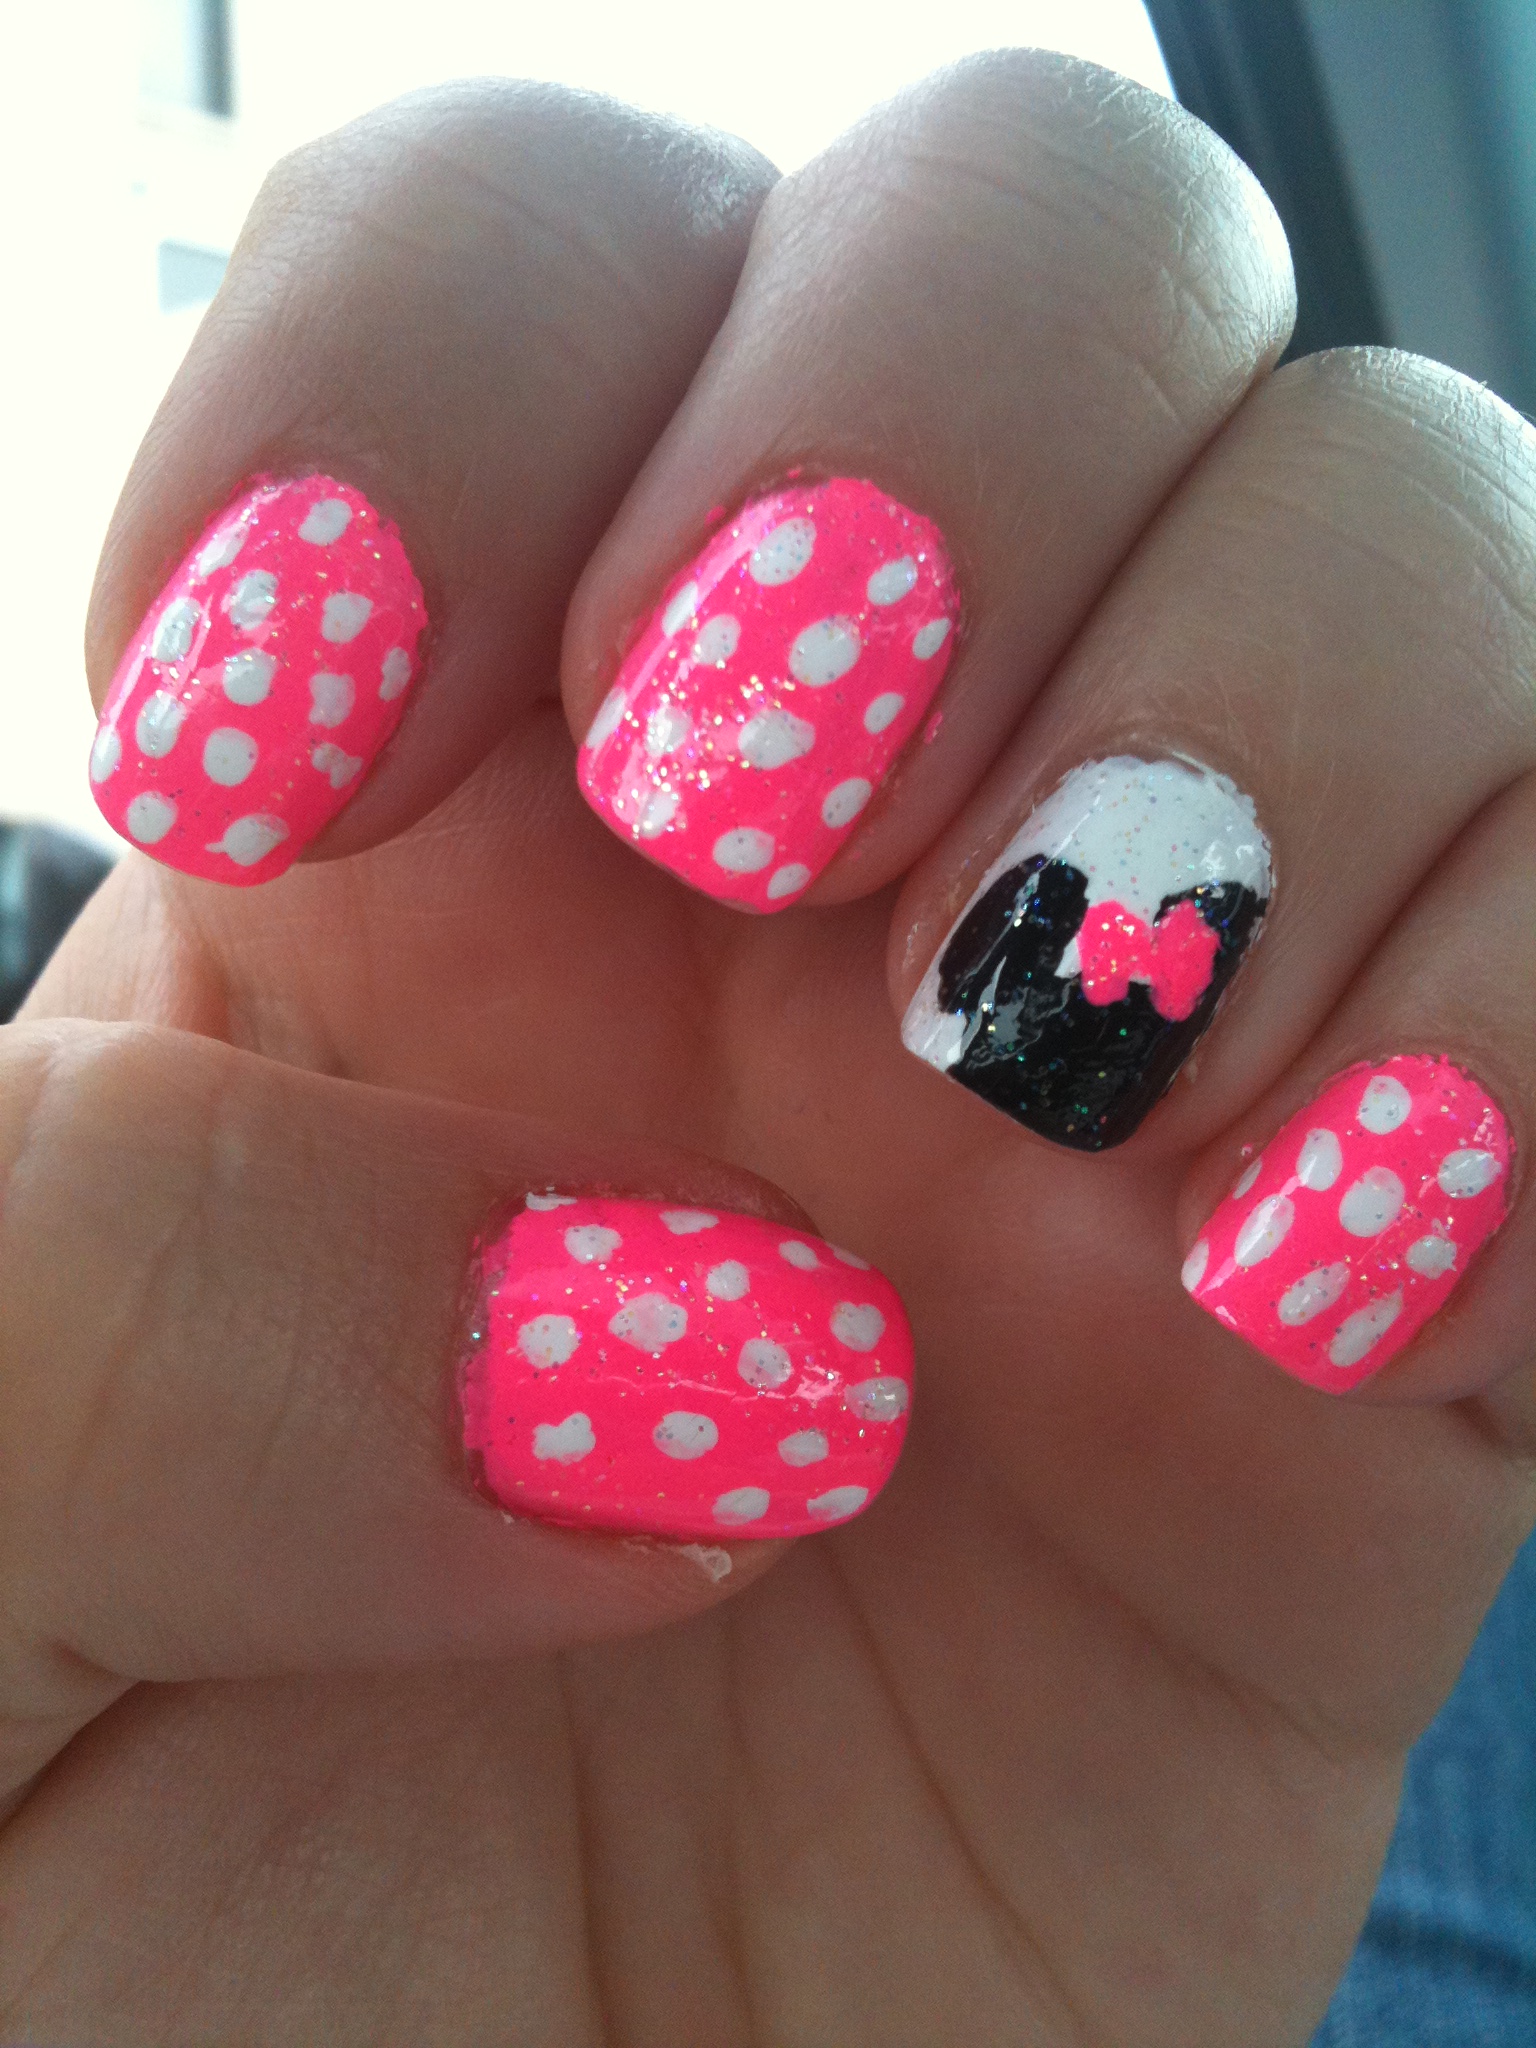
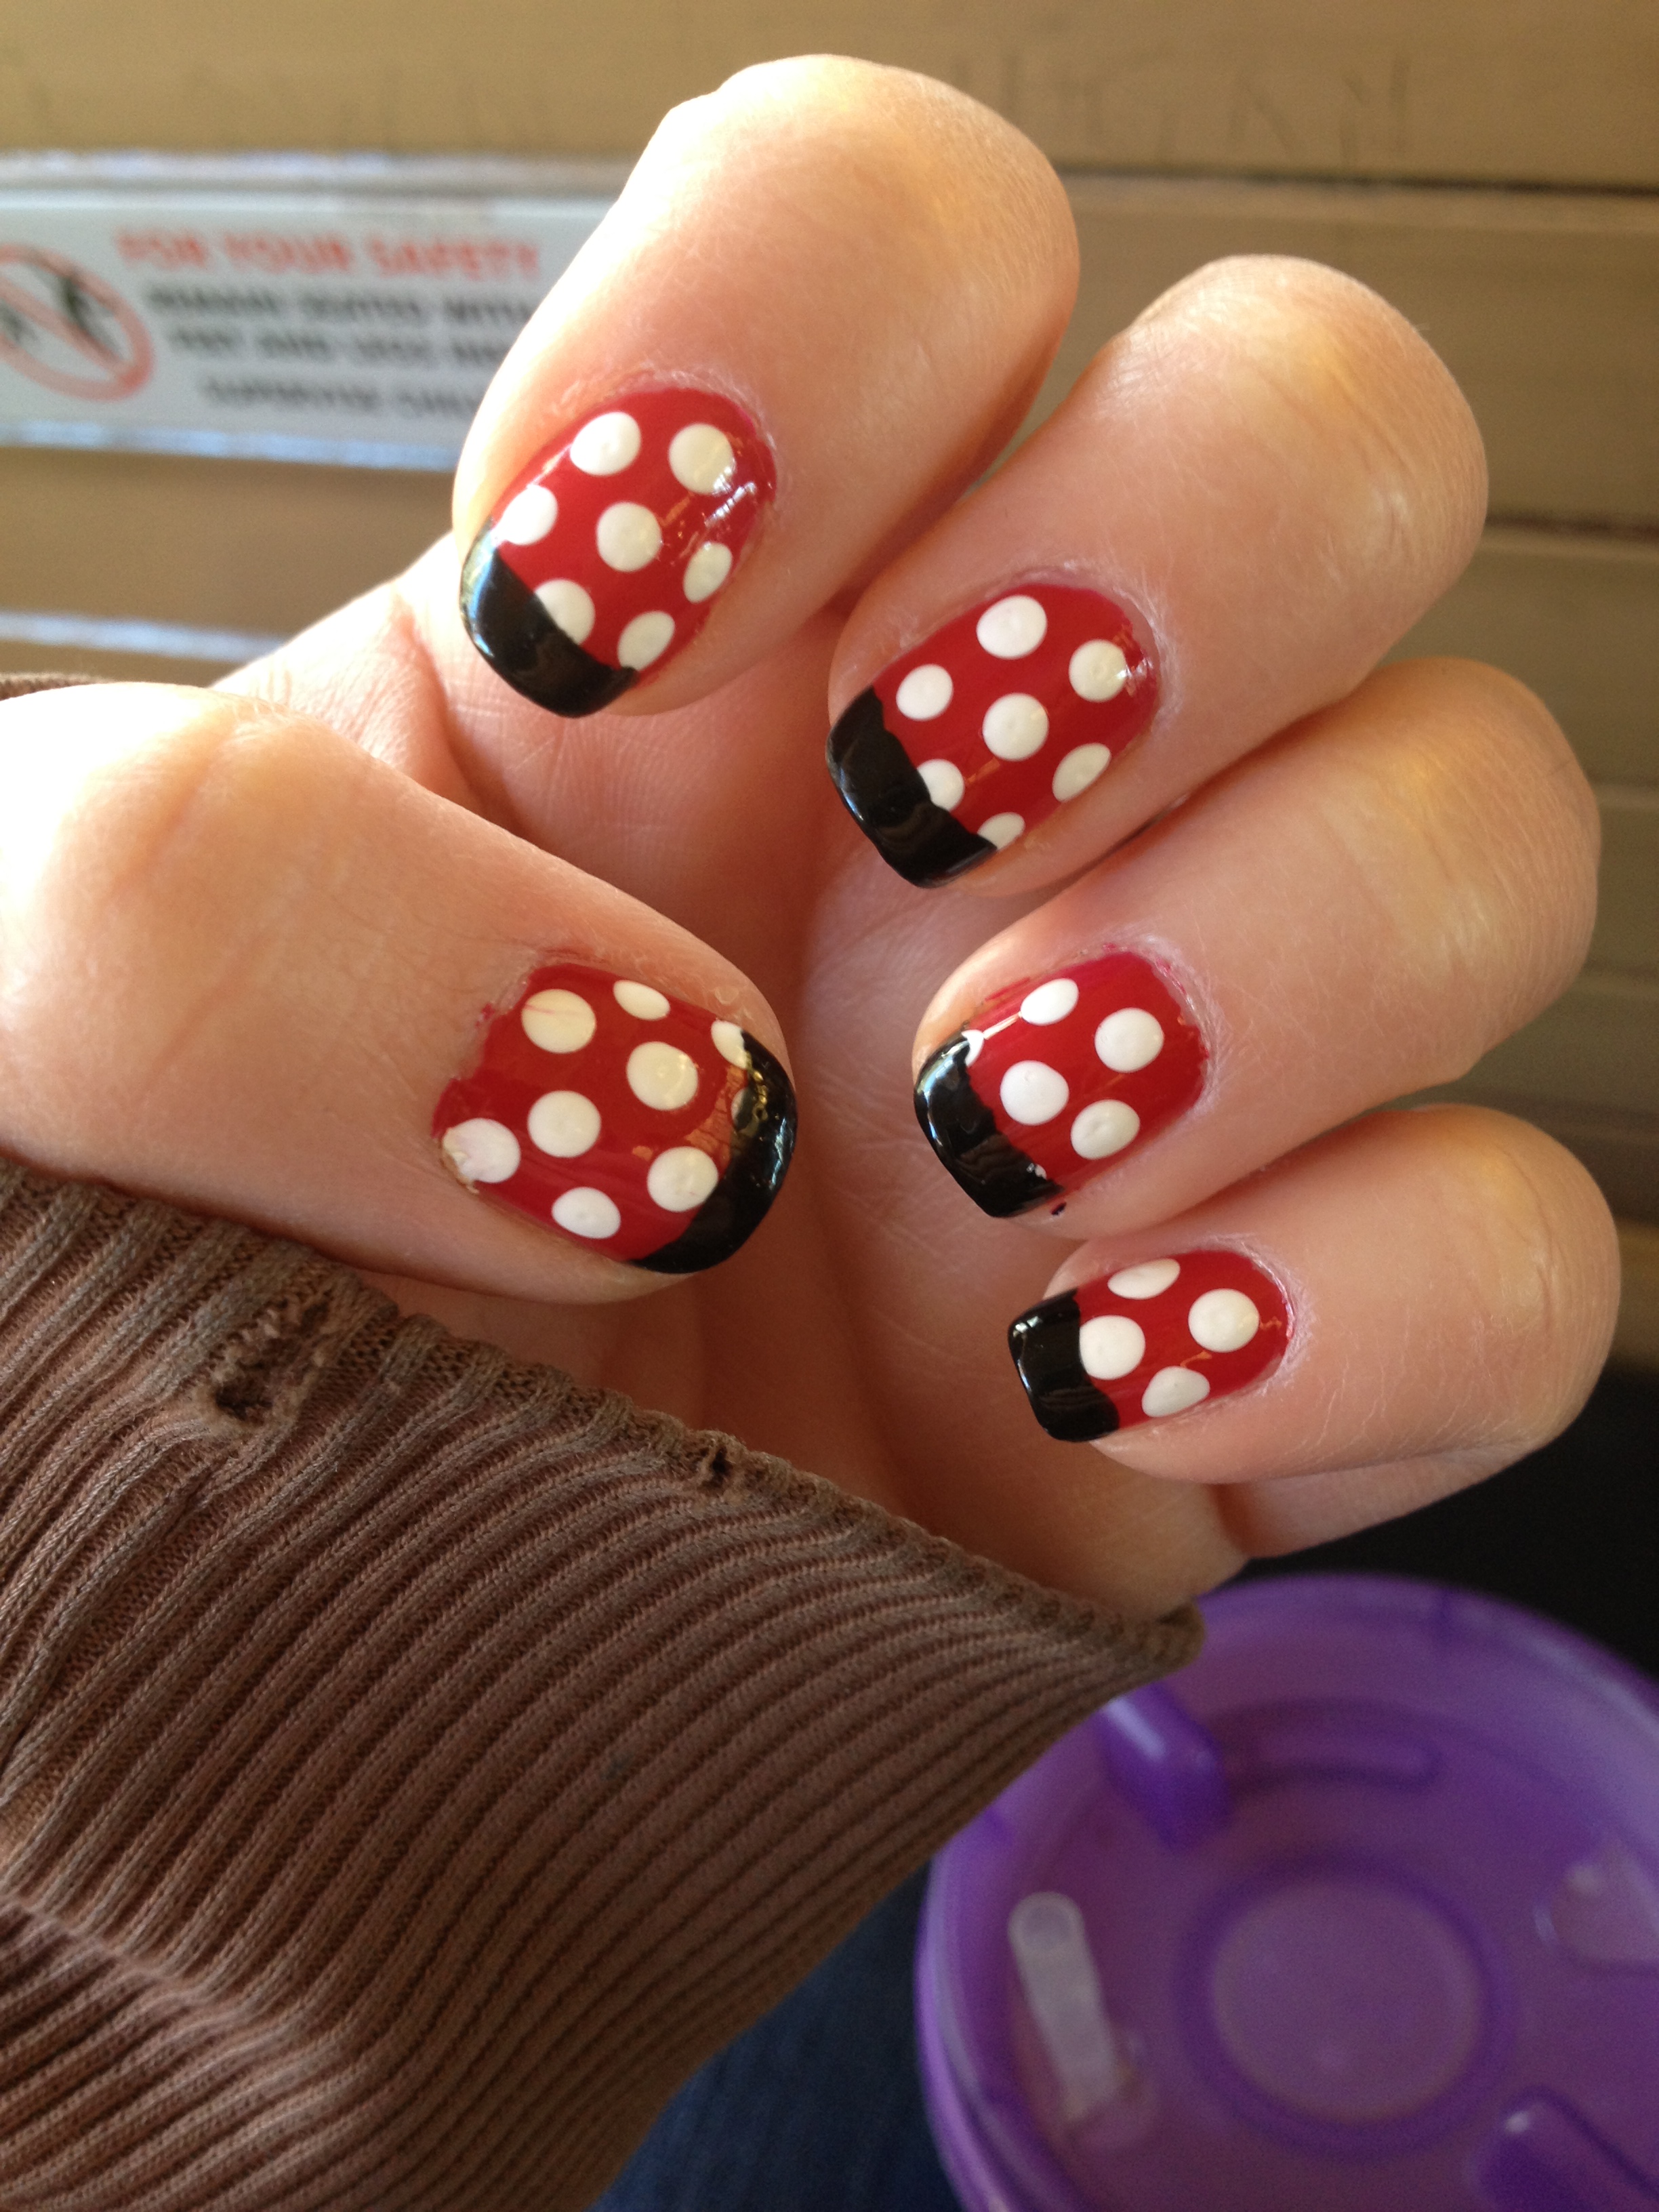
The polishes from this haul are so fun and I feel like they go together really well!  I think I could do a ton of different looks only using these 6 polishes.  If you follow me in instagram, you may have seen my current doticure using Guava and Sand & Stilettos.  They’re so fun together!

Thus concludeth my Five Below haul.  I highly recommend that you check out the polishes at Five Below, and if you do, please let me know what you think and what polishes you get!


White Nails Are A Thing

Did you know that white nails are a thing?  Well, they are.  I think they started showing up on the runway about 3 summers ago, so the time is about right for them to make their way here to Smalltown, USA.

White polish looks great with tan summer skin and it’s also makes a perfect blank canvas for all kinds of nail art.  It’s also can help your sheer neon polishes look extra bright.  White polish can be tricky, though.  Light polishes can sometimes be sheer, and light colors seem less forgiving than darker ones when it’s not quite perfect on the nail.  That’s why it’s important for every nail polish fan to own a good white polish.

I decided to do a little comparison between 6 different brands of nail polish, most of which have a pretty low price point.  Here are the polishes I tested:

IMG_2603

From left to right:

Wet n Wild – French White Creme, $1.00

Broadway Nails -Snow White, $1.00

NYC – French White Tip $1.00

Sinful Colors – Snow Me White, $2.00

Sally Hansen – White On, $2.50 – $3.00

Essie – Blanc, $7.00 – $9.00

For years I used the Wet n Wild white because well, it was cheap and easy to find in just about any store.  I felt like the formula was okay, but not great.  Then one day I found Essie Blanc on a good sale!  I really thought it was going to be this amazingly wonderful stuff because it was regularly 8 times more expensive than my normal Wet n Wild.  Sadly, that was not the case, but it did motivate me to go on a hunt to find a really good white polish.

Okay, less rambling and onto the results.  For each of these polishes, my first finger has 1 coat, my middle finger has 2 coats, and my ring finger has 3 coats.  Here we go:

Wet n Wild:  With 2 coats, you can see that it’s still a little shear, but with 3 coats it’s pretty much opaque.

IMG_2605

Broadway Nails: Pretty similar to Wet n Wild, but maybe a bit more sheer.

IMG_2607

NYC:  I think with two careful coats, this would be opaque.  You can see on my middle finger near the cuticle that I had a little trouble with the polish pulling up and leaving a bald spot.  Generally, that’s caused by going over the polish with the brush too many times, which causes the polish that is partially dry to pull up from the nail.  I think if you are able to apply a coat of polish in 3 strokes, this polish will look good with only 2 coats.

IMG_2606

Sinful Colors:  This polish looked great in 2 coats!  I did a third coat on my ring finger for consistency’s sake, but it really didn’t need it.

IMG_2609

Sally Hansen:  This one is my favorite!  It was perfect in 2 coats, and a third coat actually made it a little too thick.  Really, this is a smooth, perfect white polish.

IMG_2611

Essie Blanc:  This one really preforms about the same as the Broadway Nails polish.  It’s really not that great and a rip-off for the price.   And do you see the teeth marks on the cap?  Yeah, I had a little trouble getting it opened this one time.  Anyway, I disliked this polish enough that I used it to do a little Frankenpolishing.

IMG_2612

So, in the end I really feel like the Sally Hansen polish is the bet polish of this lot, and at $3 or less, it won’t break the bank.  If you can’t find the Sally Hansen or you want to save a buck, I don’t think you’ll be disappointing with the Sinful Colors polish.  The other 4 polishes are just okay.  They will work in a pinch, but they don’t really rock my world.

Have you tried any of these polishes?  What’s your favorite? Have you tried any whites that aren’t on my list?


Tools of the Trade

I’m about to reveal something that may blow your mind…  Here it is: Nail art is not really that hard.  Anyone can make their own nails look really awesome if they know a few tricks, and have the right tools.  Now, before I go any further, there are people out there doing nail art that actually have real artistic ability (do a search for Robin Moses Nail Art some time), and those people are in an awesome class of their own, but I’m not talking about those people right now.   I’m talking about regular people with very average drawing and painting skills.  I’m one of those regular people.

You will have a whole new, wonderful world of nail art open up in front of you if you can acquire just a few inexpensive tools.  Here’s my collection of tools:

IMG_2714

On the left are my dotting tools.  “What the heck is a dotting tool” you ask?  It’s pretty much a handle with a little round metal nub at the end that you can dip into polish or paint and then make perfectly round dots on your nails.  And don’t underestimate the versatility of dots.  You can do a ton of designs with just dots.  Five dots arranged in a circle with a different colored dot in the center is a flower.  Seriously Dots are great.

The first dotting tools I ever got were the three in the middle with the wooden handles.  I got them at Michael’s.  I’m pretty sure you could find something similar at just about any craft store.  After that I got the 5 pretty dotting tools with the plastic colored handles.  I’ve seen that set in beauty stores for over $10, but you can get them on Amazon for under $3.  That’s right, the whole set of 5 tools for under $3.  Just go to Amazon and search for “nail art dotting tools” and you’ll find a bunch of them listed.

Just to the right of my dotting tools is a little multi-functional little guy.  It’s got a dotting tool on one end, and an angled handle with a little brush on the other end.  I got that at Sally Beauty Supply for around $4.  I really like it and used it a lot when I first got it.  Ultimately, I wanted a brush that was just a little smaller so that I could be a little more detailed in my designs.  That first led me to the purple handled brush on the far right


My Disney Nails

I’m a Disney fan.  I don’t consider myself to be an over-the-top crazy Disney lover, but I do have an affinity for the Mouse and I enjoy a trip to one of his parks every 5 years or so.

Earlier this year, my hubby and I enjoyed a week of magic down in Walt Disney World.  Leading up to, and during that trip, I made sure that I was always sporting nails that would be Mouse approved.  I thought I’d share those looks with you!

*I do want to put out a little disclaimer that I didn’t come up with these designs 100% on my own, but a number of months have passed, so I’m not exactly sure where I got some of these ideas. There are are some really creative nail artists out there, and I don’t want to get into a beef with anyone for stealing a design.  If one of these designs was originally yours, feel free to contact me so that I can give you proper credit.

Anyway, here are some of my Disney nail recreations:

2013-07-09 13.34.34

The base was a light neon pink.  I loved these nails!  Please forgive the sloppiness around the cuticles in this pic.  My technique has improved since then!

2013-12-25 12.38.41

These aren’t actually my nails, but nails I did on a friend.

2014-01-17 21.22.13

These were pretty tricky to do, but I loved them!  These  were my nails for the first half of our trip.

2014-01-16 14.01.13

These were the toes I sported for our trip.  Yes, those little faces took forever to get right!

2014-01-23 09.45.10

This is the look I sported for the second half of our trip.   These were super simple, and I got tons of compliments on them while we were in the parks!  Note the refillable Disney mug in the background.

Just looking at these pictures reminds me of our trip and gives me the warm Disney fuzzies.  Sporting special nails for a particular event (or vacation in this instance) really does add a little something extra.  Don’t be afraid to nails that are bold and bright, if the occasion is right!


And So It Begins…

Hi Friends! Welcome to my blog!

I paint my nails a lot.  I’ve always enjoyed nail art and nail polish.  I think I bought my first nail art book when I was in high school.  (Yes, the internet was only a baby back then, so people would by books made out of paper when they wanted to learn stuff.)  I actually used to use pieces of uncooked spaghetti as dotting tools back then.

Since then, I’ve come a long way, and that’s what I hope to share with those of you who are interested!  I’ve had some great opportunities to talk about nails with a lot of you on a one-on-one basis, but I think this will be a much better format to share some of the stuff that I’ve figured out over the years.

I guess it would be sort of a crime to end my first post without at least giving some sort of nail-related tip…  Don’t shake your polish right before you are going to use it.  Roll it around in your hands like they do in the salon.  If you shake it, you’ll make little air bubbles in the polish like this:

IMG_2554

Do you see that?  I was in a hurry last night and I just shook the heck out of that bottle.  I knew it was wrong, but I did it anyway, and now I’m paying for it.

Well, I think that’s about all I’ve got to say for now, but I’ll be back!