It’s been too long, I know! Today I have the day off. I haven’t had one of those in forever. I think my part-time job is actually going back to part-time, so I’m anticipating that I will have more time for the fun things in life again, like writing regular posts. 
I won’t delude myself by thinking that you all have nothing better to do than sit around and refresh your screens to see if I’ve posted something new, but I like to think I can add a tiny bit of pretty color to your lives.
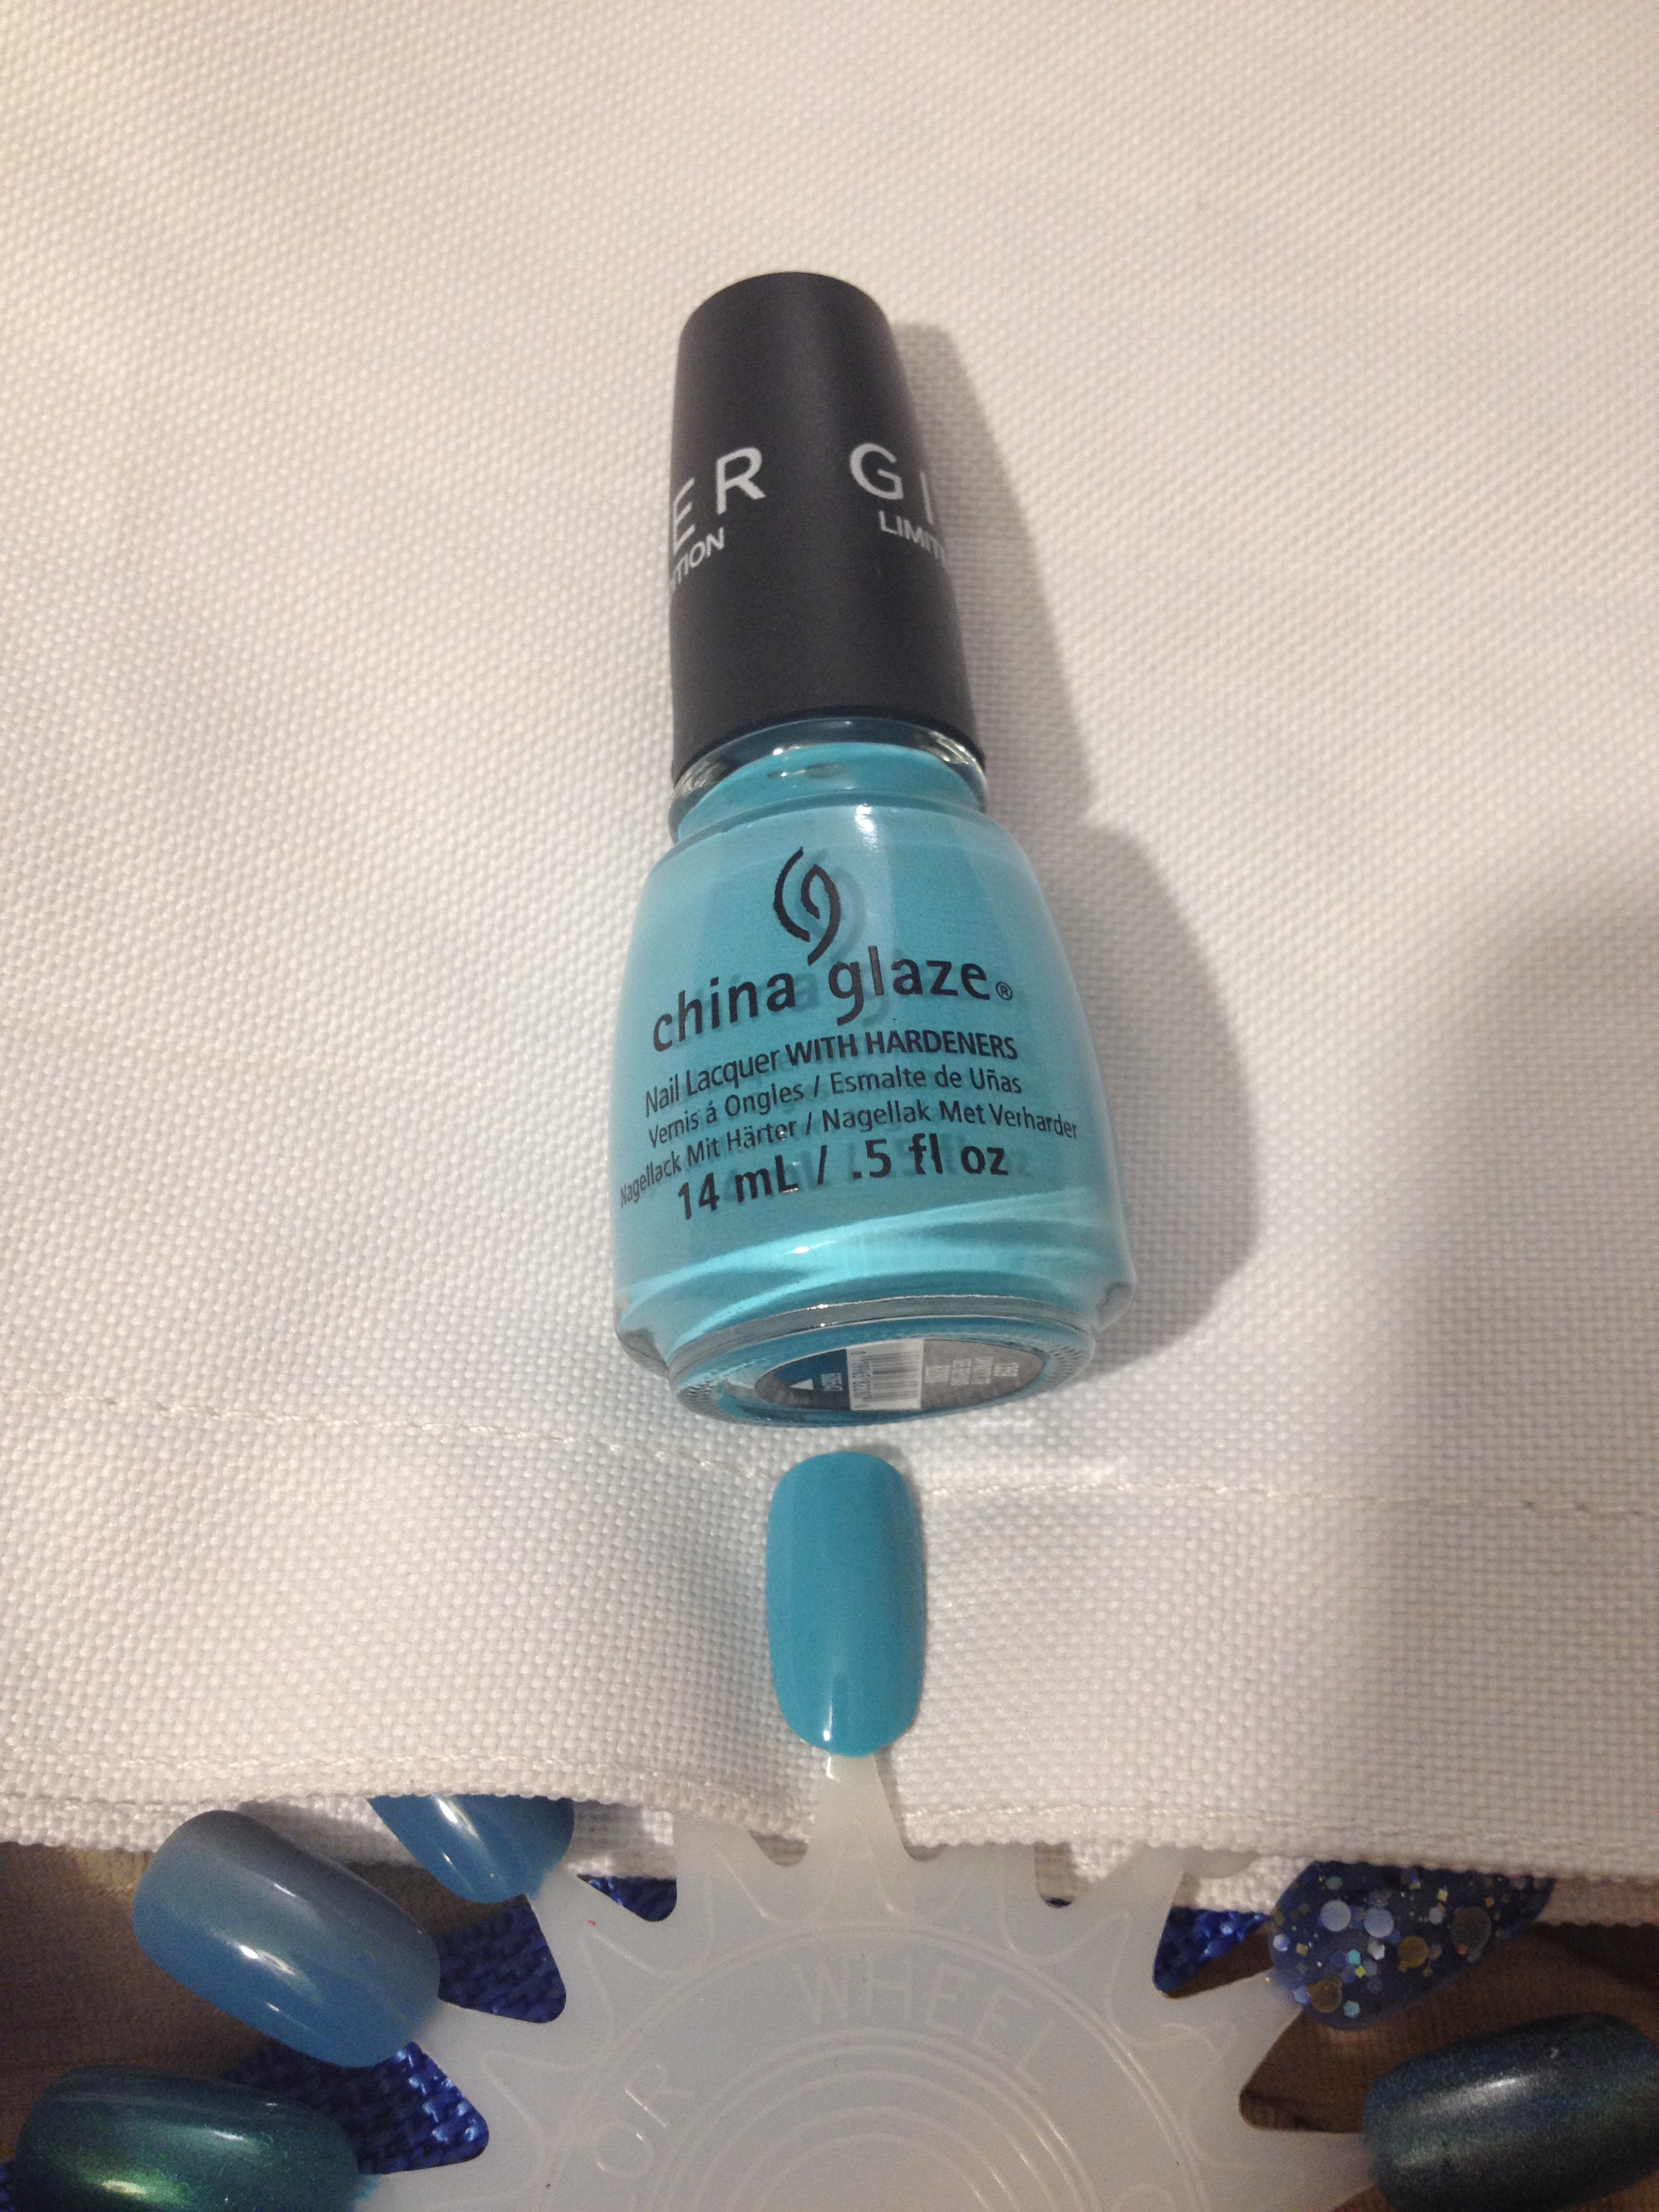
I haven’t had as much time to devote to fancy nails lately, but I did try out a new (for me) technique that I wanted to share with you.
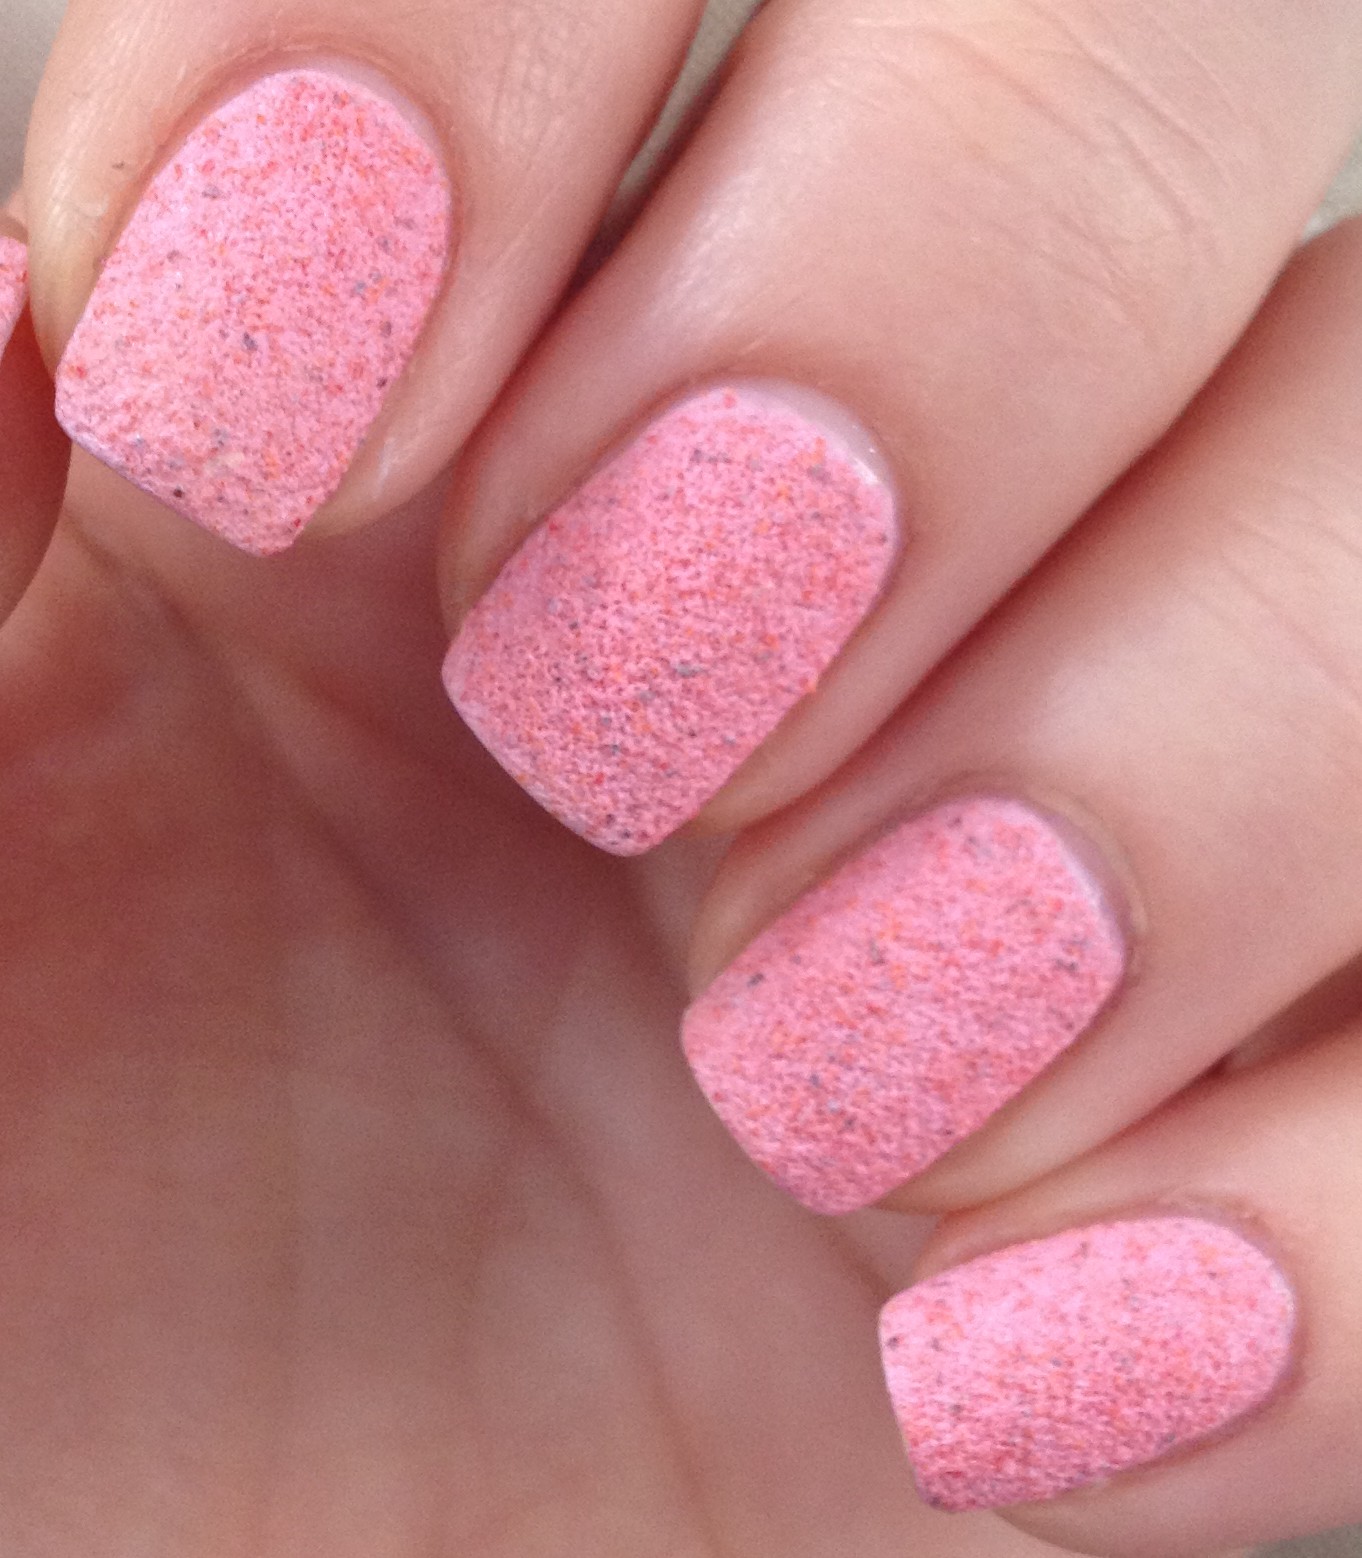
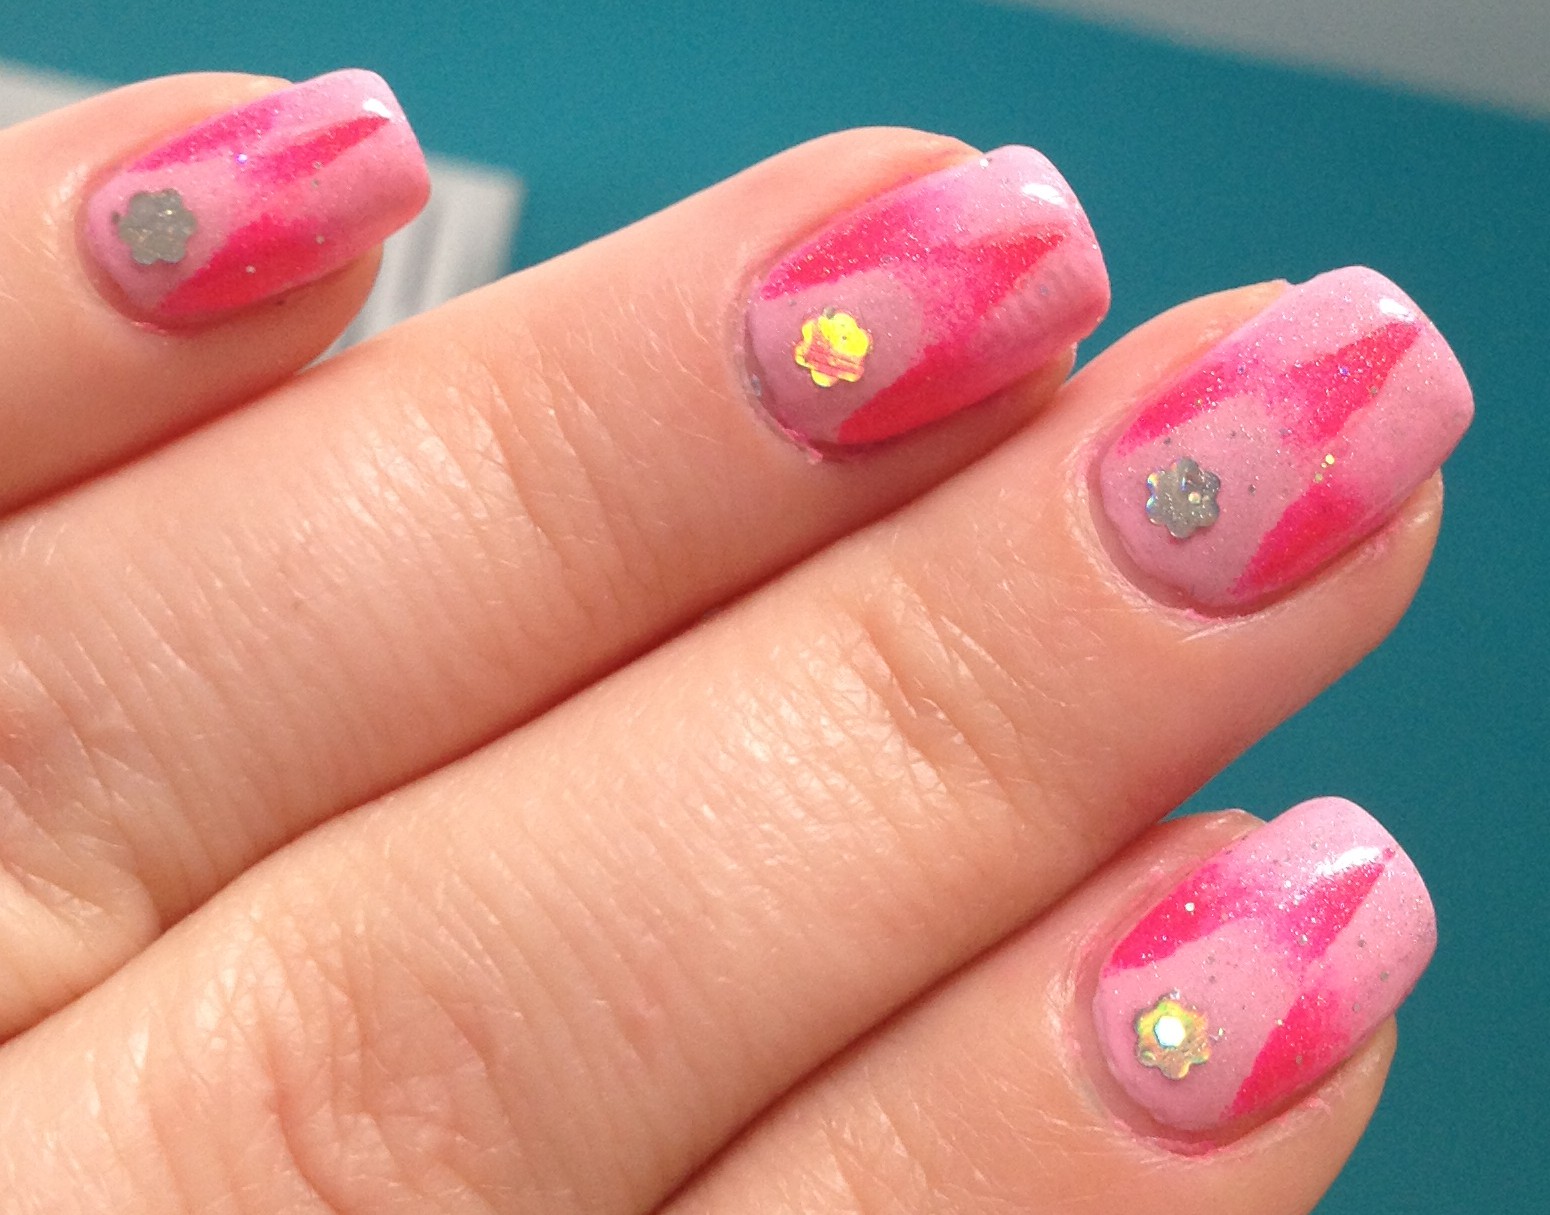
Behold the reciprocal gradient! I’m not gonna lie – this was time-consuming. Here’s how to get this look…
Start with doing a plain old gradient nail. I leaned the hard way that this technique works best if your polish colors are not too drastically  different. A lighter and darker shade of the same color works well and the more opaque your nail polish is, the better. I think pastel colors – like pink to green or purple to yellow – would work really well with this technique, too, as long as your polish is really opaque.
I took a bit of a short cut when doing the gradient for my first coat. I just pained my nails two coats of the light pink and let that dry. Then I brushed a little bit of the dark pink polish on a makeup sponge and dabbed that onto the nail, starting at the tip and moving up toward the middle of the nail. As I blotted the polish from the sponge to the nail, the polish starts to dry, so less and less transfers to the nail. That’s how you get the gradient effect. I went over the tips again with a little more polish on the sponge just to make sure they were nice and bright. After I finished my gradient, I applied a quick dry top coat to help blend it together.
 I don’t own little triangle stickers, so I took a sheet of labels, a ruler, and a pen and made my own little triangles. I measured the length and width of my nail to figure out how what size I wanted my triangles to be. Then I cut them out and stuck them to my nails
  after the gradient was dry. To get the stickers to conform to the shape of my nails, I cut a little slit in the base of the triangle. It’s important to make sure that you’ve got a good seal between the sticker and your nail when you’re doing nail art like this. If there are any gaps or ripples between your nail and the sticker, the polish is going to get underneath, and you won’t end up with crisp lines.
 Next I took a makeup sponge and brushed both my light and dark pink onto it. One step I ALWAYS for get to do is to wet the sponge first. If you wet your sponge and then squeeze out all the excess water, it won’t absorb nearly as much polish and it will help the colors blend a little better. I never remember to do this until it’s too late, so I lose a lot of polish in my sponges when I do a gradient.
Anyway, now we get to the reciprocal part. In my initial gradient, I had the light pink polish at the base of my nail and the dark pink polish at the tip. The key to the whole reciprocal thing is to revers the gradient, so I sponged on  the polish with the light pink polish on the ends of my nails and the dark pink polish toward the base. See? I worked on two nails at a time. I blotted on several coats of polish until I felt like the dark polish on the tips was well covered by the light polish.
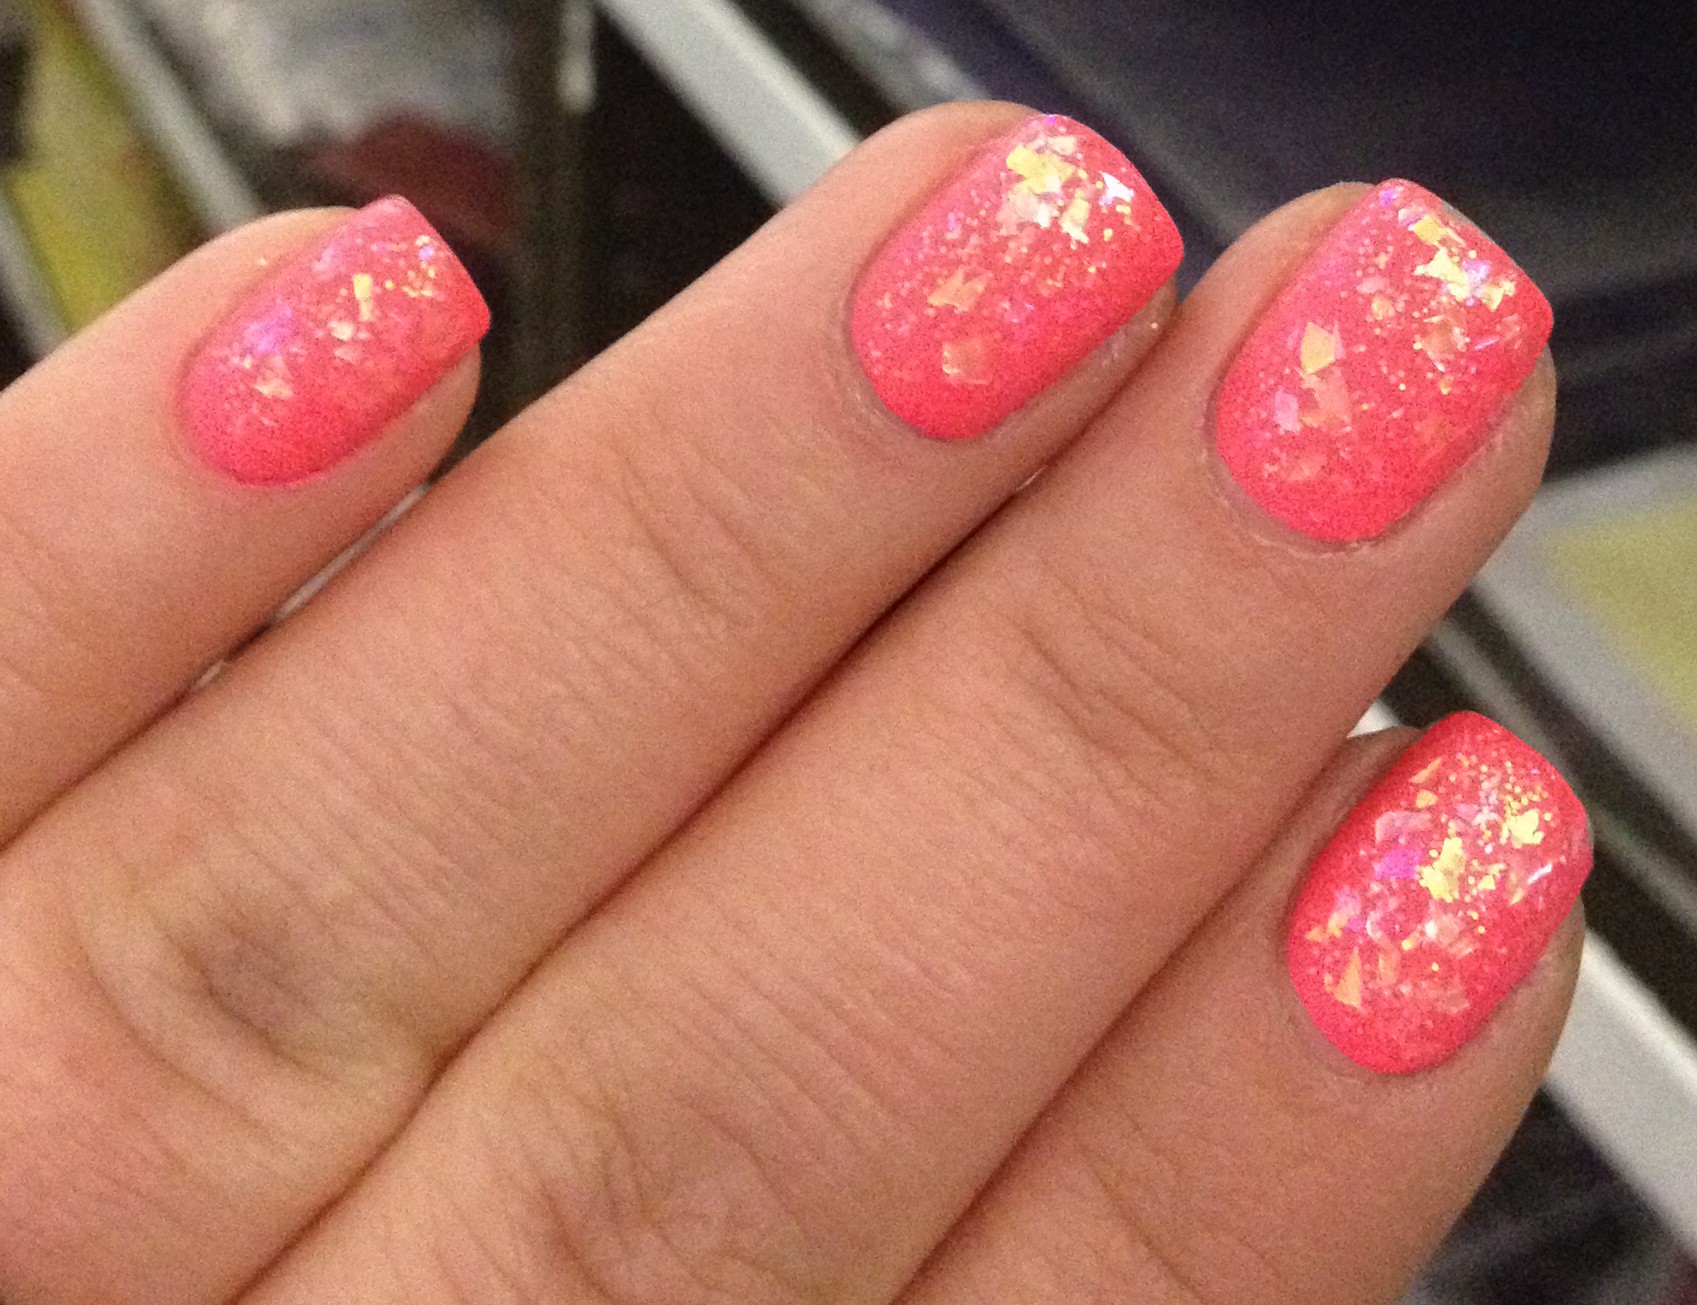
This was actually my second attempt at a reciprocal gradient. My first attempt was a miserable nail fail. In my first attempt, I used two really bright colors – a neon pink and a really bright blue. The fail part happened when I attempted to do the second layer of the gradient. My blue polish was not opaque enough to cover up the neon pink, so the blue ended up looking purple. I did a ton of layers in an attempt to get the blue to look blue, but it just turned into a thick, gloppy mess. That’s why it’s really important to make sure that the polish you use is going to be opaque enough to really cover whatever color is underneath.
 After peeling the stickers off, I quickly applied a quick drying top coat. I then cleaned up around the edges of my nails with a little brush dipped in acetone.
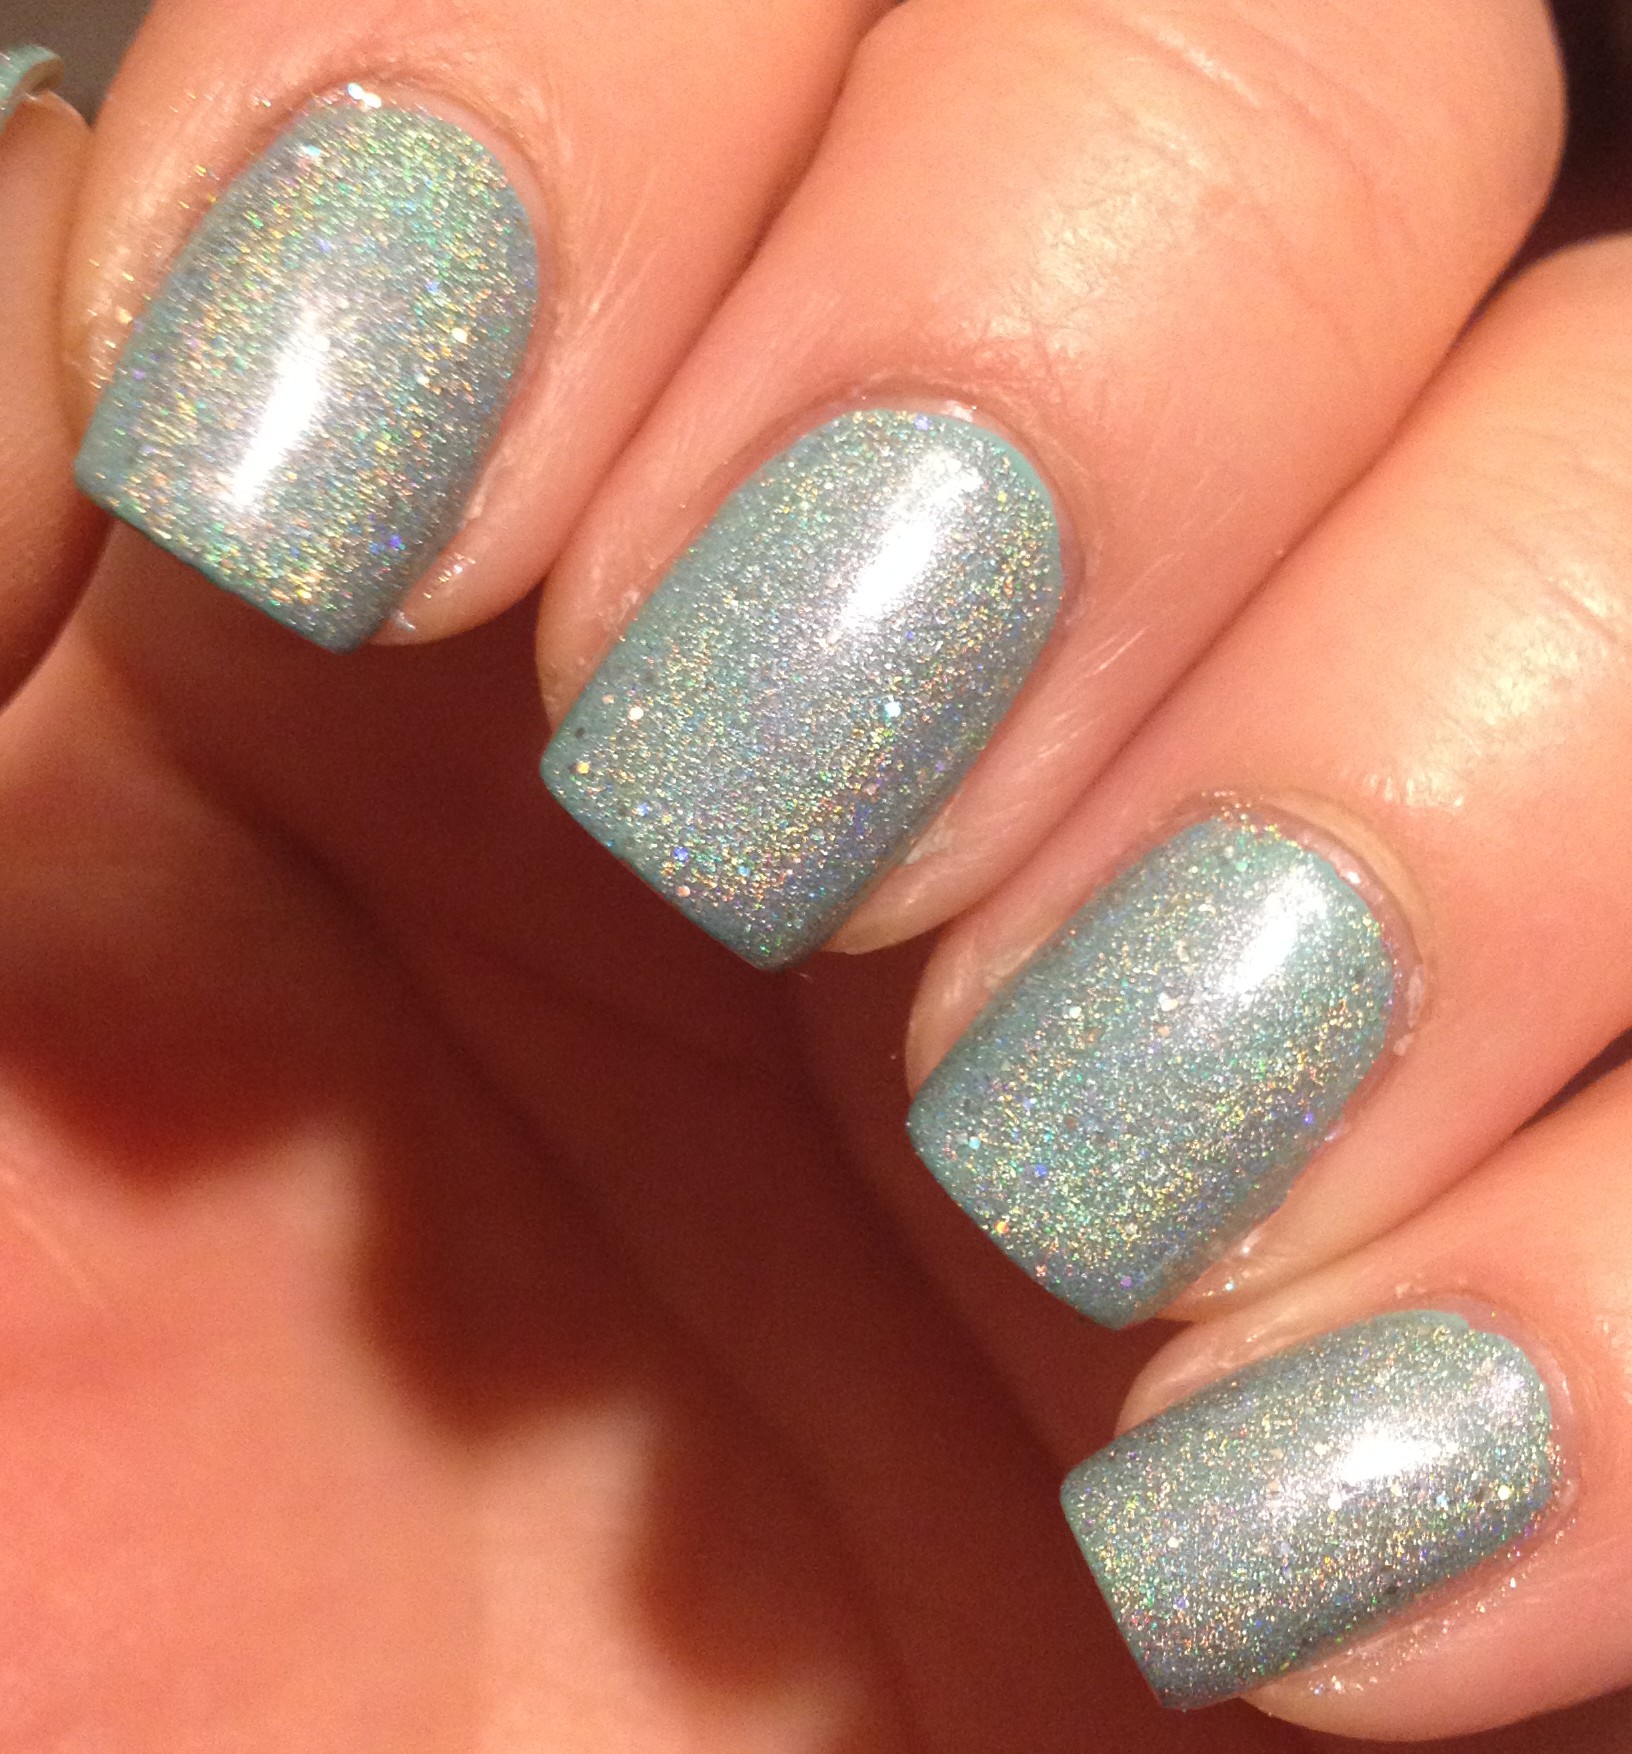
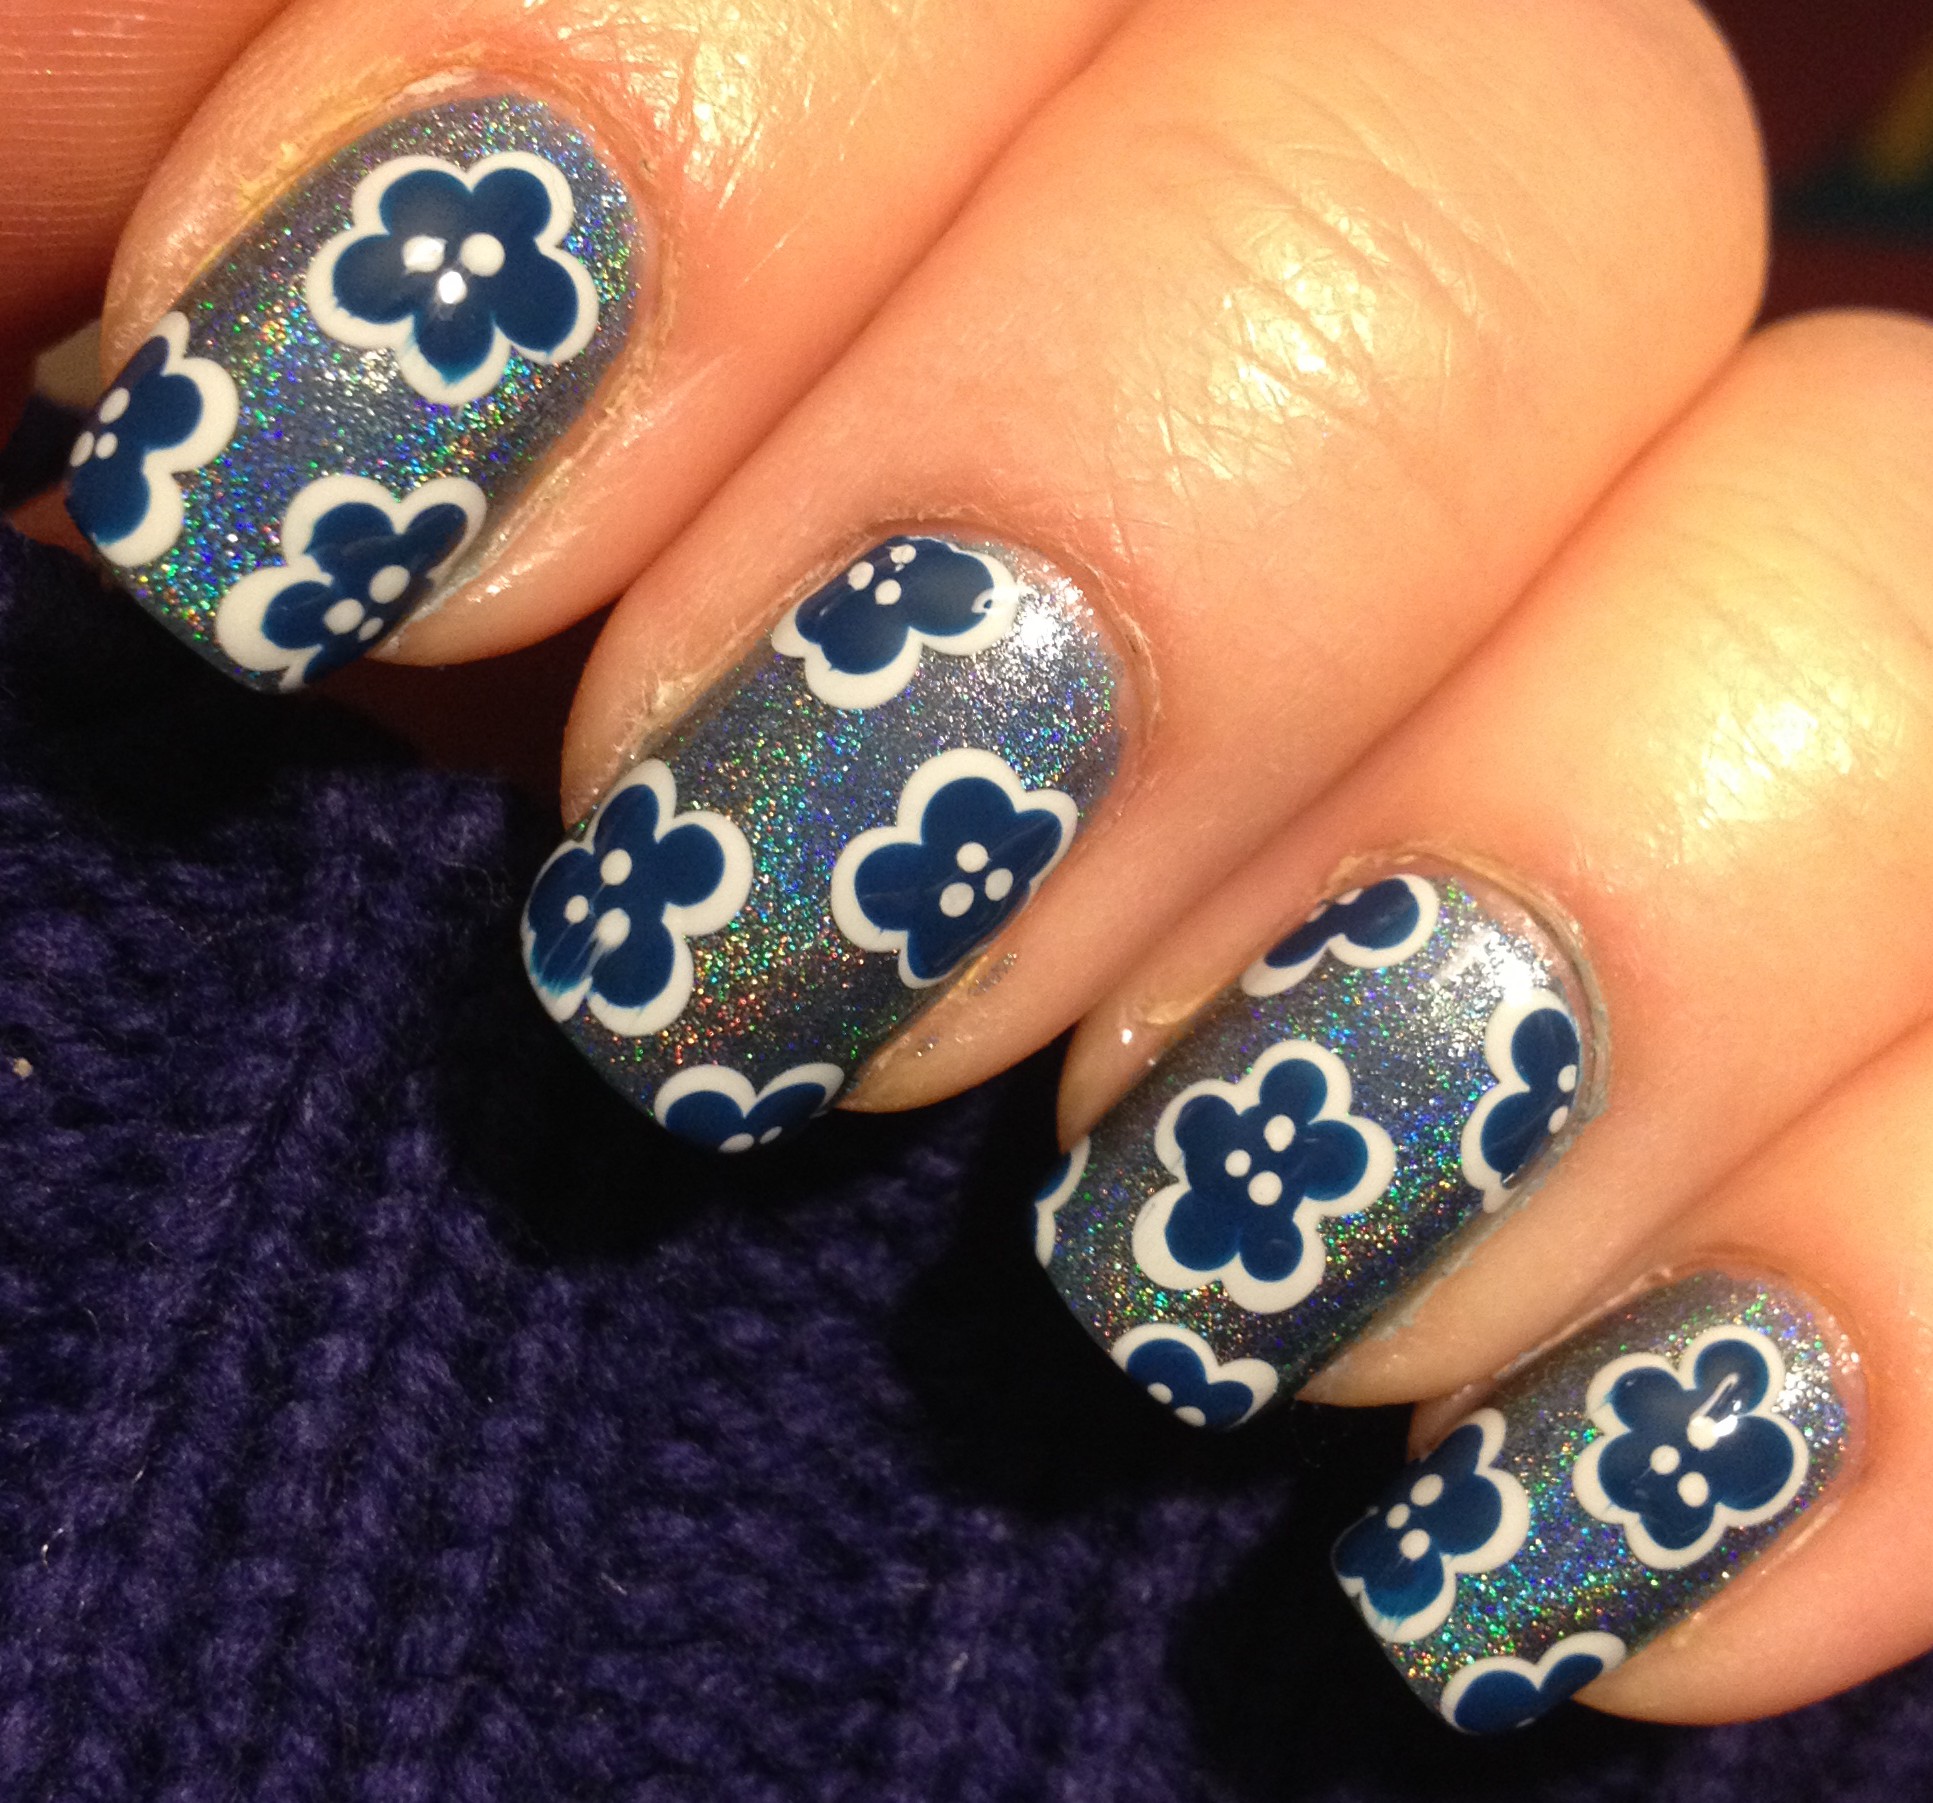
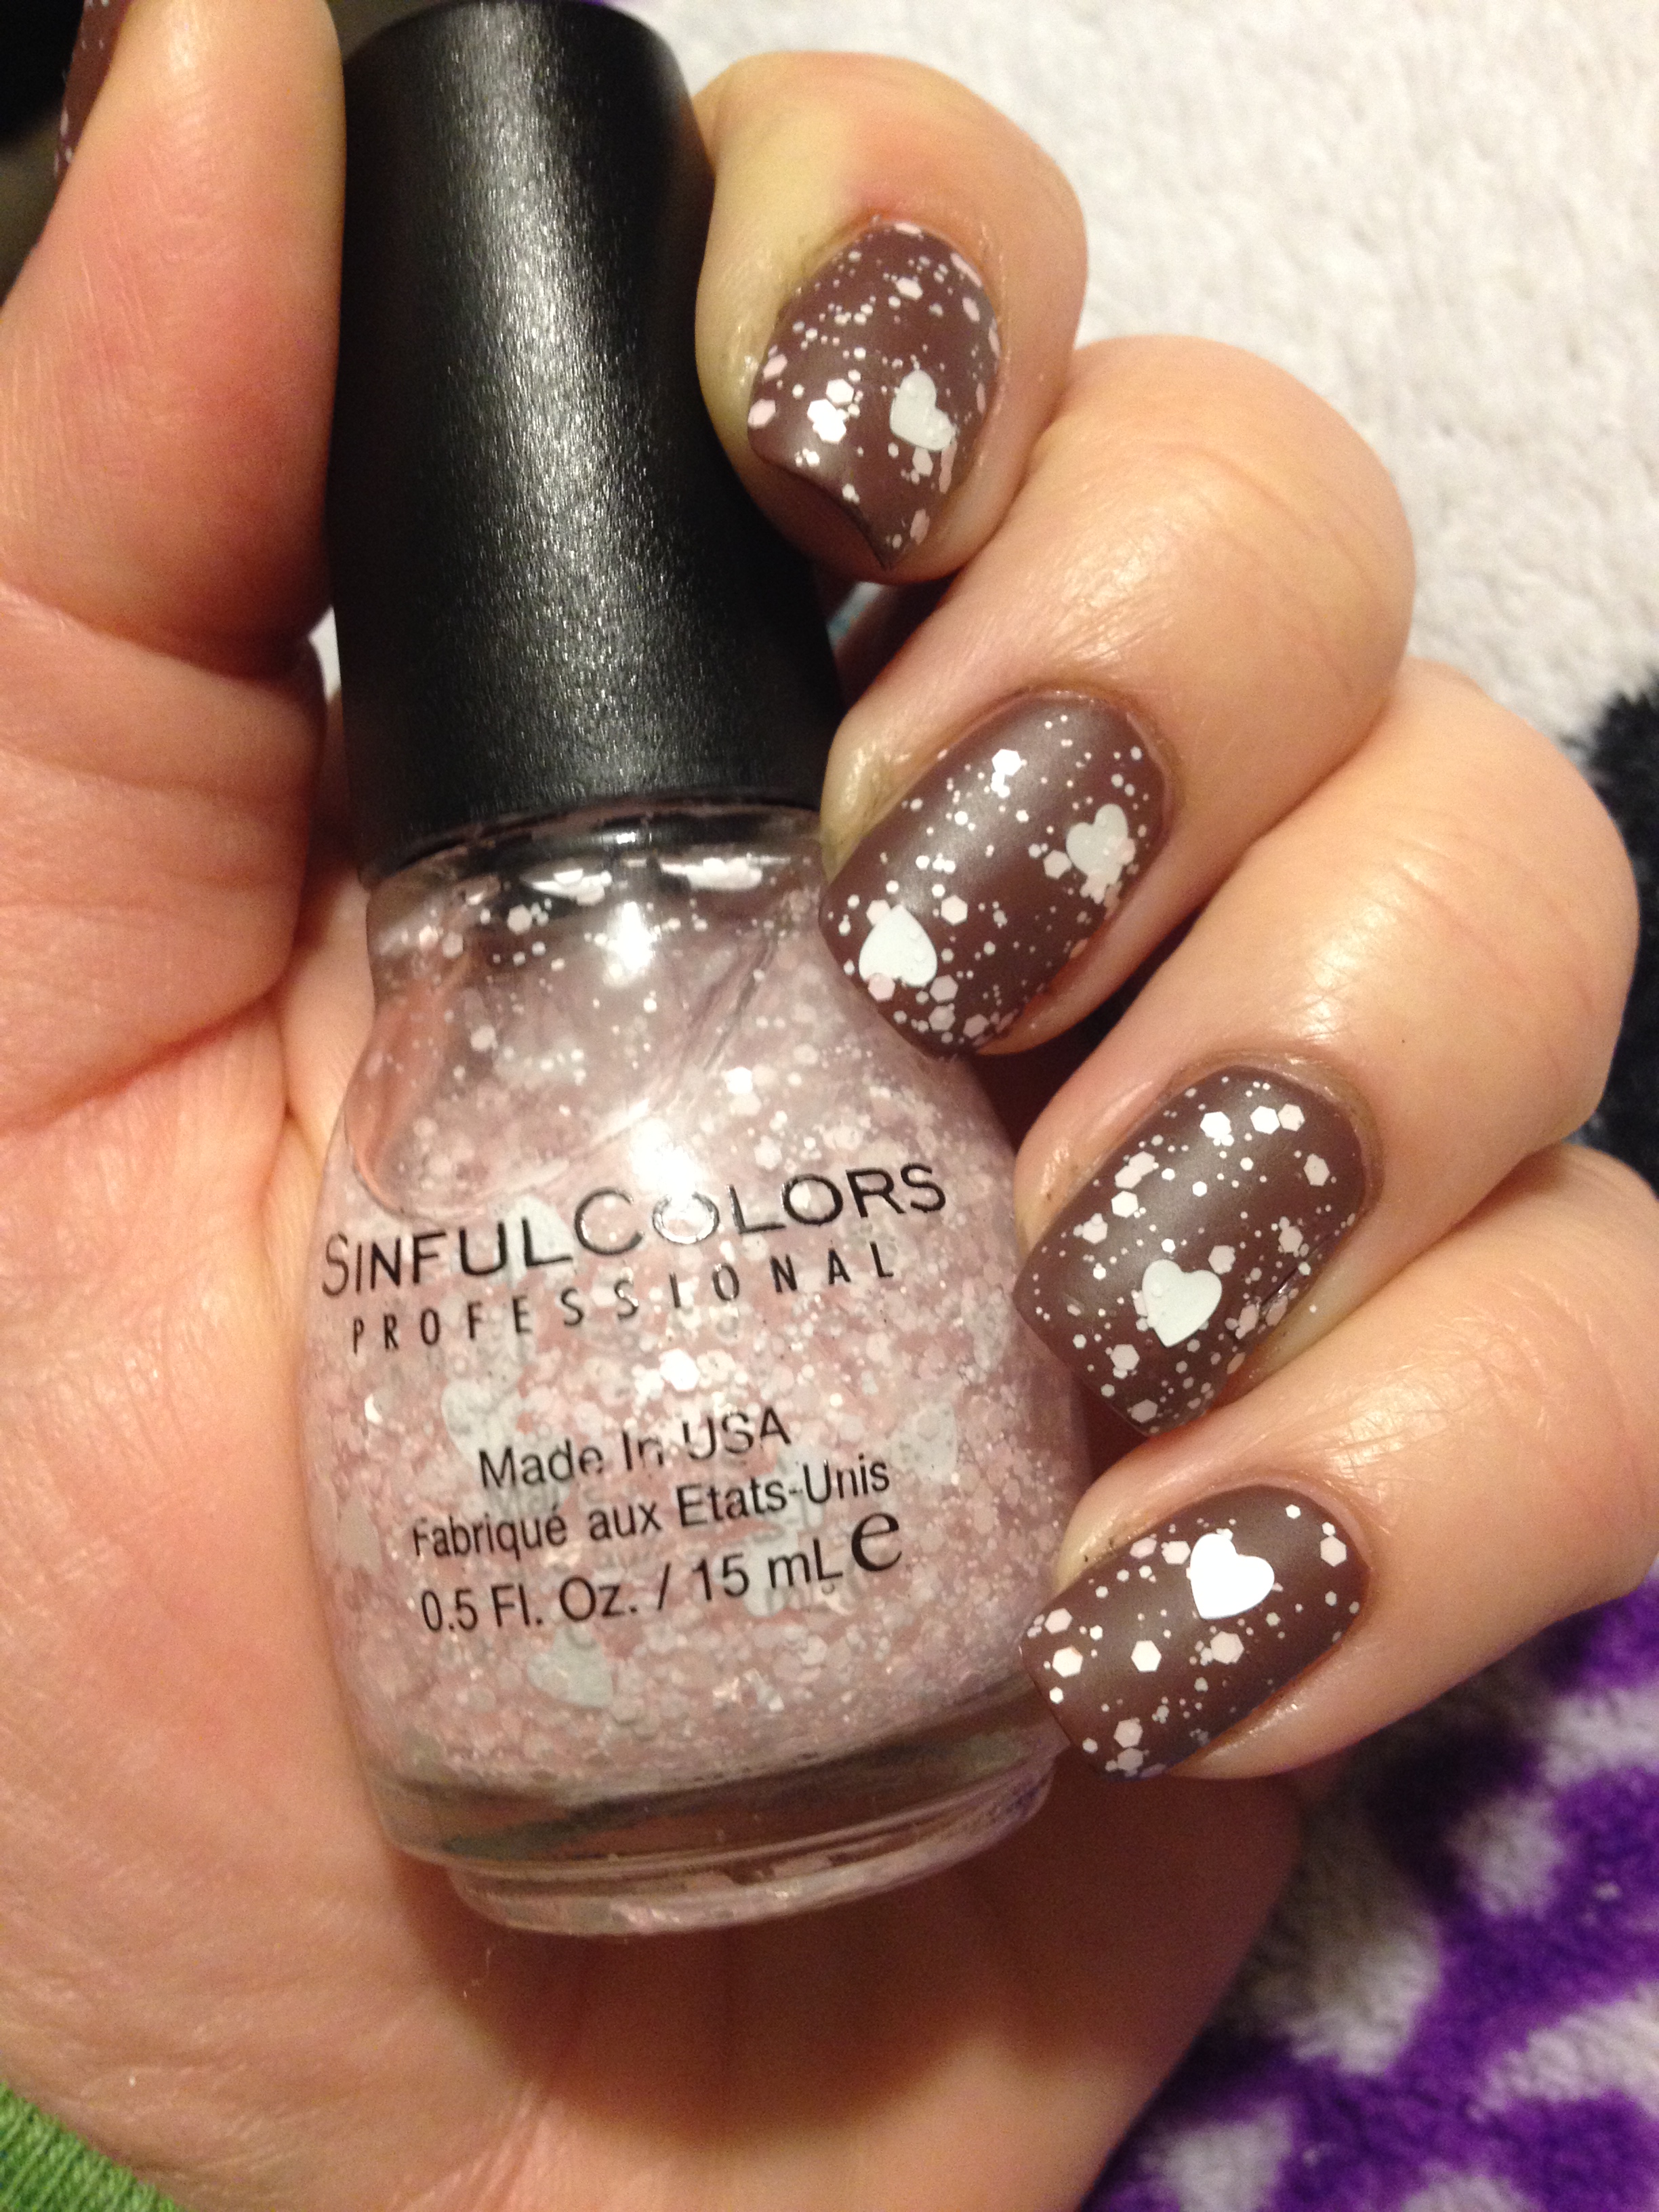
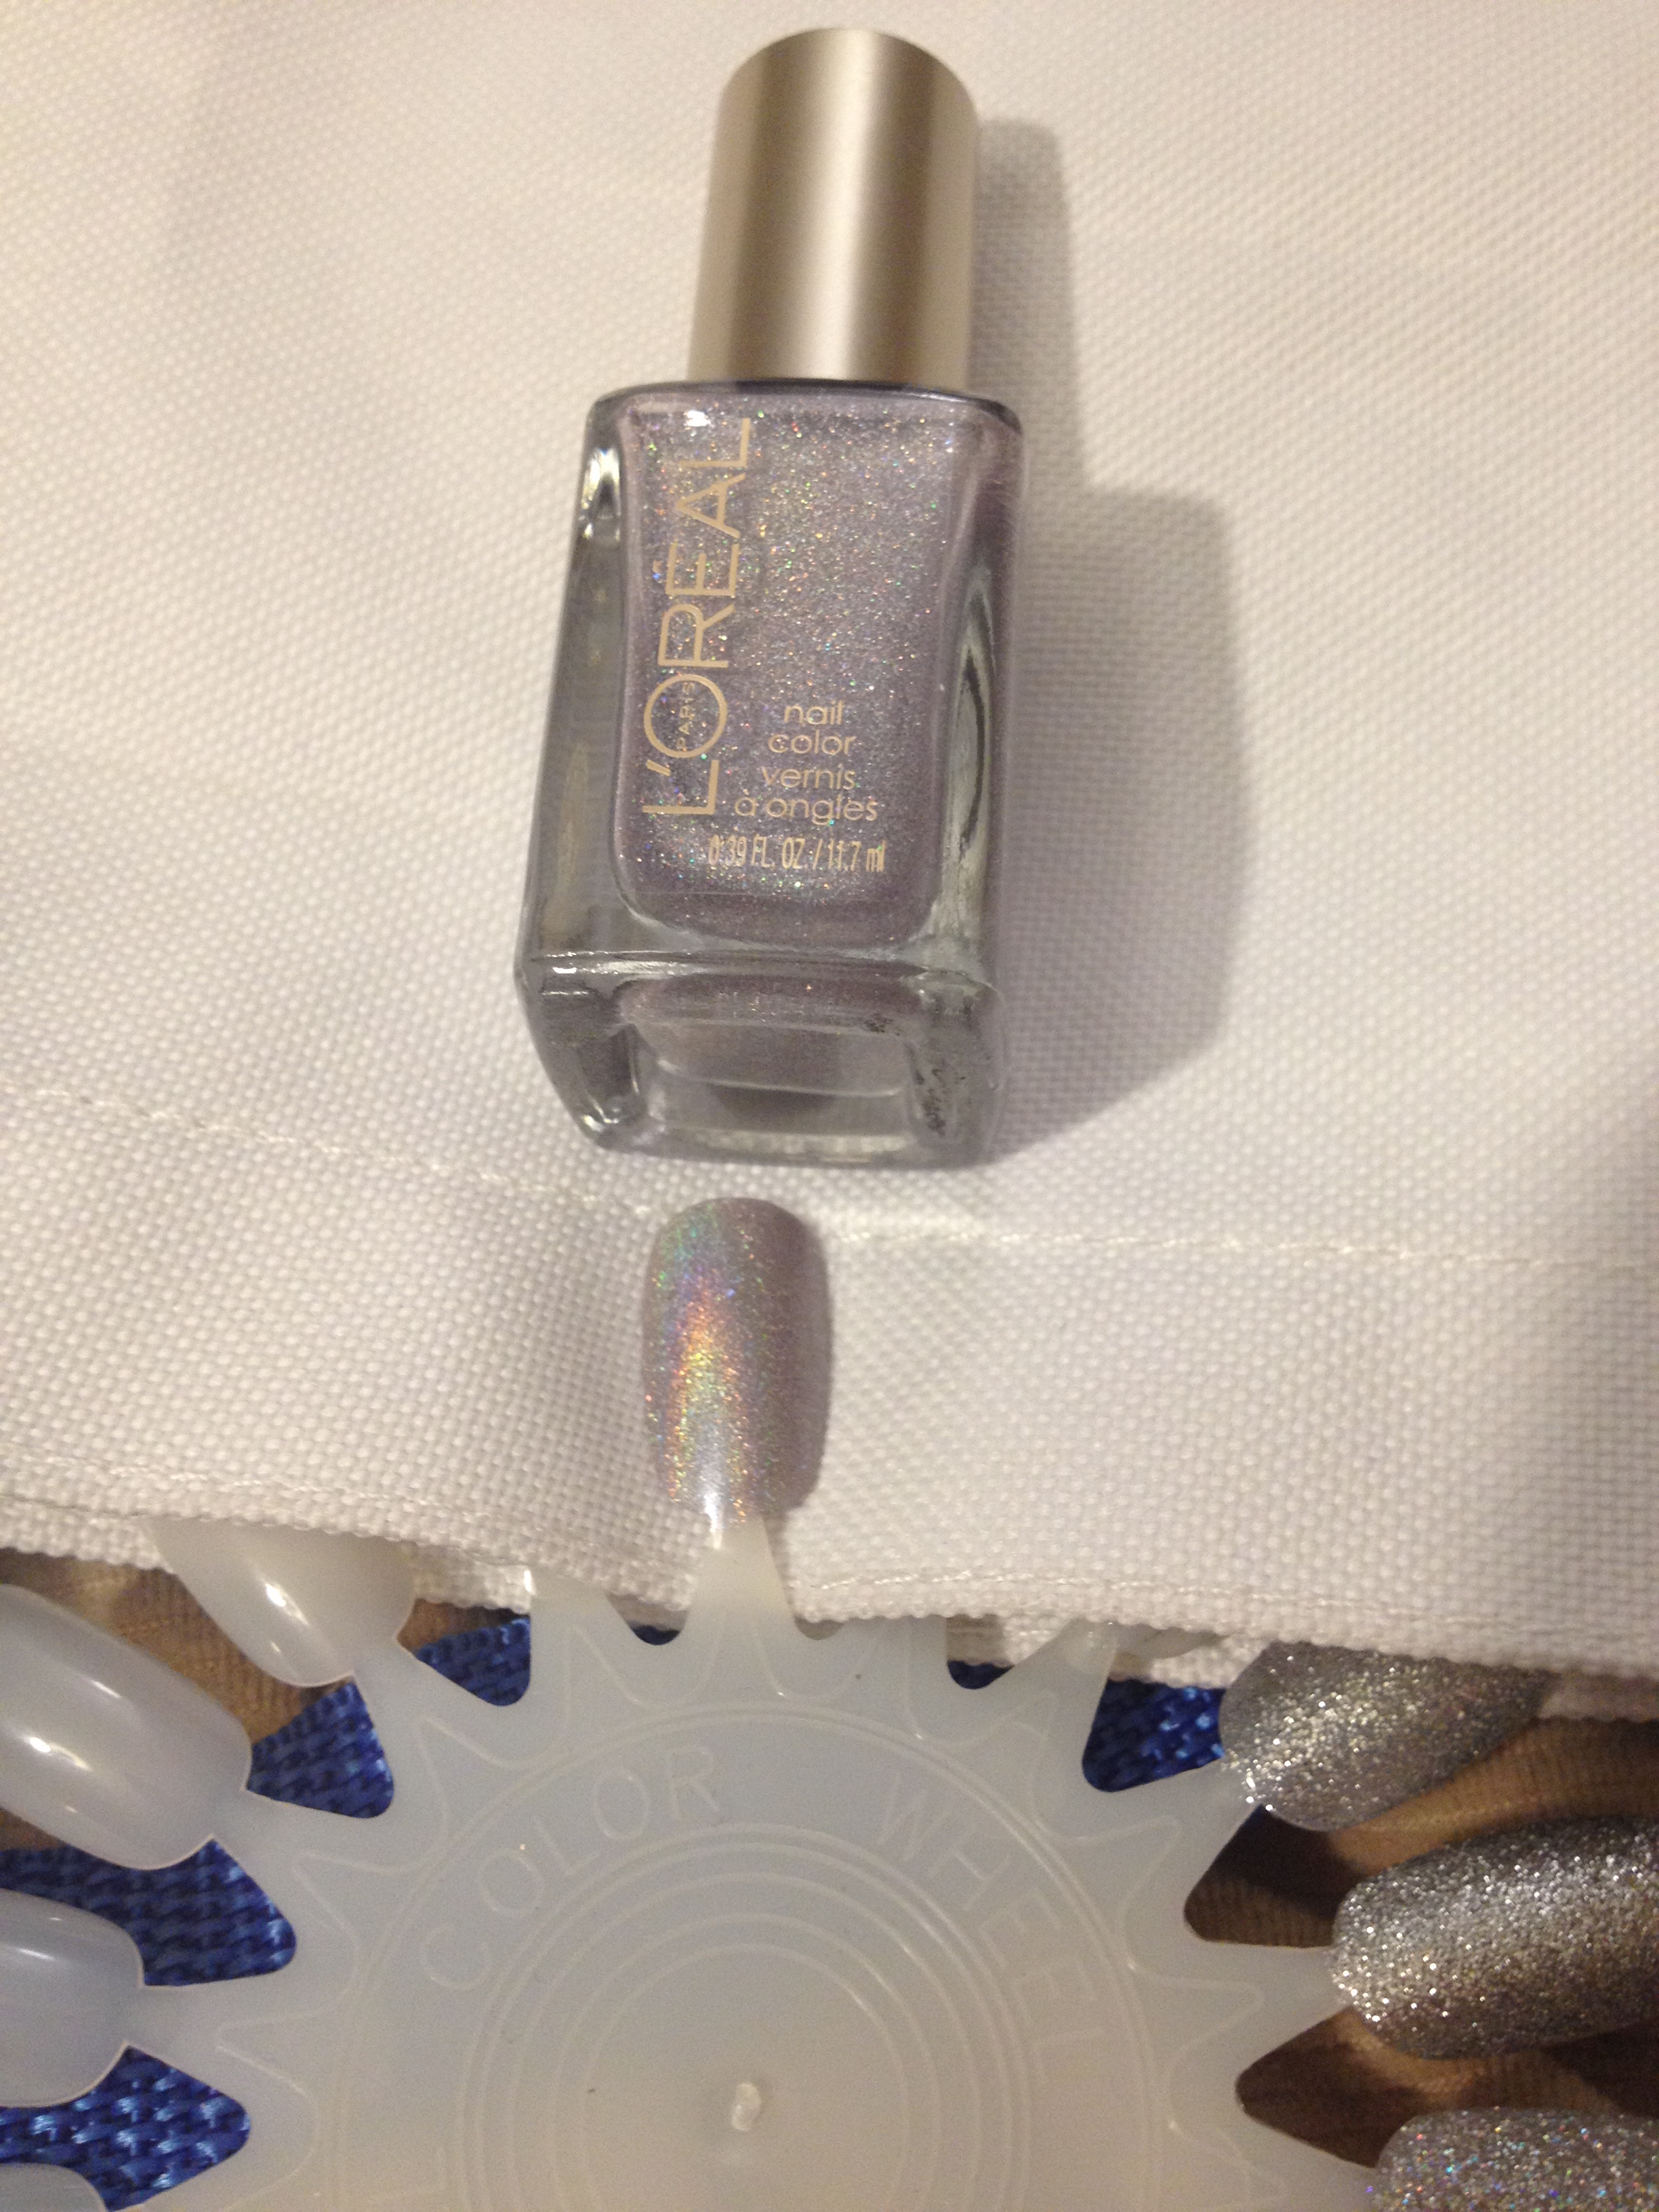
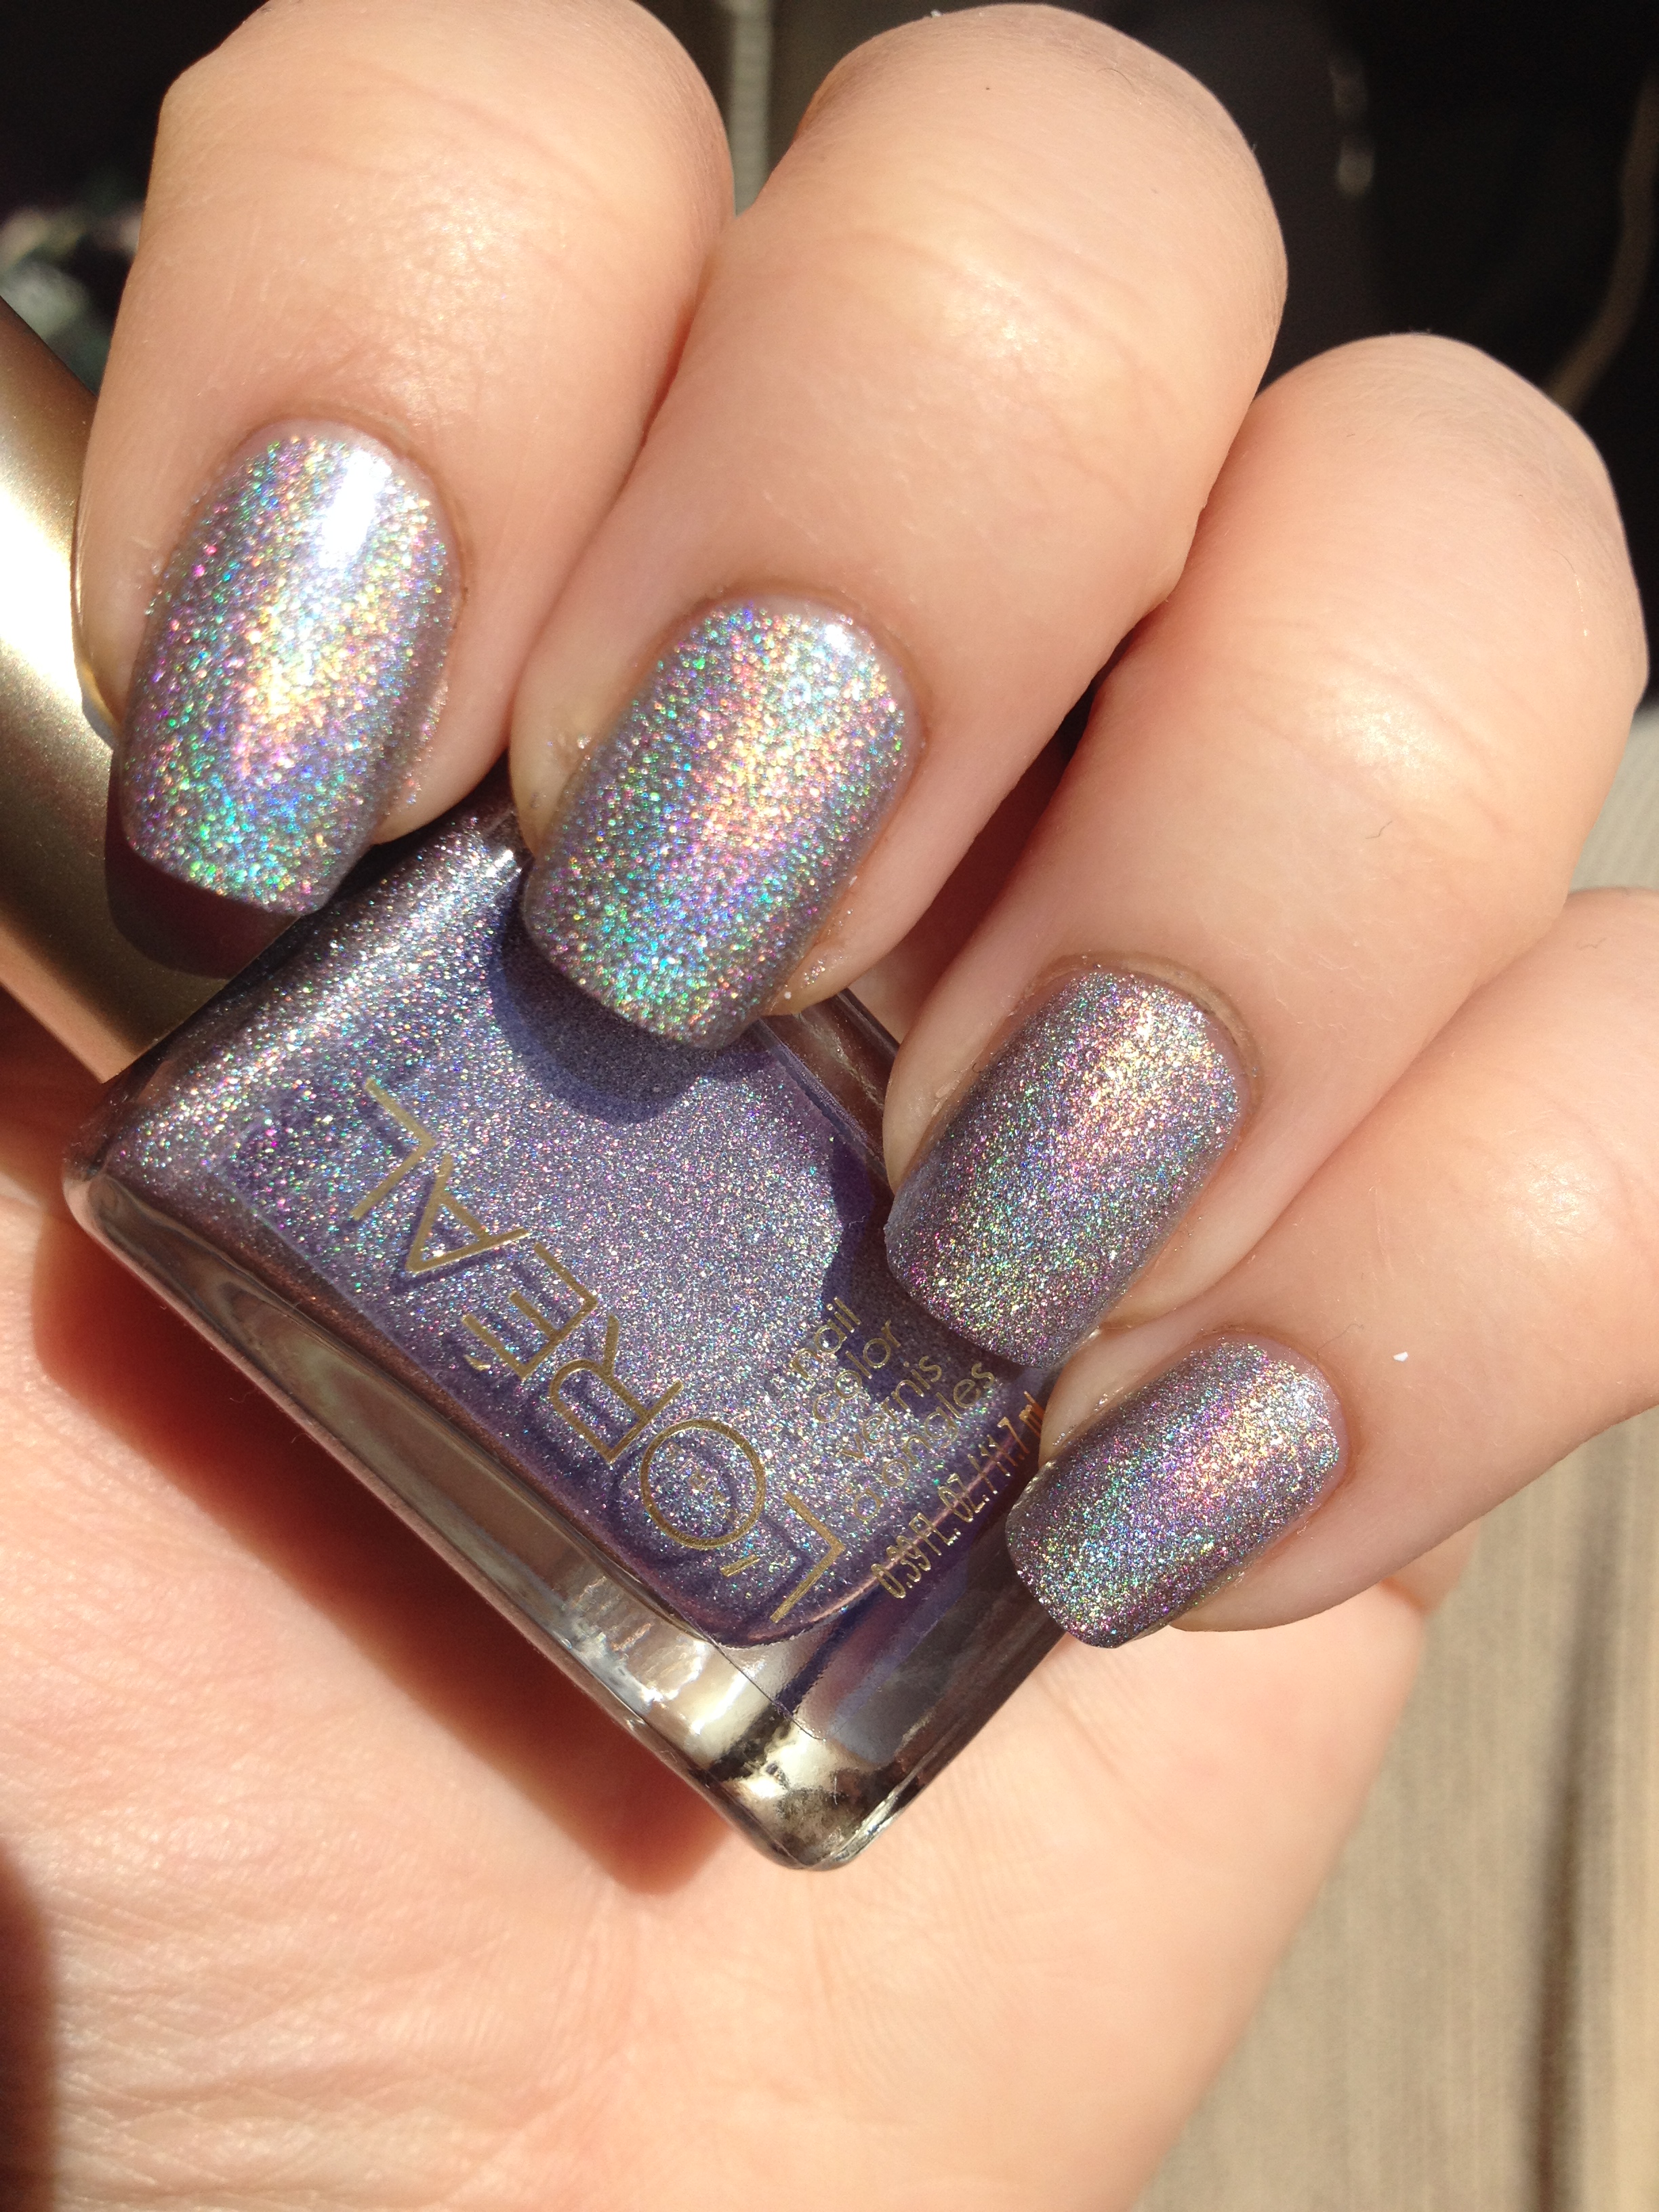
 I was actually prompted to try this technique as part of a weekly nail art challenge on instagram. (Check out #wnac2015 on instagram!) The nails were also supposed to have an element of holographic-ness, so I added a little flower shaped holographic glitter on each nails as well as a top coat that had some holographic glitter in it. I was actually really happy with how these turned out!
This technique is not really that hard, but it is time-consuming. This is not the kind of thing you want to try to tackle if you have somewhere to be in a half an hour. It’s more the kind of thing you can do while you watch your favorite long movie. (The Sound of Music, Titanic, Gone With the Wind,…) Let me know if you decide to tackle this technique!
So, thanks for reading, commenting, liking, and following! Find me on instagram @polishmesnazzy !