Nails of the Day

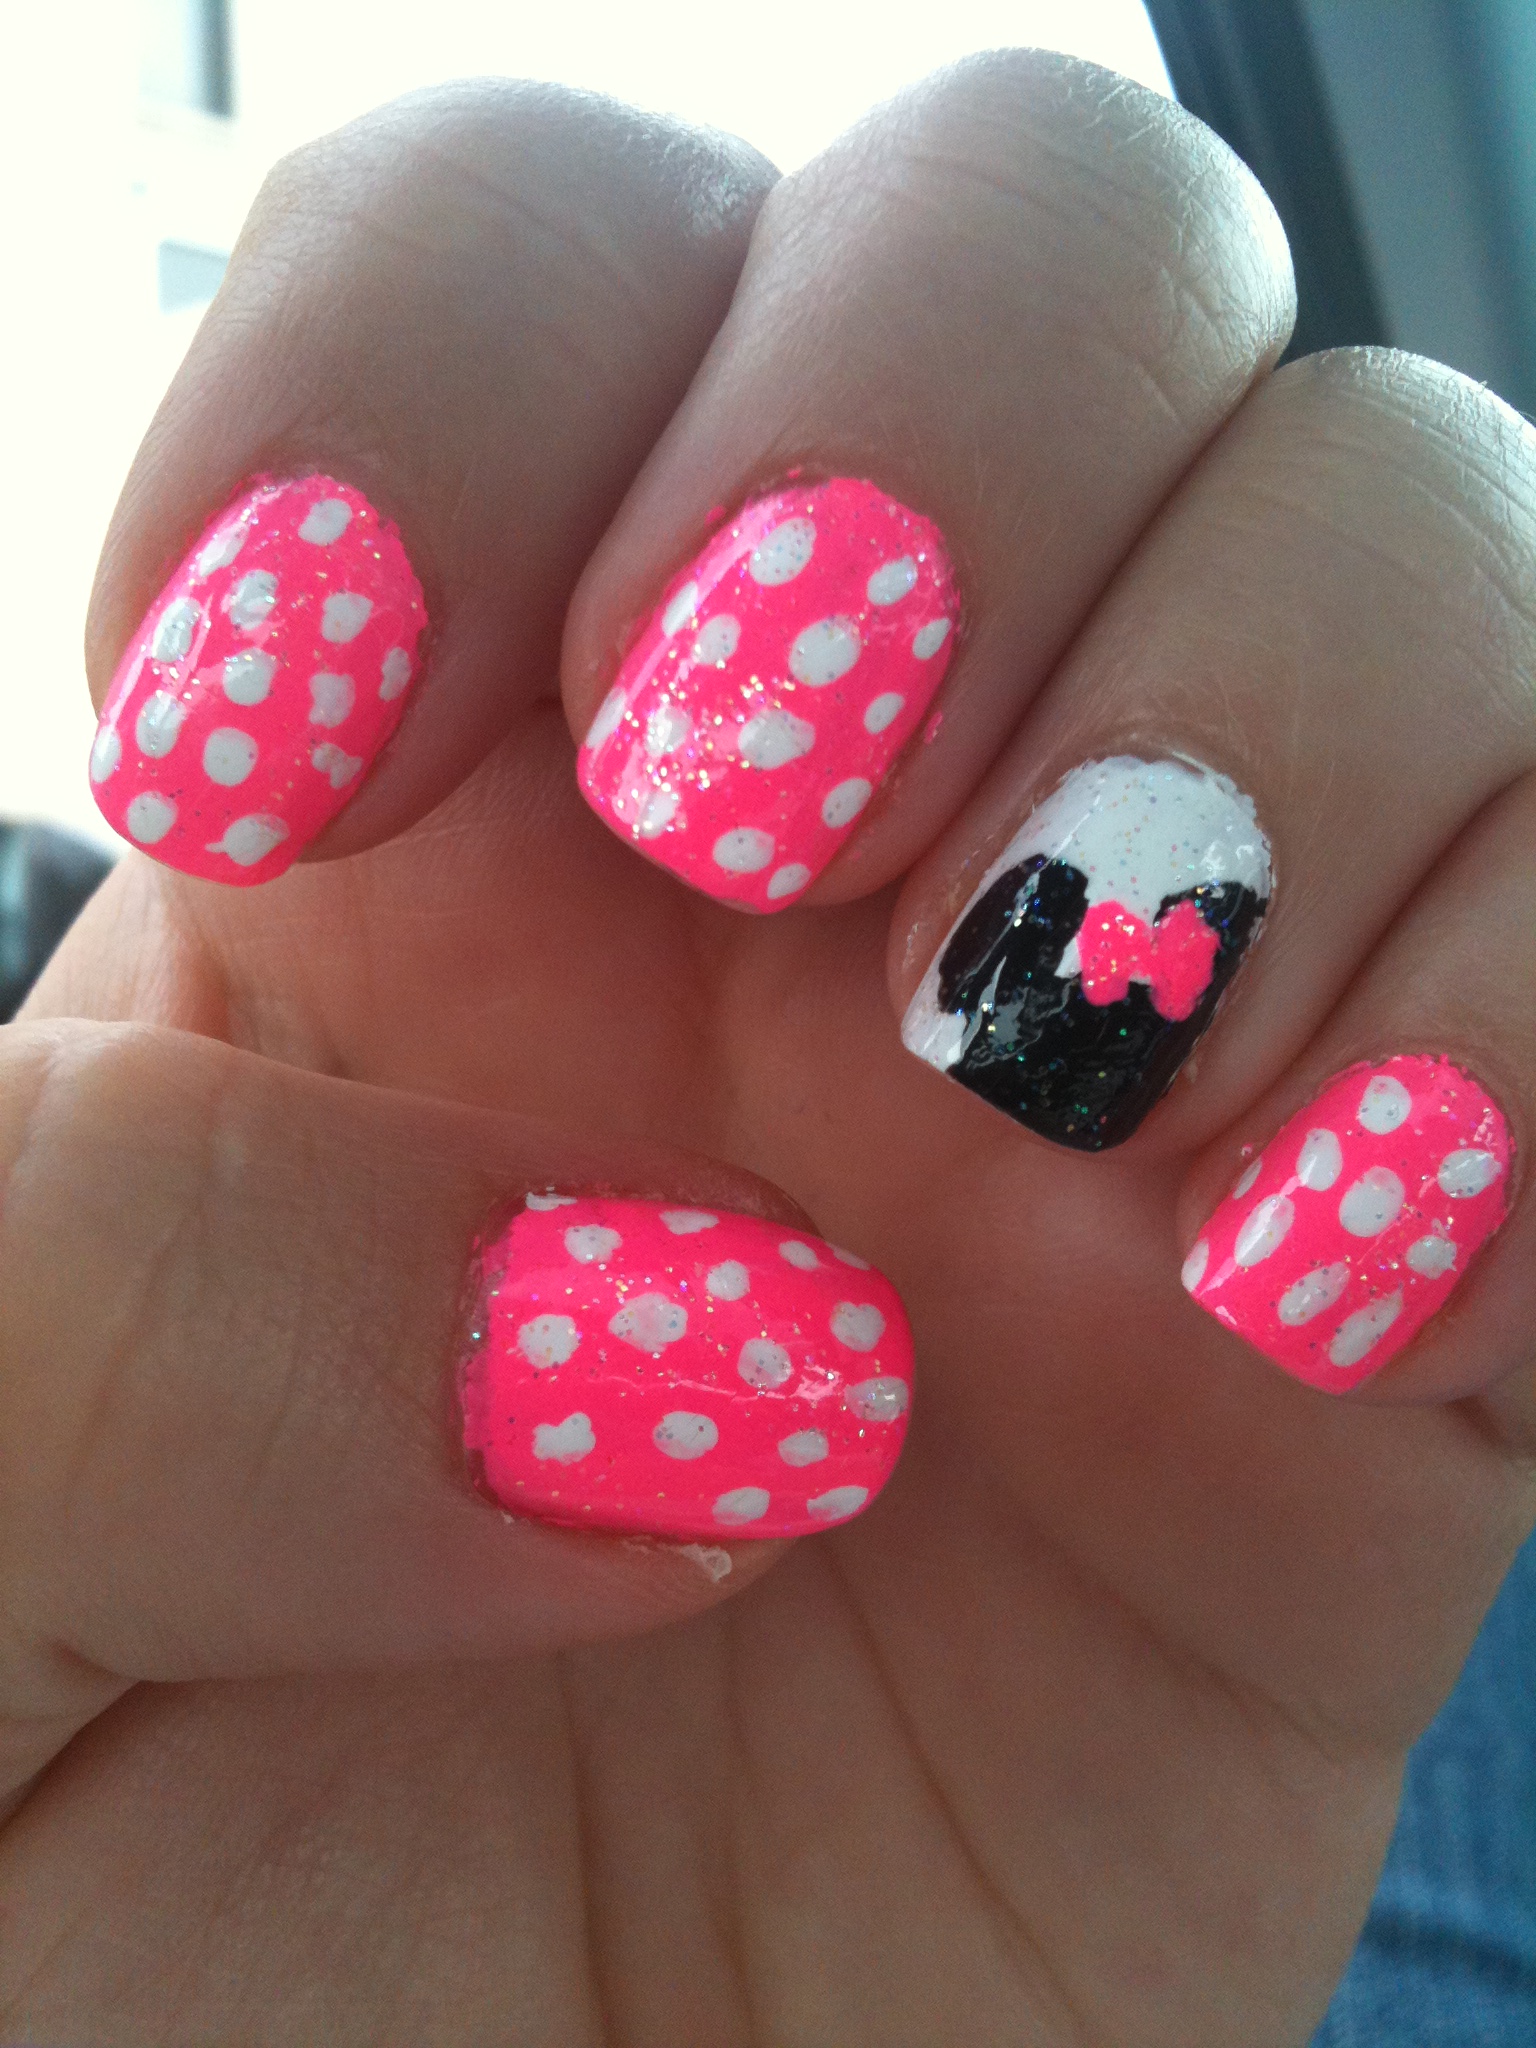
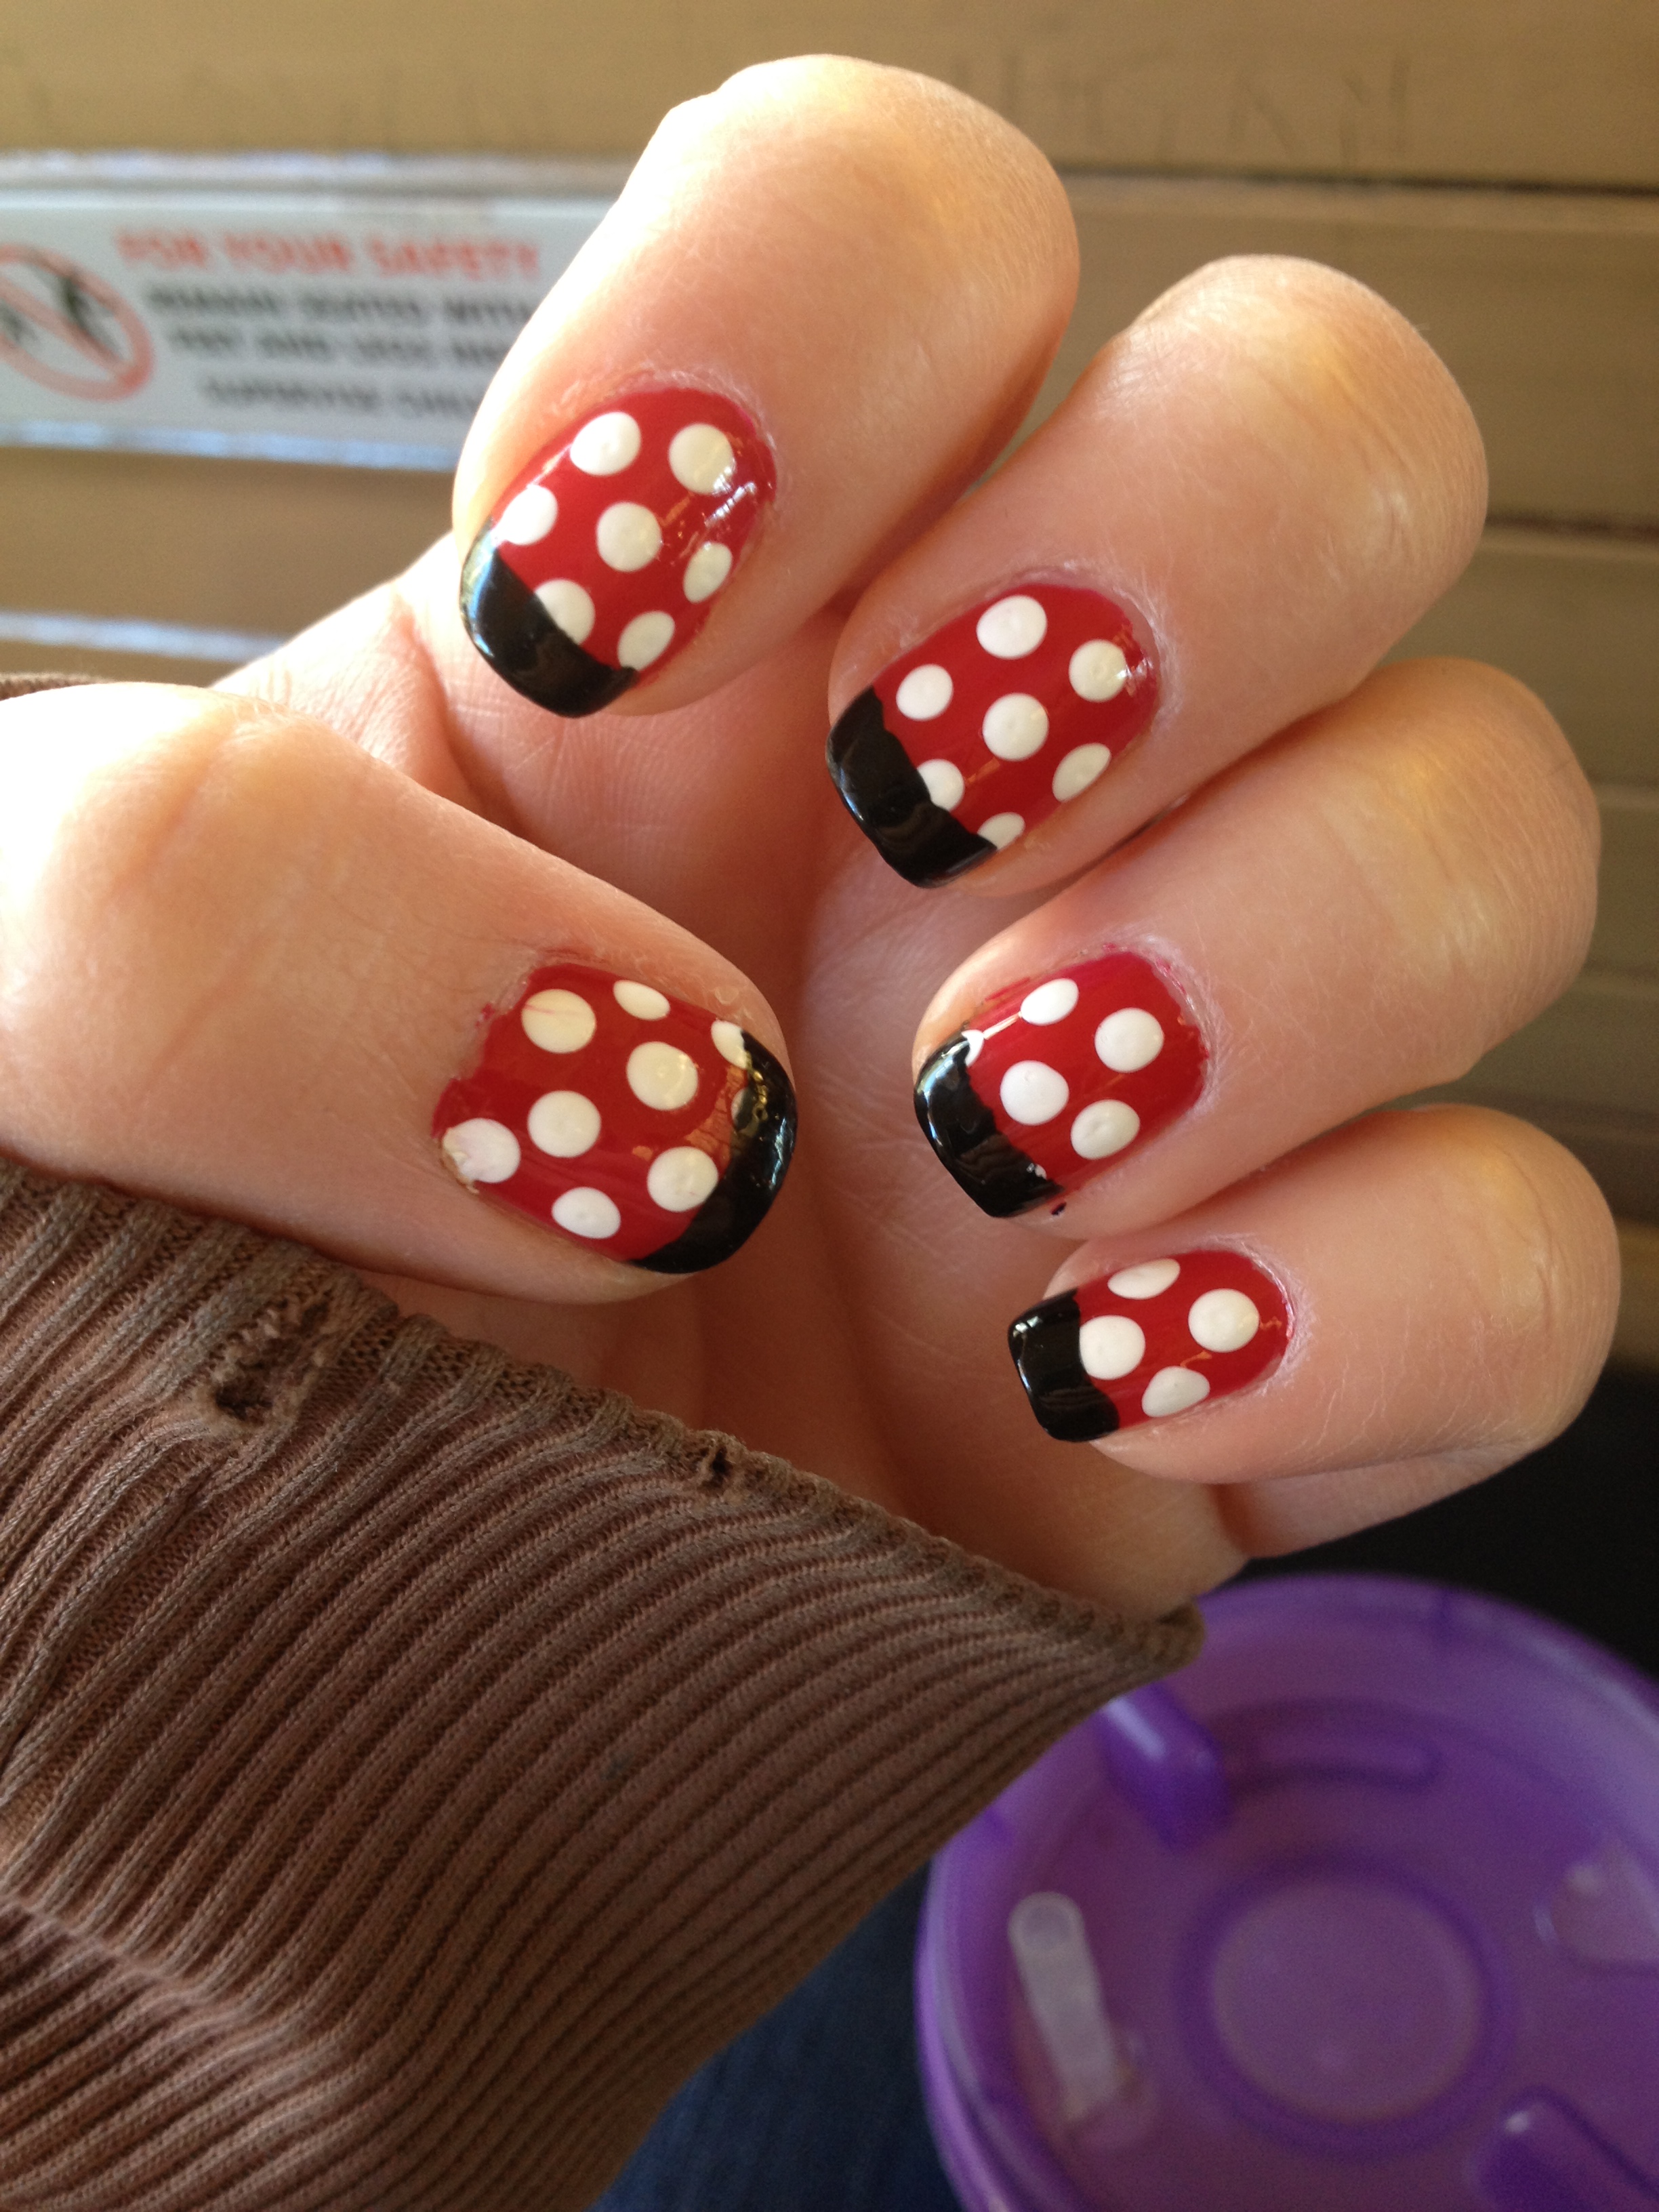
Here’s what I’m currently sporting on my nails:

IMG_2722

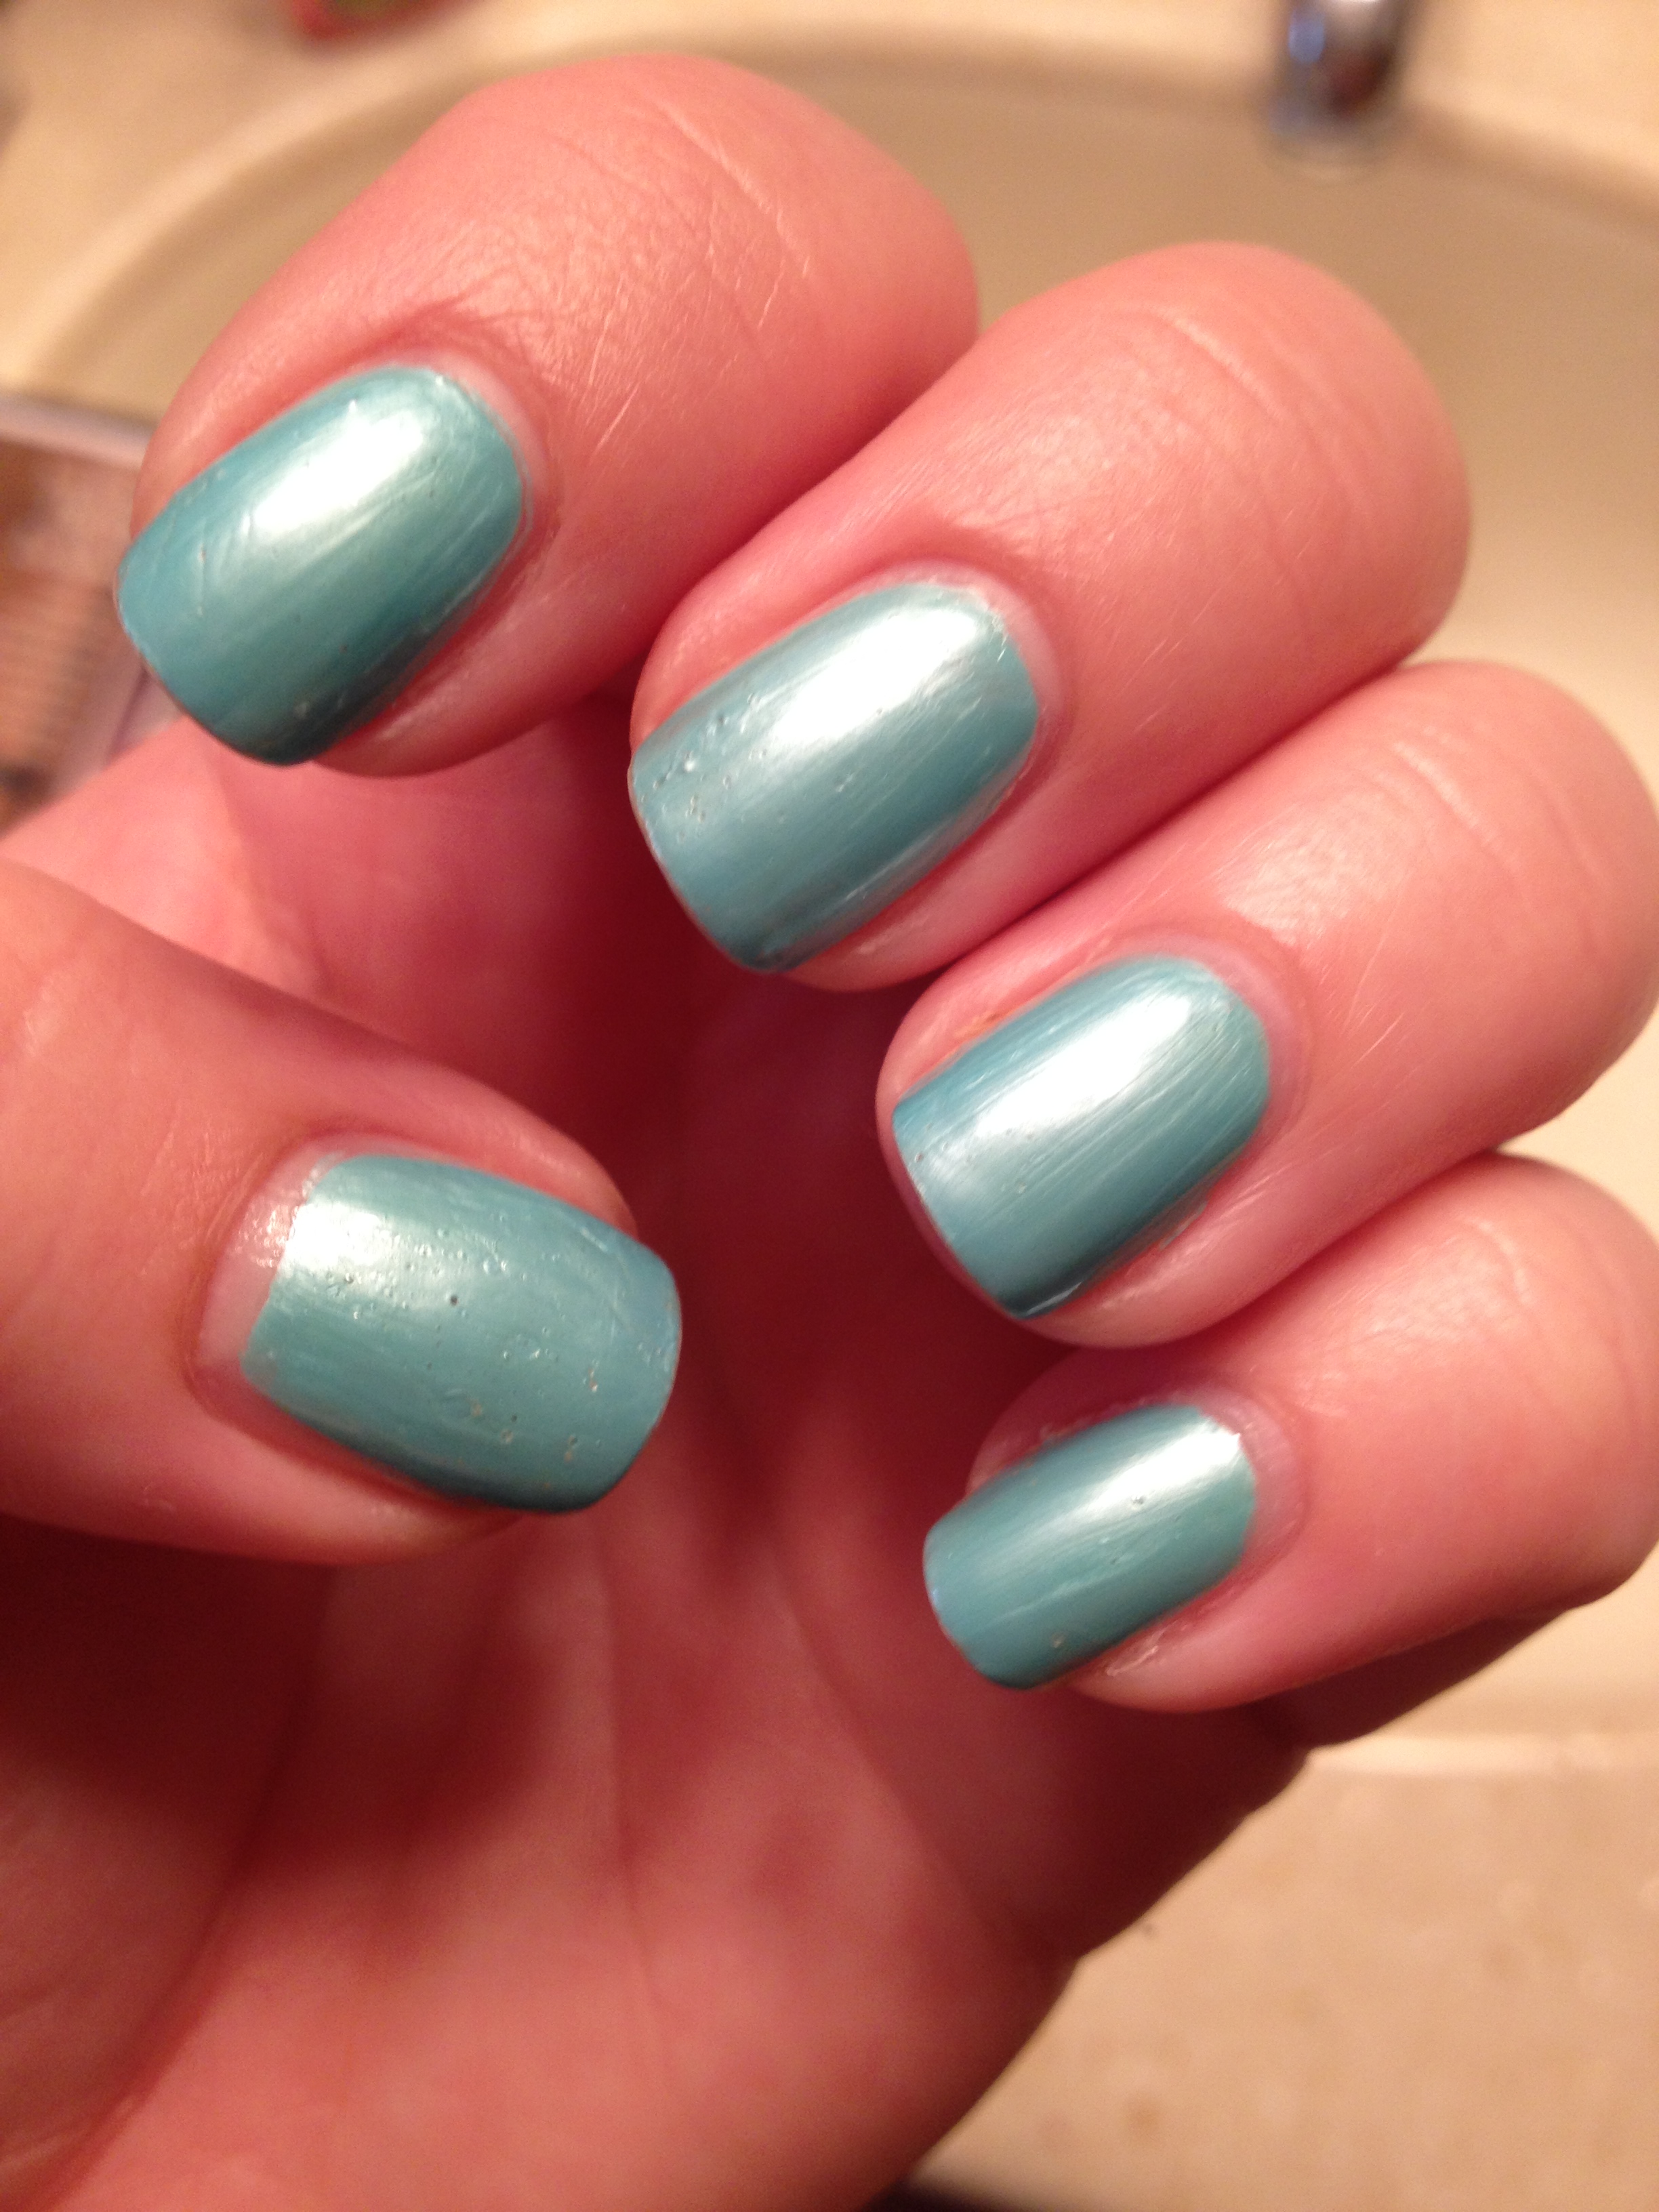
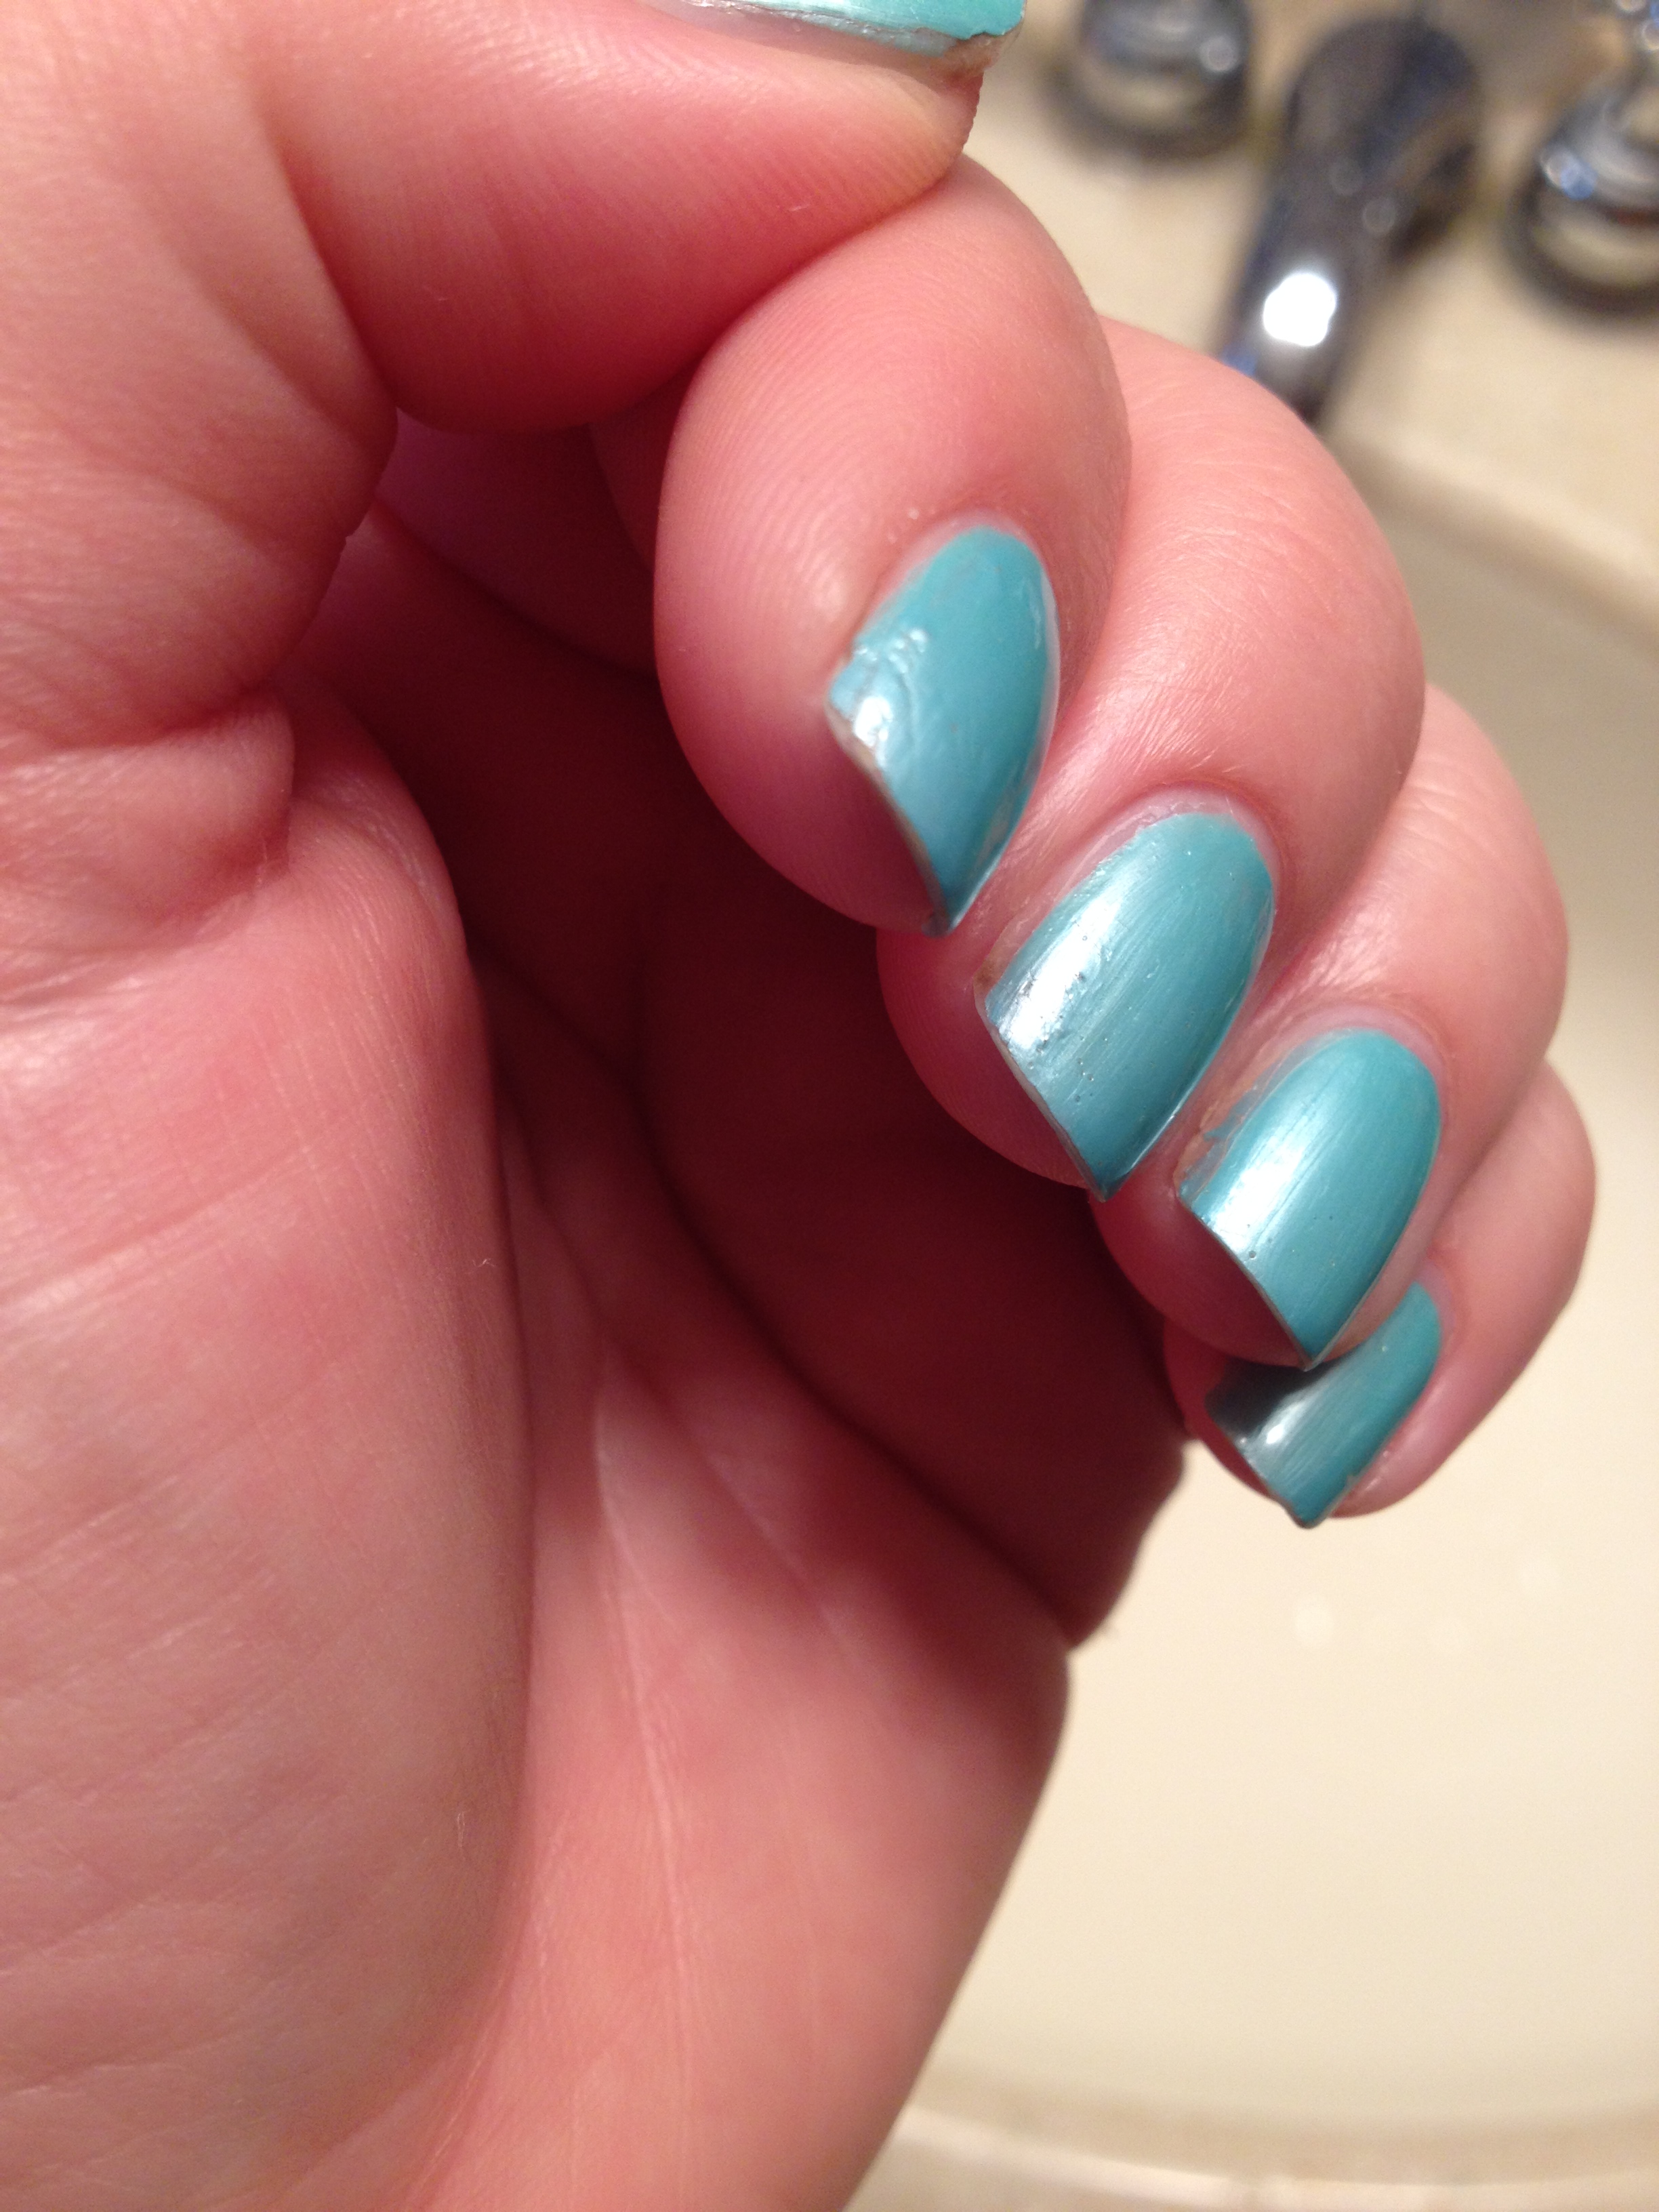
The pink color is Wet n Wild Tickled Pink and the green color is my Frankenpolish that I made here.

The gold glitter I used is from Sally Girl, available at Sally Beauty Supply.  You know how sometimes glitter polish is in a really thick clear base and it seems like you can’t get the glitter coverage that you want on your nails without applying a bunch of really thick coats?  Well, there’s a way around that.

For this look, I first waited until my pink and green polish was mostly dry.  Then I brushed the gold glitter polish onto a makeup sponge like this:

IMG_2724

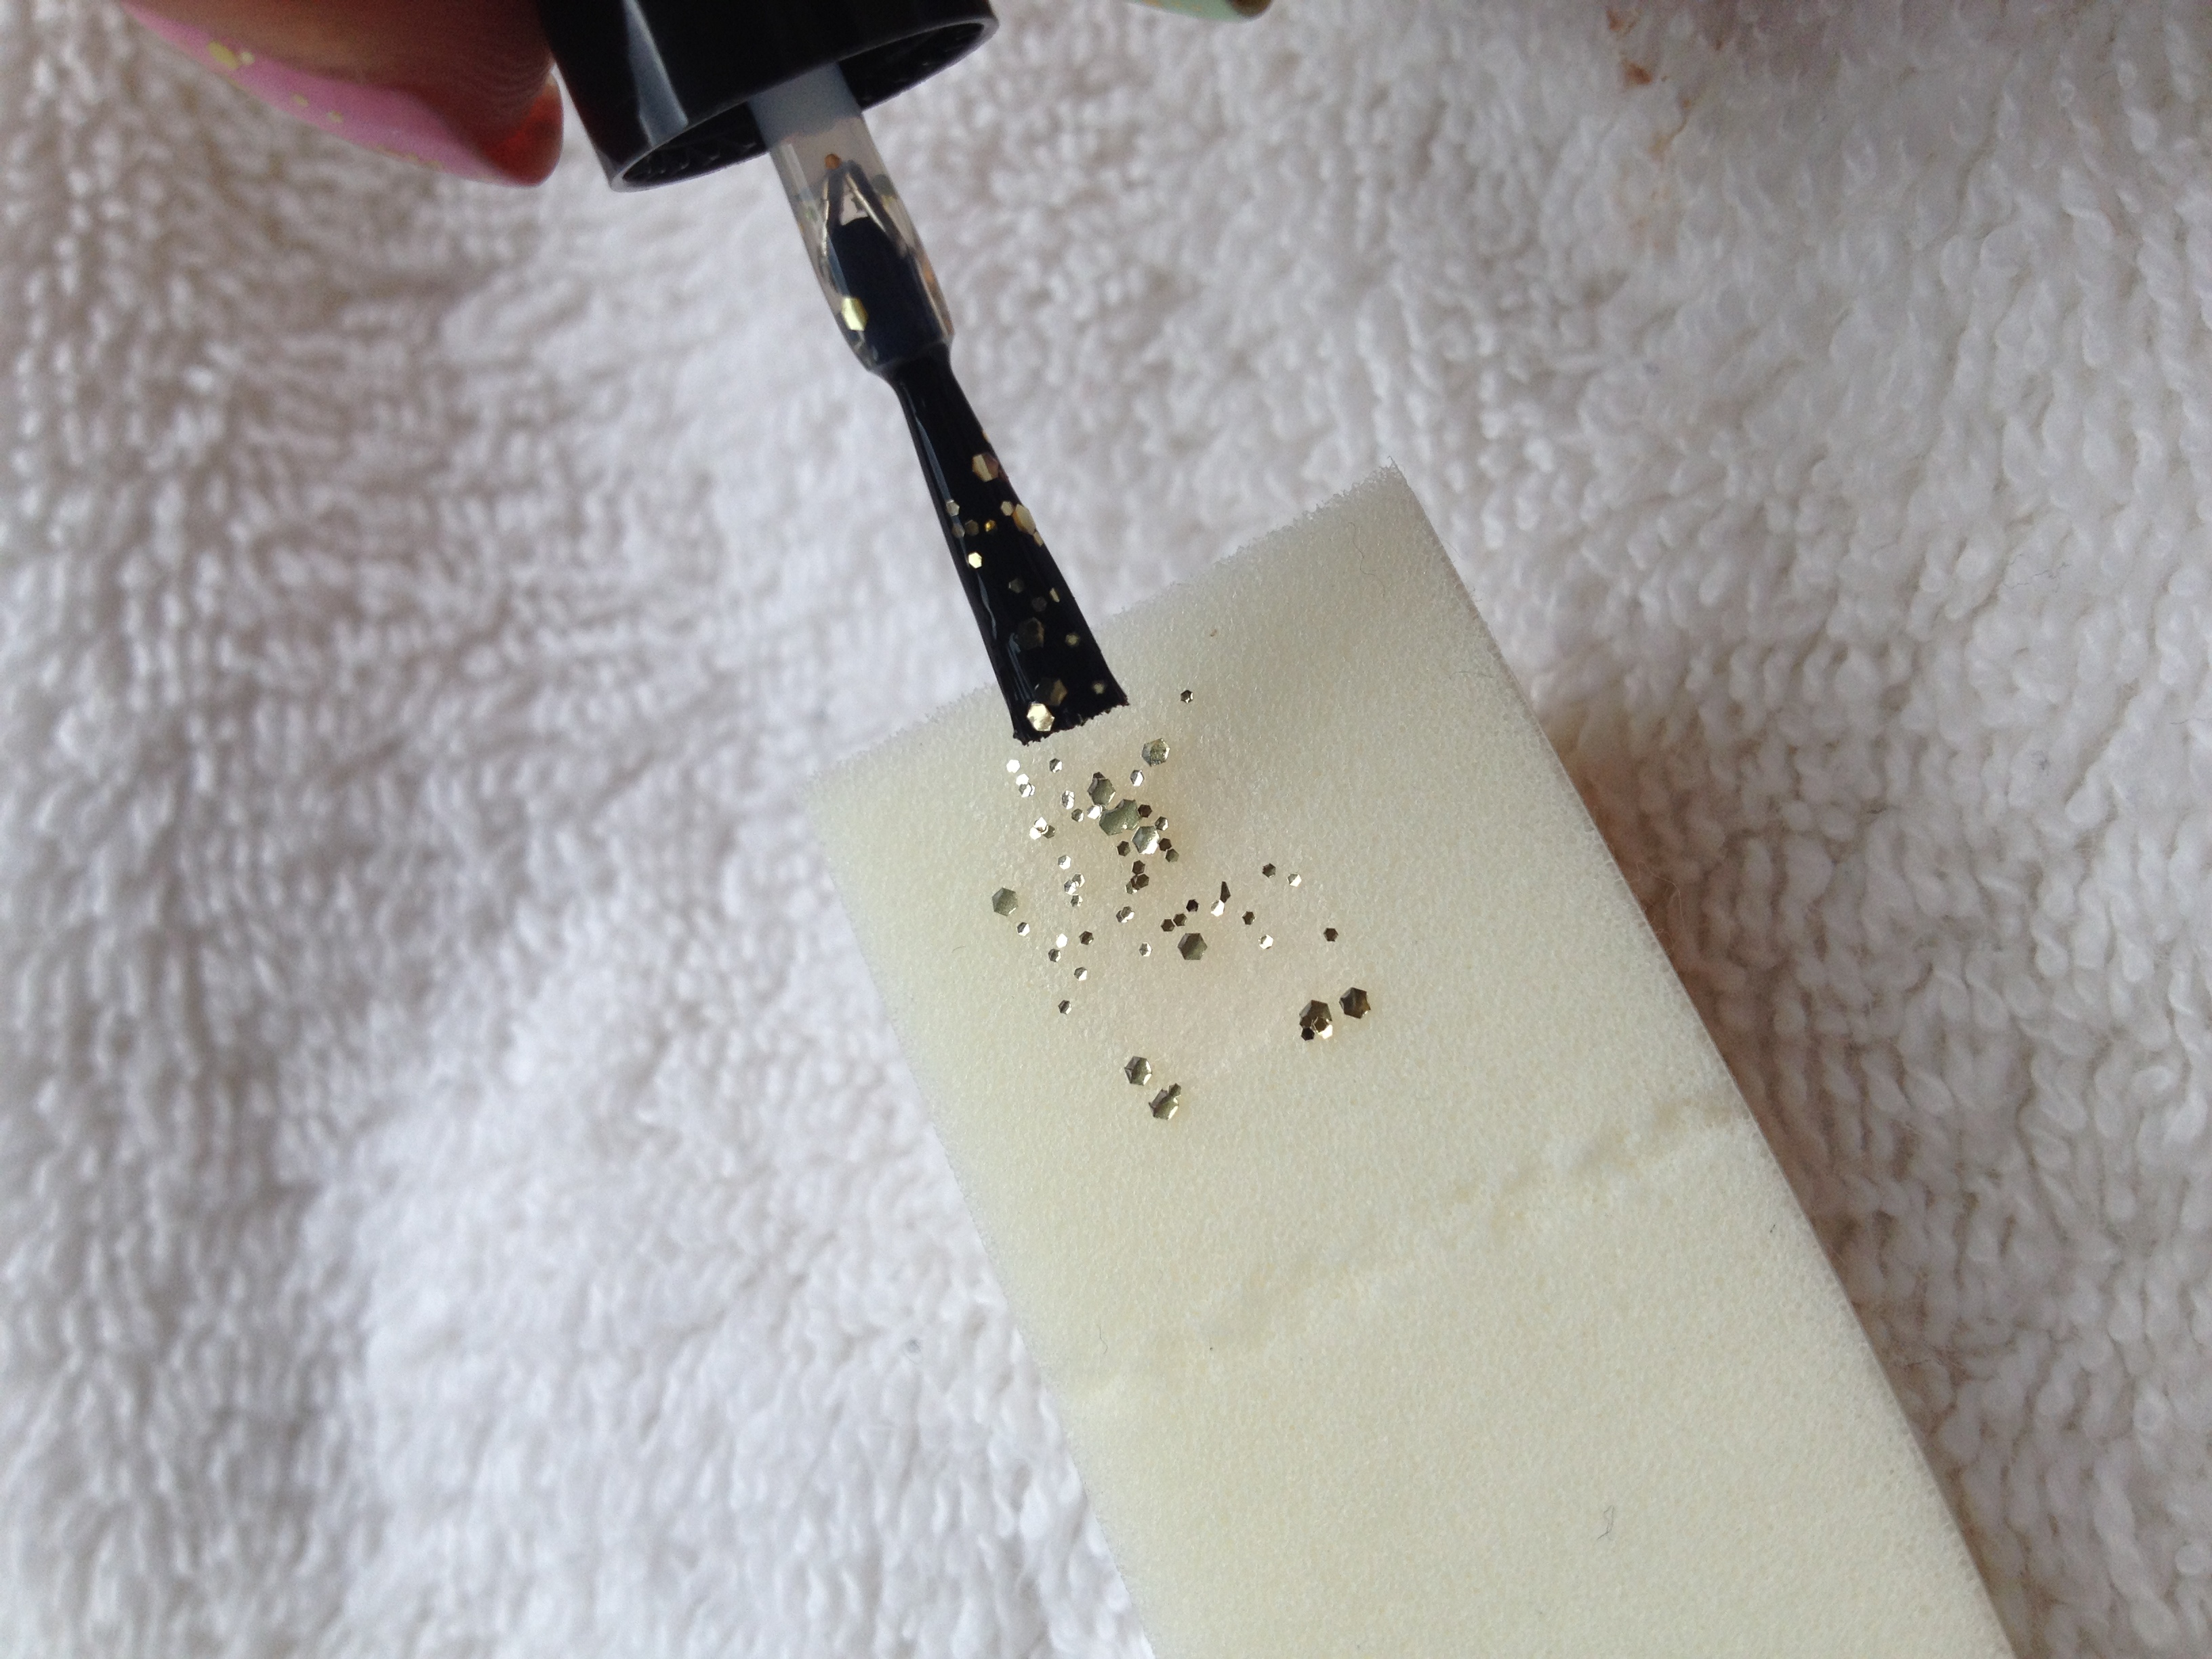
Then I waited just a few seconds so that the clear base was mostly absorbed into the sponge, but still wet.  Then I dabbed the sponge with the glitter directly onto my nail.  This technique works like a charm!  I learned this from jessface90 on youtube.  Check out her tutorial on this.

I then applied the NYC You Matte Me Crazy top coat.  I love how the glitter looks with the matte top coat!  The glitter is still shiny, but in more of a frosted glass sort of way.

If you found this information helpful, I’d be honored if you’d share this by using the little “share” buttons below!  If you try this technique, I’d love to see your results, so use the hashtag #polishmesnazzy on instagram or facebook so that I can find your posts.  Thanks for reading!

Tools of the Trade

I’m about to reveal something that may blow your mind…  Here it is: Nail art is not really that hard.  Anyone can make their own nails look really awesome if they know a few tricks, and have the right tools.  Now, before I go any further, there are people out there doing nail art that actually have real artistic ability (do a search for Robin Moses Nail Art some time), and those people are in an awesome class of their own, but I’m not talking about those people right now.   I’m talking about regular people with very average drawing and painting skills.  I’m one of those regular people.

You will have a whole new, wonderful world of nail art open up in front of you if you can acquire just a few inexpensive tools.  Here’s my collection of tools:

IMG_2714

On the left are my dotting tools.  “What the heck is a dotting tool” you ask?  It’s pretty much a handle with a little round metal nub at the end that you can dip into polish or paint and then make perfectly round dots on your nails.  And don’t underestimate the versatility of dots.  You can do a ton of designs with just dots.  Five dots arranged in a circle with a different colored dot in the center is a flower.  Seriously Dots are great.

The first dotting tools I ever got were the three in the middle with the wooden handles.  I got them at Michael’s.  I’m pretty sure you could find something similar at just about any craft store.  After that I got the 5 pretty dotting tools with the plastic colored handles.  I’ve seen that set in beauty stores for over $10, but you can get them on Amazon for under $3.  That’s right, the whole set of 5 tools for under $3.  Just go to Amazon and search for “nail art dotting tools” and you’ll find a bunch of them listed.

Just to the right of my dotting tools is a little multi-functional little guy.  It’s got a dotting tool on one end, and an angled handle with a little brush on the other end.  I got that at Sally Beauty Supply for around $4.  I really like it and used it a lot when I first got it.  Ultimately, I wanted a brush that was just a little smaller so that I could be a little more detailed in my designs.  That first led me to the purple handled brush on the far right


My Disney Nails

I’m a Disney fan.  I don’t consider myself to be an over-the-top crazy Disney lover, but I do have an affinity for the Mouse and I enjoy a trip to one of his parks every 5 years or so.

Earlier this year, my hubby and I enjoyed a week of magic down in Walt Disney World.  Leading up to, and during that trip, I made sure that I was always sporting nails that would be Mouse approved.  I thought I’d share those looks with you!

*I do want to put out a little disclaimer that I didn’t come up with these designs 100% on my own, but a number of months have passed, so I’m not exactly sure where I got some of these ideas. There are are some really creative nail artists out there, and I don’t want to get into a beef with anyone for stealing a design.  If one of these designs was originally yours, feel free to contact me so that I can give you proper credit.

Anyway, here are some of my Disney nail recreations:

2013-07-09 13.34.34

The base was a light neon pink.  I loved these nails!  Please forgive the sloppiness around the cuticles in this pic.  My technique has improved since then!

2013-12-25 12.38.41

These aren’t actually my nails, but nails I did on a friend.

2014-01-17 21.22.13

These were pretty tricky to do, but I loved them!  These  were my nails for the first half of our trip.

2014-01-16 14.01.13

These were the toes I sported for our trip.  Yes, those little faces took forever to get right!

2014-01-23 09.45.10

This is the look I sported for the second half of our trip.   These were super simple, and I got tons of compliments on them while we were in the parks!  Note the refillable Disney mug in the background.

Just looking at these pictures reminds me of our trip and gives me the warm Disney fuzzies.  Sporting special nails for a particular event (or vacation in this instance) really does add a little something extra.  Don’t be afraid to nails that are bold and bright, if the occasion is right!


Four Days of Wear

I’m getting ready to take my current polish off to do some swatches for you, but I thought I should show you something first. Here are my nails after 4 days of wear, one of which involved 2+ hours of yard work:

IMG_2568IMG_2569

You can see a little bit of nail growth at the cuticle, and the tiniest bit of wear on the tip of my first finger, but that’s it.  (In retrospect, I probably should have taken a picture of my right hand, since that’s my dominant hand, but really, the wear is about the same.)

Anyway, my point is that this is why you should use a base and a top coat.  My polish would chip in a day if I didn’t.  For this particular manicure, I used Revlon Quick Dry Base Coat, 2 coats of NYC In a New York Minute Amazon green, and Seche Vite Dry Fast Top Coat.  In the near future, I am planing to put a few base coats and top coats up against each other in an attempt to find out which ones really are the best, but so far I’ve never been disappointed by the Revlon base coat/Seche Vite top coat combination.

I’m off to write a much more substantial post now on how to make your neon polish look as awesome as possible.  Until next time, happy polishing!


And So It Begins…

Hi Friends! Welcome to my blog!

I paint my nails a lot.  I’ve always enjoyed nail art and nail polish.  I think I bought my first nail art book when I was in high school.  (Yes, the internet was only a baby back then, so people would by books made out of paper when they wanted to learn stuff.)  I actually used to use pieces of uncooked spaghetti as dotting tools back then.

Since then, I’ve come a long way, and that’s what I hope to share with those of you who are interested!  I’ve had some great opportunities to talk about nails with a lot of you on a one-on-one basis, but I think this will be a much better format to share some of the stuff that I’ve figured out over the years.

I guess it would be sort of a crime to end my first post without at least giving some sort of nail-related tip…  Don’t shake your polish right before you are going to use it.  Roll it around in your hands like they do in the salon.  If you shake it, you’ll make little air bubbles in the polish like this:

IMG_2554

Do you see that?  I was in a hurry last night and I just shook the heck out of that bottle.  I knew it was wrong, but I did it anyway, and now I’m paying for it.

Well, I think that’s about all I’ve got to say for now, but I’ll be back!