Happy late summer! Since it my neck of the world it’s still blisteringly hot, it’s not too late to sport cute summer nails! I really haven’t done anything lately that seemed earth shattering or tutorial worthy, so I thought I would just highlight a bunch of the looks I’ve  worn over the past few months.
These are pretty cute, right? Every summer I end up doing some sort of neon citrus mani. This is like a pink limeade look or something. This look is so cute with any combination of neon pink, orange, green, or yellow. The trickiest part is painting the little white lines on the citrus. I use my tiniest brush and acrylic paint for that part. These nails just make me happy.
 I really liked these nails too. The base is Funky Fingers – Mattely in Luv and the polish I used for stamping was Funky Fingers – Sandy Toes. Sandy Toes is a really interesting color. In the bottle it looks like a bright, but not neon red polish that leans a little pink. When you us it for stamping, however, it turns out to be a neon coral color. And this polish, even in the bottle glows under my black light, so I guess it is neon, even though it doesn’t actually look neon. In my head, that’s the test if something is neon or not: whether it glows under a black light.
These nails are pretty loud, right? I’m pretty sure that I had some jumpers or scrunchies  or something that looked like this in the late ’80s. I used the homemade decal method to do these, which turned out to be an error in judgement, so they look a little messy. If I do these again, I would paint my nails white and add a top coat. Then I would use painters tape to block of the section of the nail that I wanted to be neon. Next I would stamp the black pattern over the nail and quickly peel the painter’s tape off. Then I would add the neon polish.
I went through a little spell this summer where I was into reverse stamping. It’s pretty  time- consuming, so I pretty much just stuck to doing accent nails. The effect is pretty cute, though! This also gave me a chance to use
  some of my colored glitter polishes that don’t always get enough love. Ooo, I’m looking at that pretty deep yellow polish and I think I might need to pull that one out again before summer is over. I’ve got a fair complexion (sounds so much nicer than pale) and it’s hard for me to pull off yellow clothing. Nail polish is a great way to wear a color that is a little trickier for you to pull off..
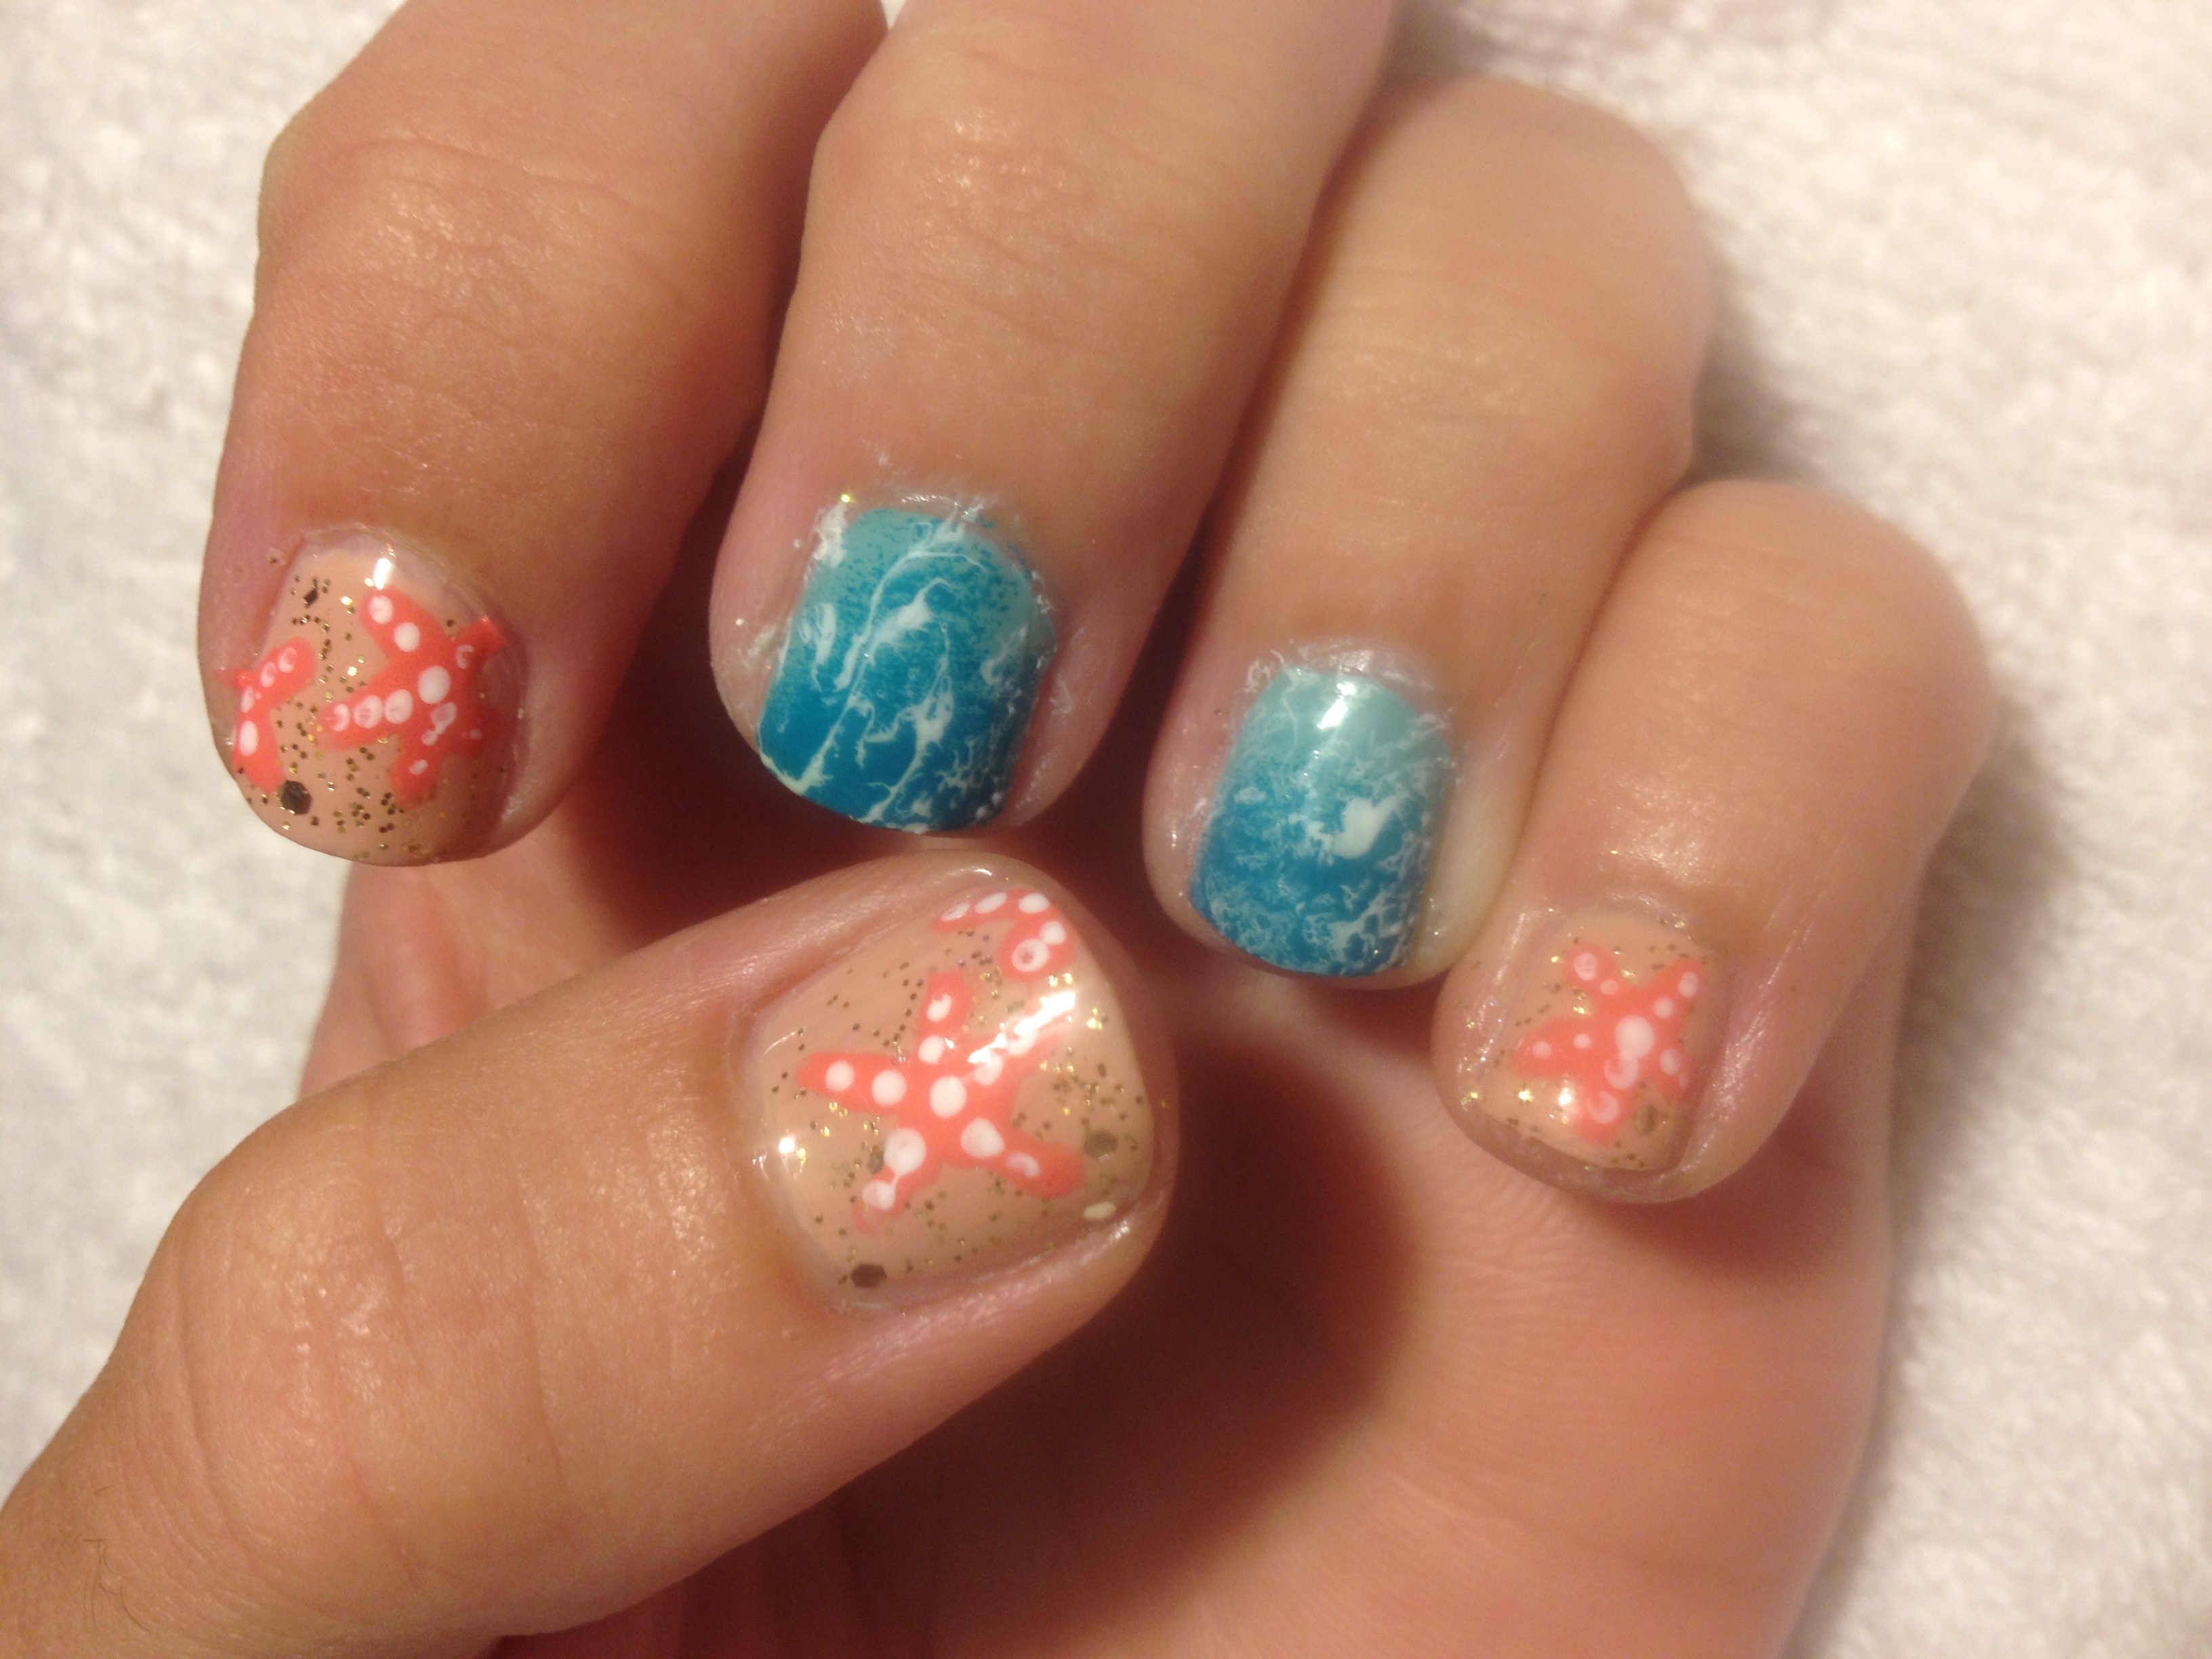
What’s more summery than beach nails? For these, I started with a coat of white polish and then I did a blue-to-white-to-khaki gradient with a damp makeup sponge. To get the white swirls, I used the same technique that I wrote about in detail here. Really easy and such a cool effect! These look so much more complicated than they actually are. 
I also wore some cute dry brush nails. I enjoy dry brushing so much! It’s seriously the easiest nail art ever. It can barely be called art, it’s that easy. Neon colors over a white base. So cute, so easy, so summery.
 And these nails…. I’m not really sure what I was going for here. I think I saw a picture on pinterest. They can’t all be winners, am I right? The neon glitter polish on my middle finger Bitzy – Sweetie Pie. Bitzy is a new makeup line that is exclusive to Sally Beauty Supply. They are only $1.59 per bottle, and they have lots of fun polishes. They are a great way to expand your collection without breaking the bank.
These are fun, right? I have a neon red polish that is just so darn bright that it actually makes me self-conscious to wear it. I love it in small doses, though. This was the perfect way to get just a little pop of neon into an otherwise classy manicure. It’s a bit tricky to paint the underside of your nails, especially where your nail is connected to your finger, but I loved the effect! I think there are so many fun combinations that you could do. In October I might try deep purple nails with a neon orange underside.
These nails are kind of classy, I think. This is just some gold stamping over purple nails. Nothing fancy but they’re just pretty. I’ve  been doing a lot of nail stamping lately. I realize that it’s sort of the lazy person’s nail art, but it’s just so fast and easy! I still love doing the
  occasional freehand design, but right now, I’m definitely in a stamping groove.
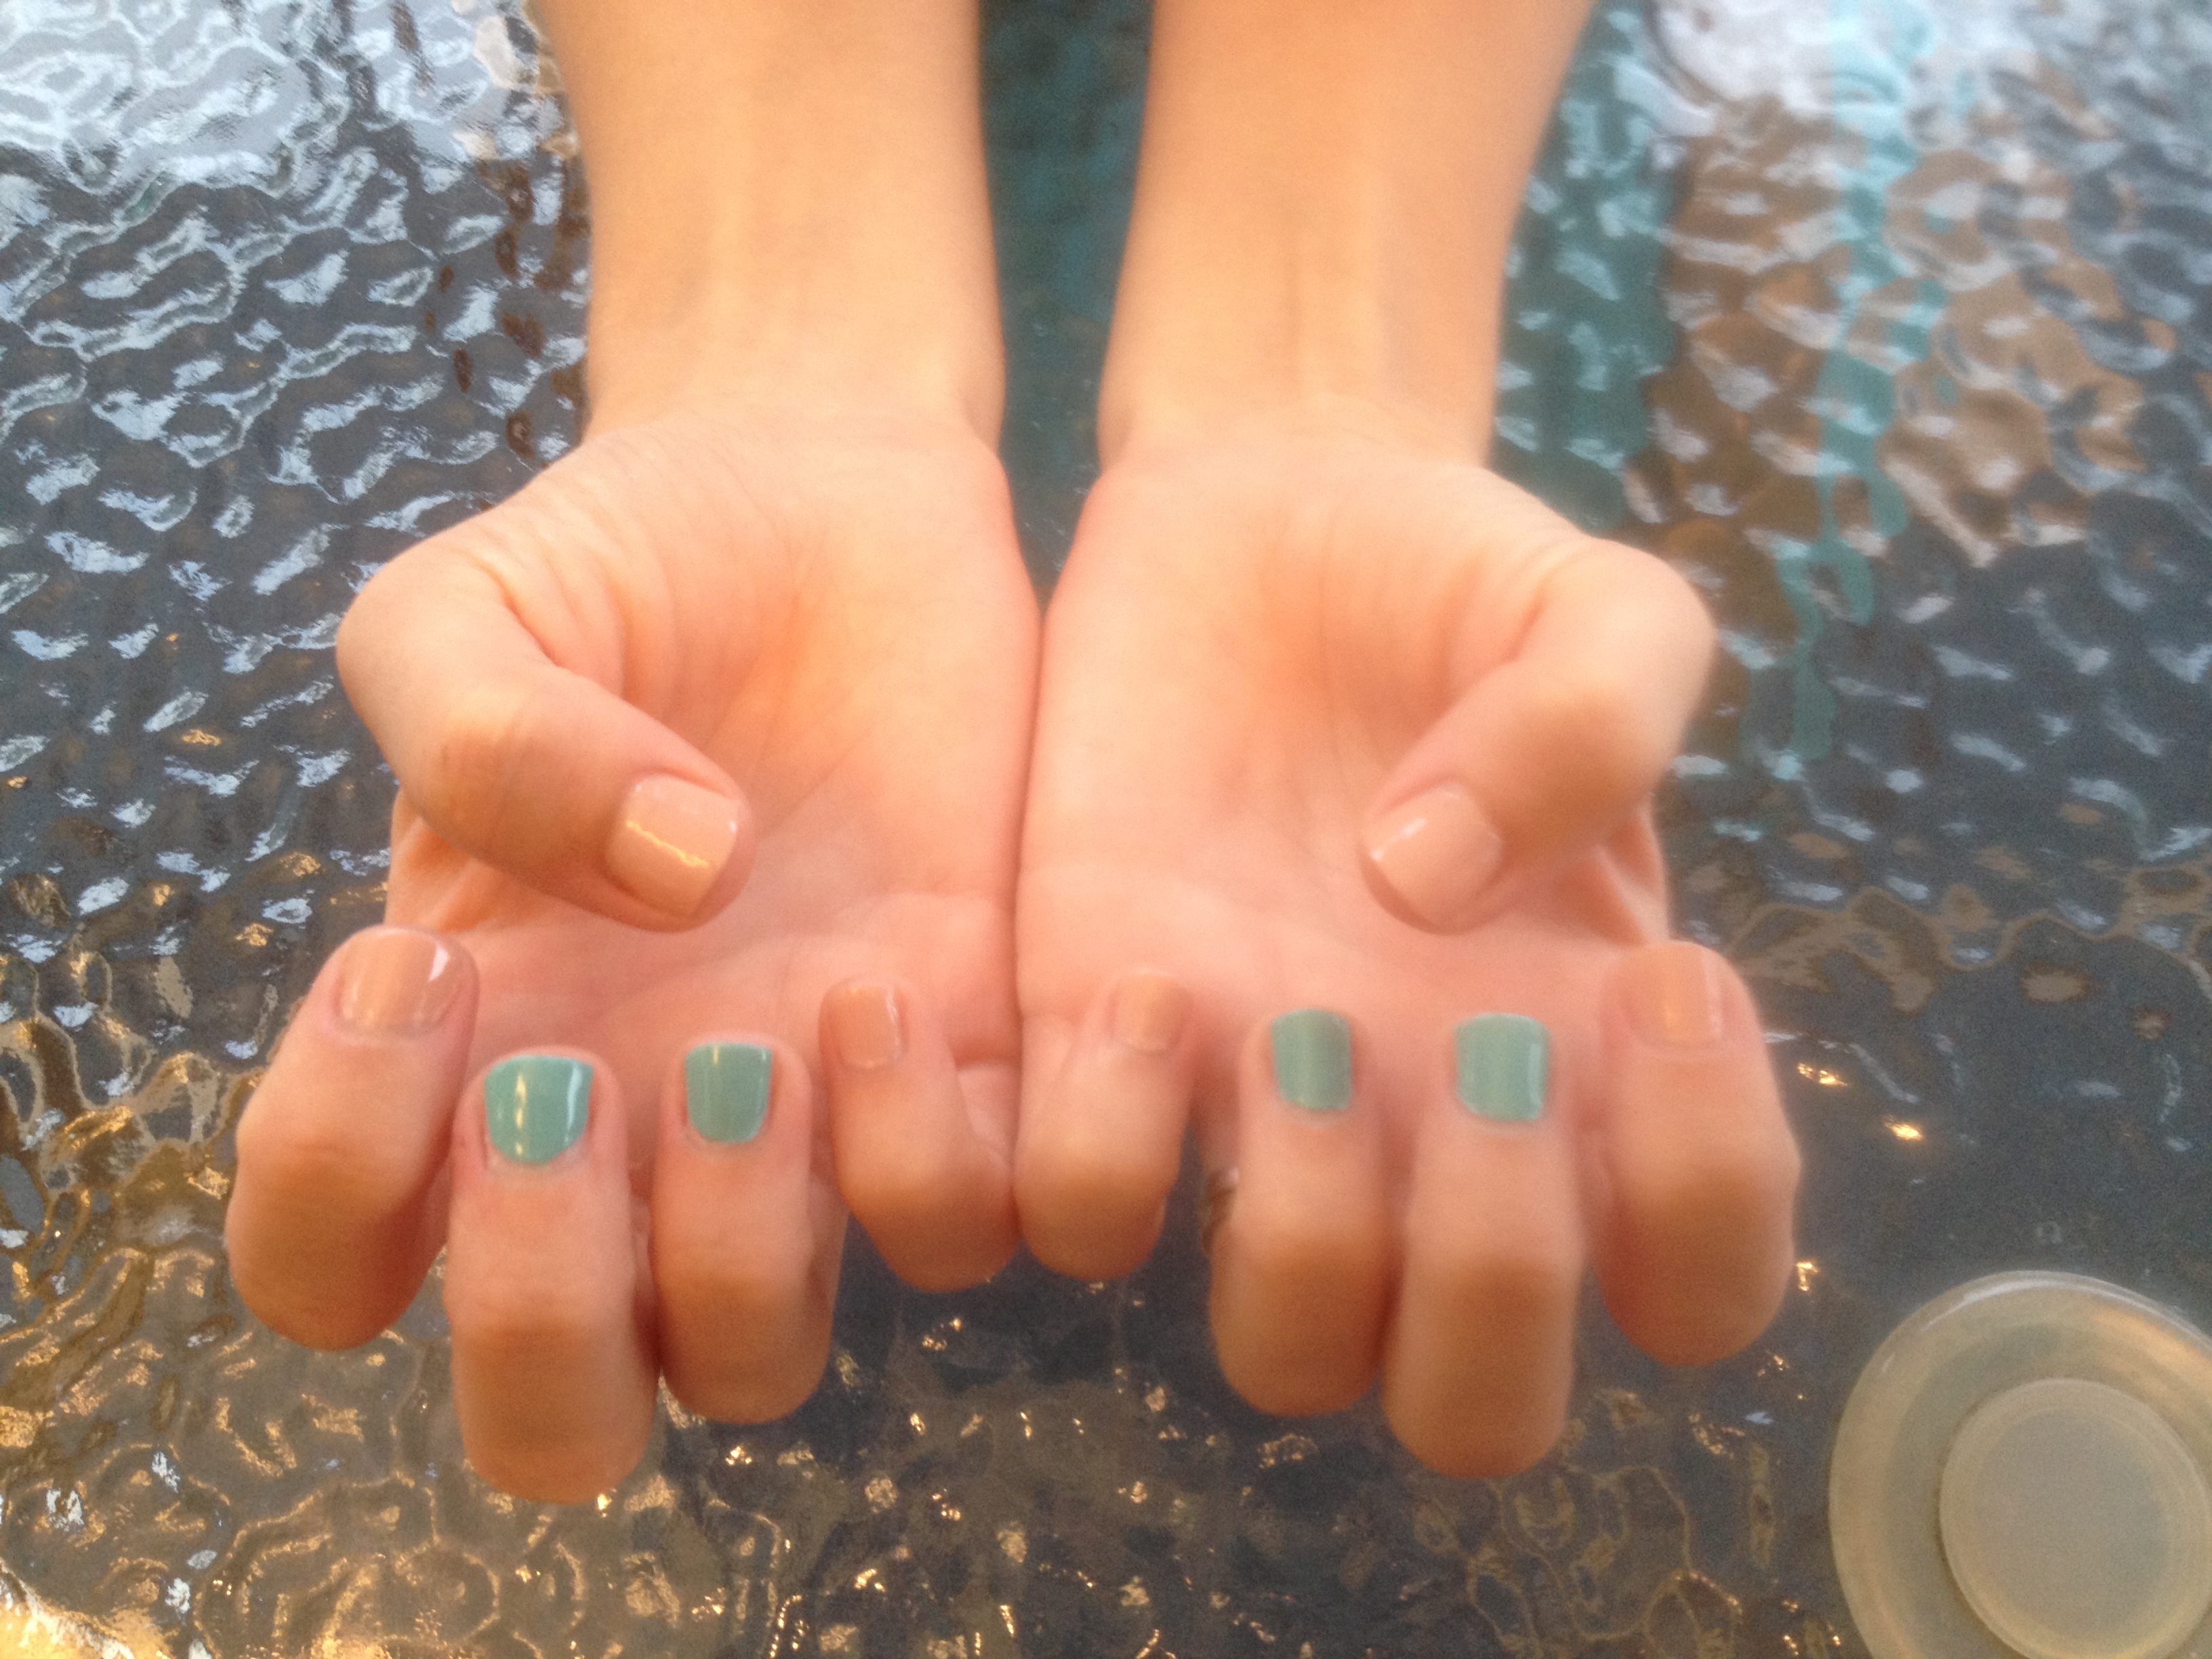
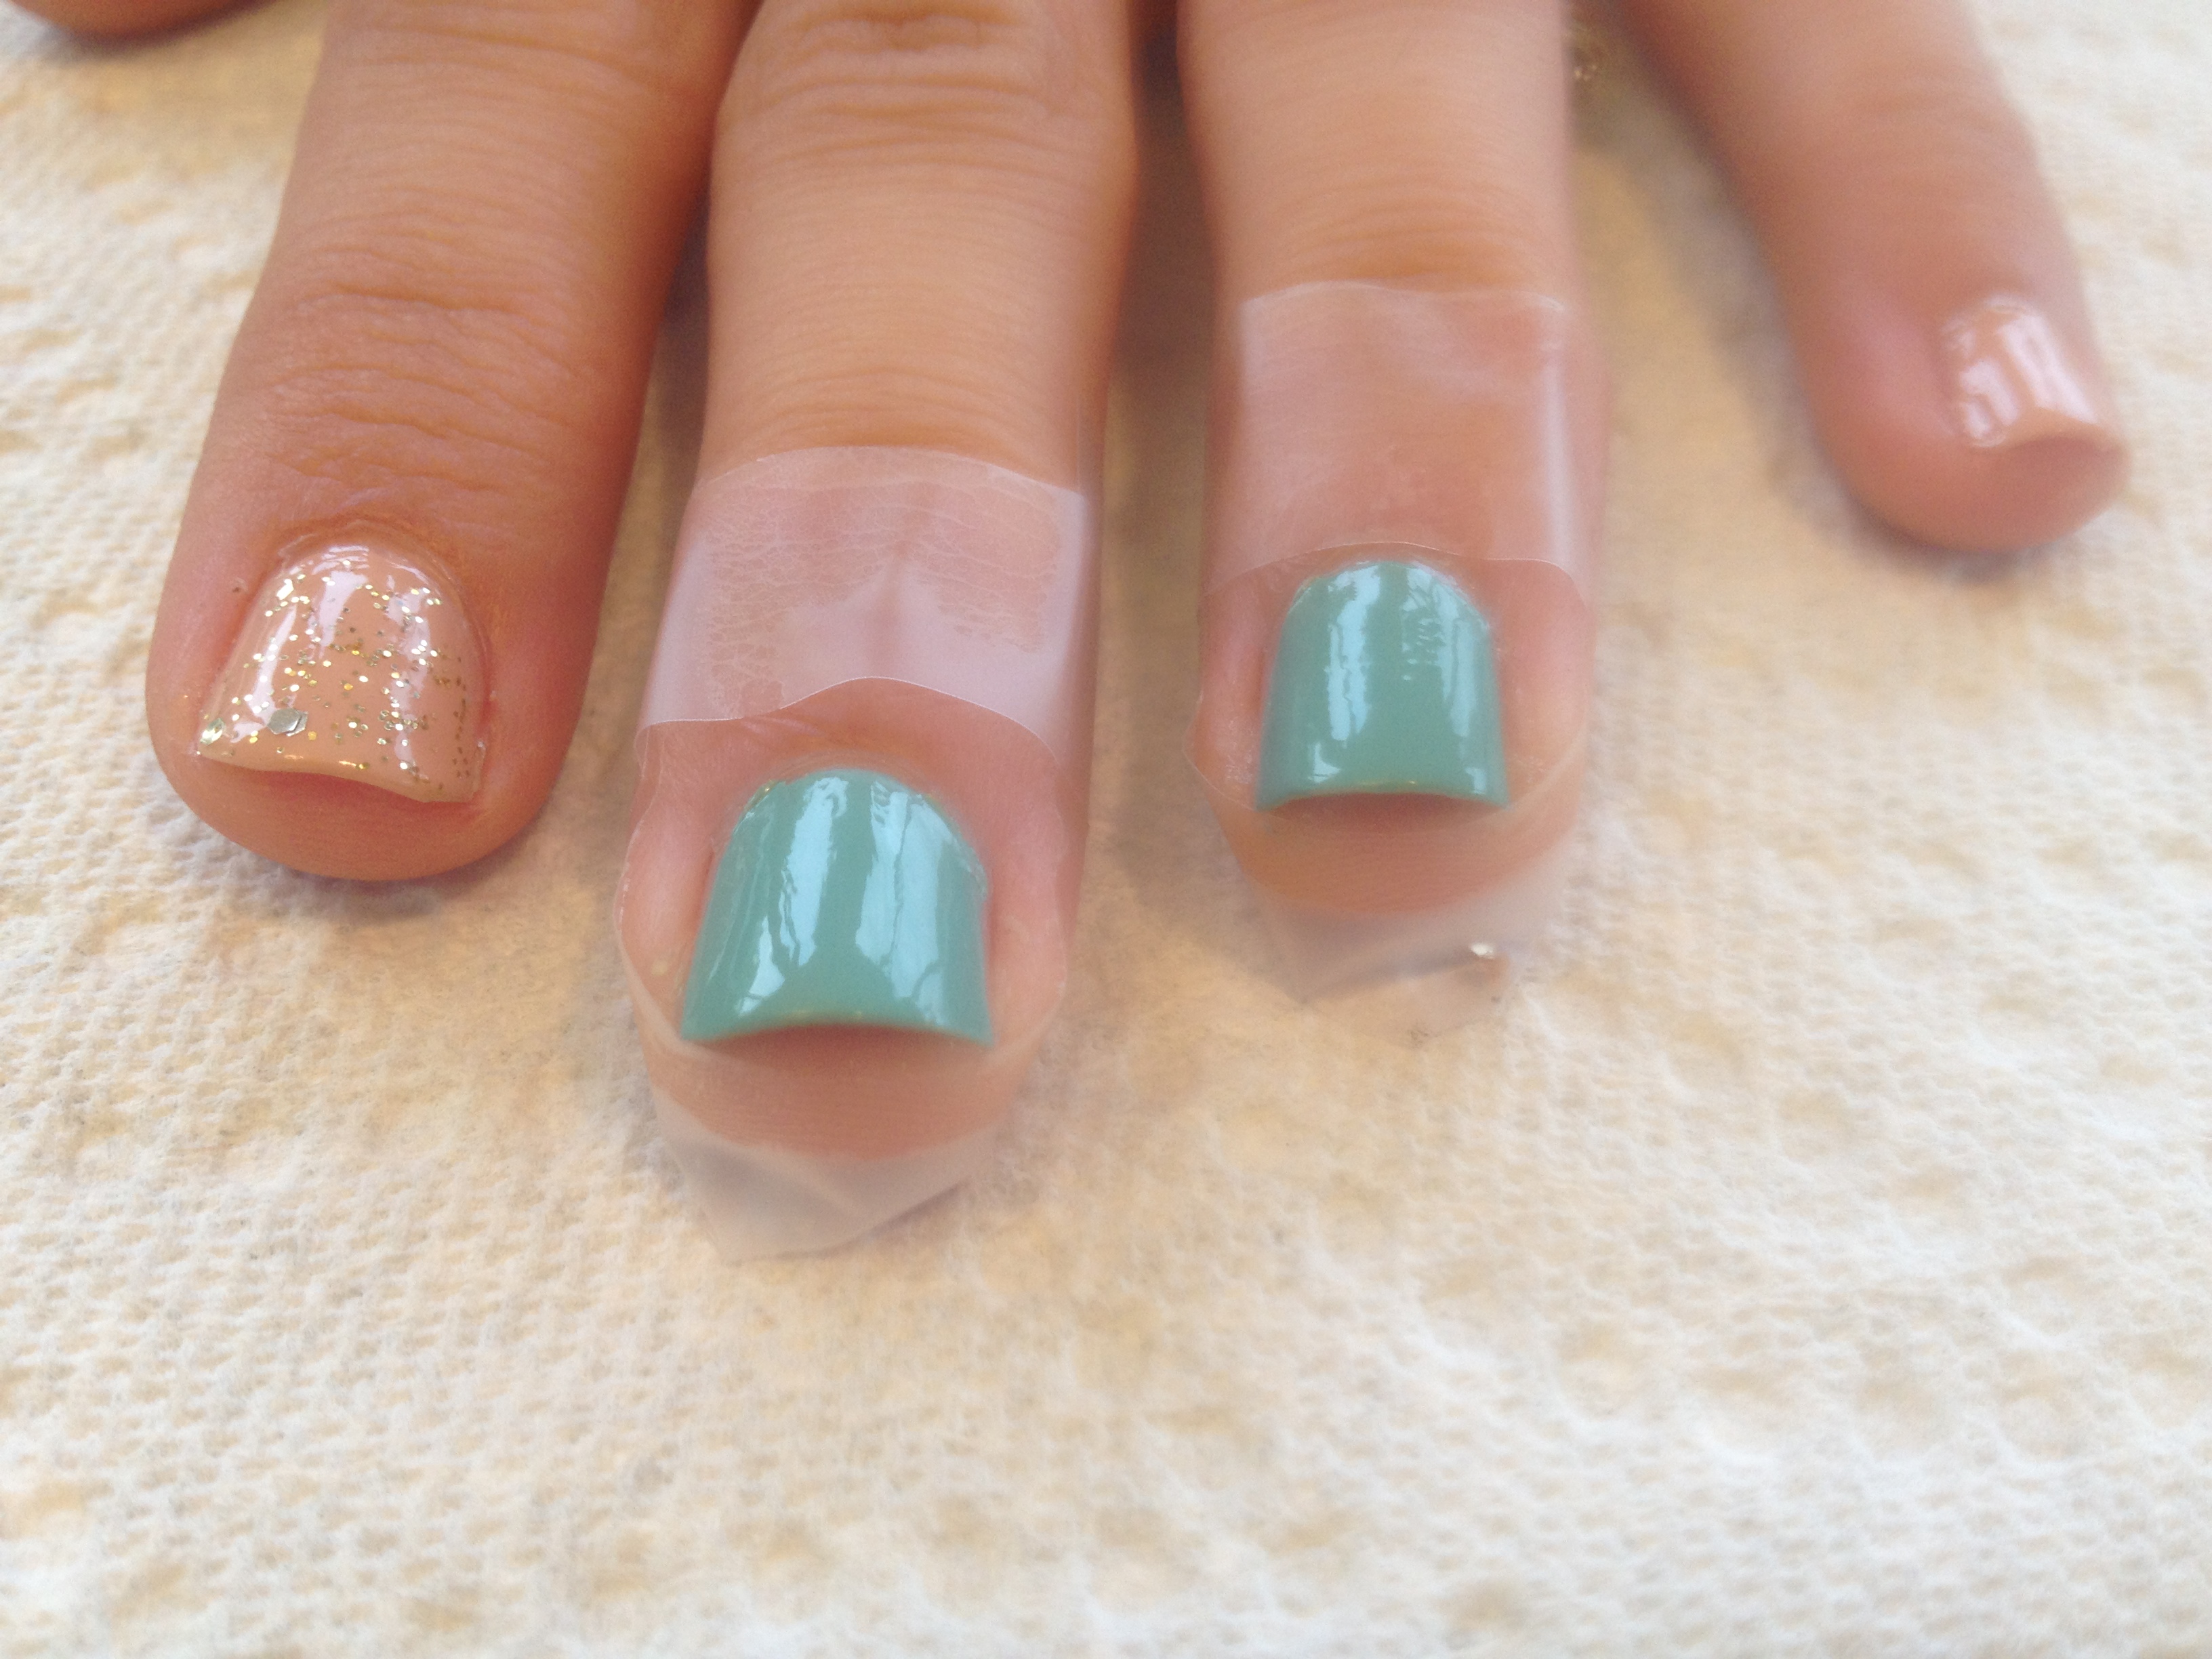
Here’s another easy look thanks to nail stamping. This is just a metallic teal polish stamped over a nude polish. Metalic polishes tend to stamp really well.
 And here’s one final mani. If you’re not into freehand designs, and you don’t have any nail stamping stuff, you can always get a really fun look with a glitter topper. Bitzy has a lot of really fun glitter toppers and so does Funky Fingers at Five Below. (Yes, you are allowed to shop in there even if you’re over the age of 14.) I think polish combinations like this look really fun with a matte top coat.
So those are the nails I’ve been wearing for the past few months. If you have any questions about any of these, please ask! Thanks so much for reading!