Hello, loyal subjects! Today I shall teach thee how to create these super festive Christmas nails!

I really had fun wearing these! They are pretty simple, but unmistakably Christmas-y.
Here’s what you need to do….
Start with a base coat like always, and then paint all of your nails except for your ring finger white. Apply a quick dry top coat to your middle finger. Now, we’re going to deal with every finger except the middle finger because we need to wait for the polish to get REALLY dry.
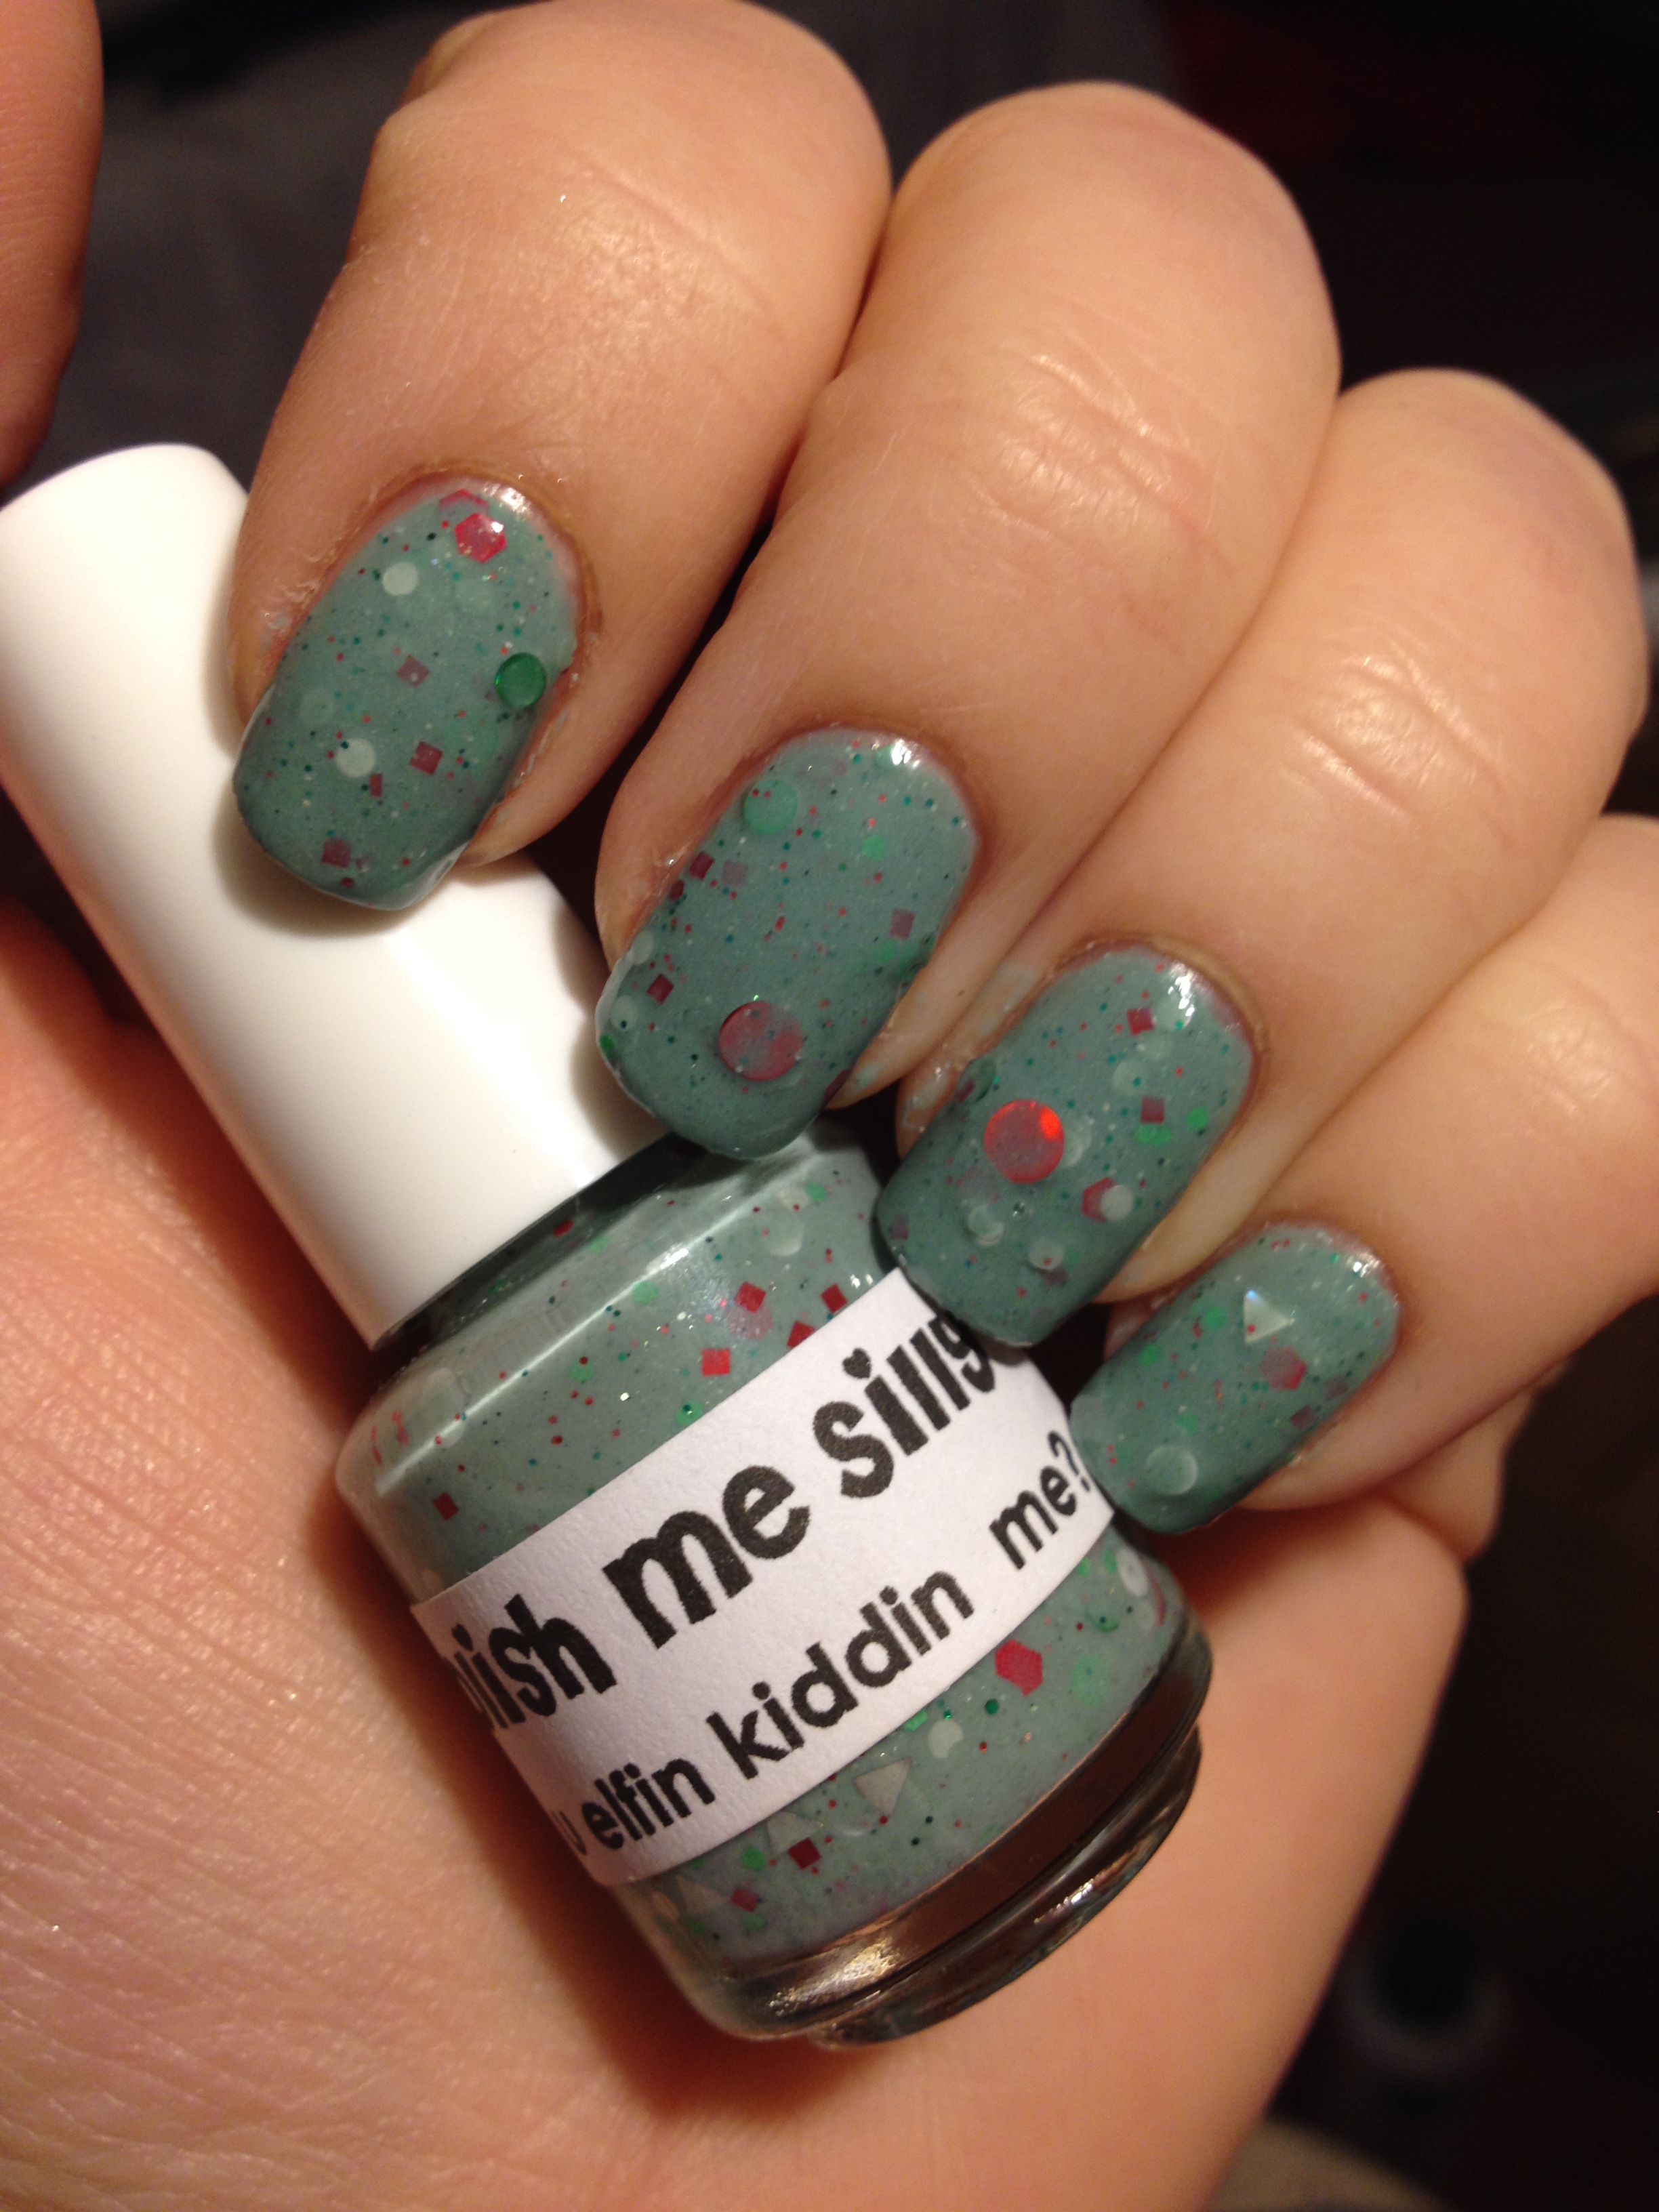
For your ring finger you will need some kind of red glitter polish. I used Funky Fingers – Ninny Muggins. To get the glitter fully opaque, I brushed some of the  polish to a make-up sponge, waited for a few seconds for the base polish to be absorbed into the sponge, and then I dabbed the glitter onto my nail with the sponge. When you do this, almost all of the glitter will transfer from the sponge onto your nail. This allows you to build up the glitter to full opacity with out having too much of the thick clear base polish.
  You may need to do this a few times until you get enough glitter to fully cover your nail. I use this little trick whenever I want a really sparkly over-the-top glitter accent nail!
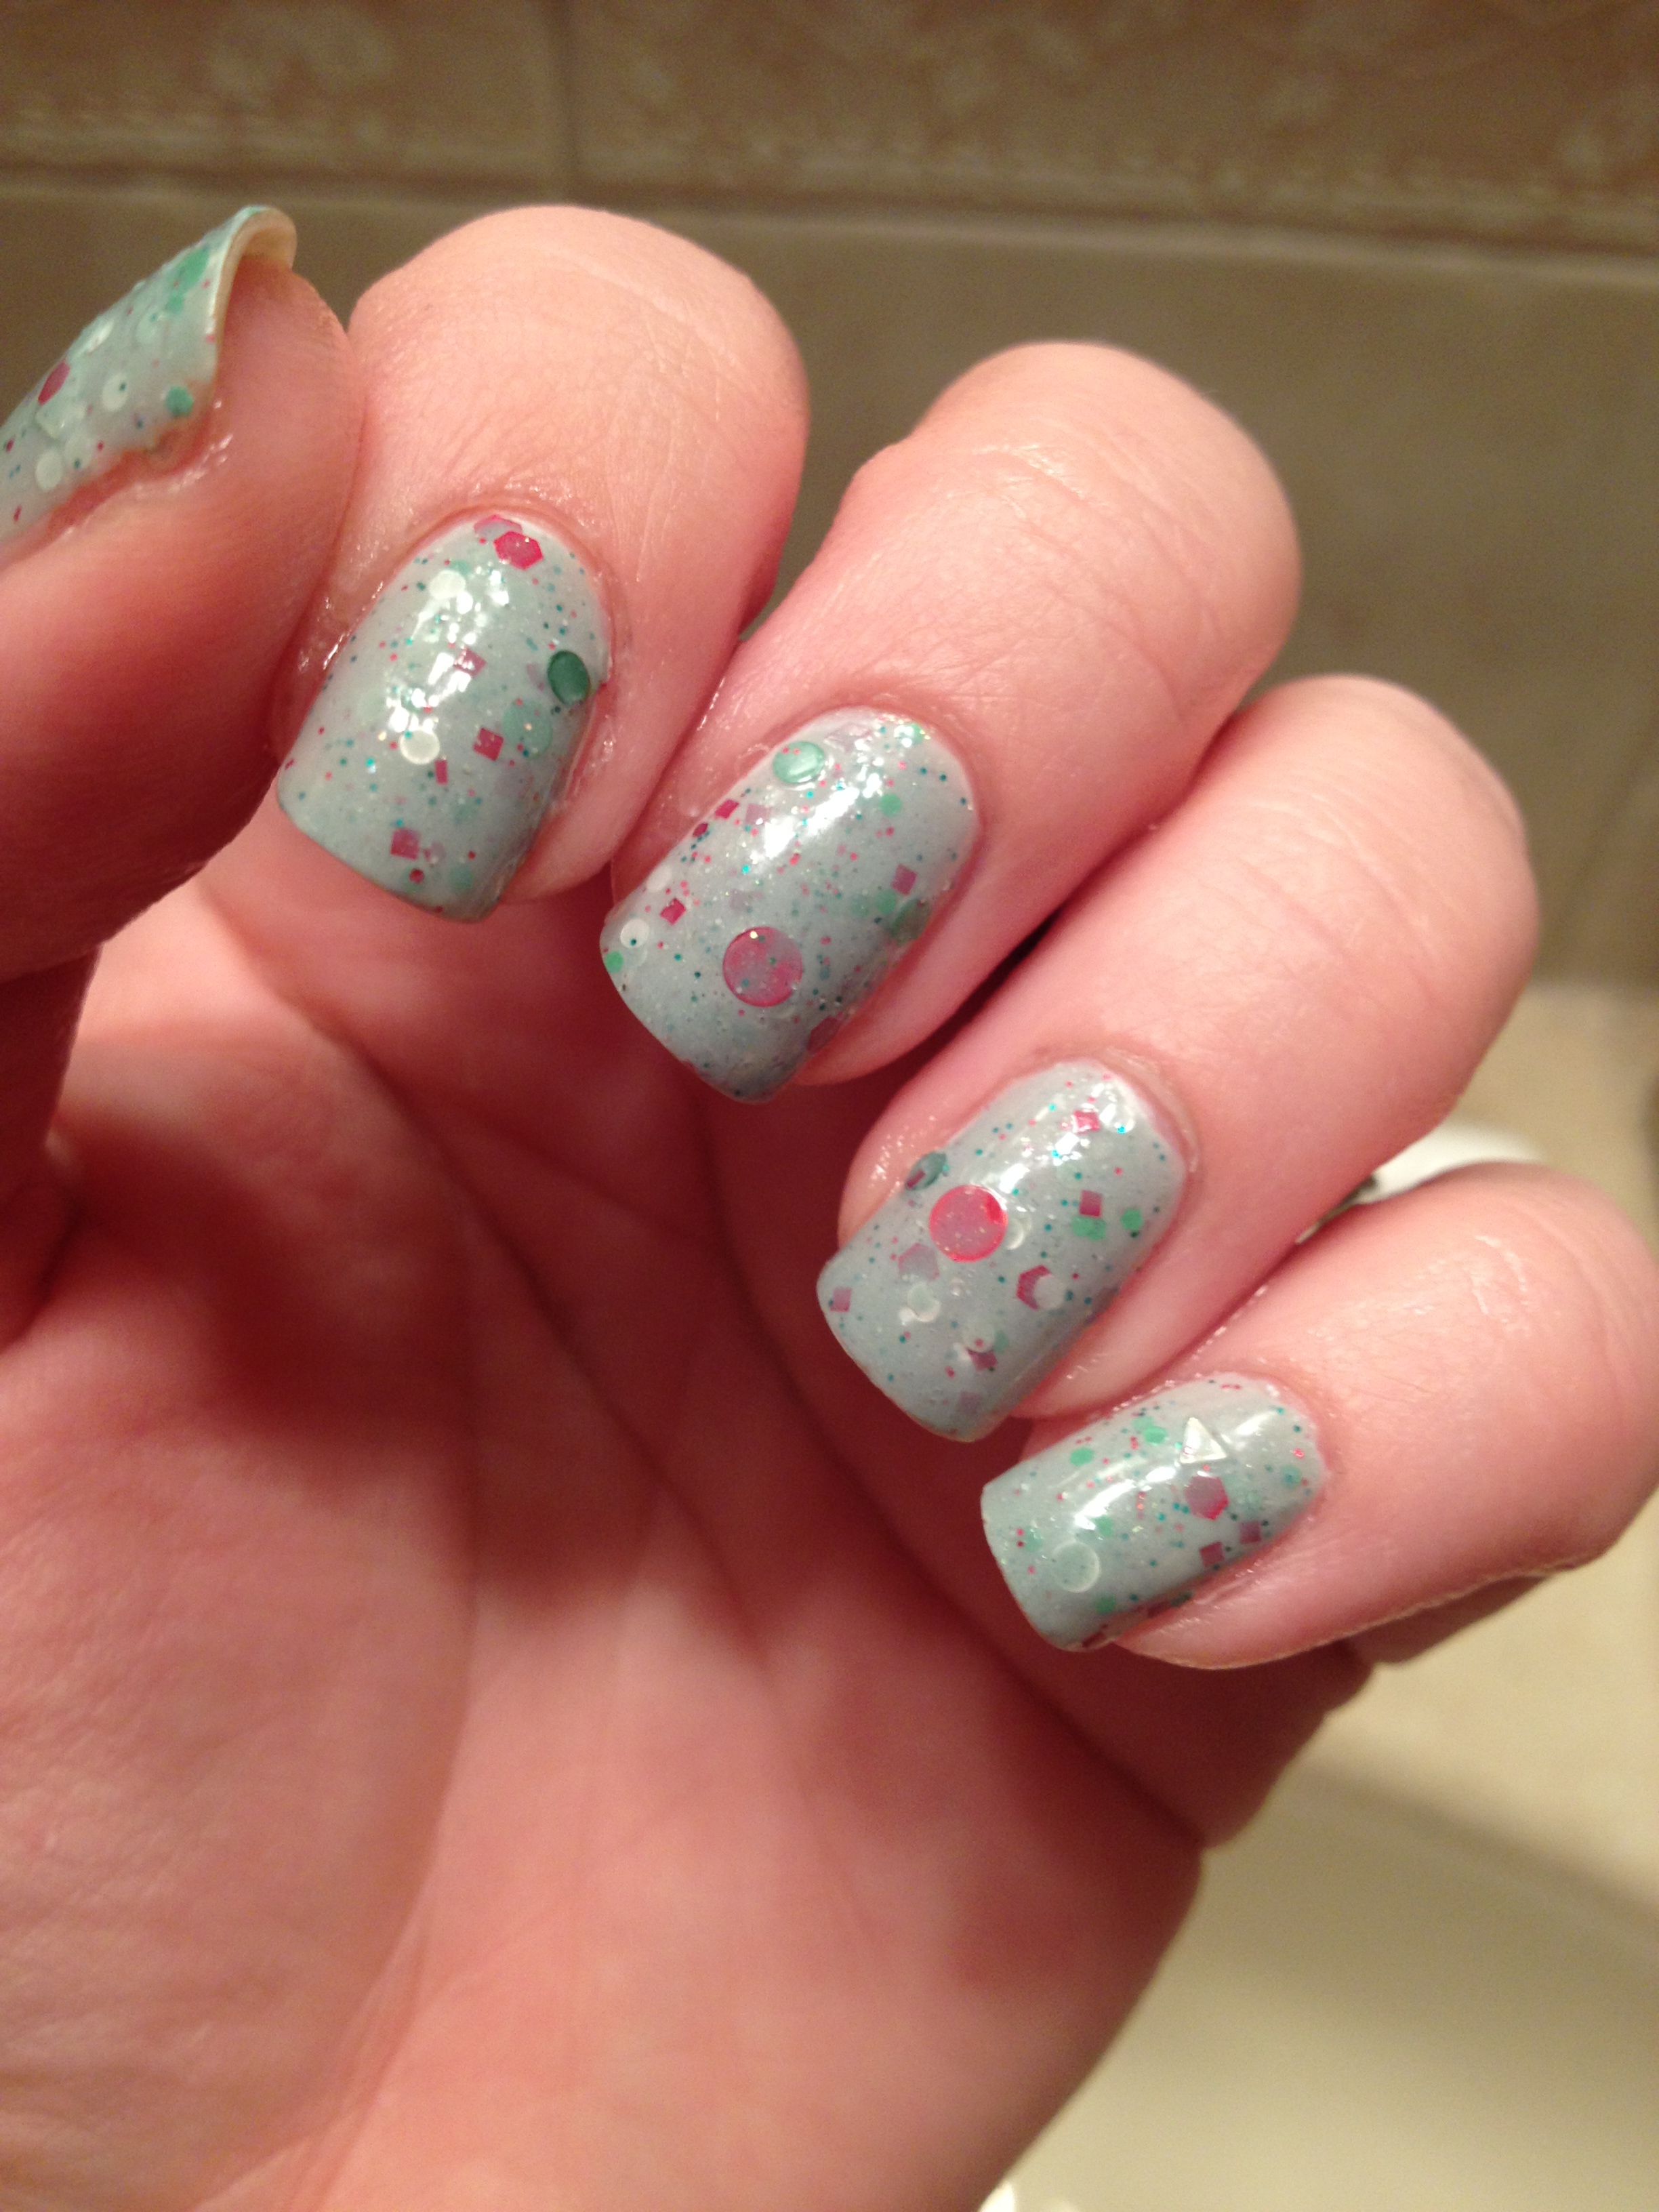
 For your thumb, index finger, and pinky finger, take your largest dotting tool and add three or four dots to each nail. Space them out pretty well, so that you have room for some large red dots. And that there is your next step: take your largest dotting tool and add three or four large red dots to each nail. After you are done with your large dots, fill in any remaining space with
  smaller red and green dots. Really, there’s no science to this. Just fill things in the way you like them.
These polka dot nails look cute, right? Dots are always a great look! You might be seriously terrible at painting tiny designs on your nails with a detail brush, but get a few dotting tools, and you can make your nails look super cute!
 Okay, onto the middle finger. You can always just paint a little free hand Christmas tree with a little brush. I decided to make it difficult, so I decided to make my own little Christmas tree stencil. I started just by sketching some little trees, mostly to figure out what size would fit best on my nail. It took some trial and error, but I finally figured out a good height and width for my little trees.
I then applied some painters tape to wax paper and folded it in half. I used my little drawn tree  as a guide to trace half a tree onto the tape, with the crease running down the center of the tree. I then cut the tree out of the tape. This took a few tries to get right, but I had a whole roll of painters tape, and a whole roll of wax paper, so no worries. I eventually cut out two trees that were pretty similar! Huzzah!
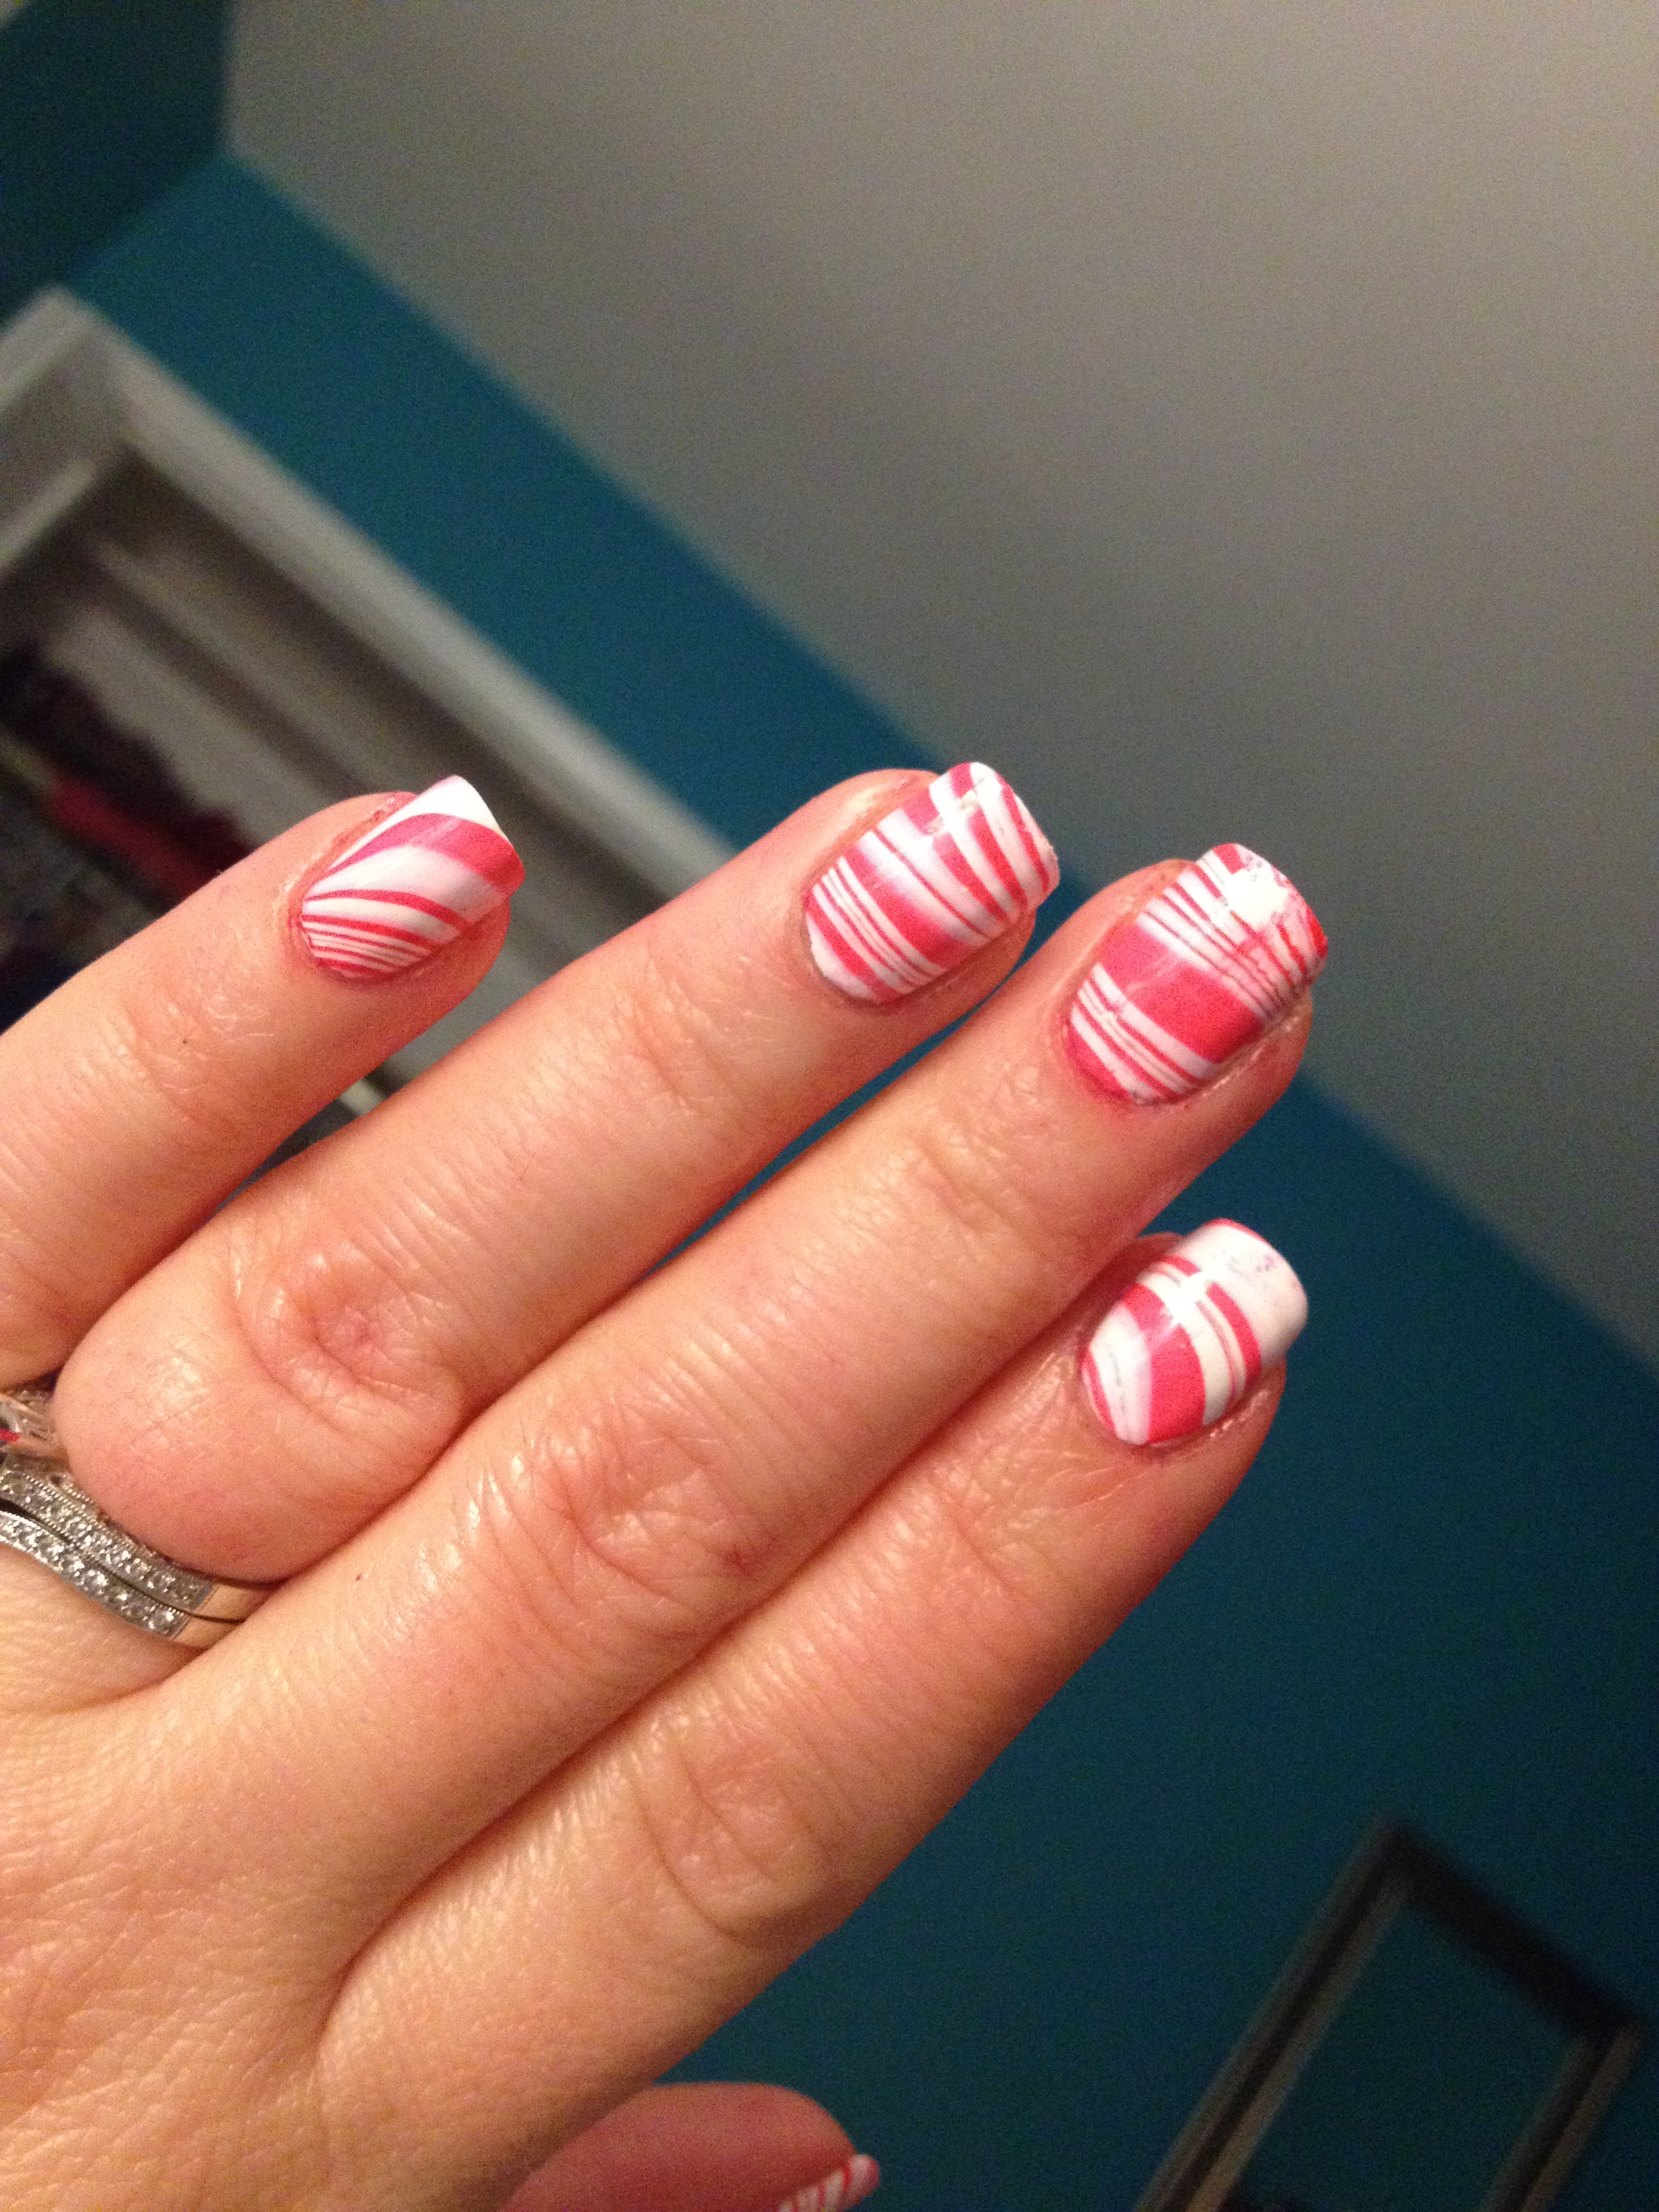
Now we come to the most important step of all: wait for the white polish on your middle finger to dry COMPLETELY before you stick your tape stencil onto your nail. Bone dry. Like absolutely dry. This little picture shows what happens when you don’t wait long enough. Yeah, I know. Tragic. And once you do this,  there’s just nothing you can do. You remove all of the polish from that nail and start the heck over. And you have to make another little Christmas tree tape stencil since you gooped one of them up. So that’s what I did. And this time I waited a REALLY long time for the polish to dry before I applied my tape stencil.
So once your white polish on your middle finger is COMPLETELY AND UTTERLY DRY, peel your little stencil from the wax paper and stick it to your nail. Make sure that your tree is centered on your nail, and press the painters tape down  really well. You don’t want any of the polish to seep under the tape. Once you have your stencil where you want it, apply a generous coat of green polish over the stencil and then immediately and carefully peel the stencil off your nail. You will be rewarded for your patience with a cute little tree with nice crisp lines!
Apply a top coat to your nails and you are ready to go! Please let me know if you recreated this design. I’d love to see it!
Thanks for reading, and Merry Christmas! Have a wonderful holiday season!