
It’s been way to long since I posted a good old fashioned tutorial, so today I’ll show you how I got these cute nails:
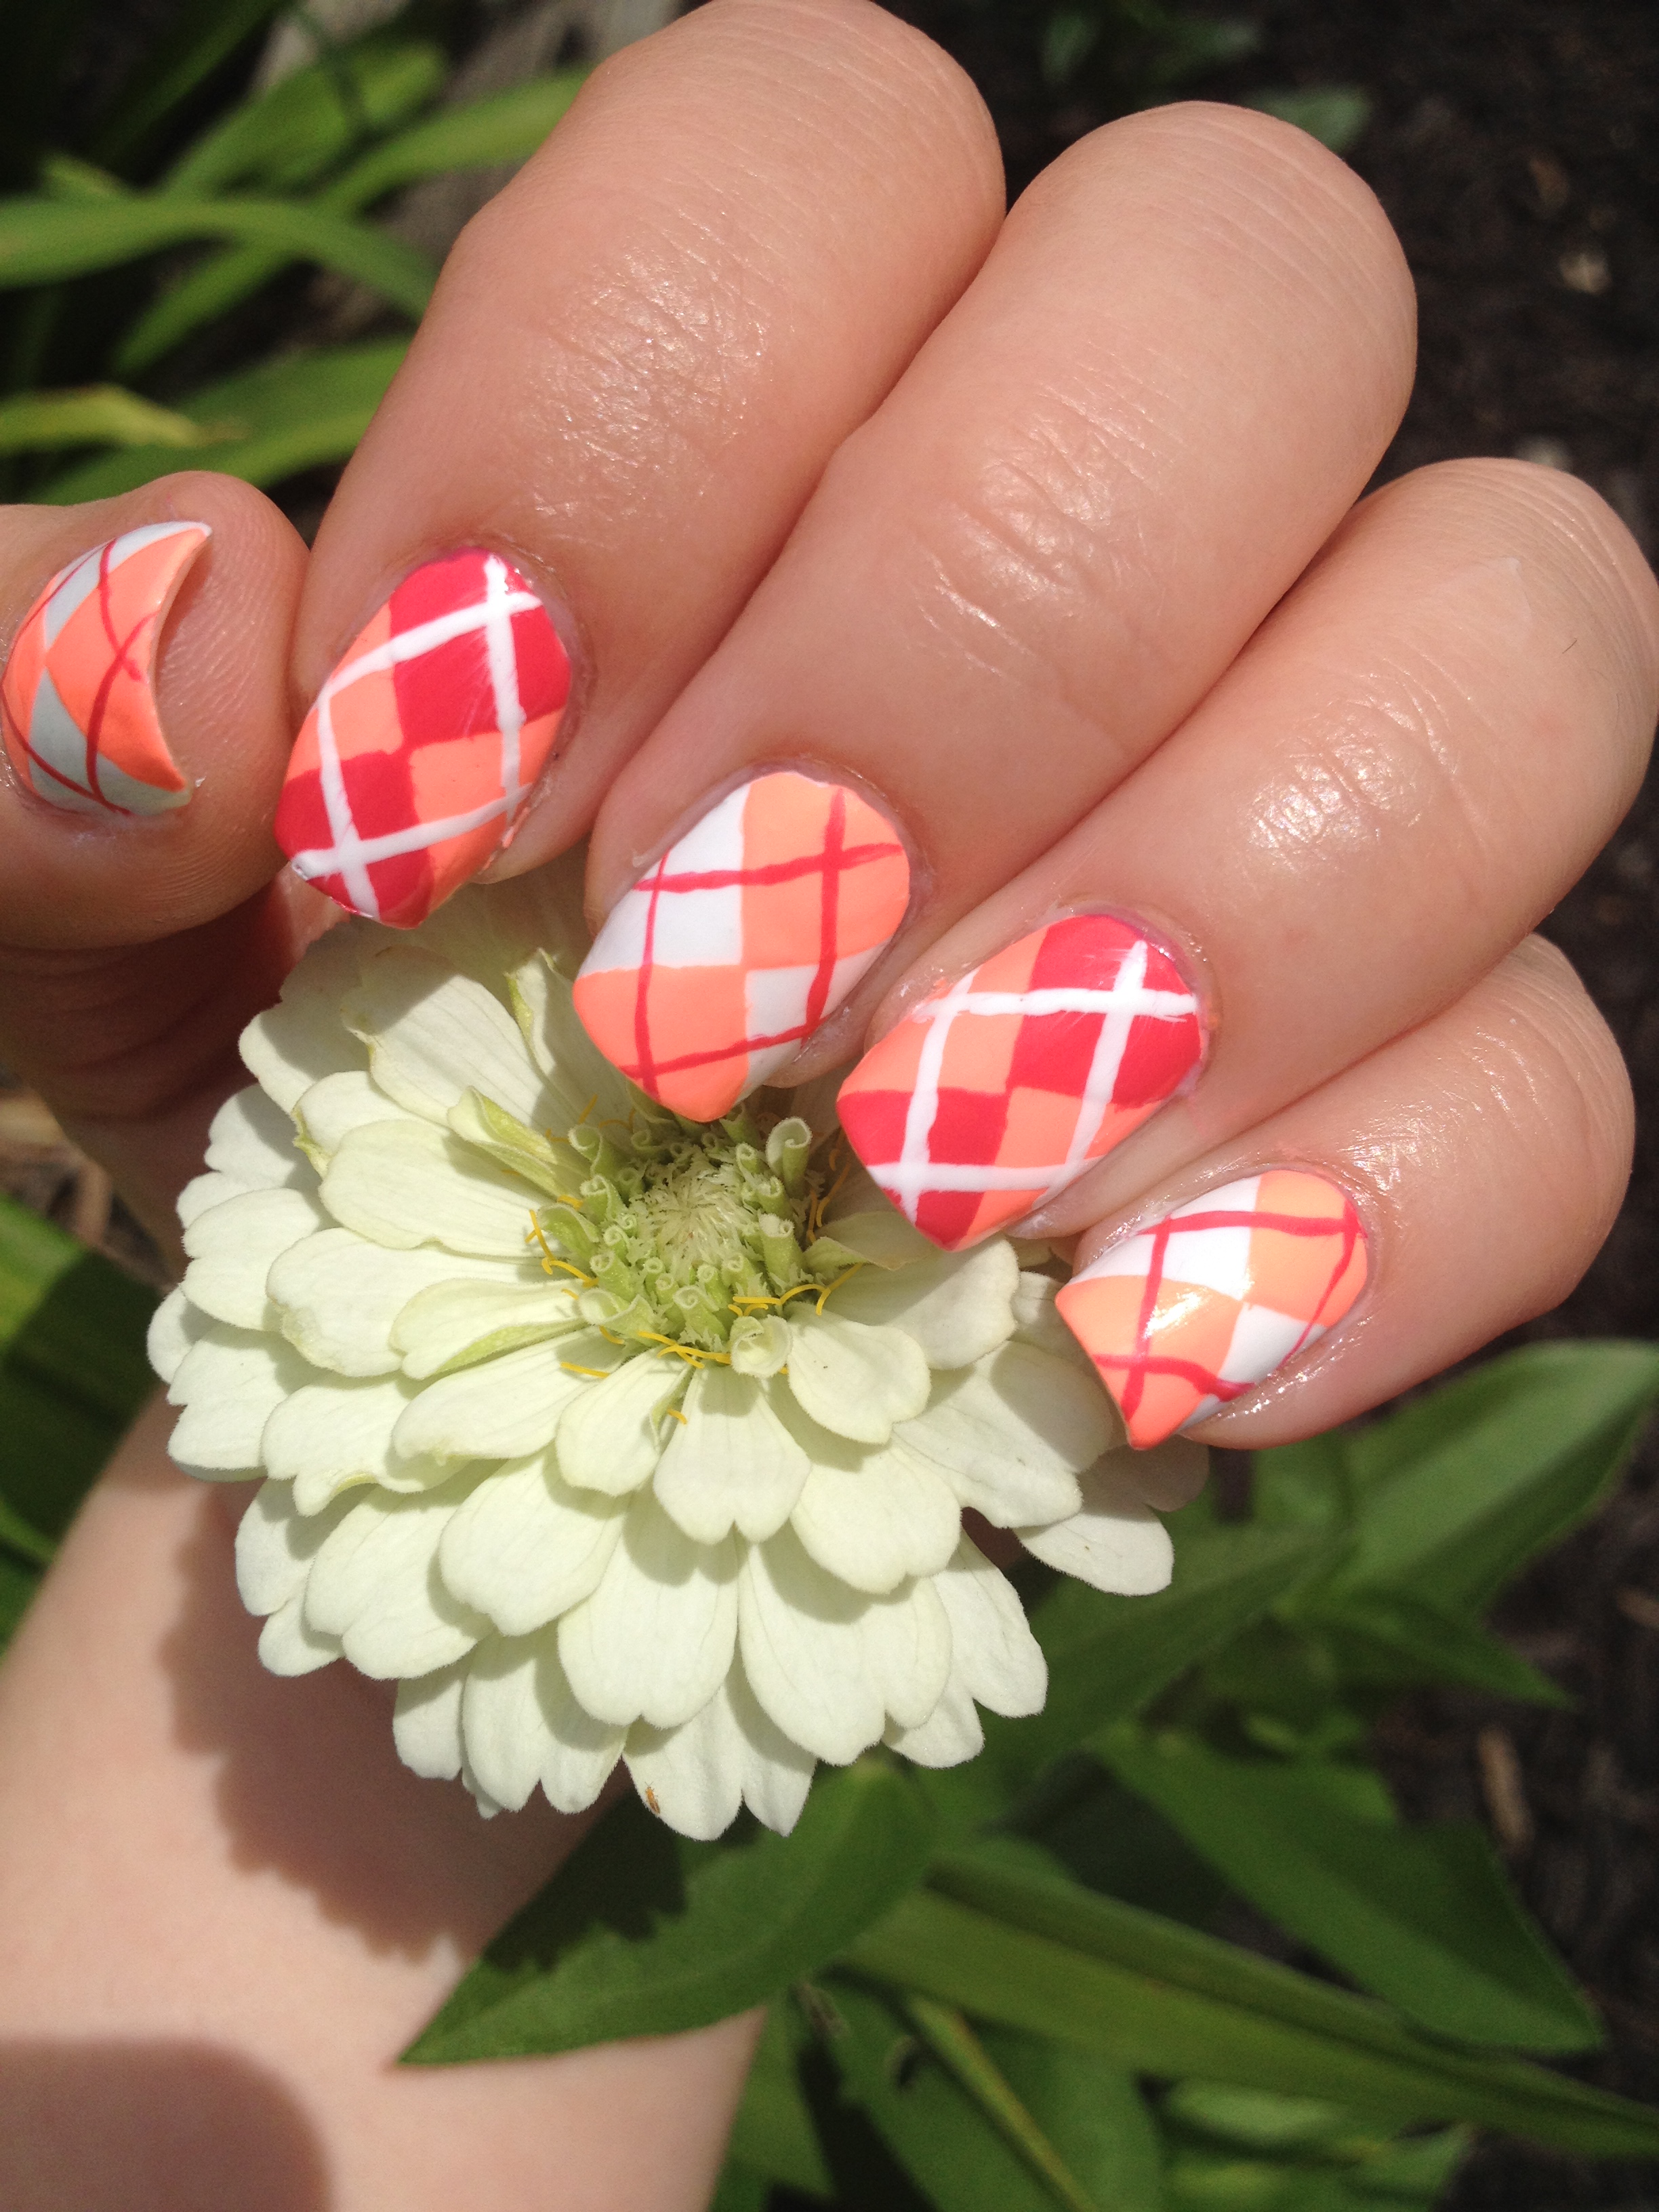 I was prompted to do these nails for the Weekly Nai Art Challenge (#wnac2015) on instagram. This month’s theme is Paterns and this week’s prompt was coral. It’s been a long time since I’ve done argyle nails, so this seemed like the perfect opportunity! Here’s how to get this look…
1. Start by picking three colors. I opted for white, a neon coral (Fresh Paint – Guava), and a darker orangey-pink (Wet n Wild – Dreamy Poppy). Paint alternating nails with the two lightest colors. It’s easier to start with a base of lighter colors, because we’re going to layer the darker colors over top. Obviously, It’s easier to cover a lighter color with a darker color than the other way around. Let them dry really well.
2. Take a 6 inch (15 cm) strip of painter’s tape and stick it to a piece of
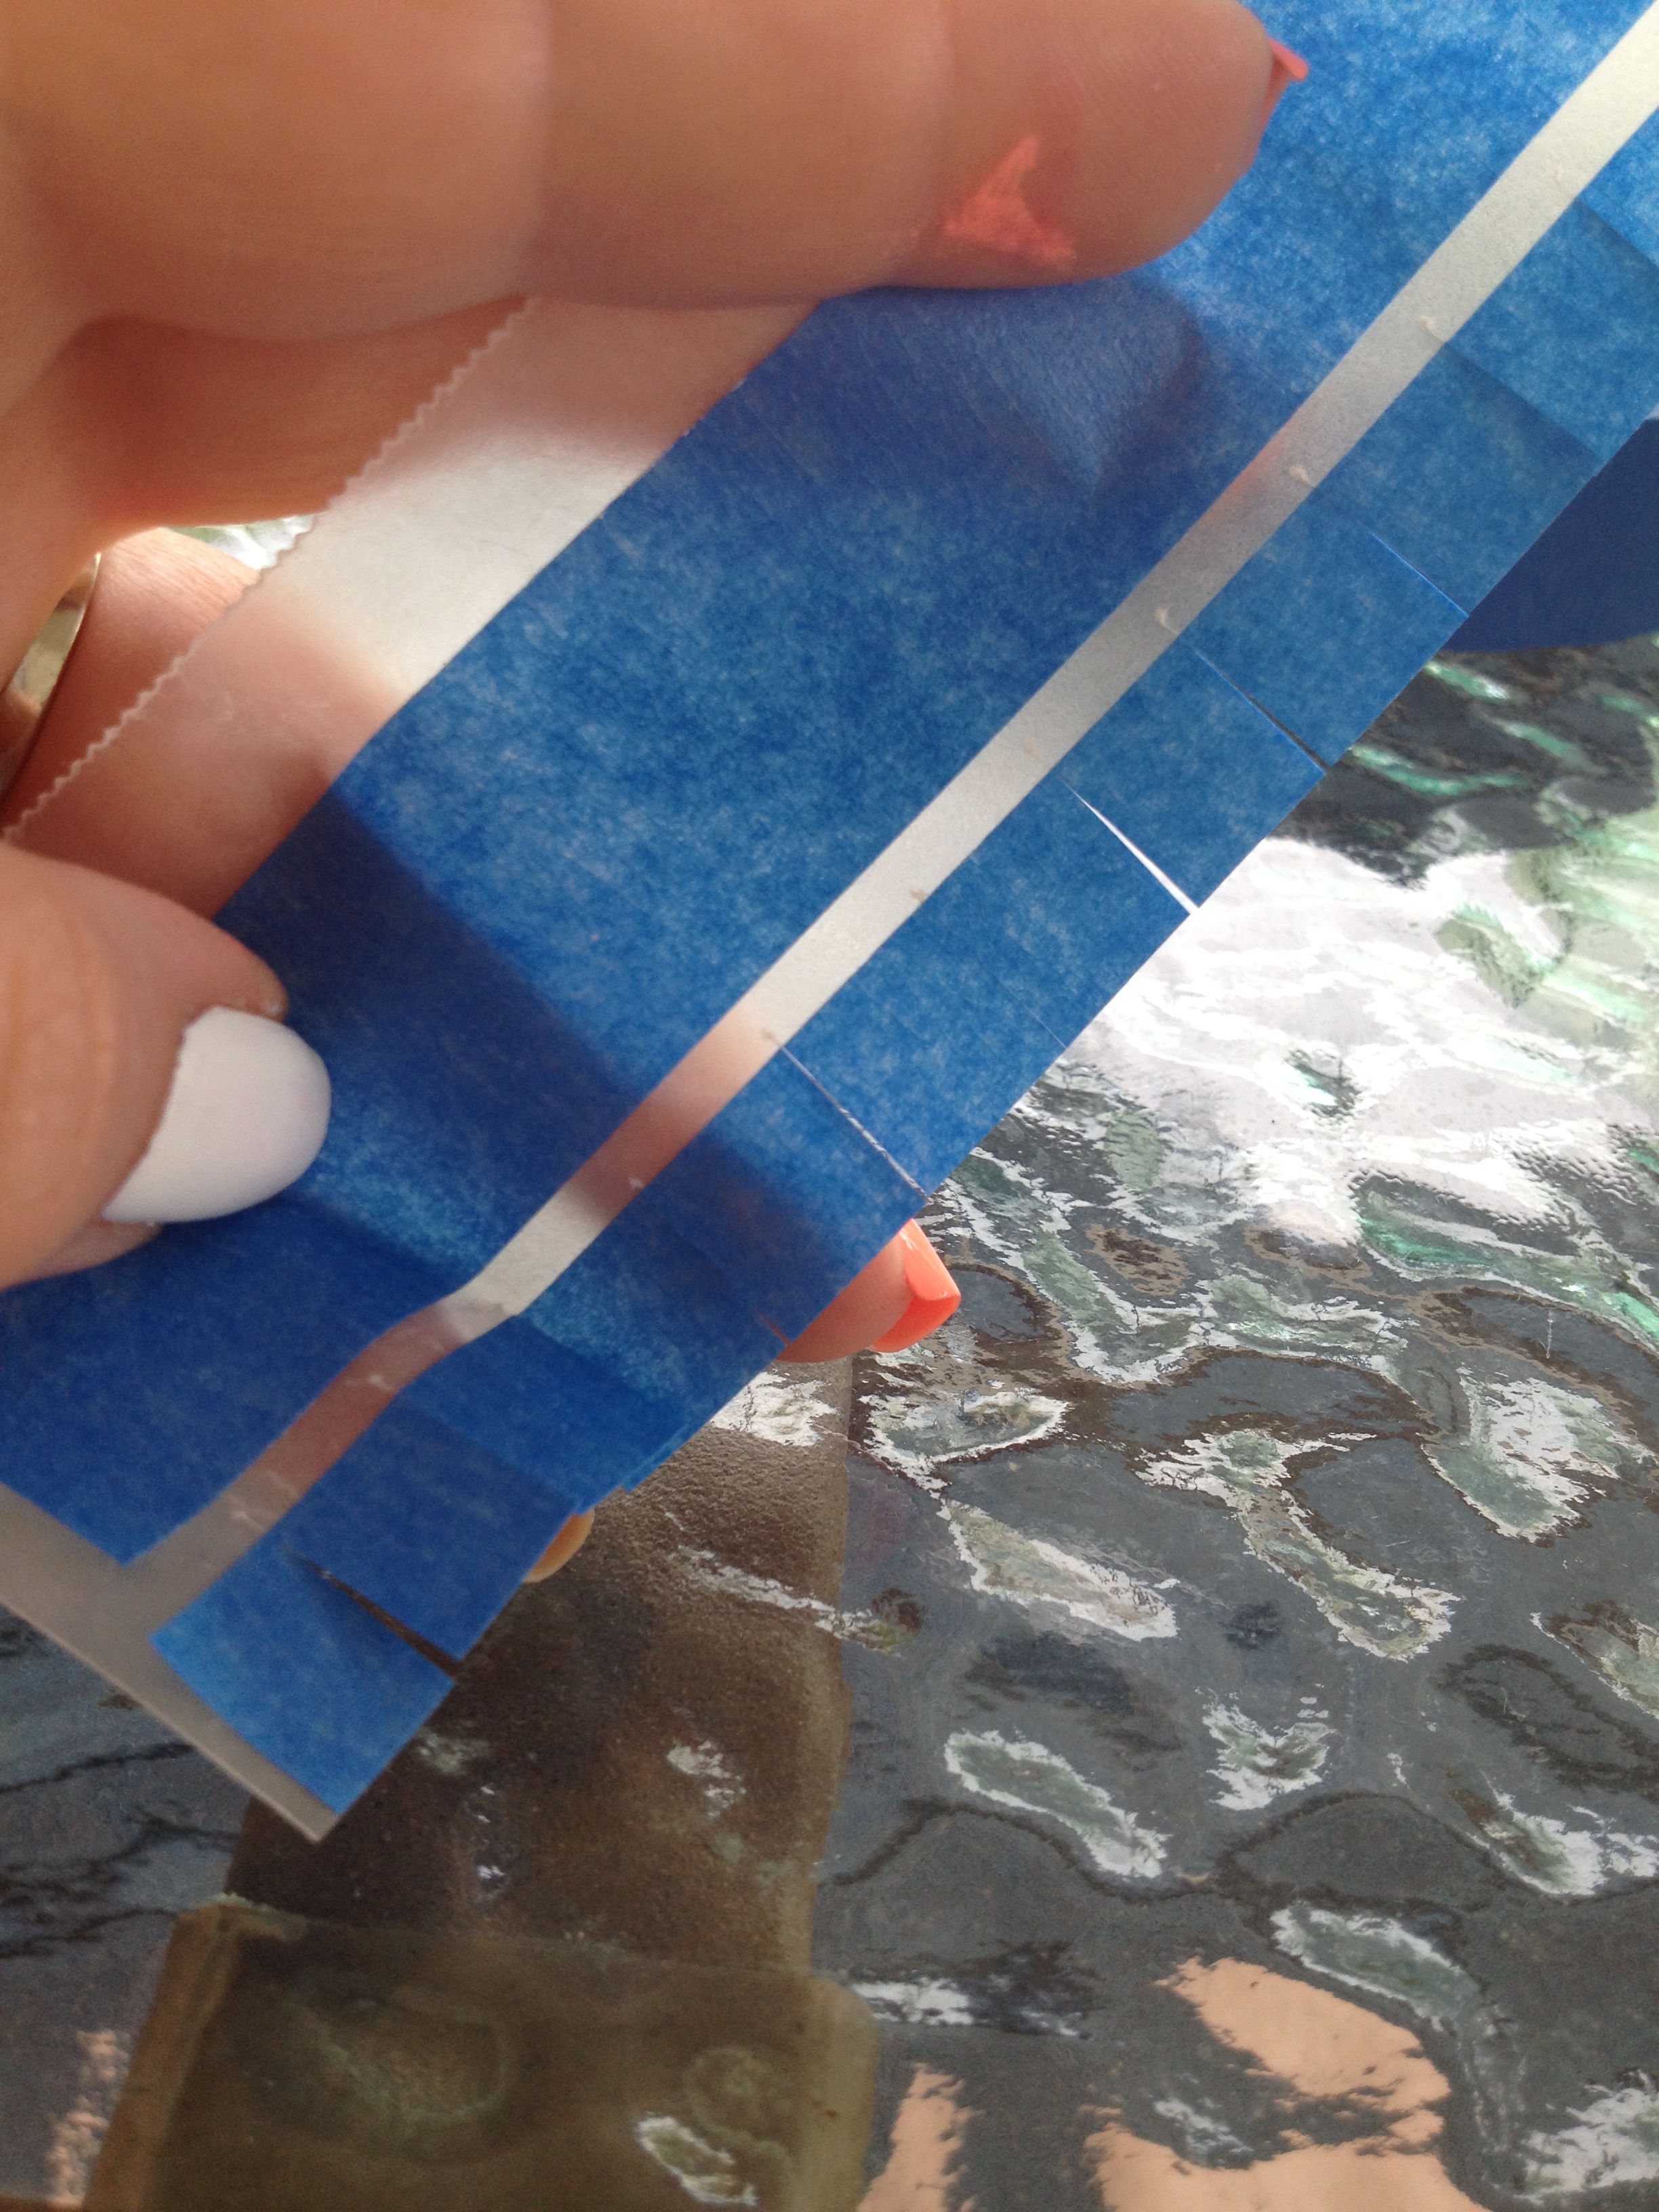 wax paper. I cut my painter’s tape in half long-ways and then snipped it into little half an inch (8 mm) squares.
3. Using tweezers, peel your little squares of painter’s tape off of your wax paper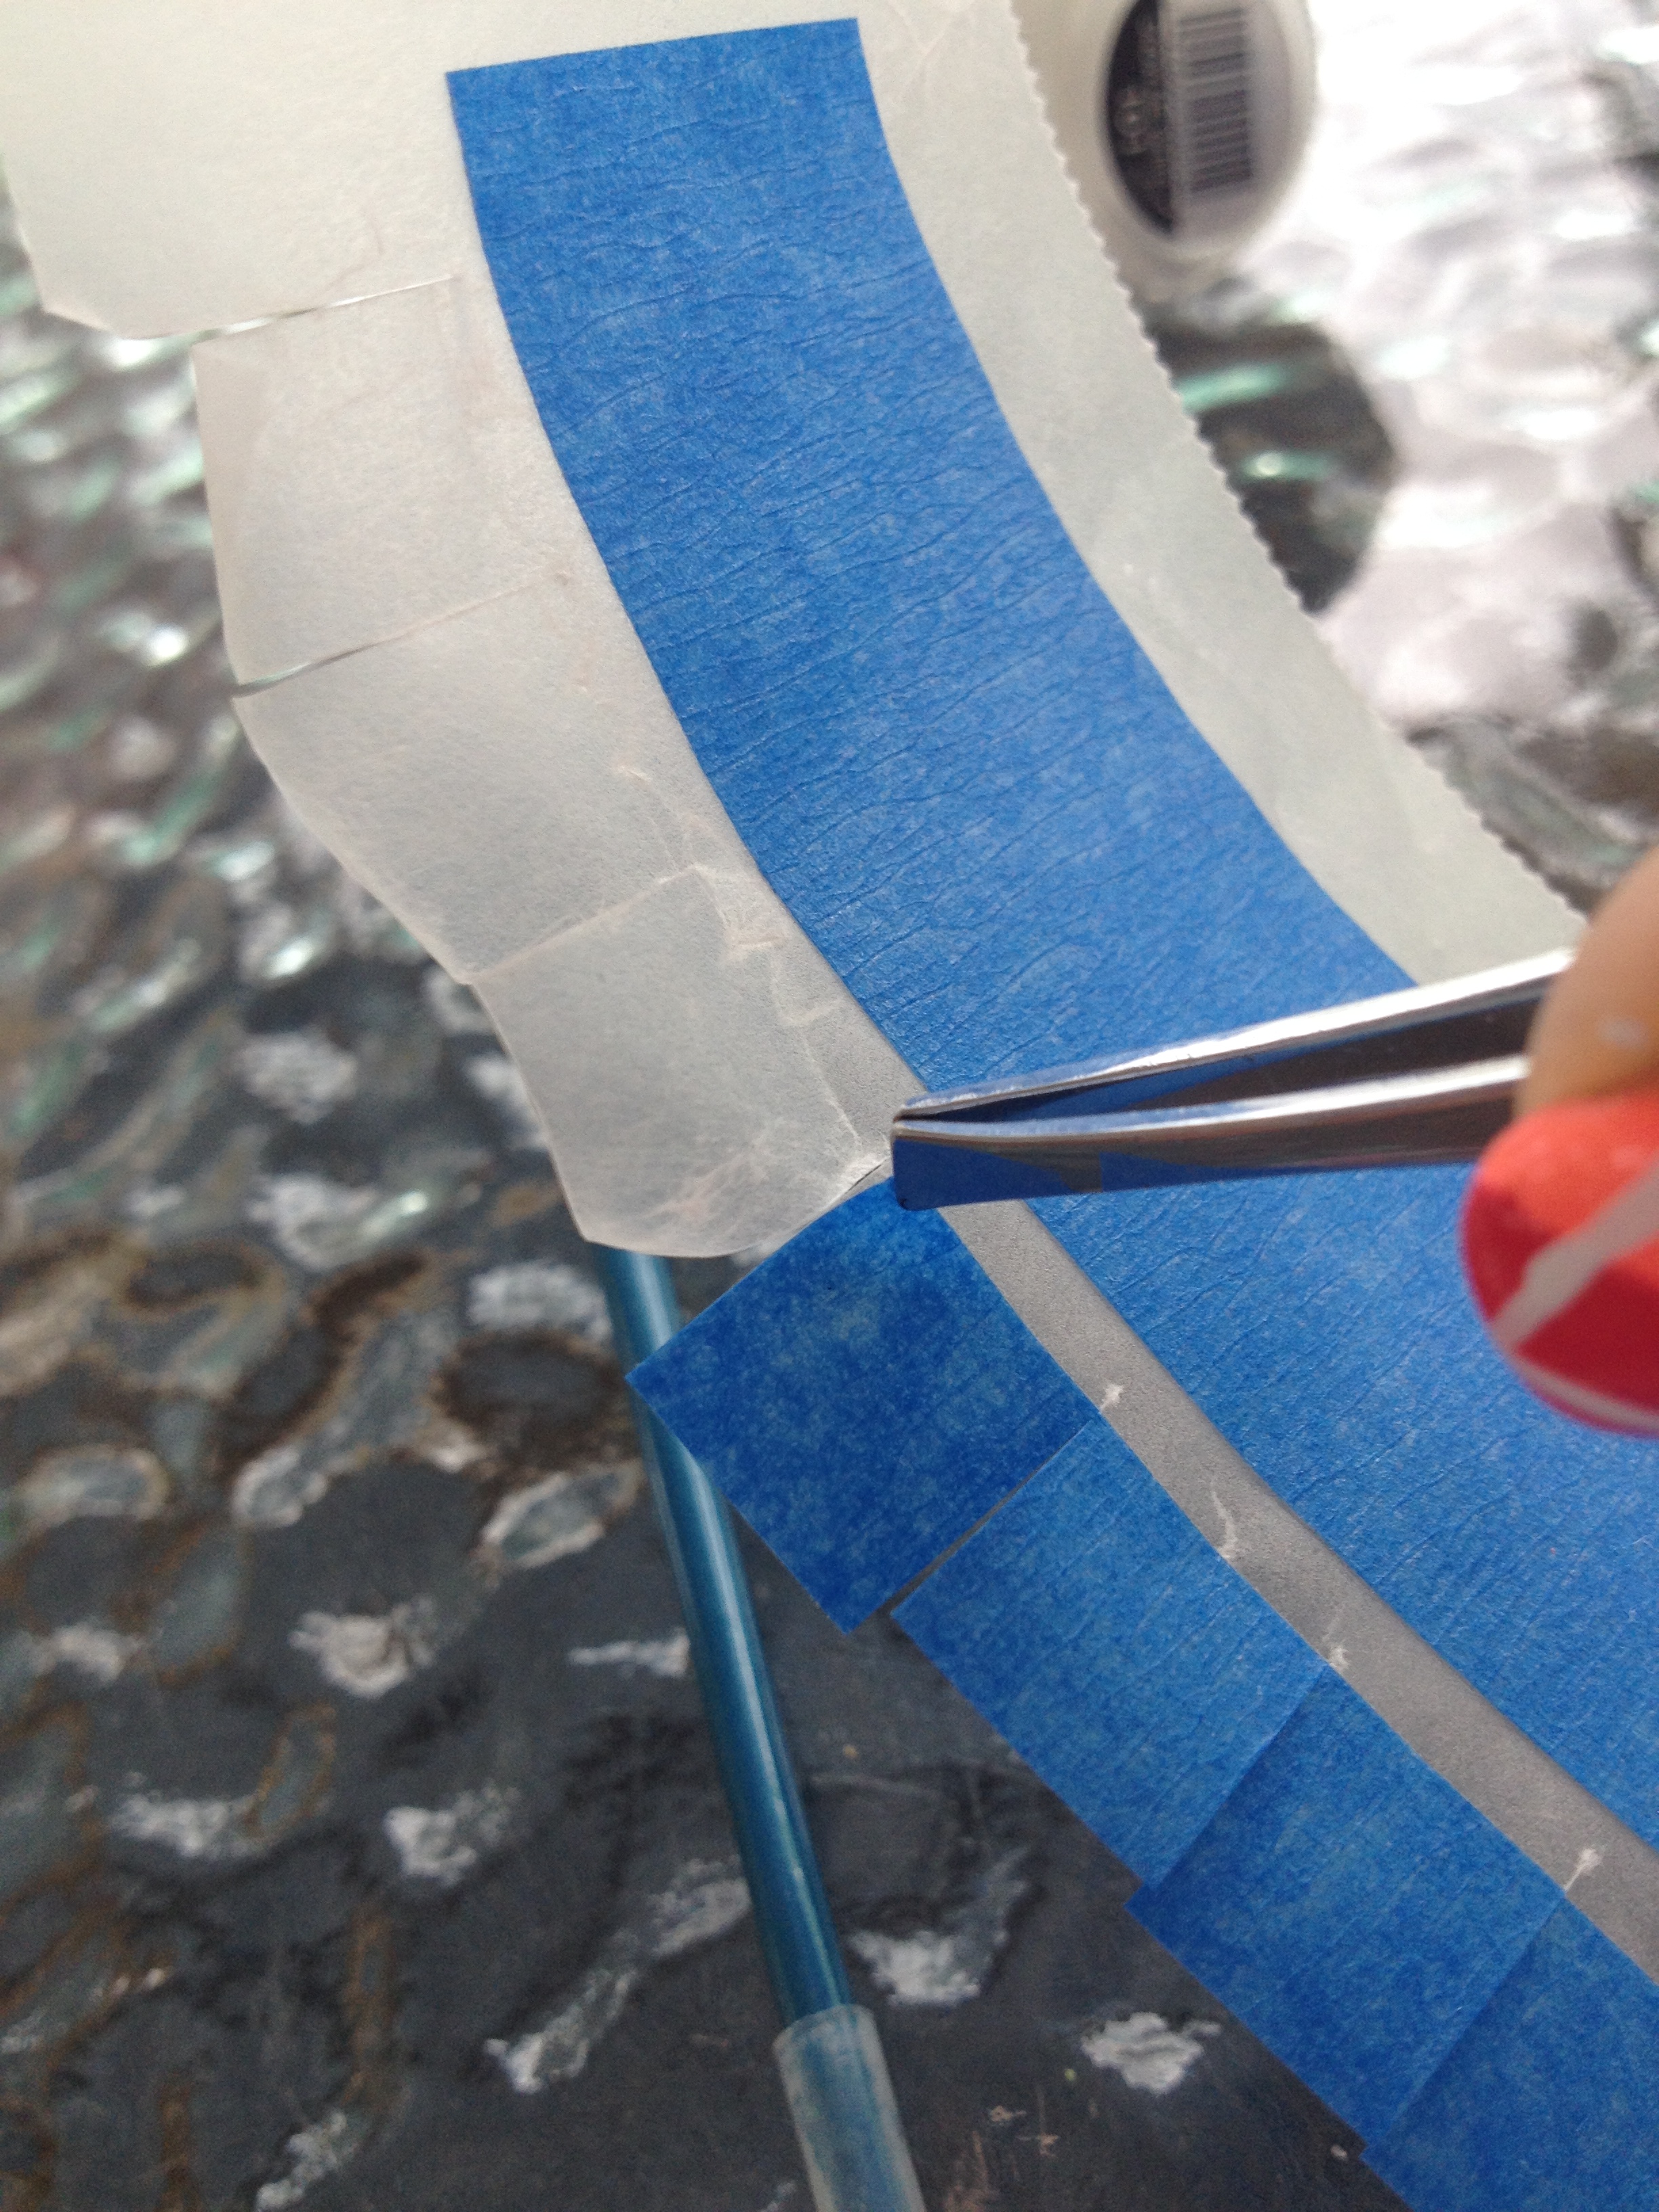 and stick them onto your nails. Tweezers are helpful because they keep you from messing up your wet nails by picking off the tape with your nails, and it also helps to keep the tape from losing its stickiness by being touched by your fingers too
  much.
much.
Take your time with this step. You will want to put the corners of the tape in the middle of your nails. While you’re sticking the tape on your nails, make sure that you are making nice right angles with the tape. If your tape is nice and straight, you should have the illusion of two straight lines crossing on your nail like an “X”.
4. Using the tweezers or a cuticle pusher, make sure the edges of the tape  are pressed down well on your nails. You don’t want any polish leaking underneath.
5. Doing one nails at a time, take the polish that is a shade darker than your base color, and paint it over the exposed parts of your nail. Us a quasi thick coat of polish and make sure you have nice, even coverage.
 6. Using the tweezers, peel off the tape. Make sure you grab the part of the tape that is not covered in polish. Look how nice and pretty and crisp the lines are!
The reason we do this step one nail at a time is because we don’t want the polish to start drying before we have a chance to peel the tape off. 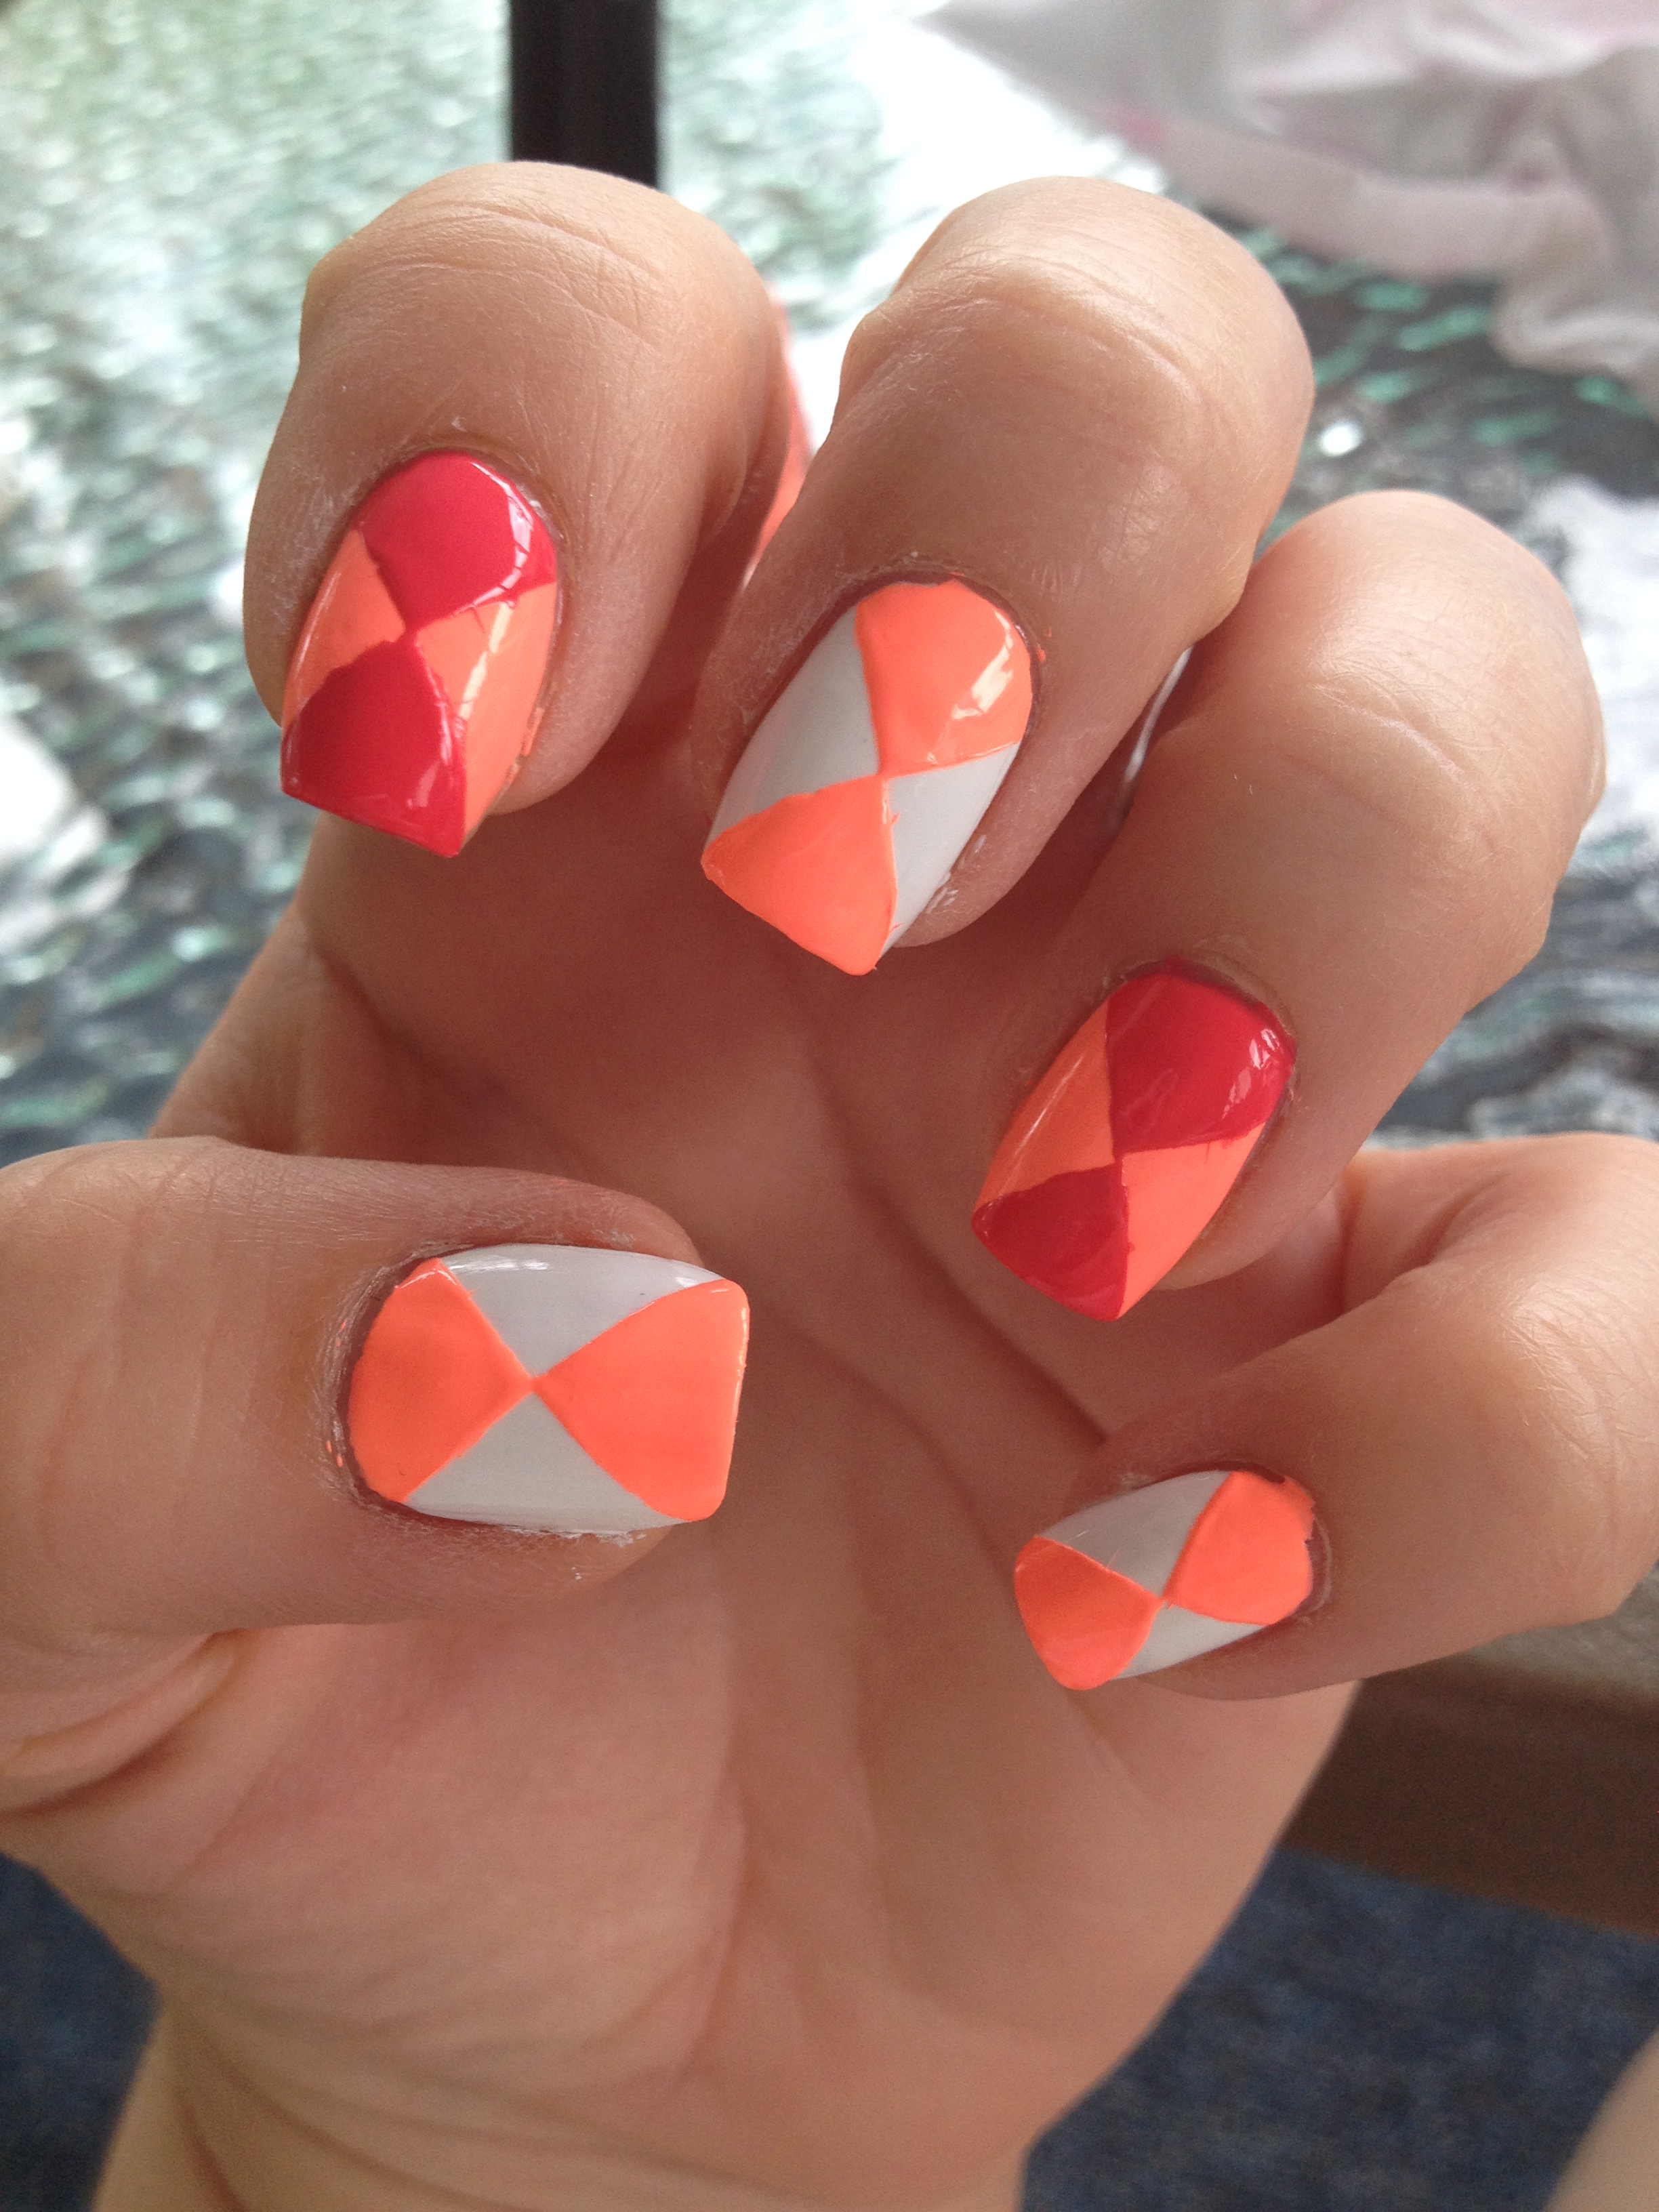
7. After you’ve done this to all of your nails, it’s time for the step that makes them really look like argyle! Take a really little brush and dip it in whatever of the three colors is missing from your nail. Then paint four thin lines in a diamond shape on your nail. You want the lines to parallel the “X” that is in the middle of your nail. It’s okay if these lines cross each other at your cuticle, nail tip, and the sides of your nail, because that gives the illusion of the pattern continuing off your nail. This is the step that requires a bit of a steady hand, but don’t stress. Just relax and let the polish flow!
10. Let your nails dry for a bit, and then add your top coat. I opted for a glossy quick dry top coat, but this would look really good with a matte top coat, too. Kind of like fabric.  If you give these a try, please let me know! Tag me on facebook or instagram! Thanks for reading, and happy argyle nails to you!

Nice tutorial – and I love the colours you used here (yeah, I know it was the theme, but still!)
LikeLike